Tutorial: Sign and make requests with Postman
In this tutorial, you set up and use Postman to make a request against Azure Communication Services by using HTTP. By the end of this tutorial, you successfully send a Short Message Service (SMS) message by using Communication Services and Postman. You can then use Postman to explore other APIs in Communication Services.
In this tutorial, you learn how to:
- Download Postman.
- Set up Postman to sign HTTP requests.
- Make a request against the Communication Services SMS API to send a message.
Prerequisites
- An Azure account with an active subscription. If you don't have an Azure subscription, you can create an account for free. The free account gives you $200 in Azure credits to try out any combination of services.
- An active Communication Services resource and connection string. If you don't have a resource, see Create a Communication Services resource.
- A Communication Services telephone number that can send SMS messages. To get a telephone number, see Get a phone number.
Download and install Postman
Postman is a desktop application that's capable of making API requests against any HTTP API. Postman is commonly used for testing and exploring APIs. In this tutorial, you download the latest desktop version from the Postman website. Postman has versions for Windows, Mac, and Linux, so download the version that's appropriate for your operating system.
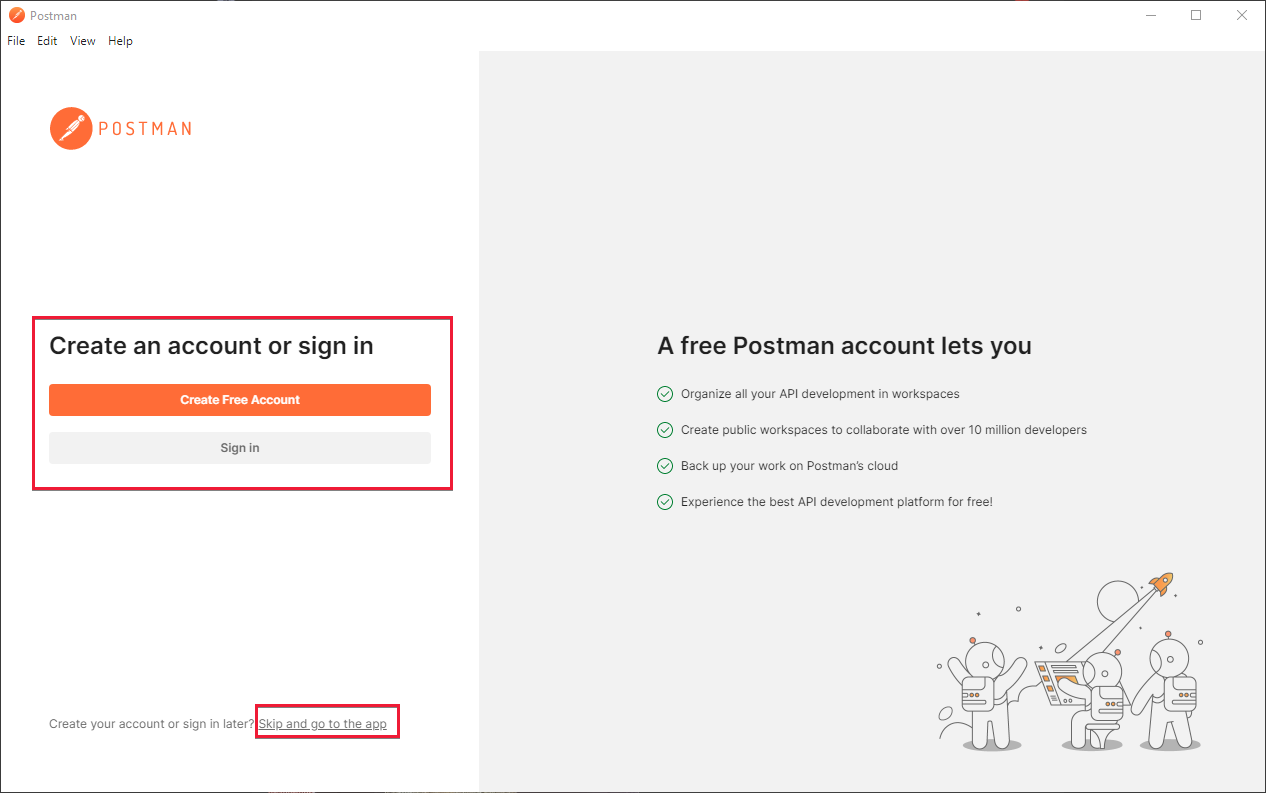
After the download is finished, open the application. The start screen asks you to sign in or create a Postman account. Creating an account is optional, and you can skip it by selecting Skip and go to app. Creating an account saves your API request settings to Postman. You can then pick up your requests on other computers.
After you create an account or skip the step, you now see Postman's main screen.
Create and configure a Postman collection
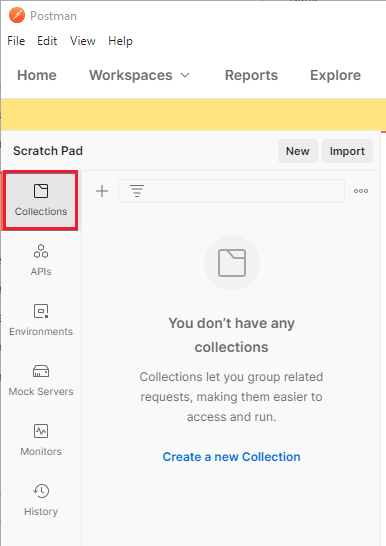
Postman can organize requests in many ways. For the purposes of this tutorial, you create a Postman collection. To do this task, on the left side of the application, select Collections.
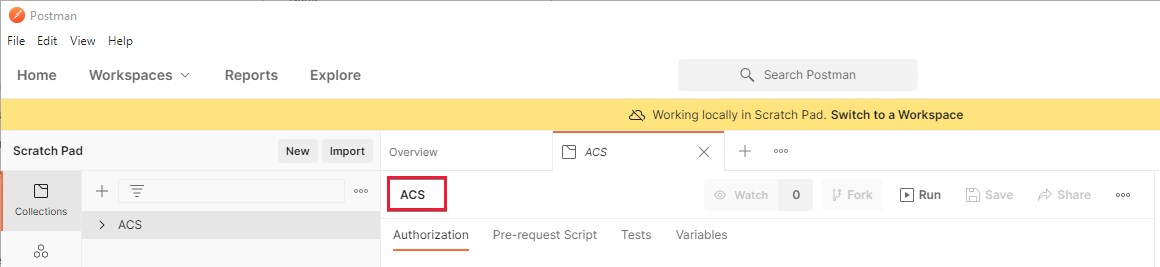
Select Create a new Collection to start the process of creating a collection. A new tab opens in the center area of Postman where you name the collection. Here, the collection is named Azure Communication Services.
After you create and name your collection, you're ready to configure it.
Add collection variables
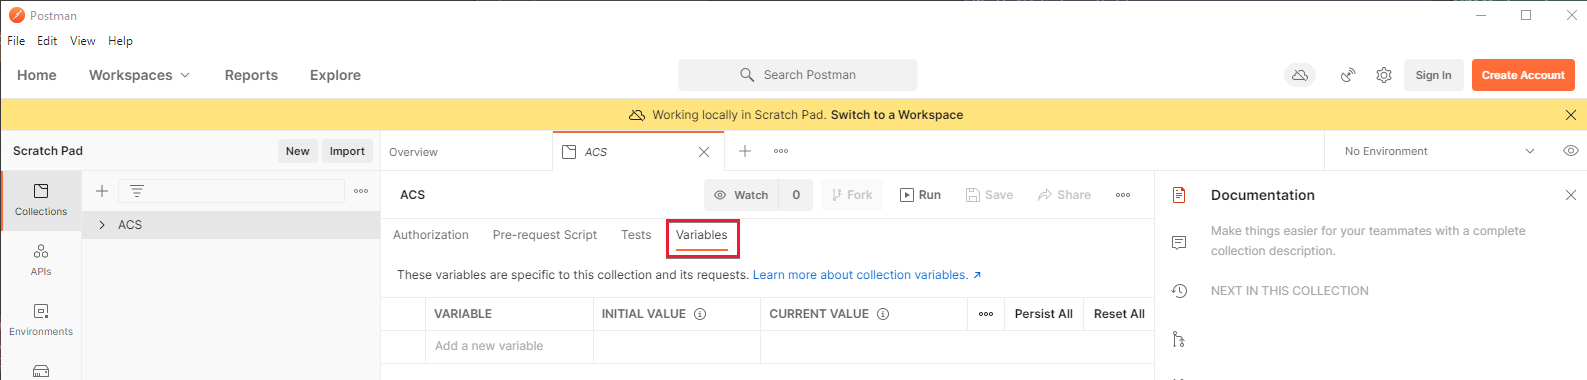
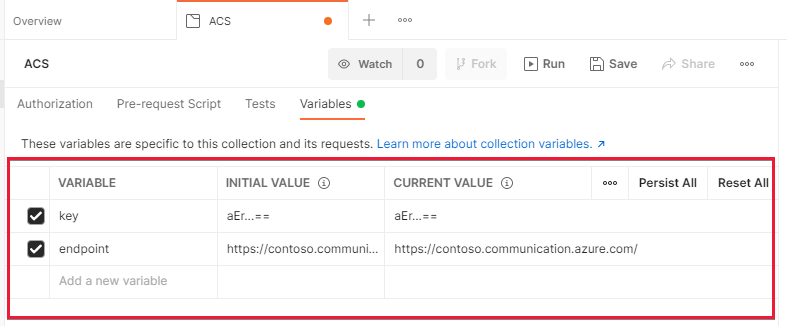
To handle authentication and make requests easier, you specify two collection variables within the newly created Communication Services collection. These variables are available to all requests in your collection. To start creating variables, select the Variables tab.
On the Collections tab, create two variables:
- key: This variable should be one of your keys from your Communication Services Key page in the Azure portal. An example is
oW...A==. - endpoint: This variable should be your Communication Services endpoints from the Key page. Make sure that you remove the trailing slash. An example is
https://contoso.communication.azure.com.
On the Variables tab, enter these values in the Initial Value column. Select Persist All in the upper-right corner. When configured correctly, your Postman pane should look something like the following image.
To learn more about variables, see the Postman documentation.
Create a prerequest script
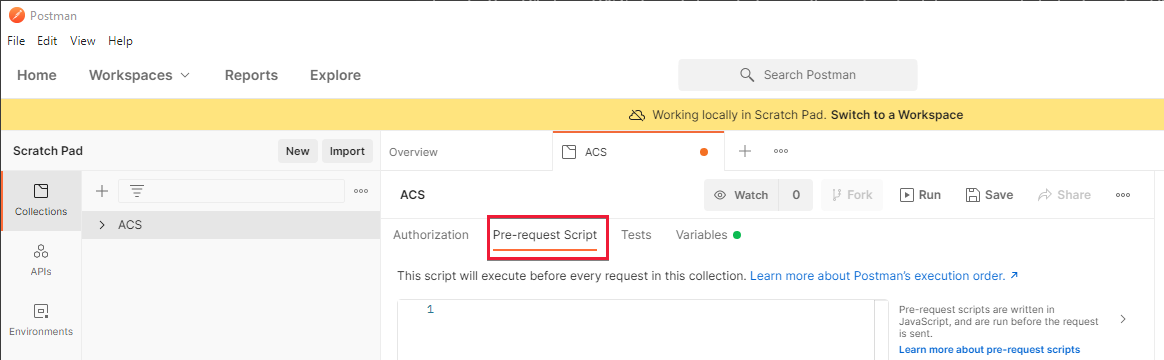
The next step is to create a prerequest script in Postman. A prerequest script runs before each request in Postman. It can modify or alter request parameters for you. You use this script to sign your HTTP requests so that Communication Services can authorize them. For more information about signing requirements, see our guide on authentication.
You create this script in the collection so that it runs on any request in the collection. To do this step, on the Collections tab, select Pre-request Script.
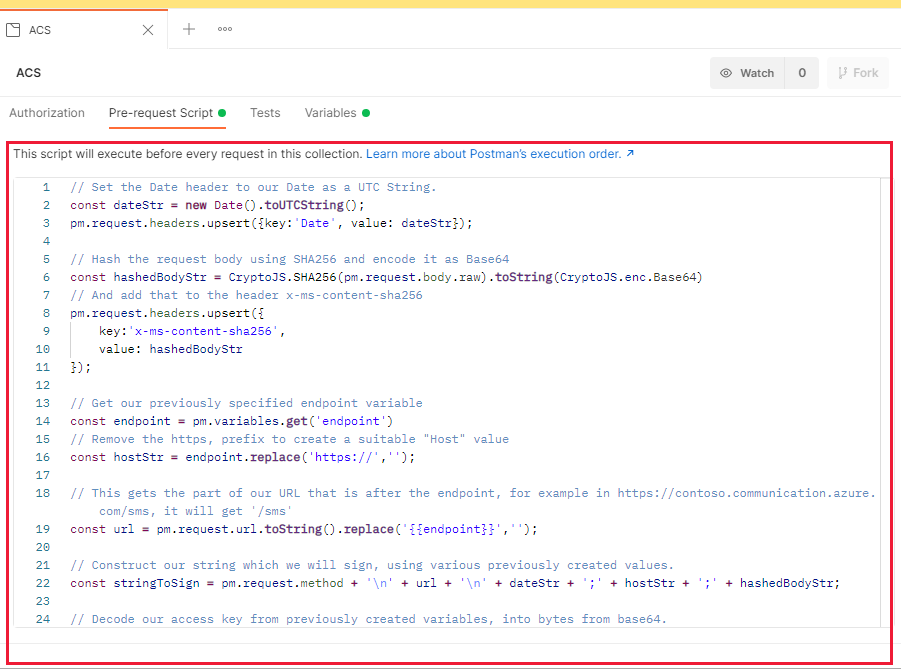
Now you create a prerequest script by entering it in the text area. This step might be easier if you write it in a full code editor like Visual Studio Code before you paste it in. This tutorial walks you through each part of the script process. Skip to the end if you want to copy the script into Postman and get started. Let's start writing the script.
Write the prerequest script
The first step is to create a Coordinated Universal Time (UTC) string and add it to the Date HTTP header. Store this string in a variable to use it later when you sign.
// Set the Date header to our Date as a UTC String.
const dateStr = new Date().toUTCString();
pm.request.headers.upsert({key:'Date', value: dateStr});
Next, hash the request body by using SHA 256 and place it in the x-ms-content-sha256 header. Postman includes some standard libraries for hashing and signing globally, so you don't need to install them or require them.
// Hash the request body by using SHA256 and encode it as Base64
const hashedBodyStr = CryptoJS.SHA256(pm.request.body.raw).toString(CryptoJS.enc.Base64)
// And add that to the header x-ms-content-sha256
pm.request.headers.upsert({
    key:'x-ms-content-sha256',
    value: hashedBodyStr
});
Use your previously specified endpoint variable to discern the value for the HTTP Host header. The Host header isn't set until after this script is processed.
// Get our previously specified endpoint variable.
const endpoint = pm.variables.get('endpoint')
// Remove the https prefix to create a suitable "Host" value.
const hostStr = endpoint.replace('https://','');
With this information, you can now create the string, which you sign for the HTTP request. The string is composed of several previously created values.
// This gets the part of our URL that is after the endpoint, for example, in https://contoso.communication.azure.com/sms, it will get '/sms'.
const url = pm.request.url.toString().replace('{{endpoint}}','');

// Construct our string, which we'll sign, by using various previously created values.
const stringToSign = pm.request.method + '\n' + url + '\n' + dateStr + ';' + hostStr + ';' + hashedBodyStr;
Lastly, you sign this string by using your Communication Services key. Then add that key to your request in the Authorization header.
// Decode our access key from previously created variables into bytes from Base64.
const key = CryptoJS.enc.Base64.parse(pm.variables.get('key'));
// Sign our previously calculated string with HMAC 256 and our key. Convert it to Base64.
const signature = CryptoJS.HmacSHA256(stringToSign, key).toString(CryptoJS.enc.Base64);

// Add our final signature in Base64 to the authorization header of the request.
pm.request.headers.upsert({
    key:'Authorization',
    value: "HMAC-SHA256 SignedHeaders=date;host;x-ms-content-sha256&Signature=" + signature
});
The final prerequest script
The final prerequest script should look something like this example:
// Set the Date header to our Date as a UTC String.
const dateStr = new Date().toUTCString();
pm.request.headers.upsert({key:'Date', value: dateStr});

// Hash the request body by using SHA256 and encode it as Base64.
const hashedBodyStr = CryptoJS.SHA256(pm.request.body.raw).toString(CryptoJS.enc.Base64)
// And add that to the header x-ms-content-sha256.
pm.request.headers.upsert({
    key:'x-ms-content-sha256',
    value: hashedBodyStr
});

// Get our previously specified endpoint variable.
const endpoint = pm.variables.get('endpoint')
// Remove the https prefix to create a suitable "Host" value.
const hostStr = endpoint.replace('https://','');

// This gets the part of our URL that is after the endpoint, for example, in https://contoso.communication.azure.com/sms, it will get '/sms'.
const url = pm.request.url.toString().replace('{{endpoint}}','');

// Construct our string, which we'll sign, by using various previously created values.
const stringToSign = pm.request.method + '\n' + url + '\n' + dateStr + ';' + hostStr + ';' + hashedBodyStr;

// Decode our access key from previously created variables into bytes from Base64.
const key = CryptoJS.enc.Base64.parse(pm.variables.get('key'));
// Sign our previously calculated string with HMAC 256 and our key. Convert it to Base64.
const signature = CryptoJS.HmacSHA256(stringToSign, key).toString(CryptoJS.enc.Base64);

// Add our final signature in Base64 to the authorization header of the request.
pm.request.headers.upsert({
    key:'Authorization',
    value: "HMAC-SHA256 SignedHeaders=date;host;x-ms-content-sha256&Signature=" + signature
});
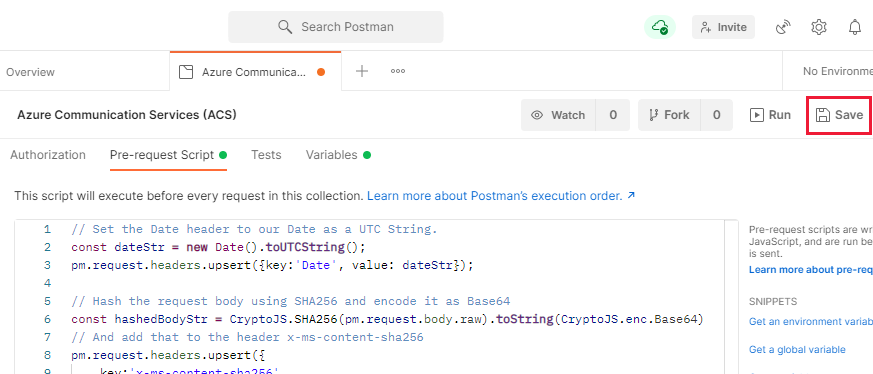
Enter or paste this final script in the text area on the Pre-request Script tab.
After you enter it, select Ctrl+S or select Save to save the script to the collection.
Create a request in Postman
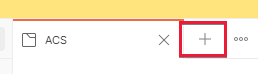
Now that everything is set up, you're ready to create a Communication Services request in Postman. To get started, select the plus sign (+) next to the Communication Services collection.
You created a new tab for your request in Postman, and now you need to configure it. You make a request against the SMS Send API, so be sure to refer to the documentation for this API for assistance. Let's configure the Postman request.
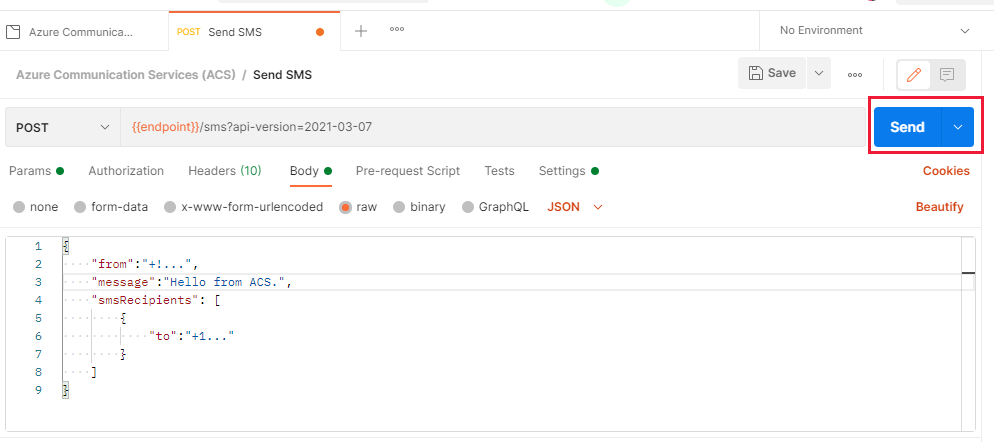
To start, set the request type to POST and enter {{endpoint}}/sms?api-version=2021-03-07 in the request URL field. This URL uses your previously created endpoint variable to automatically send it to your Communication Services resource.

On the Body tab of the request, select raw. In the dropdown list on the right, select JSON.
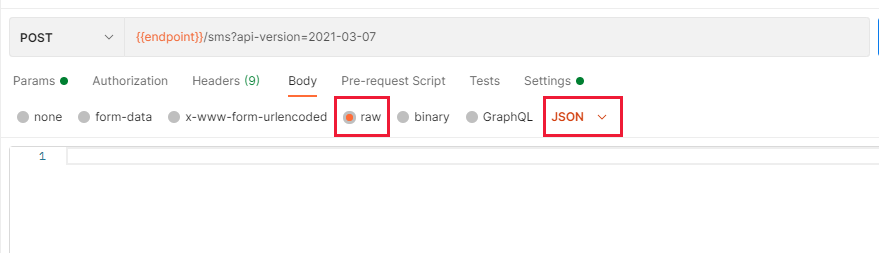
You configured the request to send and receive information in a JSON format.
In the text area, enter a request body in the following format:
{
    "from":"<Your Azure Communication Services Telephone Number>",
    "message":"<The message you'd like to send>",
    "smsRecipients": [
        {
            "to":"<The number you'd like to send the message to>"
        }
    ]
}
For the from value, you need to get a telephone number in the Communication Services portal, as previously mentioned. Enter it without any spaces and a prefix of your country code. An example is +15555551234. Your message can be whatever you want to send, but Hello from Azure Communication Services is a good example. The to value should be a phone to which you have access so that you can receive SMS messages. Using your own mobile phone is a good idea.
Save this request into the Communication Services collection that you previously created. This step ensures that it picks up the variables and prerequest script that you previously created. Select Save in the upper right of the request area.
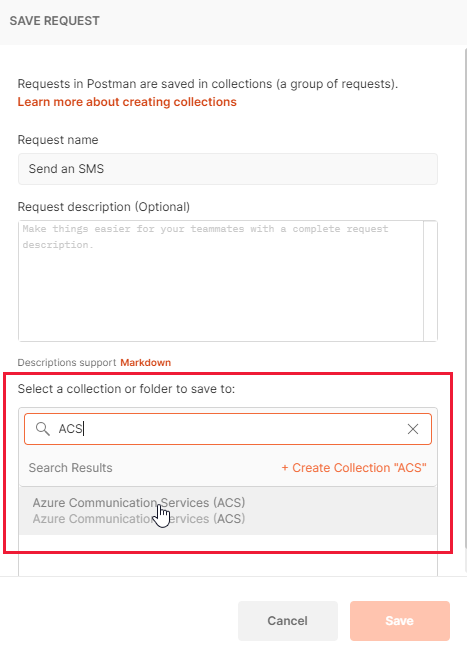
The dialog that appears asks you what you want to call the request and where you want to save it. You can name it anything you want, but ensure that you select your Communication Services collection in the lower half of the dialog.
Send a request
Now that everything is set up, you can send the request and get an SMS message on your phone. To do this step, ensure that your request is selected and then select Send.
If everything went well, you see the response from Communication Services, which is a 202 status code.
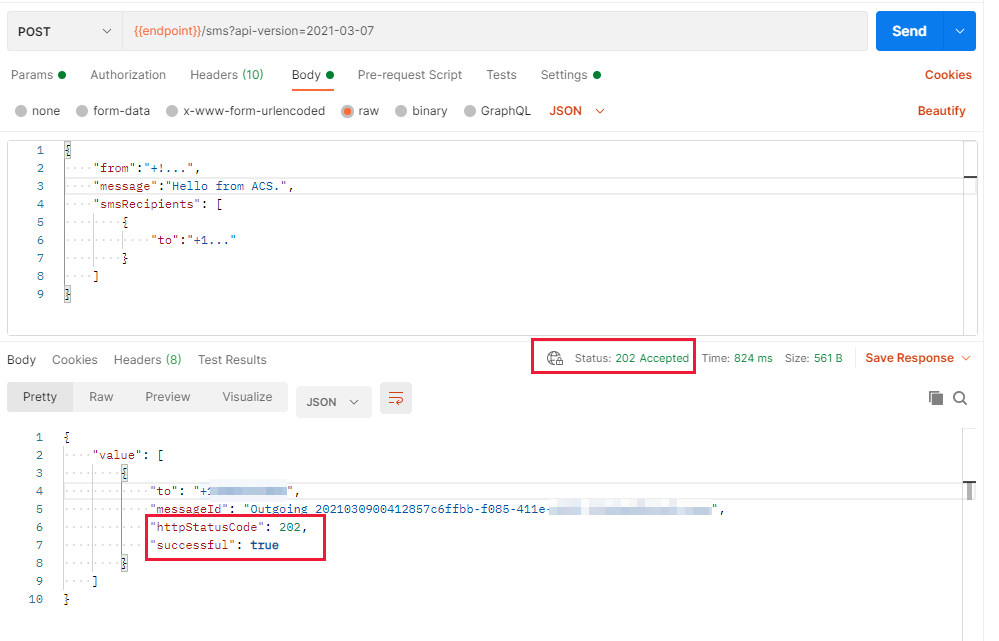
The mobile phone that owns the number you provided in the to value also received an SMS message. You now have a functional Postman configuration that can talk to Communication Services and send SMS messages.