Live view in Microsoft Purview (preview)
Important
This feature is currently in preview. The Supplemental Terms of Use for Microsoft Azure Previews include additional legal terms that apply to Azure features that are in beta, in preview, or otherwise not yet released into general availability.
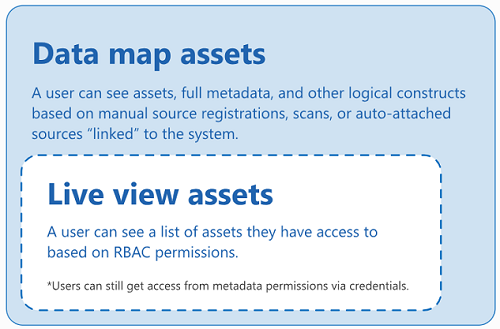
Some Azure resources are available to be seen in live view. Live view means that users with data access permissions can find these resources and their data assets in the catalog without setup or scanning. These resources and their metadata are immediately available when you access the free or enterprise versions of Microsoft Purview, so you can start your governance journey quickly.
In this article we'll cover:
- What resources have live view available
- What metadata is available in live view
- Who has permissions to live view resources
- Next steps to govern live view resources
Limitations
- Live view for Microsoft Fabric limitations:
- Personal workspaces aren't supported yet in live view.
- Only Microsoft Fabric item level metadata are available in live view.
- Power BI Datasets don’t support showing schema in live view if the item hasn’t been scanned.
- Dataflow Gen2 (Preview) items are displayed as Dataflow items.
What resources have live view available?
Live view resources in the same tenant as your Microsoft Purview account are automatically accessible for users in your catalog. These resources have live view available:
| Resource | Level of view available |
|---|---|
| Azure Blob Storage | Storage account, Azure Blob Service, Container |
| Azure Data Lake Storage Gen 2 | Storage account, Azure Data Lake Storage Gen2 Service, File system |
| Azure SQL Database | Server, Database, Schema, Tables, Columns |
| Azure Subscriptions | Live view assets in the subscription |
| Microsoft Fabric | Workspace, Item |
Users with permissions can browse and search for these assets in the catalog without needing to set up a scan.
Metadata available in live view
Resources in live view in the catalog automatically have this metadata available:
- Name
- Properties
- Schema
- Lineage
Note
Live view resources won't automatically have classifications applied. To automatically apply classifications to these resources, you need to upgrade to the enterprise version of Microsoft Purview, register and scan the resource.
Data owners can also update the metadata on live view resources to add more information. Including manually adding description, contacts, etc.
Live view permissions
Users that have permissions on the available resources are automatically able to access these resources in the catalog as either data readers or data owners. No other permissions in Microsoft Purview are required.
Data readers
These are the permissions needed on the resources for a user to be able to see it as a reader in live view in Microsoft Purview.
| Data source | Reader permission |
|---|---|
| Azure SQL Database | Reader, or these actions. |
| Azure Blob Storage | Reader, or these actions. |
| Azure Data Lake Storage Gen2 | Reader, or these actions. |
| Azure Subscription | Read permission on subscription, or these actions. |
Data owners
These are the permissions needed on the resources for a user to be able to see it as an owner and curate its metadata in live view in Microsoft Purview.
| Data source | Owner permission |
|---|---|
| Azure SQL Database | "Microsoft.Sql/servers/write", "Microsoft.Sql/servers/databases/write", "Microsoft.Authorization/roleAssignments/write" |
| Azure Blob Storage | "Microsoft.Storage/storageAccounts/write", "Microsoft.Authorization/roleAssignments/write" |
| Azure Data Lake Storage Gen2 | "Microsoft.Storage/storageAccounts/write", "Microsoft.Authorization/roleAssignments/write" |
Extend live view permissions
You can expand discoverability of these resources to users that don't have permissions already by enabling live view for all users. This can only be enabled with an enterprise version of Microsoft Purview. Extending live view also deepens the level of information available.
| Resource | Level of view available |
|---|---|
| Azure Blob Storage | Storage account, Azure Blob Service, Container, Folders, Files |
| Azure Data Lake Storage Gen 2 | Storage account, Azure Data Lake Storage Gen2 Service, File system, Folders, Files |
| Azure SQL Database | Server, Database, Schema, Tables, Columns, Views, Stored procedures |
Note
- For Azure Blob storage and Azure Data Lake Storage Gen 2, file schema is provided for parquet files.
- You can't extend live view permissions for Microsoft Fabric sources.
To enable these permissions, the user must be a Data Source Administrator and Reader on the collection where they're going to host the resource.
To enable:
Browse the catalog for the source where you want to expand live view to users who don't already have data access permissions.
Select the data source.
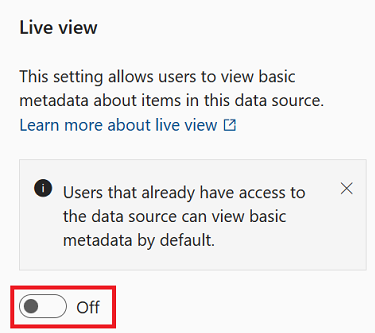
Switch the Live view toggle under Source management to enable it.
Add a credential for your resource. Select an existing credential or add a new one. Your available options depend on which resources you're using. For more information about each credential, follow these links:
Select Test connection to test your credential. You can only extend live view with a successful connection. Follow this guide to troubleshoot connections.
Choose a collection for your resource.
Select Apply to register your source and extend your permissions.
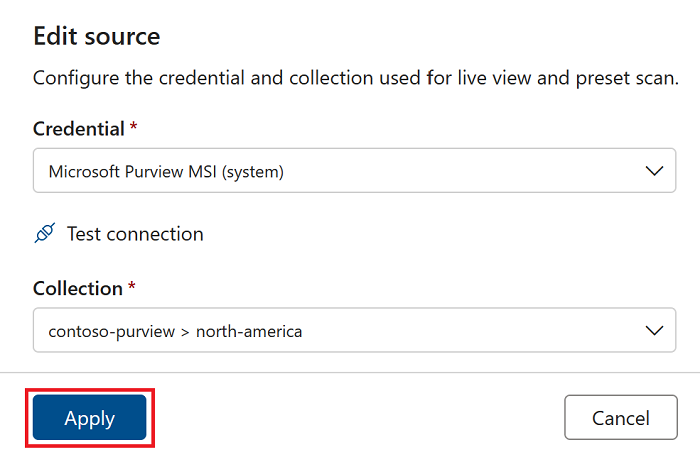
Preset scan
Note
Microsoft Fabric resources don't currently support a preset scan.
Assets with a live view allow data source administrators to perform preset scans. A live view asset has only some of it's metadata automatically available to users. A preset scan gathers the rest of that metadata and makes it available in Microsoft Purview.
A preset scan can only be run in the enterprise version of Microsoft Purview, and runs a scan with these default options:
- Full scan - all data assets are scanned and updated
- Default classifications - Microsoft Purview will check for default classifications for the source
- Scheduled - the scan is scheduled to run weekly by default, but the schedule can be updated.
Tip
To run a scan with any other options available to your source and organization, like custom classifications, perform a regular scan.
To run a preset scan, a user must be a Data Source Administrator on the collection where they're going to host the resource.
Browse the catalog for the source where you want to run a preset scan to enhance the metadata.
Select the data source.
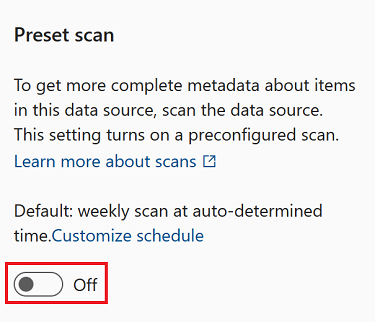
Select the Preset scan toggle under Source management to scan.
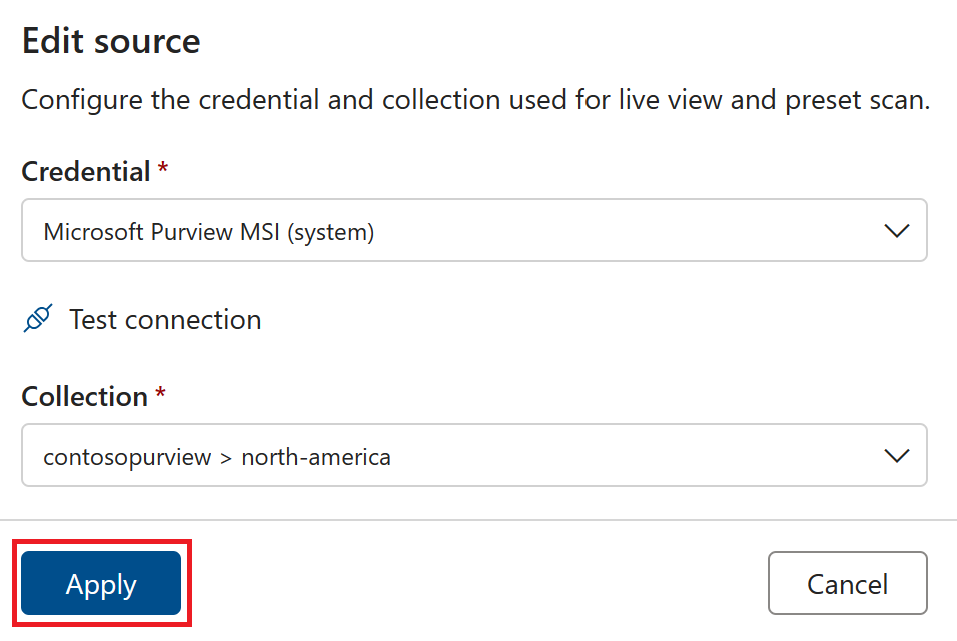
If live view permissions have already been extended, the scan starts. If live view hasn't been enabled, you need to submit a credential and select a collection to house the metadata:
Select Test connection to test your credential. You can only scan with a successful connection. Follow this guide to troubleshoot connections.
Select Apply to run your scan.
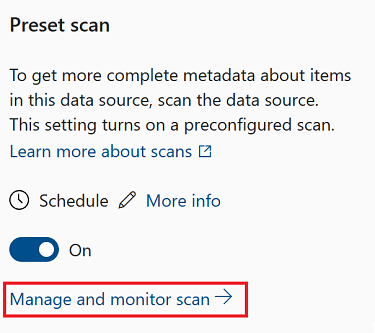
To monitor the scan, select Manage scans in the Source management window.
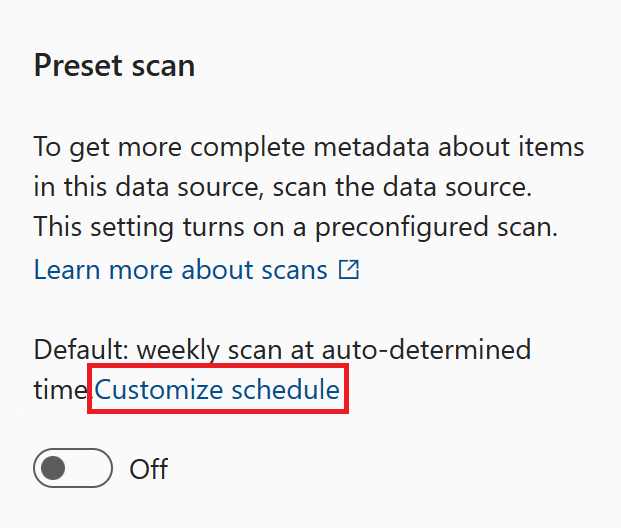
Update schedule
To update the schedule of a preset scan either:
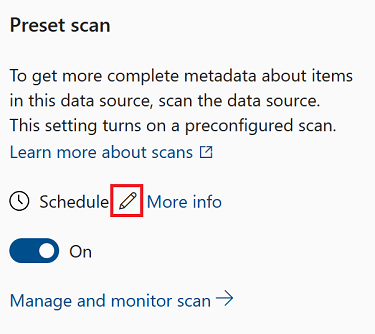
Select Customize schedule before selecting the toggle. You'll set your scan schedule and then the preset scan will be automatically enabled.
Select the Edit pencil next to the schedule label after enabling the preset scan
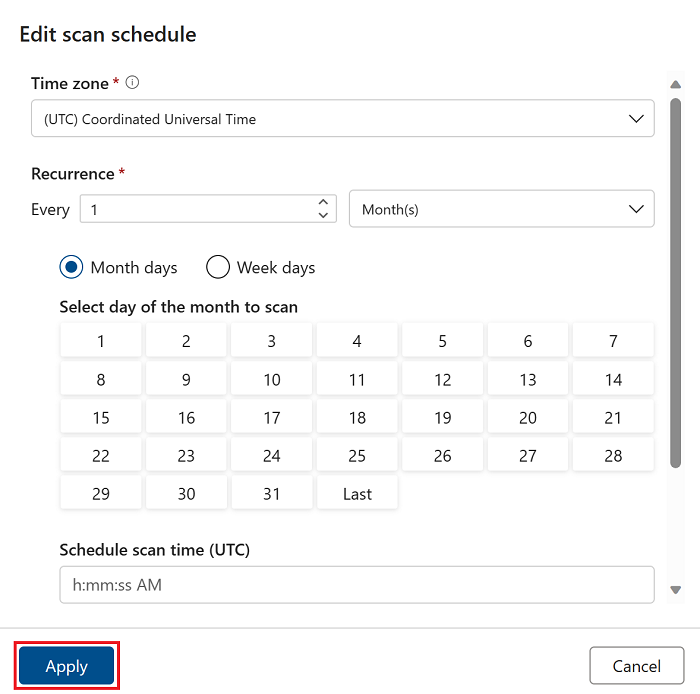
Then you can set your schedule to run monthly or weekly on specified days. Select Apply to apply the schedule to the scan.
Manage live view credentials
If you have extended live view permissions or run a preset scan your live view resource will have credentials that allow Microsoft Purview to access it.
If you need to update or remove those credentials, you can use the Source management window.
Browse the catalog for the source where you want to run a preset scan to enhance the metadata.
Select the data source.
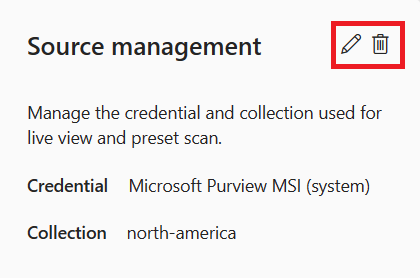
Under source management, you can see your credential and collection listed, and the buttons to edit or delete the credentials.
Select the Edit pencil icon to update the credentials.
Note
You can't change the collection the source is mapped to.
Select the Delete icon to remove the credentials.
Note
Deleting credentials will also disable extended live view permissions or preset scans.
Enterprise governance of your data estate
In free version of governance solutions, users can only view live resources and manually update some metadata.
For access to all Microsoft Purview's applications, sources, automation, and to fully govern data assets in Microsoft Purview, upgrade to the enterprise version of Microsoft Purview.
