WPF sample app with CDP extension
This WebView2 sample demonstrates how to use the WebView2 CDP extension to use the Chrome DevTools Protocol (CDP) in a WPF app.
- Sample name: WV2CDPExtensionWPFSample
- Repo directory: WV2CDPExtensionWPFSample
- Solution file:
WV2CDPExtensionWPFSample.sln
This sample, WV2CDPExtensionWPFSample, is built with the WebView2 CDP Extension (the Microsoft.Web.WebView2.DevToolsProtocolExtension NuGet package). This sample calls Chrome DevTools Protocol methods on a DevToolsProtocolHelper object in WebView2.
This sample is built as a WPF Visual Studio 2019 project. It uses C# in the WebView2 environment.
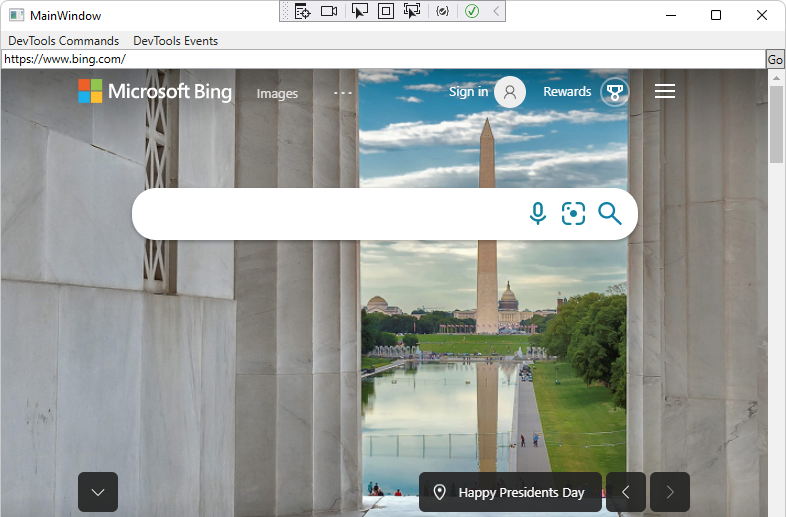
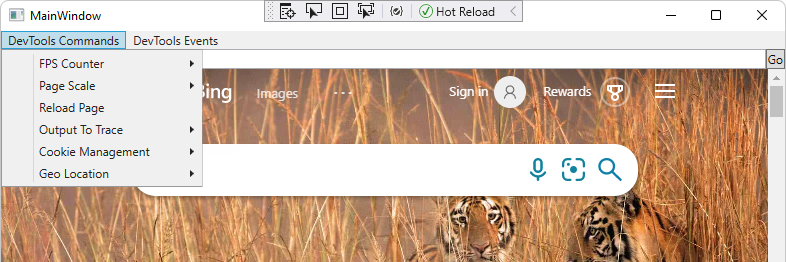
The DevTools Commands menu:
The DevTools Events menu:

If this is your first time using WebView2, we recommend first following the Get started with WebView2 in WPF apps tutorial. The tutorial walks you through creating a WebView2 and adding some basic WebView2 functionality.
Step 1 - Install Visual Studio with .NET support
Microsoft Visual Studio (with .NET support) is required. Microsoft Visual Studio Code is not supported for this sample.
- If Visual Studio (minimum required version) with .NET support is not already installed, in a separate window or tab, see Install Visual Studio in Set up your Dev environment for WebView2. Follow the steps in that section, and then return to this page and continue the steps below.
Step 2 - Clone or download the WebView2Samples repo
- If not done already, clone or download the
WebView2Samplesrepo to your local drive. In a separate window or tab, see Download the WebView2Samples repo in Set up your Dev environment for WebView2. Follow the steps in that section, and then return to this page and continue below.
Step 3 - Open the solution in Visual Studio
On your local drive, open the
.slnfile in Visual Studio, in the directory:<your-repos-directory>/WebView2Samples/SampleApps/WV2CDPExtensionWPFSample/WV2CDPExtensionWPFSample.sln
or:
<your-repos-directory>/WebView2Samples-main/SampleApps/WV2CDPExtensionWPFSample/WV2CDPExtensionWPFSample.sln
If you want to use Visual Studio 2017, in Visual Studio, change the project's Platform Toolset in Project Properties > Configuration properties > General > Platform Toolset. To use Visual Studio 2017, you might also need to install a recent Windows SDK.
Step 4 - Install workloads if prompted
If prompted, install any Visual Studio workloads that are requested. In a separate window or tab, see Install Visual Studio workloads in Set up your Dev environment for WebView2. Follow the steps in that section, and then return to this page and continue below.
The WV2CDPExtensionWPFSample project opens in Visual Studio:
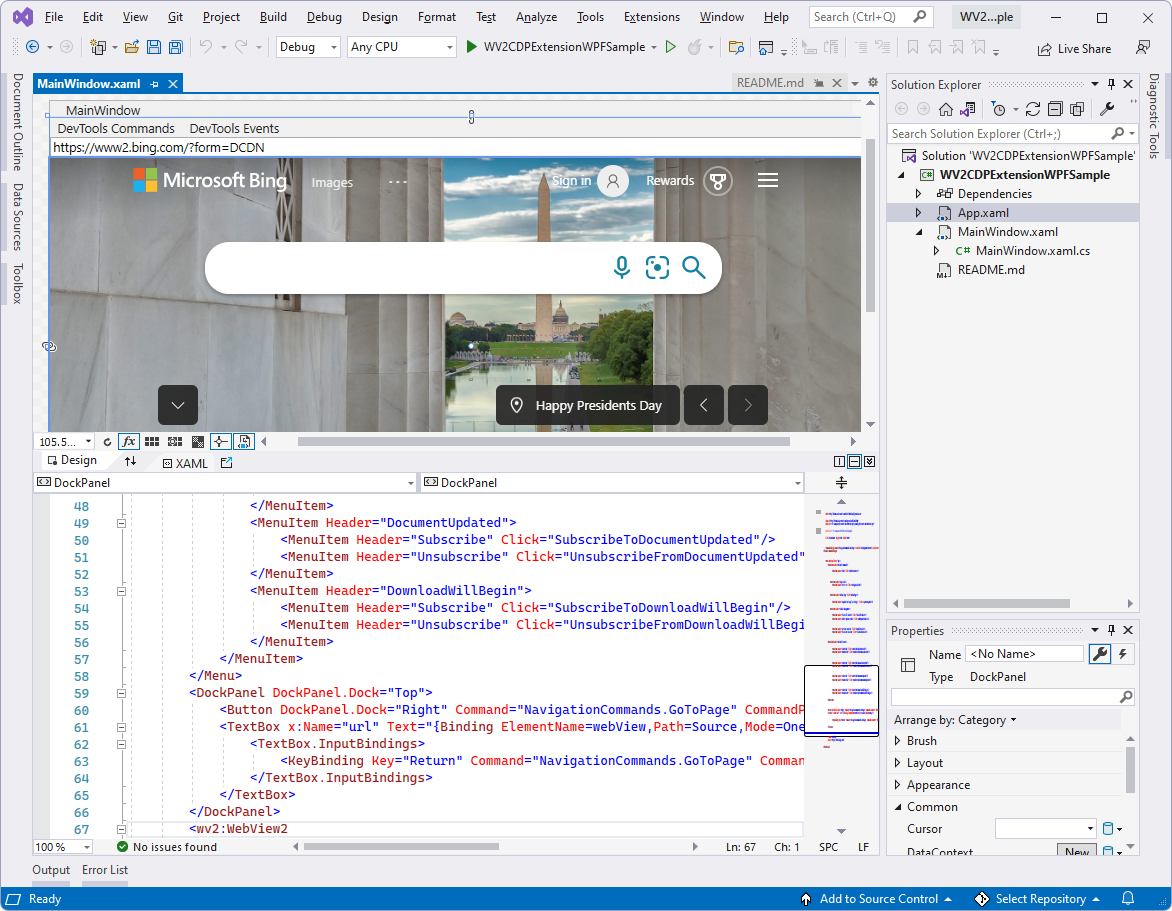
Step 5 - Build and run the project with installed version of SDKs
A version of the WebView2 SDK and the WebView2 DevToolsProtocolExtension are included as NuGet packages in this project. In a later step, you'll update these by using Visual Studio's NuGet Package Manager.
At the top of Visual Studio, set the build target, as follows:
In the Solution Configurations dropdown list, select Debug or Release.
In the Solution Platforms dropdown list, select Any CPU.
In Solution Explorer, right-click the WV2CDPExtensionWPFSample project, and then select Build.
In Visual Studio, select Debug > Start Debugging (F5).
The sample app window opens:

In Visual Studio, select Debug > Stop Debugging. Visual Studio closes the app.
Step 6 - Update the WebView2 SDK
In Solution Explorer, right-click the project (not the solution node) and then select Manage NuGet Packages. NuGet Package Manager opens.
Click the Installed or Updates tab.
Select or clear the Include prerelease checkbox.
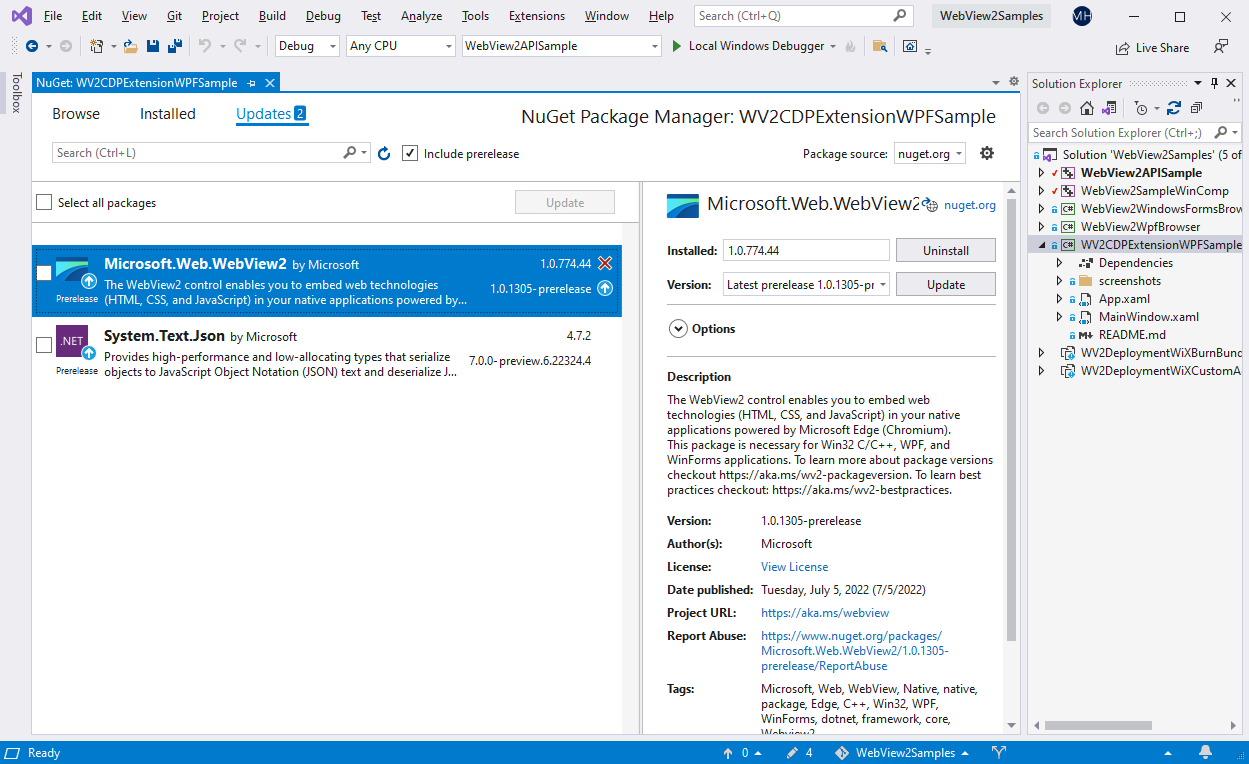
The above screenshot shows Visual Studio 2019, showing this sample in the context of the overarching WebView2APIsSample solution, rather than the present standalone solution. In this screenshot, the repo has a release version of the WebView2 SDK, and newer release and prerelease versions of the SDK are available.
If a newer release of the Microsoft.Web.WebView2 SDK is listed, click the Update button. A prerelease has a "-prerelease" suffix, such as 1.0.1248-prerelease. Prerelease SDKs allow you to try the latest WebView2 features and APIs.
If you want to see details about this step, in a separate window or tab, see Install or update the WebView2 SDK in Set up your Dev environment for WebView2. Follow the steps in that section, and then return to this page and continue below.
Step 7 - Update the WebView2 CDP Extension
A prerequisite for this sample is the latest release version of the WebView2 CDP Extension (Microsoft.Web.WebView2.DevToolsProtocolExtension), which is included in this project. That package adds support for the Chrome DevTools Protocol (CDP) API.
In Solution Explorer, right-click the project and then select Manage NuGet Packages. NuGet Package Manager opens.
Click the Installed or Updates tab.
Clear the Include prerelease checkbox.
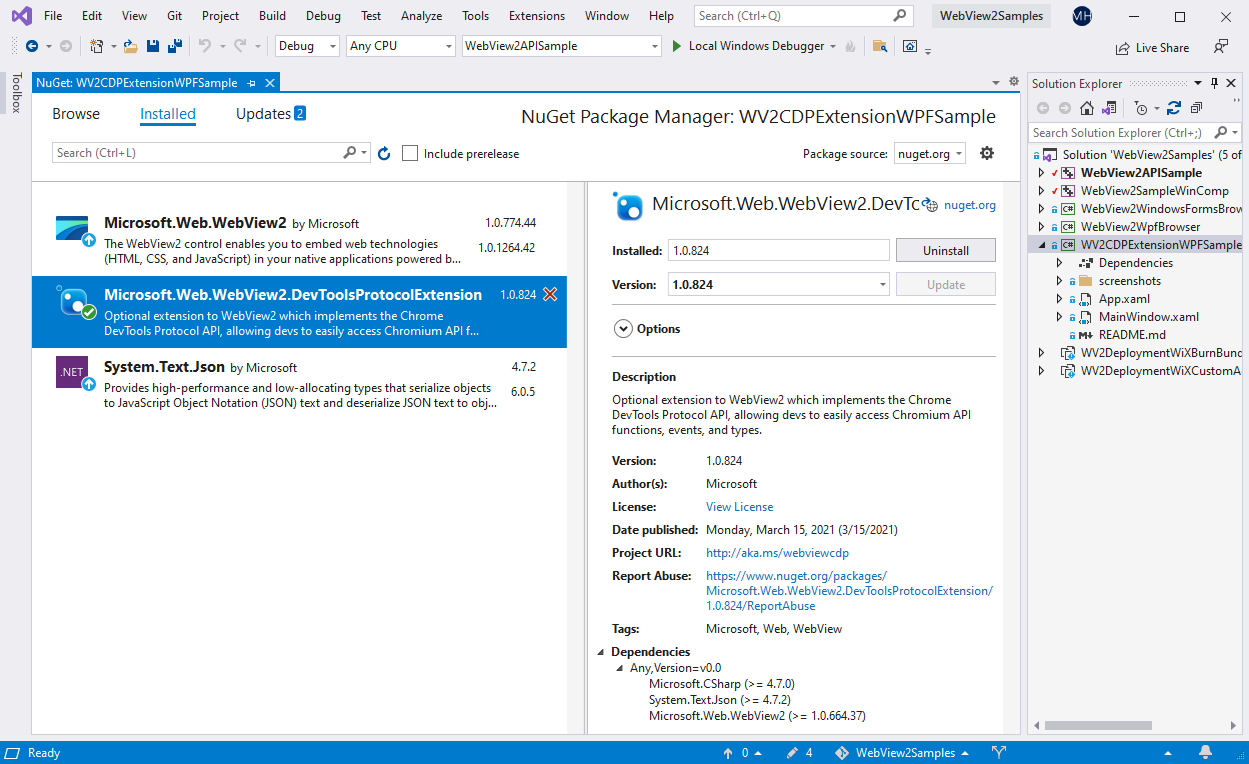
If a newer release version of the Microsoft.Web.WebView2.DevToolsProtocolExtension SDK is listed, click the Update button.
See also:
Step 8 - Build and run the project with updated packages
In Visual Studio, select Debug > Start Debugging (F5).
The sample app window opens:

In Visual Studio, select Debug > Stop Debugging. Visual Studio closes the app.
Step 9 - Inspect the code
In the Visual Studio code editor, inspect the code:
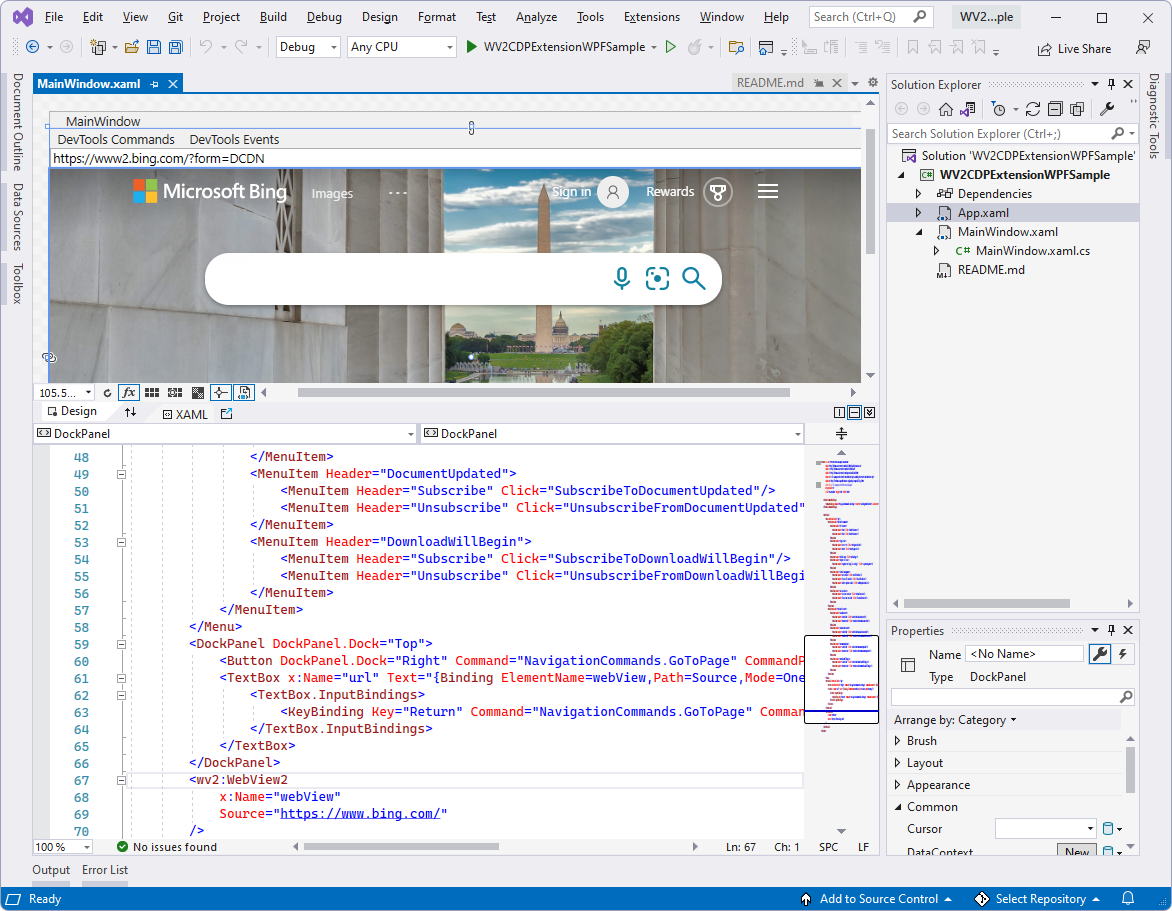
The DevTools Commands menu:

The DevTools Events menu:
