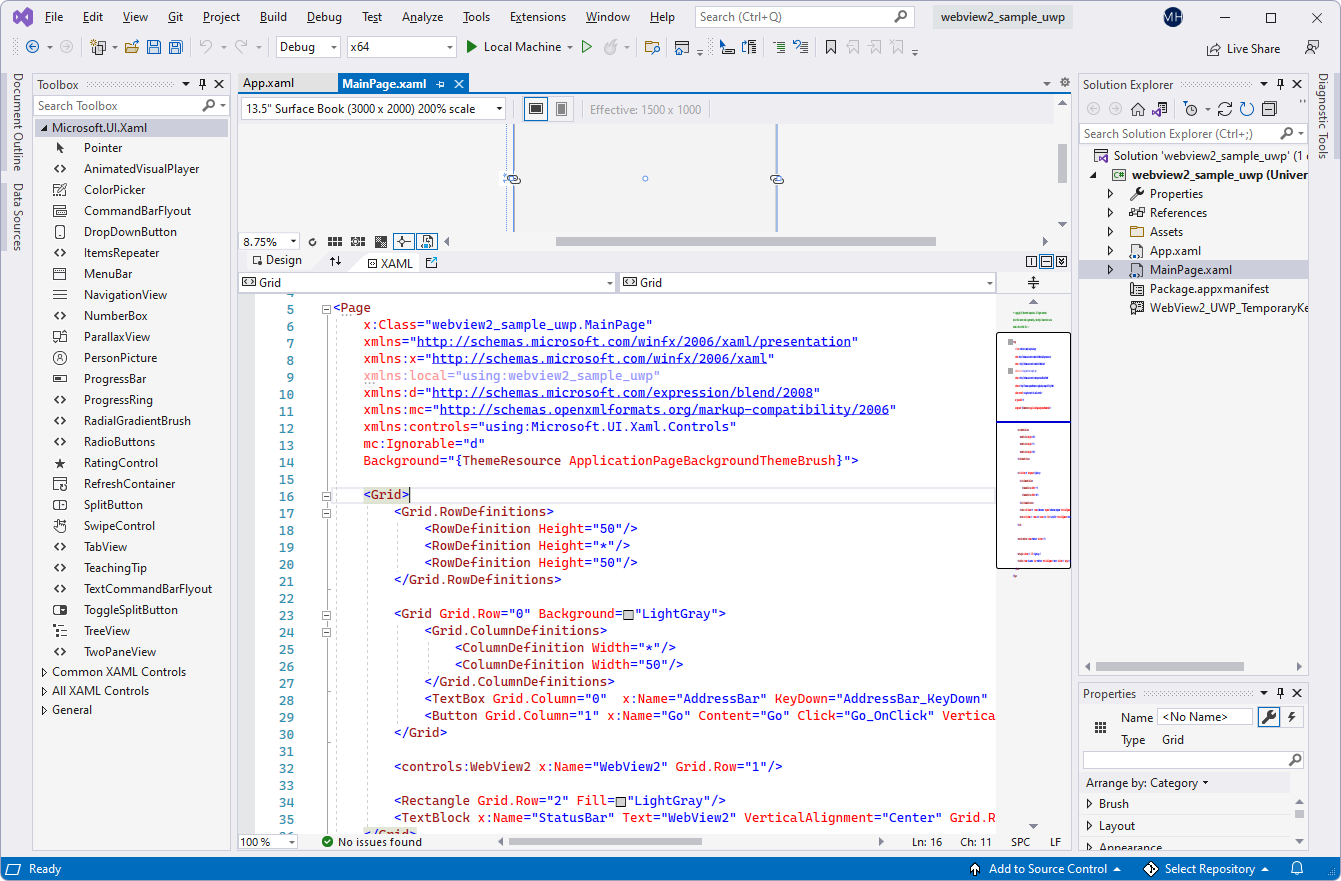
WinUI 2 (UWP) sample app
This WebView2 sample demonstrates how to use the WebView2 control and WebView2 APIs to implement a web browser in a WinUI 2 (UWP) app.
- Sample name: webview2_sample_uwp
- Repo directory: webview2_sample_uwp
- Solution file:
webview2_sample_uwp.sln
Installed NuGet packages
This sample includes the following NuGet packages:
- Microsoft.NETCore.UniversalWindowsPlatform
- Microsoft.UI.Xaml - Prerelease - includes Microsoft.Web.WebView2 SDK as a dependency.
To demonstrate the latest features, this sample in the WebView2Samples repo is set up to use a prerelease version of the WinUI 2 SDK (listed as Microsoft.UI.Xaml in NuGet Package Manager), rather than a Stable version. The WinUI 2 SDK includes a compatible version of the WebView2 SDK, as a dependency of Microsoft.UI.Xaml.
See also README file for webview2_sample_uwp.
Step 1 - Install Visual Studio
Microsoft Visual Studio is required. Microsoft Visual Studio Code is not supported for this sample.
- If Visual Studio (minimum required version) is not already installed, in a separate window or tab, see Install Visual Studio in Set up your Dev environment for WebView2. Follow the steps in that section, and then return to this page and continue the steps below.
Step 2 - Clone or download the WebView2Samples repo
- If not done already, clone or download the
WebView2Samplesrepo to your local drive. In a separate window or tab, see Download the WebView2Samples repo in Set up your Dev environment for WebView2. Follow the steps in that section, and then return to this page and continue below.
Step 3 - Open the solution in Visual Studio
On your local drive, open the
.slnfile in Visual Studio, in the directory:<your-repos-directory>/WebView2Samples/SampleApps/webview2_sample_uwp/webview2_sample_uwp.sln
or:
<your-repos-directory>/WebView2Samples-main/SampleApps/webview2_sample_uwp/webview2_sample_uwp.sln
Step 4 - Install workloads if prompted
- If prompted, install any Visual Studio workloads that are requested. In a separate window or tab, see Install Visual Studio workloads in Set up your Dev environment for WebView2. Follow the steps in that section, and then return to this page and continue below.
Step 5 - Build and run the project using pre-installed packages
Solution Explorer shows the webview2_sample_uwp project:
Build and run the project, using the versions of the NuGet packages that were installed in the sample from the repo:
In the Solution Configurations dropdown list, select a configuration, such as Debug.
In the Solution Platforms dropdown list, select a platform, such as x64.
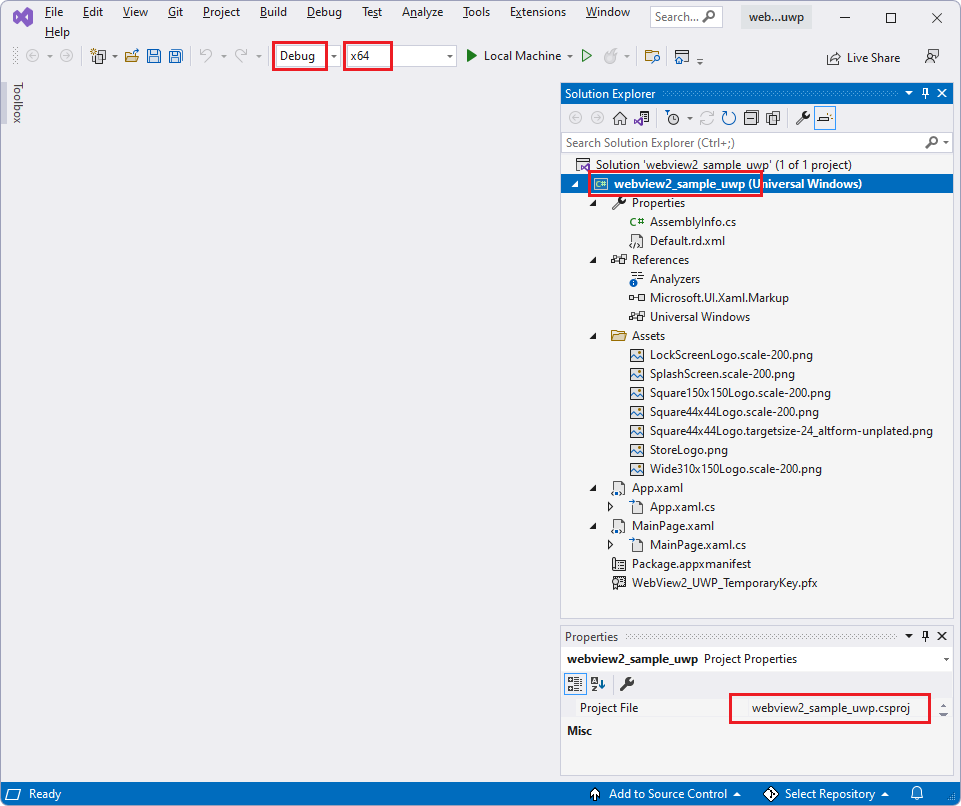
In Solution Explorer, right-click the webview2_sample_uwp project, and then select Build.
The project builds.
Select Debug > Start Debugging (F5).
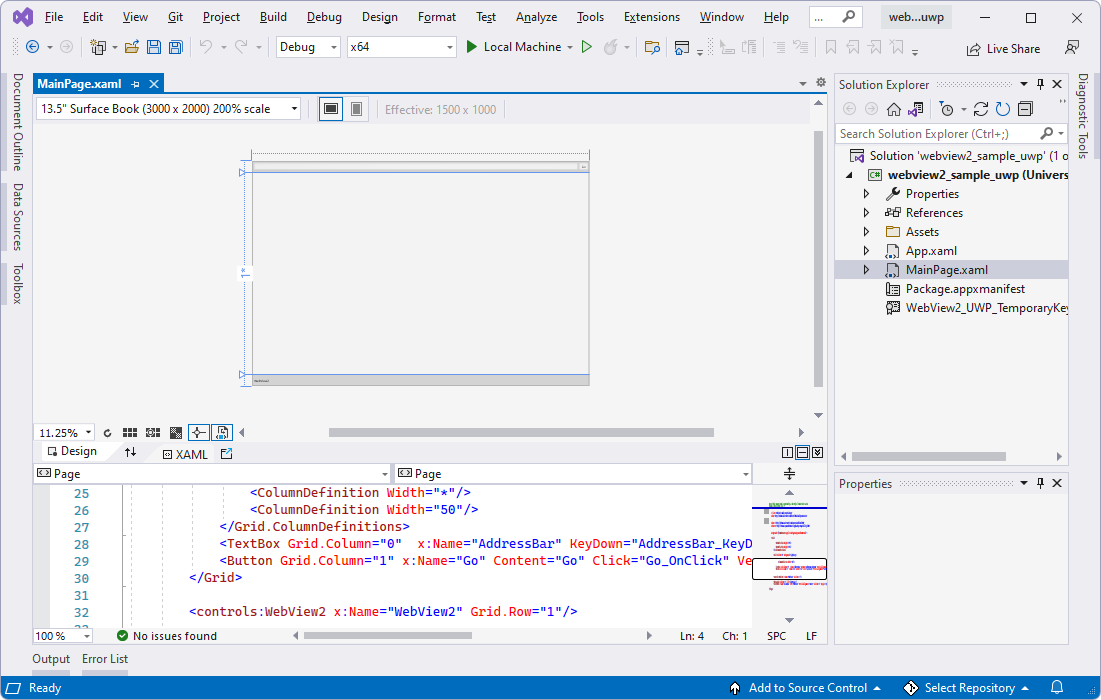
An empty grid window initially appears for a moment:

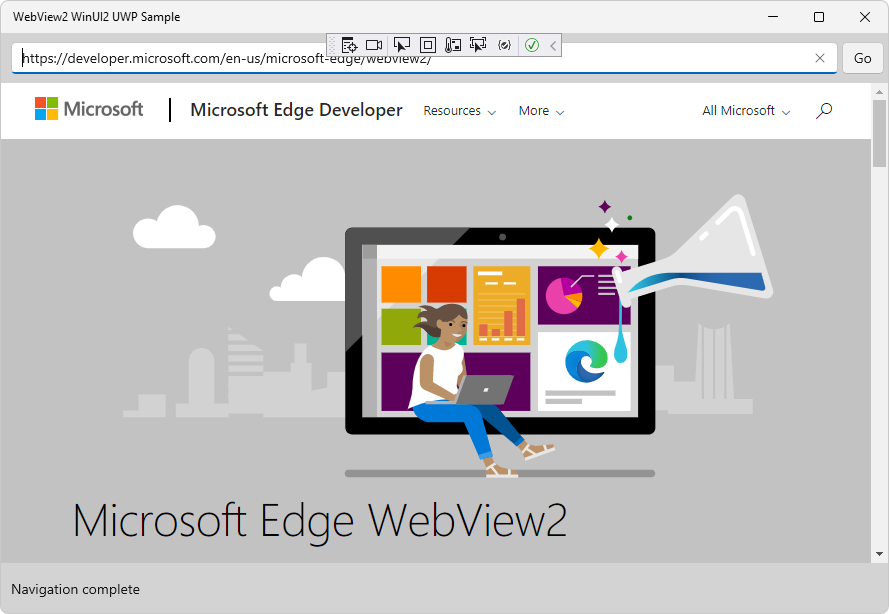
The sample app window then displays webpage content:
In Visual Studio, select Debug > Stop Debugging. Visual Studio closes the app.
Next, update the NuGet packages for the project, per the following sections.
Step 6 - Update the NuGet packages
In this step, we'll update the project's NuGet packages, to get the latest prerelease version of the WinUI 2 SDK. The WinUI 2 SDK includes a compatible prerelease or release version of the WebView2 SDK.
Update the project's NuGet packages:
In Visual Studio, in Solution Explorer, right-click the webview2_sample_uwp project (not the solution node above it), and then select Manage NuGet Packages.
The NuGet Package Manager panel opens in Visual Studio.
In the NuGet Package Manager, click the Installed tab.
Select the Include prerelease check box.
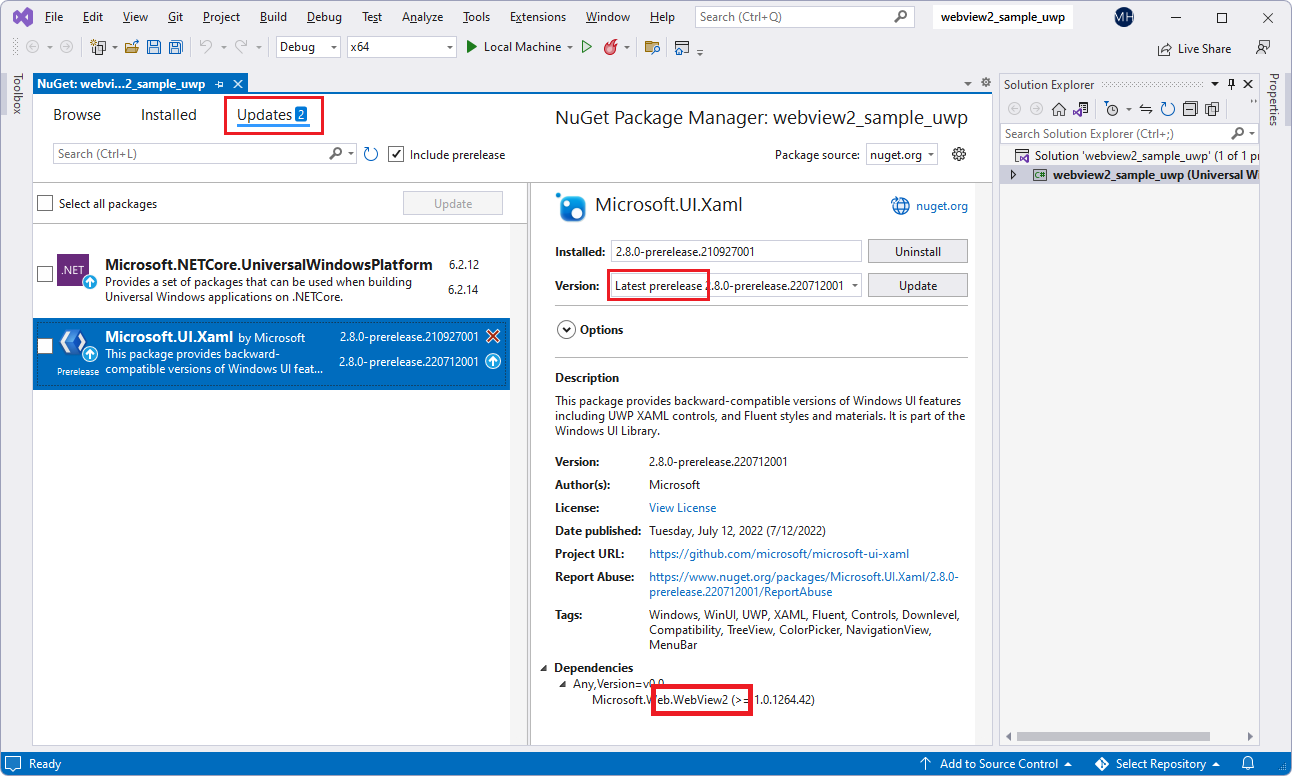
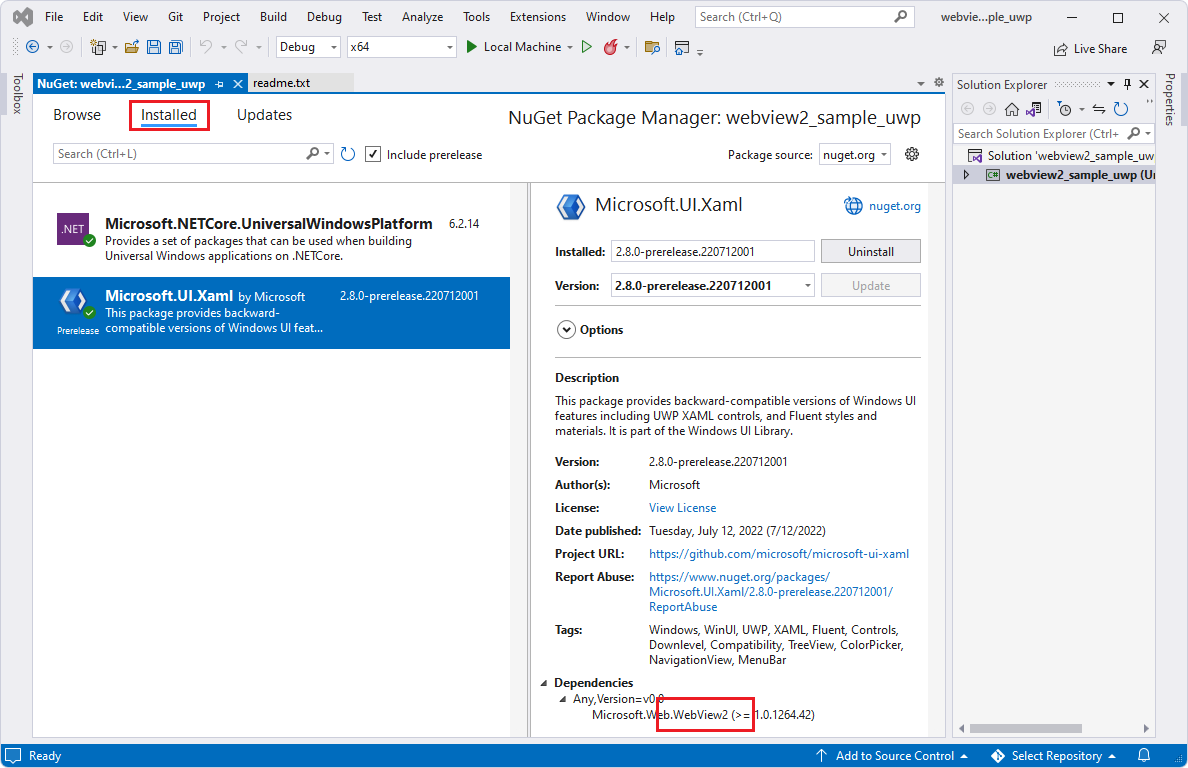
A prerelease version of the Microsoft.UI.Xaml package is listed, indicating the WinUI 2 SDK. The Microsoft.UI.Xaml package includes the WebView2 SDK; Microsoft.Web.WebView2 is listed in the Dependencies section of the Microsoft.UI.Xaml package. Updating the Microsoft.UI.Xaml package will also cause an update to the compatible WebView2 SDK.
In the NuGet Package Manager, click the Updates tab.
Click the Microsoft.UI.Xaml card on the left.
In the Version text box, make sure Latest prerelease is selected.
Click the Update button on the right:
After getting the latest packages, which can take a few minutes, the Preview Changes dialog opens. Microsoft.Web.WebView2 (the WebView2 SDK) is listed separately in the Preview Changes dialog:
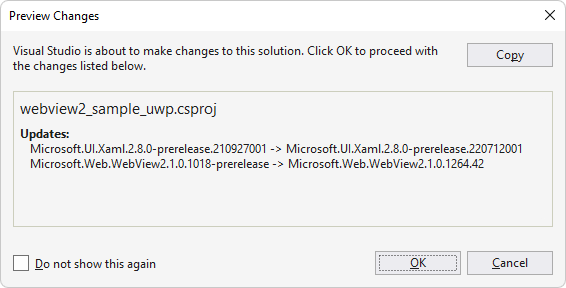
Click the OK button.
The License Acceptance dialog appears:
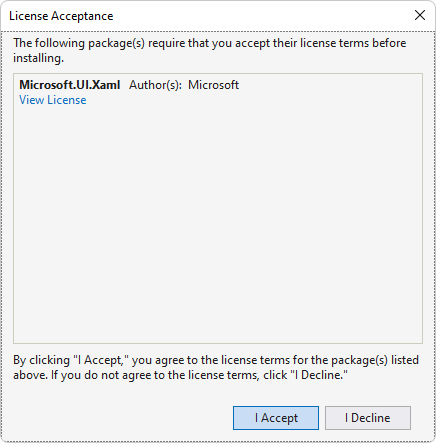
Click the I Accept button. In Visual Studio, the
readme.txtfile is displayed, saying that you've installed the WinUI package: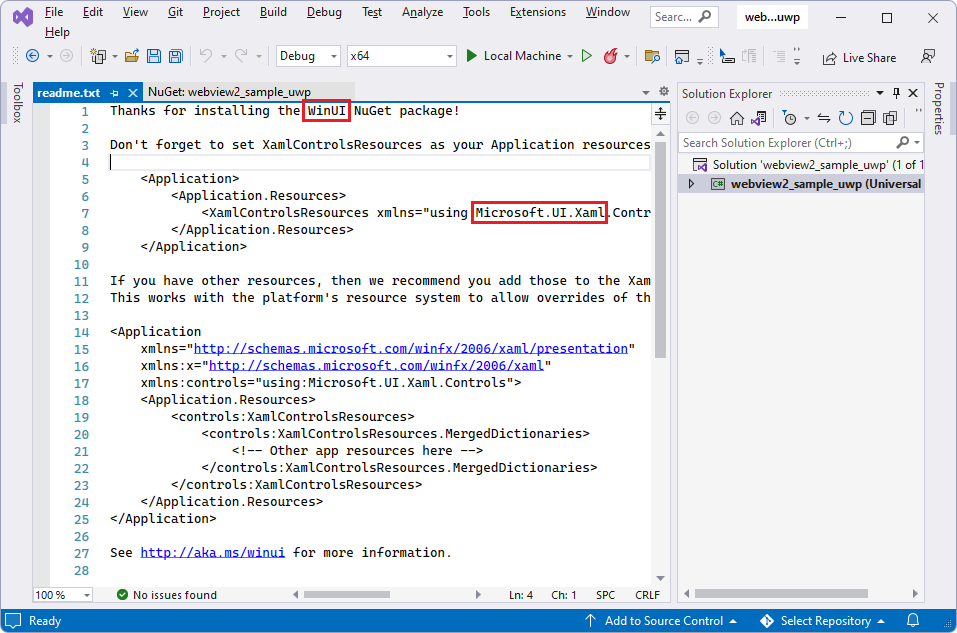
The readme lists some lines of code that are similar to what we'll add.
Update the Microsoft.NETCore.UniversalWindowsPlatform NuGet package, using similar steps.
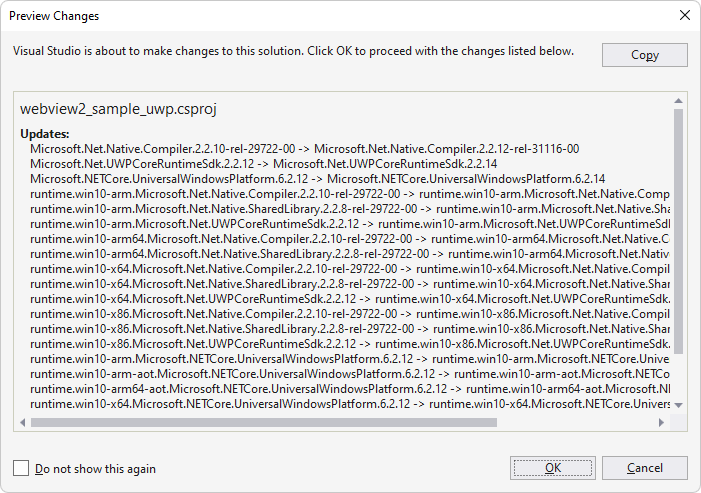
After getting the latest UWP packages, which can take a few minutes, the Preview Changes dialog appears:
Select File > Save All.
You've now installed the Microsoft.UI.Xaml package, which is WinUI (WinUI 2), for your project. Check the resulting installed packages, as follows:
In NuGet Package Manager, click the Installed tab, and inspect the updated packages:
- Microsoft.NETCore.UniversalWindowsPlatform
- Microsoft.UI.Xaml - Prerelease
Close the NuGet Package Manager window.
Step 7 - Build and run the project with updated packages
Now that the NuGet packages have been updated, build and run the project again:
In Solution Explorer, right-click the webview2_sample_uwp project, and then select Build.
The project builds.
Select Debug > Start Debugging (F5).
An empty grid window initially appears for a moment:

The sample app window then displays webpage content:

In Visual Studio, select Debug > Stop Debugging. Visual Studio closes the app.
Step 10 - Inspect the code
In the Visual Studio code editor, inspect the code:
