Tutorial: Migrate to Microsoft Entra Cloud Sync for a synced Active Directory forest
This tutorial walks you through how to migrate to Microsoft Entra Cloud Sync for a test Active Directory forest that was synced by using Microsoft Entra Connect Sync.
This article provides information for a basic migration. Review the Migrate to Microsoft Entra Cloud Sync documentation before you attempt to migrate your production environment.
In this tutorial, you learn how to:
- Stop the scheduler.
- Create custom user inbound and outbound rules.
- Install the provisioning agent.
- Verify the agent installation.
- Configure Microsoft Entra Cloud Sync.
- Restart the scheduler.
Considerations
Before you try this tutorial, consider the following items:
Ensure that you're familiar with the basics of Microsoft Entra Cloud Sync.
Ensure that you're running Microsoft Entra Connect Sync version 1.4.32.0 or later and that you configured the sync rules as documented.
Ensure that for a pilot that you remove a test organizational unit (OU) or group from Microsoft Entra Connect Sync scope. Moving objects out of scope leads to deletion of those objects in Microsoft Entra ID.
- User objects in Microsoft Entra ID are soft-deleted, so you can restore them.
- Group objects in Microsoft Entra ID are hard-deleted, so you can't restore them.
Microsoft Entra Connect Sync introduces a new link type, which prevents the deletion in a piloting scenario.
Ensure that the objects in the pilot scope have
ms-ds-consistencyGUIDpopulated so that Microsoft Entra Cloud Sync hard matches the objects.Microsoft Entra Connect Sync doesn't populate
ms-ds-consistencyGUIDby default for group objects.Follow the steps in this tutorial precisely. This configuration is for advanced scenarios.
Prerequisites
The following are prerequisites required for completing this tutorial
- A test environment with Microsoft Entra Connect Sync version 1.4.32.0 or later
- An OU or group that is in scope of sync and can be used during the pilot. We recommend starting with a small set of objects.
- A server running Windows Server 2016 or later that will host the provisioning agent.
- Source anchor for Microsoft Entra Connect Sync should be either objectGuid or ms-ds-consistencyGUID
Update Microsoft Entra Connect
At a minimum, you should have Microsoft Entra Connect 1.4.32.0. To update Microsoft Entra Connect Sync, follow the steps in Microsoft Entra Connect: Upgrade to the latest version.
Back up your Microsoft Entra Connect configuration
Before you make any changes, back up your Microsoft Entra Connect configuration. This way, you can roll back to your previous configuration. For more information, see Import and export Microsoft Entra Connect configuration settings.
Stop the scheduler
Microsoft Entra Connect Sync synchronizes changes occurring in your on-premises directory using a scheduler. In order to modify and add custom rules, you want to disable the scheduler so that synchronizations won't run while you're working and making the changes. To stop the scheduler, use the following steps:
- On the server that's running Microsoft Entra Connect Sync, open PowerShell with administrative privileges.
- Run
Stop-ADSyncSyncCycle. Select Enter. - Run
Set-ADSyncScheduler -SyncCycleEnabled $false.
Note
If you're running your own custom scheduler for Microsoft Entra Connect Sync, disable the custom sync scheduler.
Create a custom user inbound rule
In the Microsoft Entra Connect Synchronization Rules Editor, you need to create an inbound sync rule that filters out users in the OU that you identified previously. The inbound sync rule is a join rule with a target attribute of cloudNoFlow. This rule tells Microsoft Entra Connect not to synchronize attributes for these users. For more information, see Migrate to Microsoft Entra Cloud Sync before you attempt to migrate your production environment.
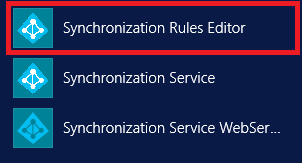
Open the Synchronization Rules Editor from the application menu on the desktop.
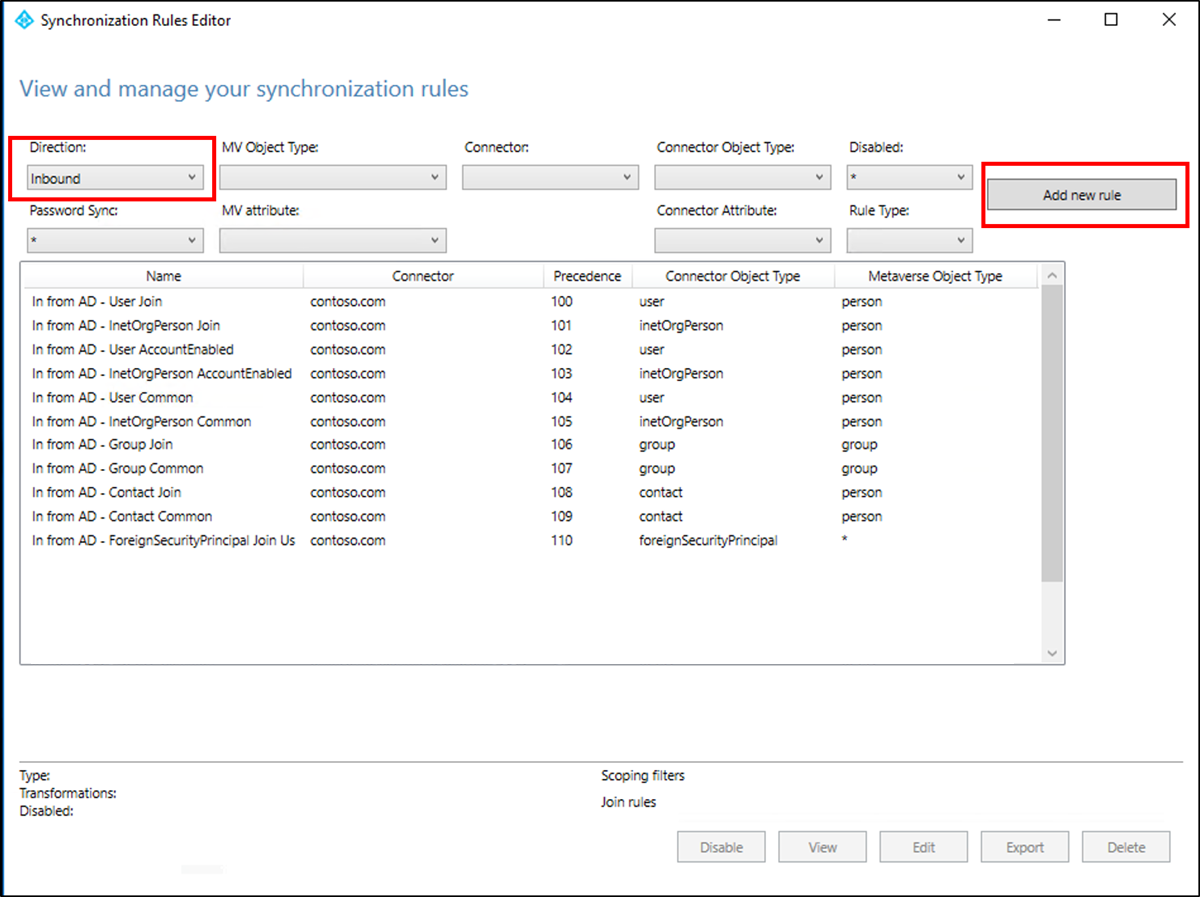
Under Direction, select Inbound from the dropdown list. Then select Add new rule.
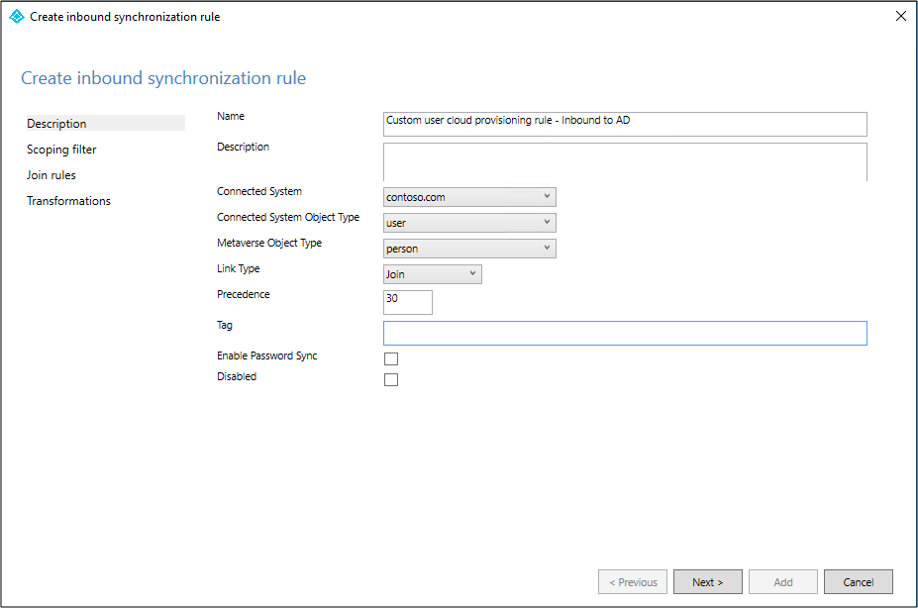
On the Description page, enter the following values and select Next:
- Name: Give the rule a meaningful name.
- Description: Add a meaningful description.
- Connected System: Choose the Microsoft Entra connector for which you're writing the custom sync rule.
- Connected System Object Type: Select user.
- Metaverse Object Type: Select person.
- Link Type: Select Join.
- Precedence: Provide a value that's unique in the system.
- Tag: Leave this field empty.
On the Scoping filter page, enter the OU or security group on which you want to base the pilot. To filter on OU, add the OU portion of the distinguished name. This rule applies to all users who are in that OU. So, if the distinguished name (DN) ends with
OU=CPUsers,DC=contoso,DC=com, you add this filter. Then select Next.Rule Attribute Operator Value Scoping OU DNENDSWITHDistinguished name of the OU. Scoping group ISMEMBEROFDistinguished name of the security group. 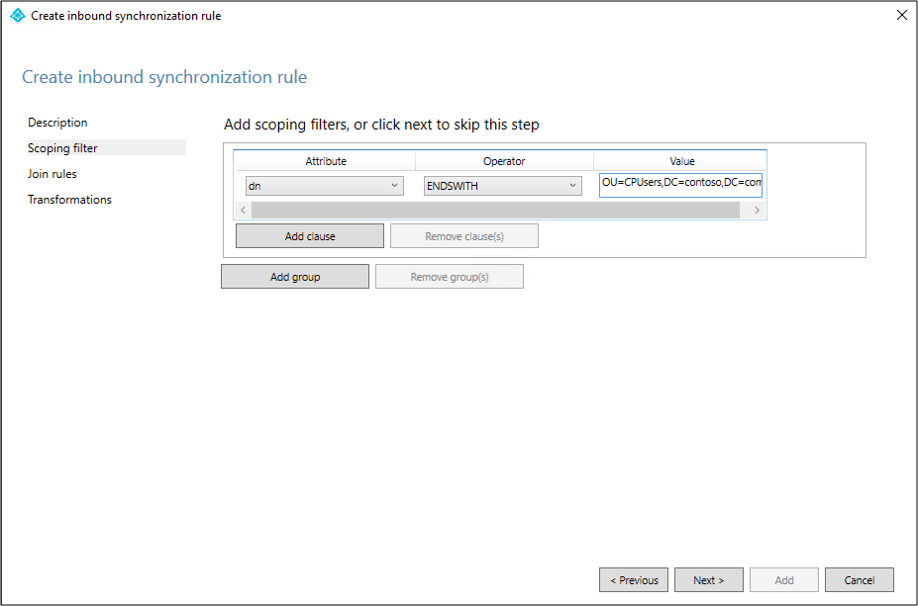
On the Join rules page, select Next.
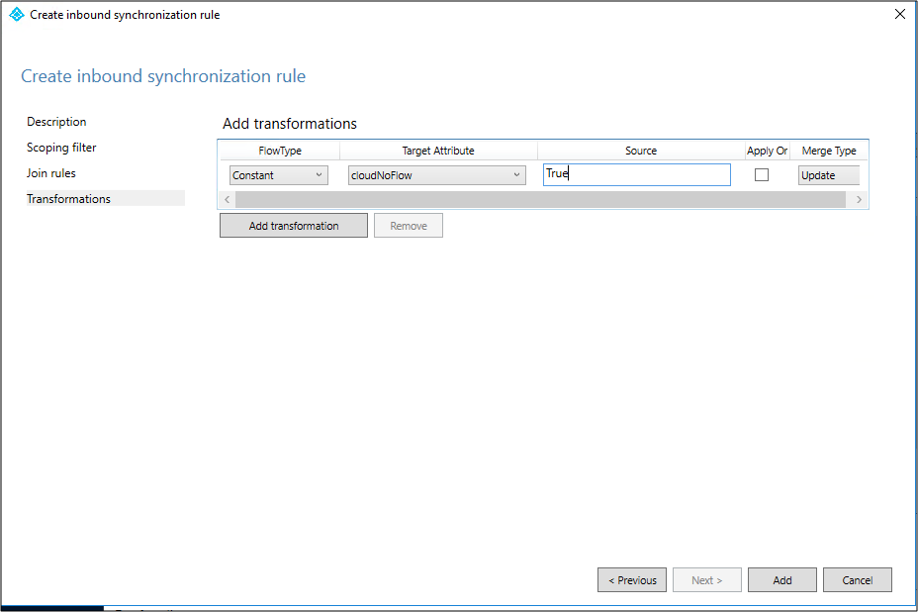
On the Transformations page, add a Constant transformation: Source value of True for the cloudNoFlow attribute. Select Add.
Follow the same steps for all object types (user, group, and contact). Repeat the steps according to the configured Active Directory connector or Active Directory forest.
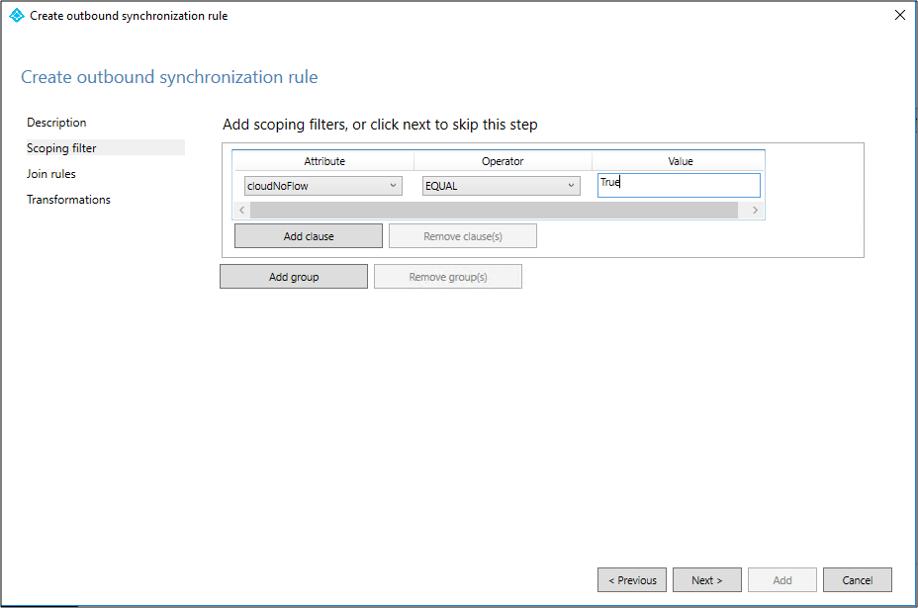
Create a custom user outbound rule
You need an outbound sync rule with a link type of JoinNoFlow and the scoping filter that has the cloudNoFlow attribute set to True. This rule tells Microsoft Entra Connect not to synchronize attributes for these users. For more information, see Migrate to Microsoft Entra Cloud Sync before you attempt to migrate your production environment.
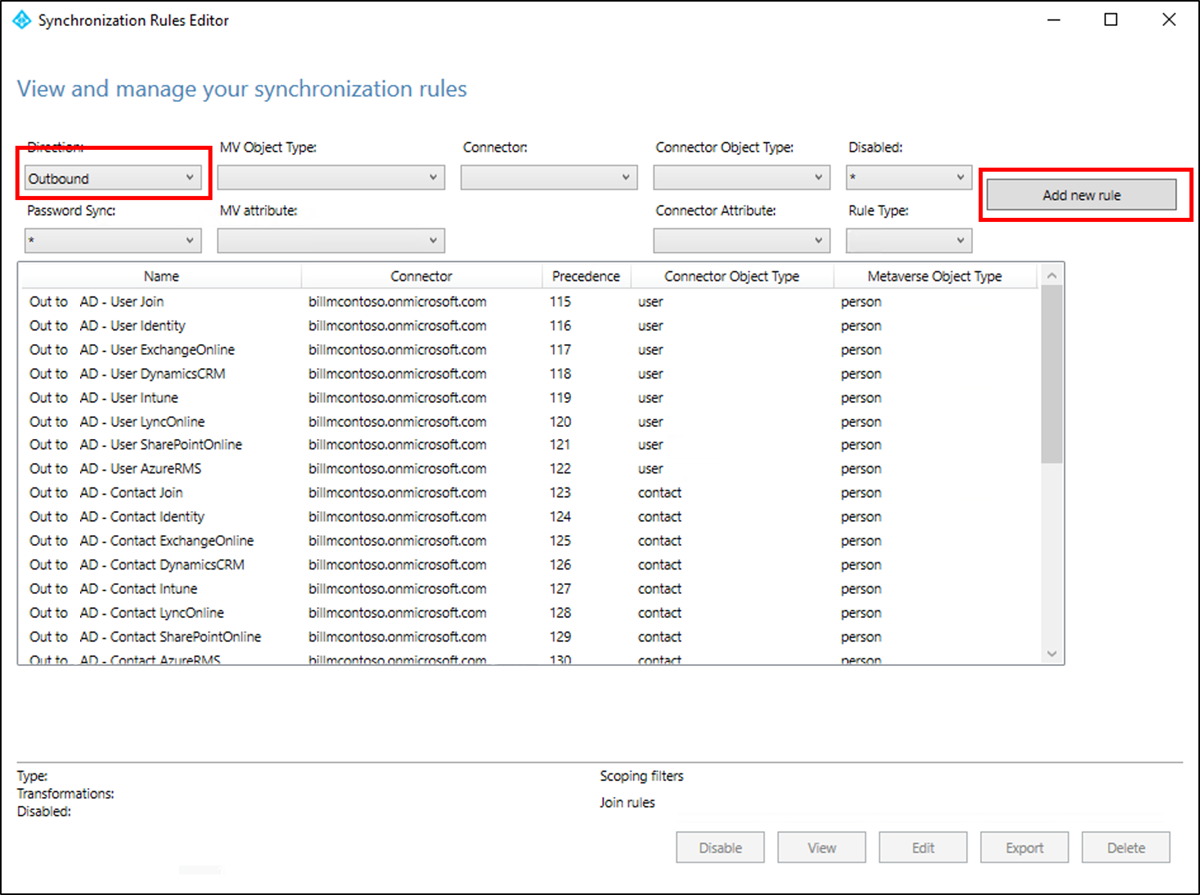
Under Direction, select Outbound from the dropdown list. Then select Add rule.
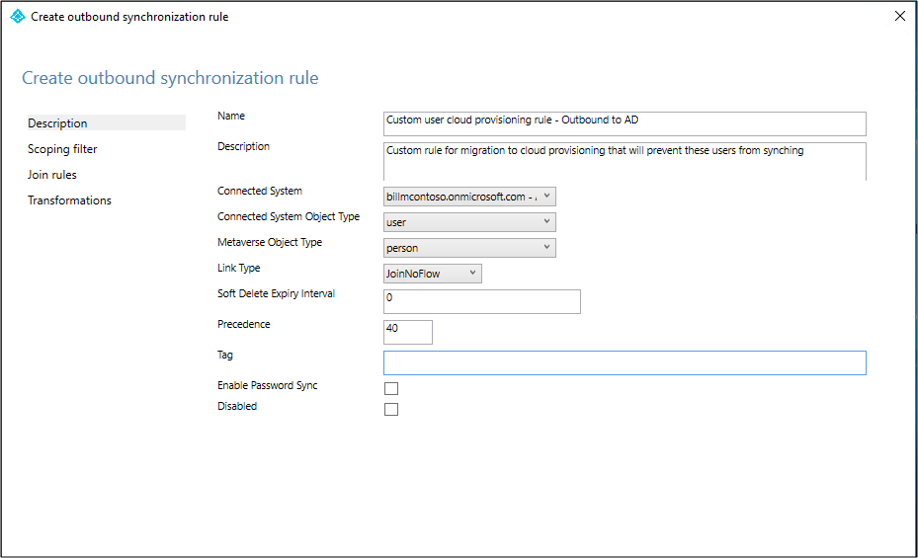
On the Description page, enter the following values and select Next:
- Name: Give the rule a meaningful name.
- Description: Add a meaningful description.
- Connected System: Choose the Microsoft Entra connector for which you're writing the custom sync rule.
- Connected System Object Type: Select user.
- Metaverse Object Type: Select person.
- Link Type: Select JoinNoFlow.
- Precedence: Provide a value that's unique in the system.
- Tag: Leave this field empty.
On the Scoping filter page, for the Attribute, select cloudNoFlow. For Value, select True. Then select Next.
On the Join rules page, select Next.
On the Transformations page, select Add.
Follow the same steps for all object types (user, group, and contact).
Install the Microsoft Entra provisioning agent
If you're using the Basic Active Directory and Azure environment tutorial, use CP1. To install the agent, follow these steps.
In the Azure portal, select Microsoft Entra ID.
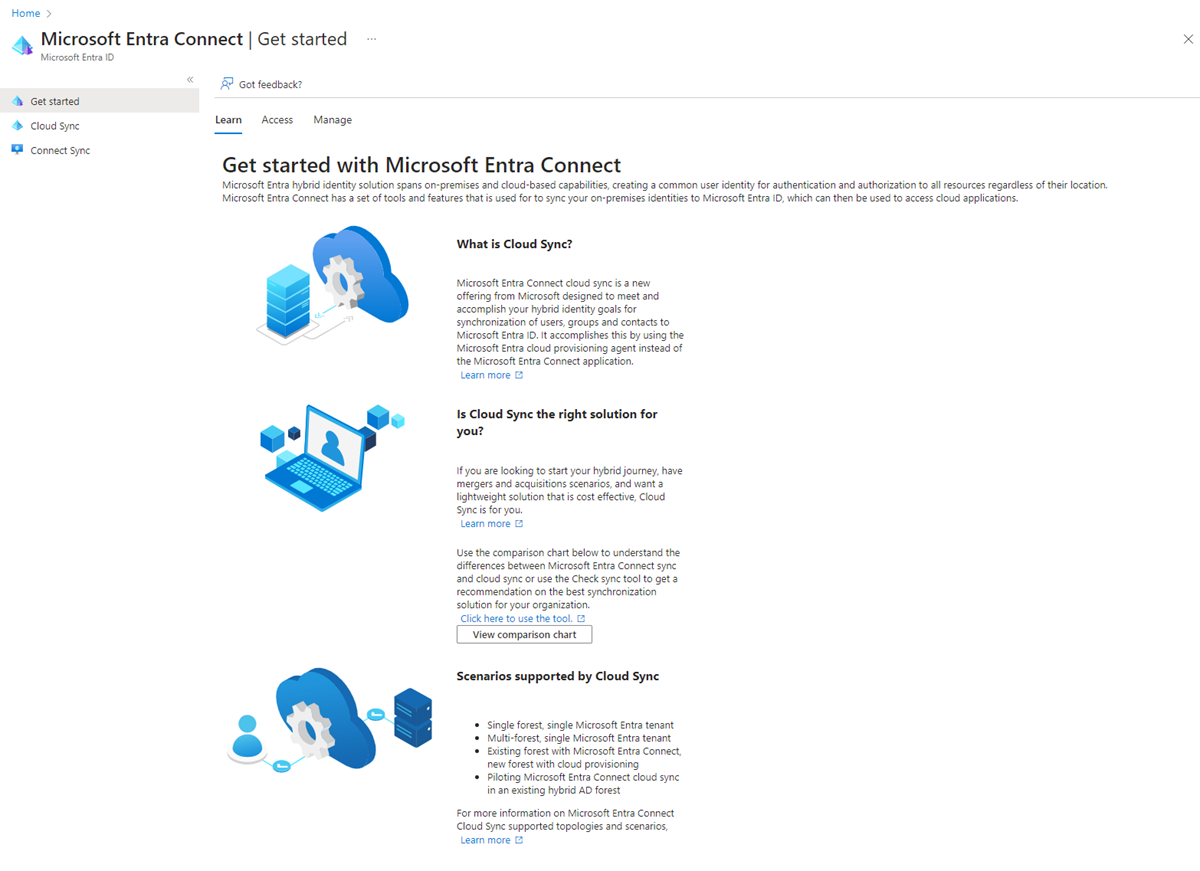
On the left pane, select Microsoft Entra Connect, and then select Cloud Sync.
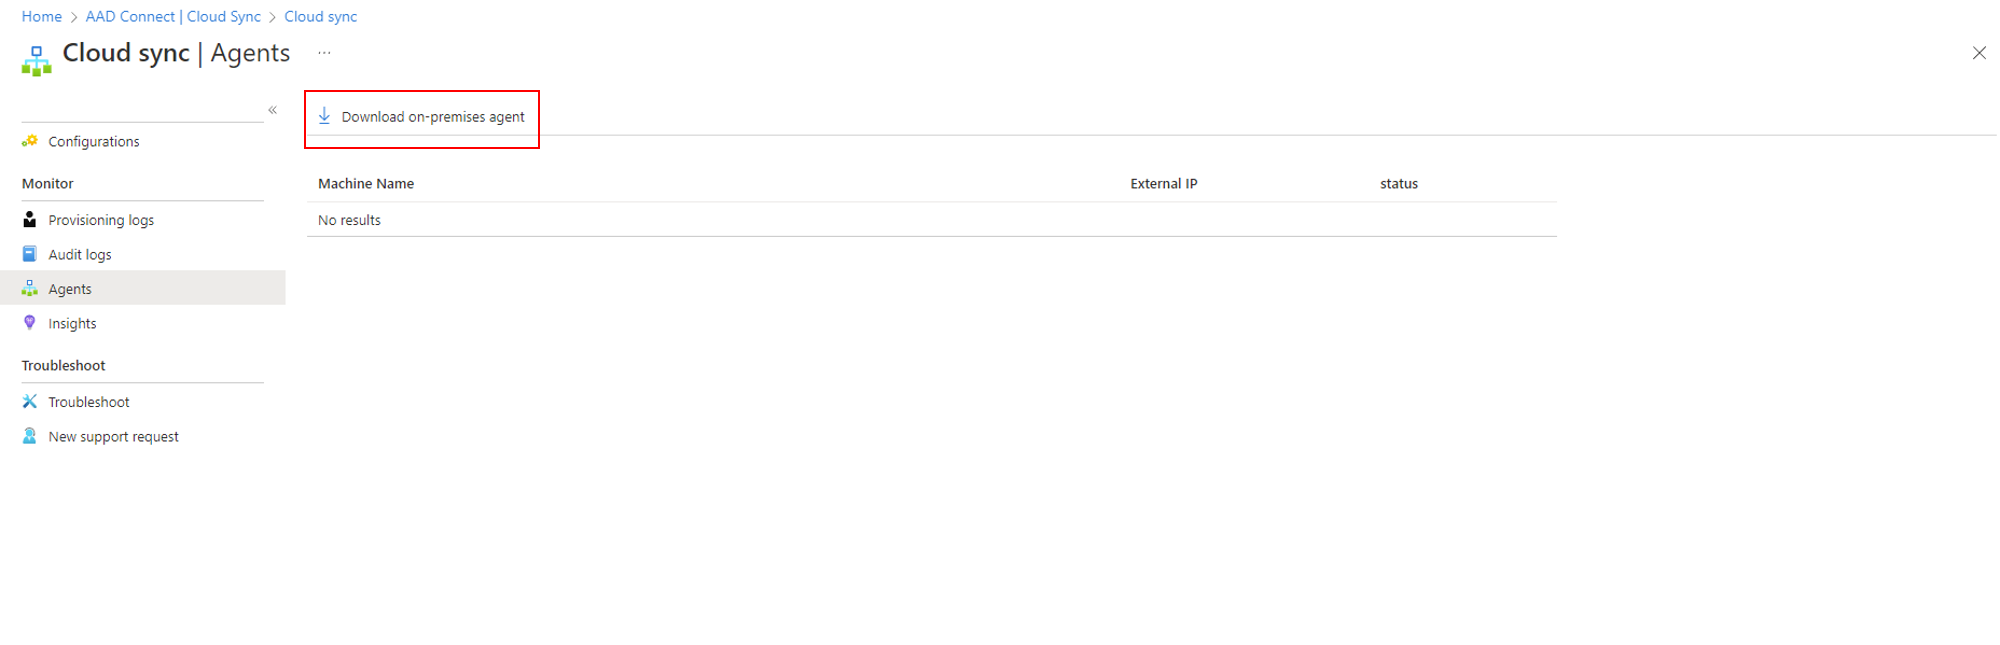
On the left pane, select Agents.
Select Download on-premises agent, and then select Accept terms & download.
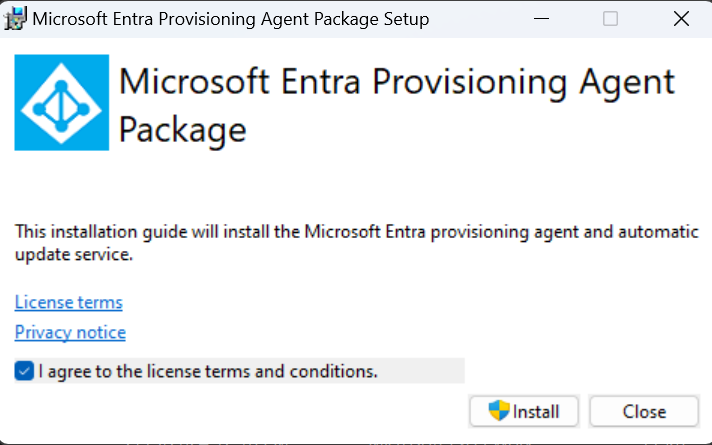
After you download the Microsoft Entra Connect Provisioning Agent Package, run the AADConnectProvisioningAgentSetup.exe installation file from your downloads folder.
Note
When you perform an installation for the US Government Cloud, use AADConnectProvisioningAgentSetup.exe ENVIRONMENTNAME=AzureUSGovernment. For more information, see Install an agent in the US Government Cloud.
On the screen that opens, select the I agree to the license terms and conditions checkbox, and then select Install.
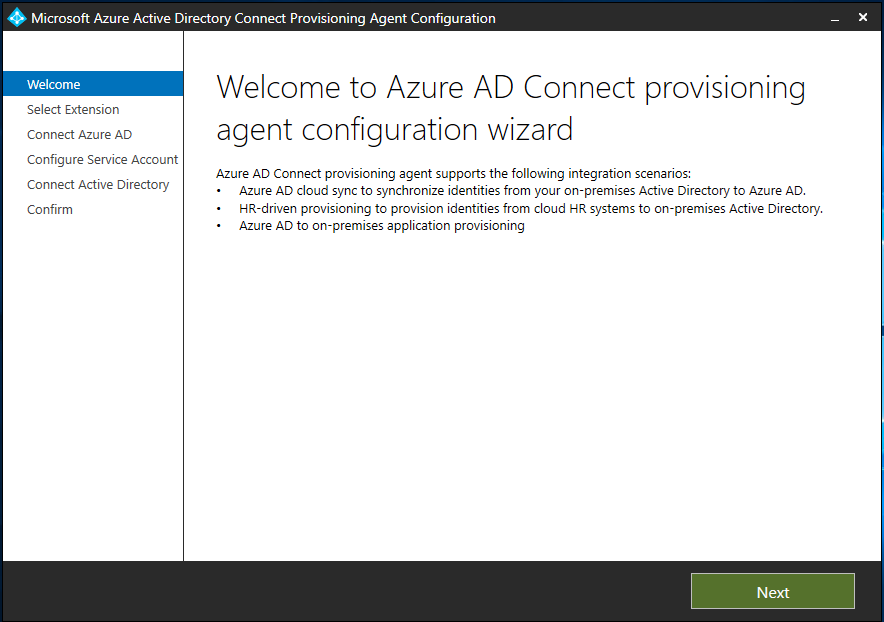
After the installation finishes, the configuration wizard opens. Select Next to start the configuration.
On the Select Extension screen, select HR-driven provisioning (Workday and SuccessFactors) / Azure AD Connect Cloud Sync, and then select Next.
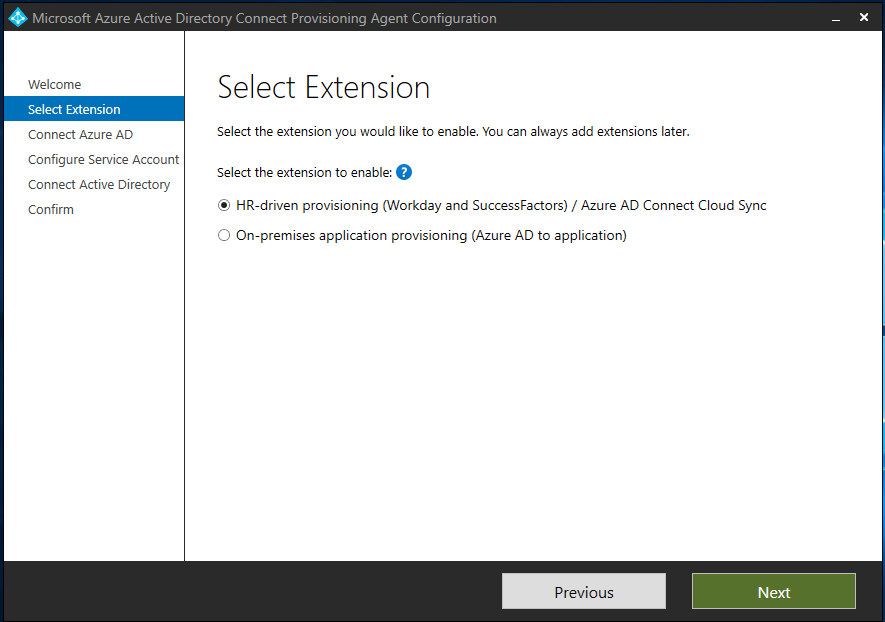
Note
If you install the provisioning agent for use with Microsoft Entra on-premises application provisioning, select On-premises application provisioning (Microsoft Entra ID to application).
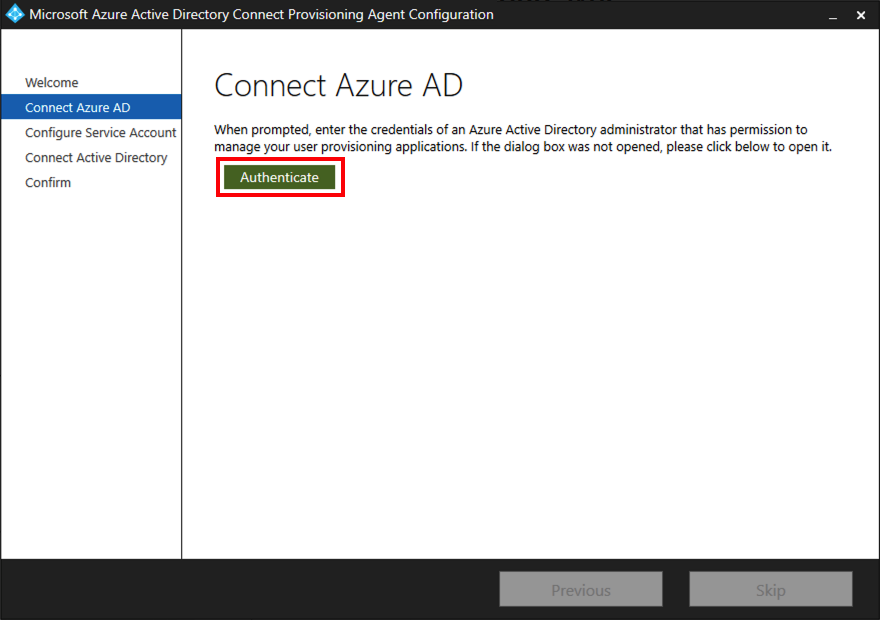
Sign in with an account with at least the Hybrid Identity administrator role. If you have Internet Explorer enhanced security enabled, it blocks the sign-in. If so, close the installation, disable Internet Explorer enhanced security, and restart the Microsoft Entra Connect Provisioning Agent Package installation.
On the Configure Service Account screen, select a group Managed Service Account (gMSA). This account is used to run the agent service. If a managed service account is already configured in your domain by another agent and you're installing a second agent, select Create gMSA. The system detects the existing account and adds the required permissions for the new agent to use the gMSA account. When you're prompted, choose one of two options:
- Create gMSA: Let the agent create the provAgentgMSA$ managed service account for you. The group managed service account (for example,
CONTOSO\provAgentgMSA$) is created in the same Active Directory domain where the host server joined. To use this option, enter the Active Directory domain administrator credentials (recommended). - Use custom gMSA: Provide the name of the managed service account that you manually created for this task.
- Create gMSA: Let the agent create the provAgentgMSA$ managed service account for you. The group managed service account (for example,
To continue, select Next.

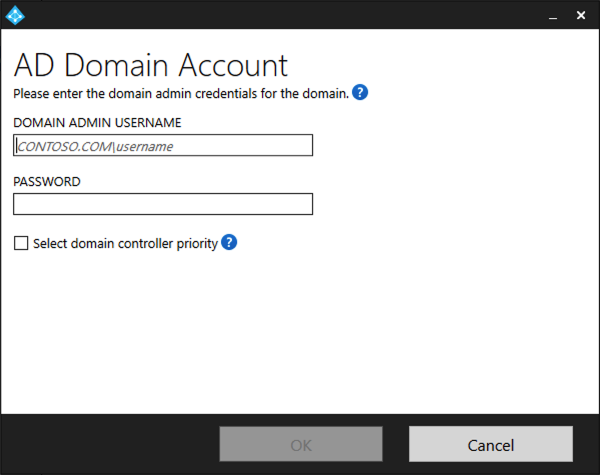
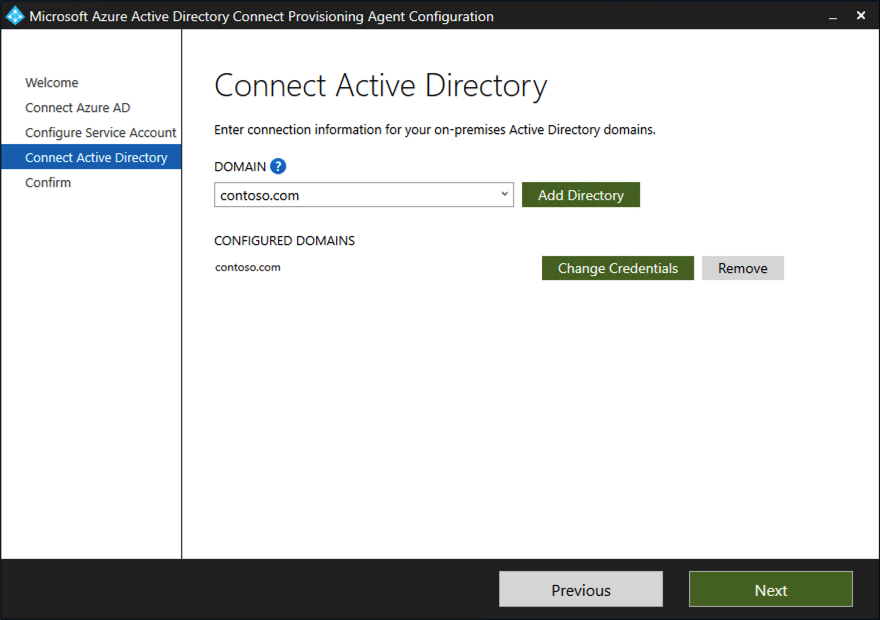
On the Connect Active Directory screen, if your domain name appears under Configured domains, skip to the next step. Otherwise, enter your Active Directory domain name, and select Add directory.
Sign in with your Active Directory domain administrator account. The domain administrator account shouldn't have an expired password. If the password is expired or changes during the agent installation, reconfigure the agent with the new credentials. This operation adds your on-premises directory. Select OK, and then select Next to continue.
The following screenshot shows an example of the domain configured for contoso.com. Select Next to continue.
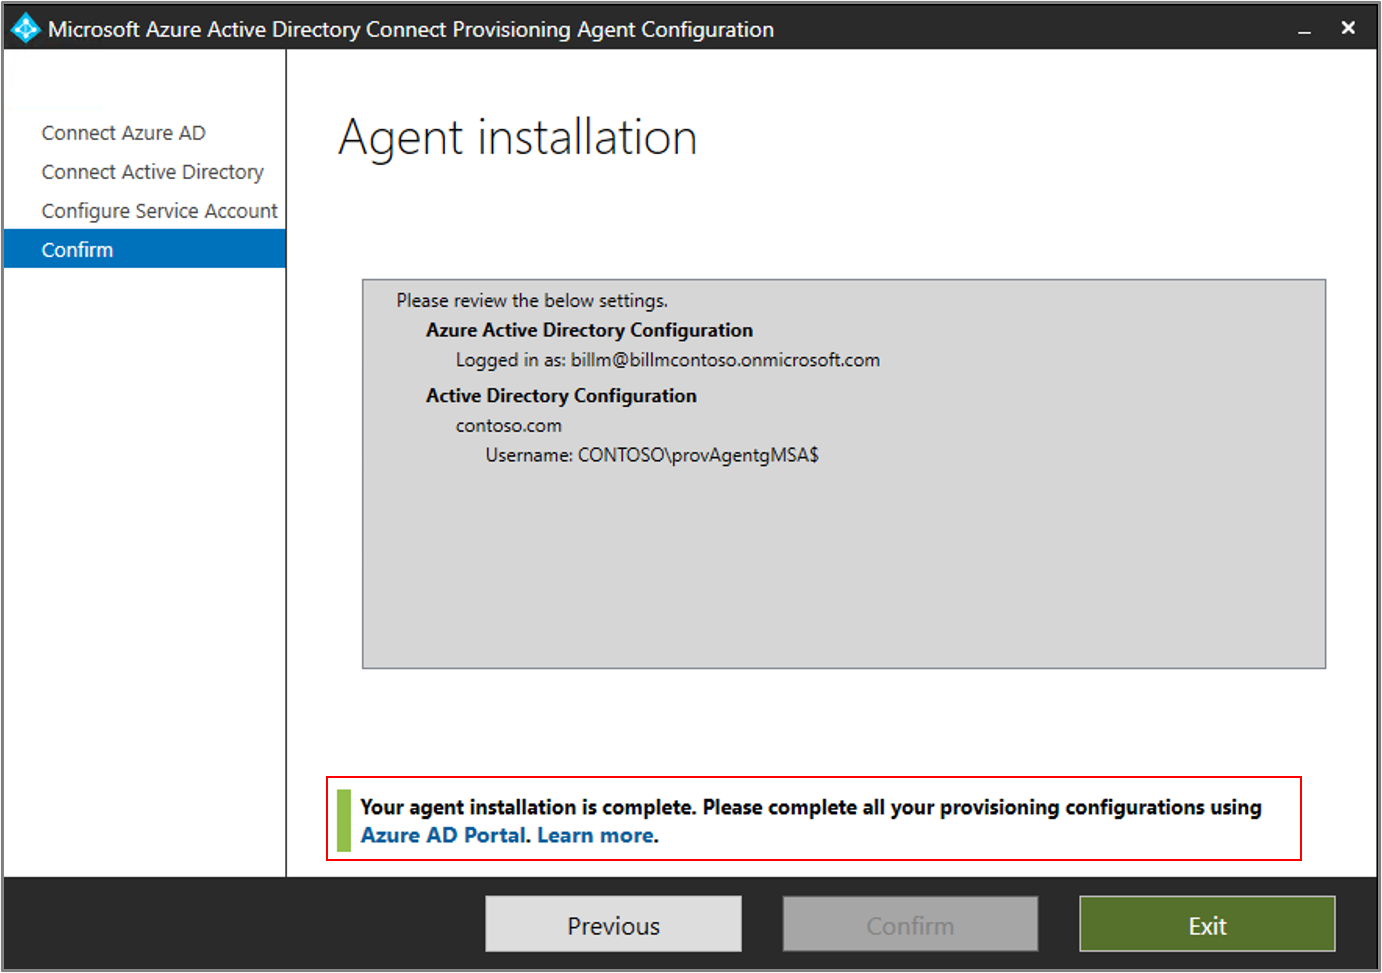
On the Configuration complete screen, select Confirm. This operation registers and restarts the agent.
After the operation finishes, you see a notification that your agent configuration was successfully verified. Select Exit.
If you still get the initial screen, select Close.


Verify the agent installation
Agent verification occurs in the Azure portal and on the local server that runs the agent.
Verify the agent in the Azure portal
To verify that Microsoft Entra ID registers the agent, follow these steps:
Sign in to the Azure portal.
Select Microsoft Entra ID.
Select Microsoft Entra Connect, and then select Cloud Sync.
On the Cloud Sync page, you see the agents that you installed. Verify that the agent appears and that the status is healthy.
Verify the agent on the local server
To verify that the agent is running, follow these steps:
Sign in to the server with an administrator account.
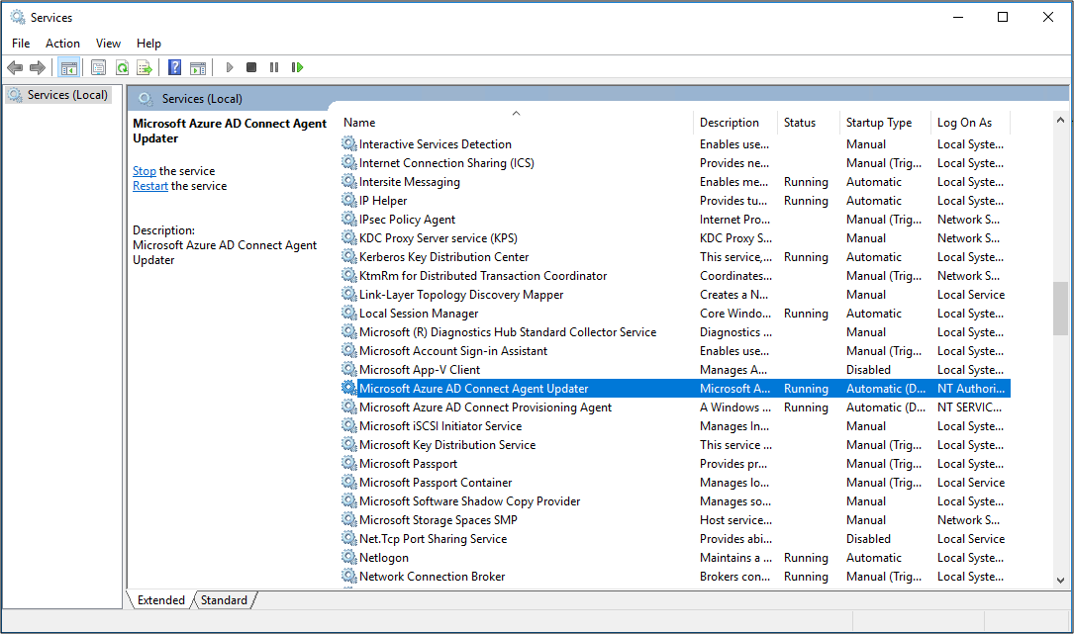
Go to Services. You can also use Start/Run/Services.msc to get to it.
Under Services, make sure that Microsoft Entra Connect Agent Updater and Microsoft Entra Connect Provisioning Agent are present and that the status is Running.

Verify the provisioning agent version
To verify the version of the agent that's running, follow these steps:
- Go to C:\Program Files\Microsoft Azure AD Connect Provisioning Agent.
- Right-click AADConnectProvisioningAgent.exe and select Properties.
- Select the Details tab. The version number appears next to the product version.
Configure Microsoft Entra Cloud Sync
To configure provisioning, follow these steps:
Sign in to the Microsoft Entra admin center as at least a hybrid identity administrator.
Browse to Identity > Hybrid management > Microsoft Entra Connect > Cloud Sync.
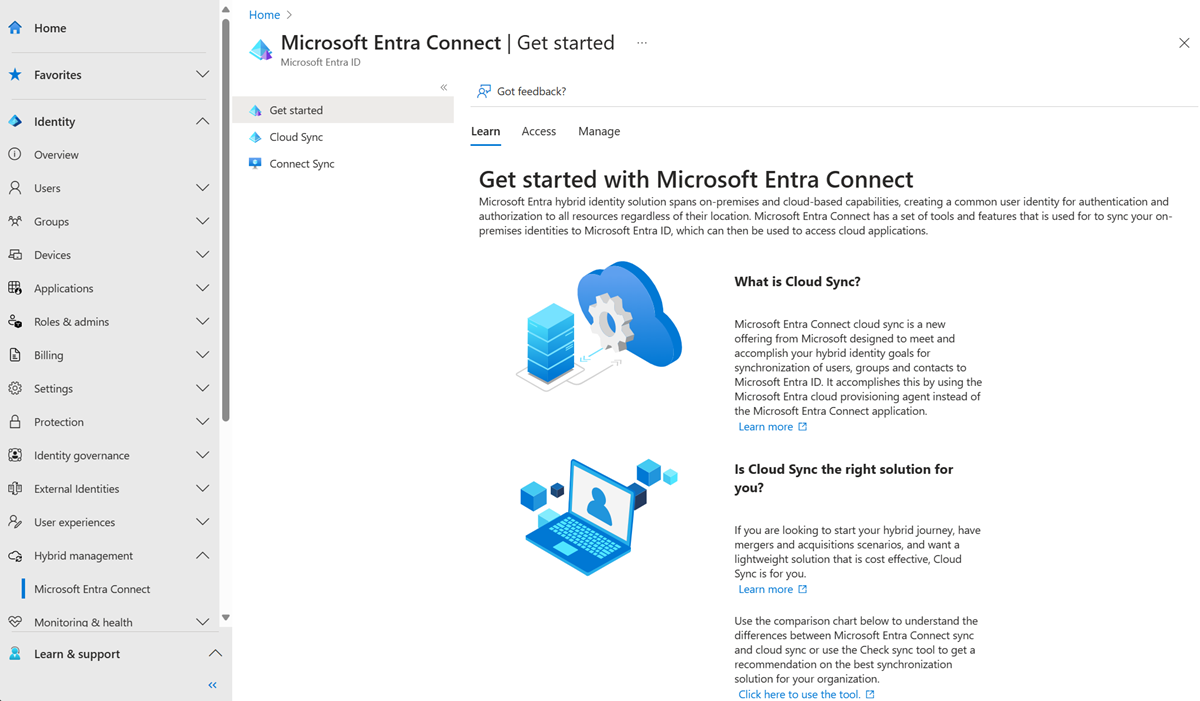

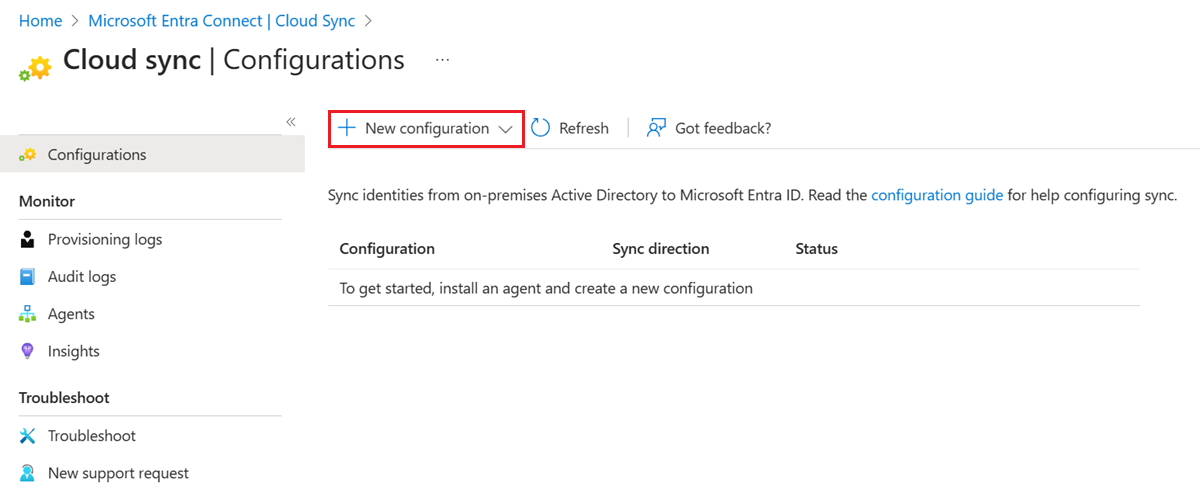
Select New configuration.
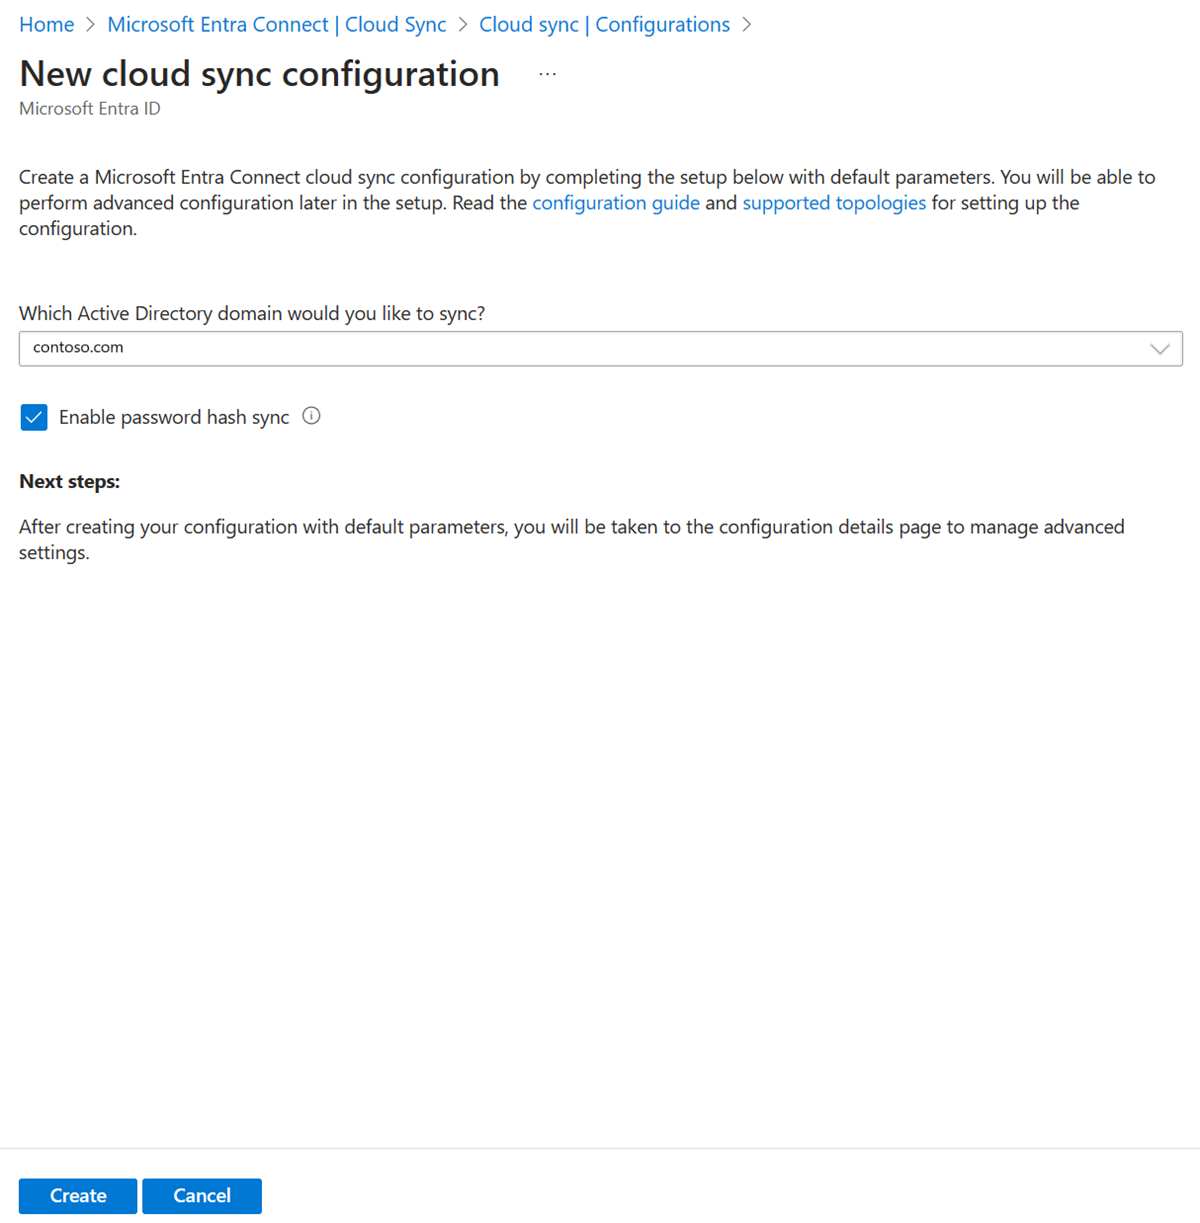
On the configuration screen, select your domain and whether to enable password hash sync. Then select Create.
On the Get started screen, select Add scoping filters next to the Add scoping filters icon. Or on the left pane under Manage, select Scoping filters.
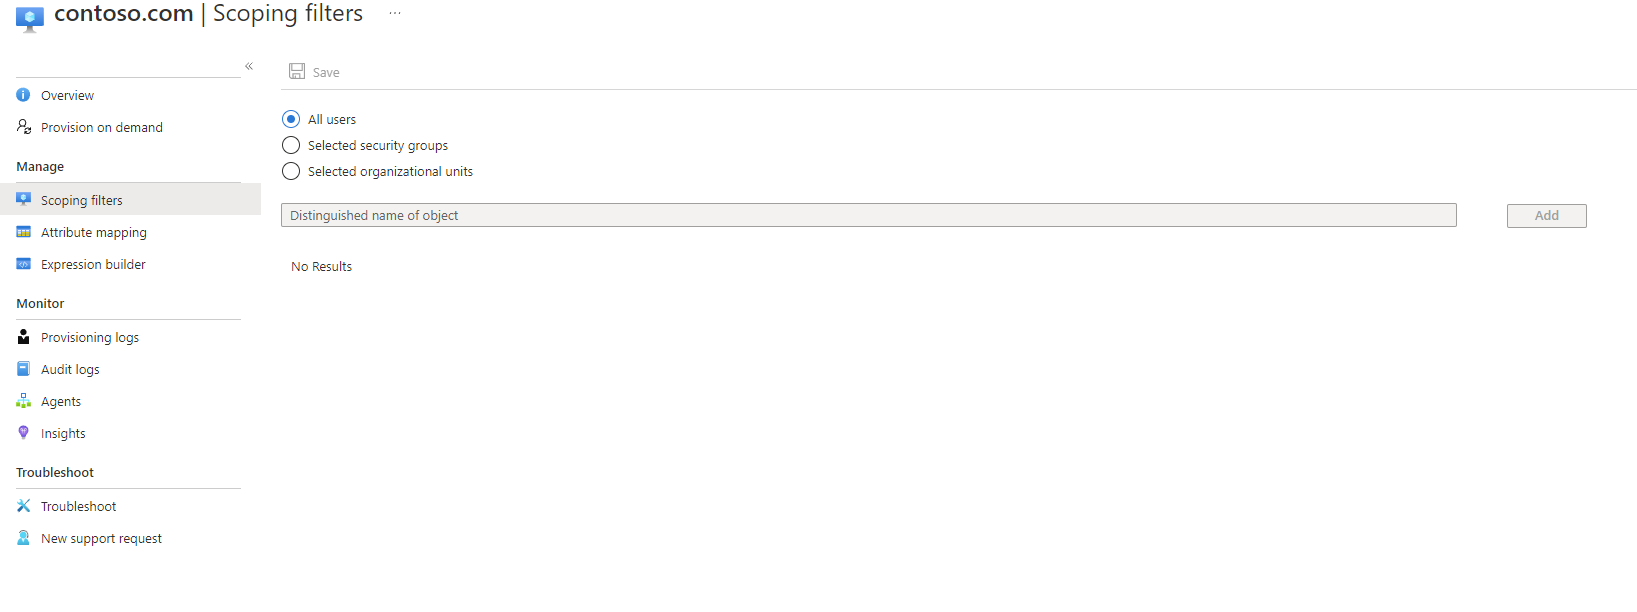
Select the scoping filter. For this tutorial, select Selected organizational units. This filter scopes the configuration to apply to specific OUs.
In the box, enter OU=CPUsers,DC=contoso,DC=com.
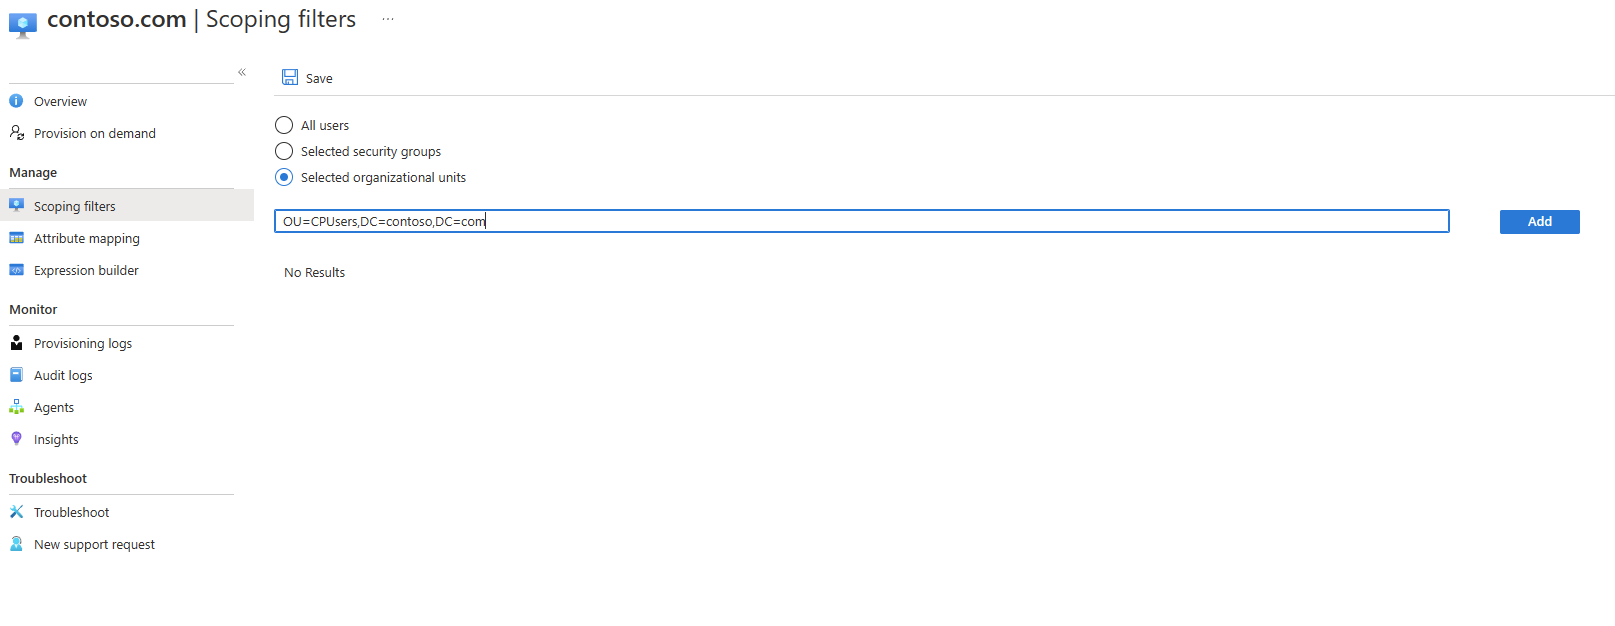
Select Add > Save.


Start the scheduler
Microsoft Entra Connect Sync synchronizes changes that occur in your on-premises directory by using a scheduler. Now that you modified the rules, you can restart the scheduler.
- On the server that's running Microsoft Entra Connect Sync, open PowerShell with administrator privileges.
- Run
Set-ADSyncScheduler -SyncCycleEnabled $true. - Run
Start-ADSyncSyncCycle. Then select Enter.
Note
If you're running your own custom scheduler for Microsoft Entra Connect Sync, reenable the custom sync scheduler.
After the scheduler is enabled, Microsoft Entra Connect stops exporting any changes on objects with cloudNoFlow=true in the metaverse, unless any reference attribute (such as manager) is being updated. If there's any reference attribute update on the object, Microsoft Entra Connect ignores the cloudNoFlow signal and exports all updates on the object.
Troubleshooting
If the pilot doesn't work as expected, go back to the Microsoft Entra Connect Sync setup.
- Disable provisioning configuration in the portal.
- Use the Sync Rule Editor tool to disable all the custom sync rules that you created for cloud provisioning. Disabling causes a full sync on all the connectors.