Define custom attributes to self-service sign-up flows in Microsoft Entra External ID
Applies to:  Workforce tenants
  External tenants (learn more)
Tip
This article applies to B2B collaboration user flows in workforce tenants. For information about external tenants, see Collect user attributes during sign-up.
For each application, you might have different requirements for the information you want to collect during sign-up. Microsoft Entra External ID comes with a built-in set of information stored in attributes, such as Given Name, Surname, City, and Postal Code. With Microsoft Entra External ID, you can extend the set of attributes stored on a guest account when the external user signs up through a user flow.
You can create custom attributes in the Microsoft Entra admin center and use them in your self-service sign-up user flows. You can also read and write these attributes by using the Microsoft Graph API. Microsoft Graph API supports creating and updating a user with extension attributes. Extension attributes in the Graph API are named by using the convention extension_<extensions-app-id>_attributename. For example:
"extension_831374b3bd5041bfaa54263ec9e050fc_loyaltyNumber": "212342"
The <extensions-app-id> is specific to your tenant. To find this identifier, navigate to Identity > Applications > App registrations > All applications. Search for the app that starts with "aad-extensions-app" and select it. On the app's Overview page, note the Application (client) ID.
Create a custom attribute
Sign in to the Microsoft Entra admin center as at least a User Administrator.
Browse to Identity > External Identities > Overview.
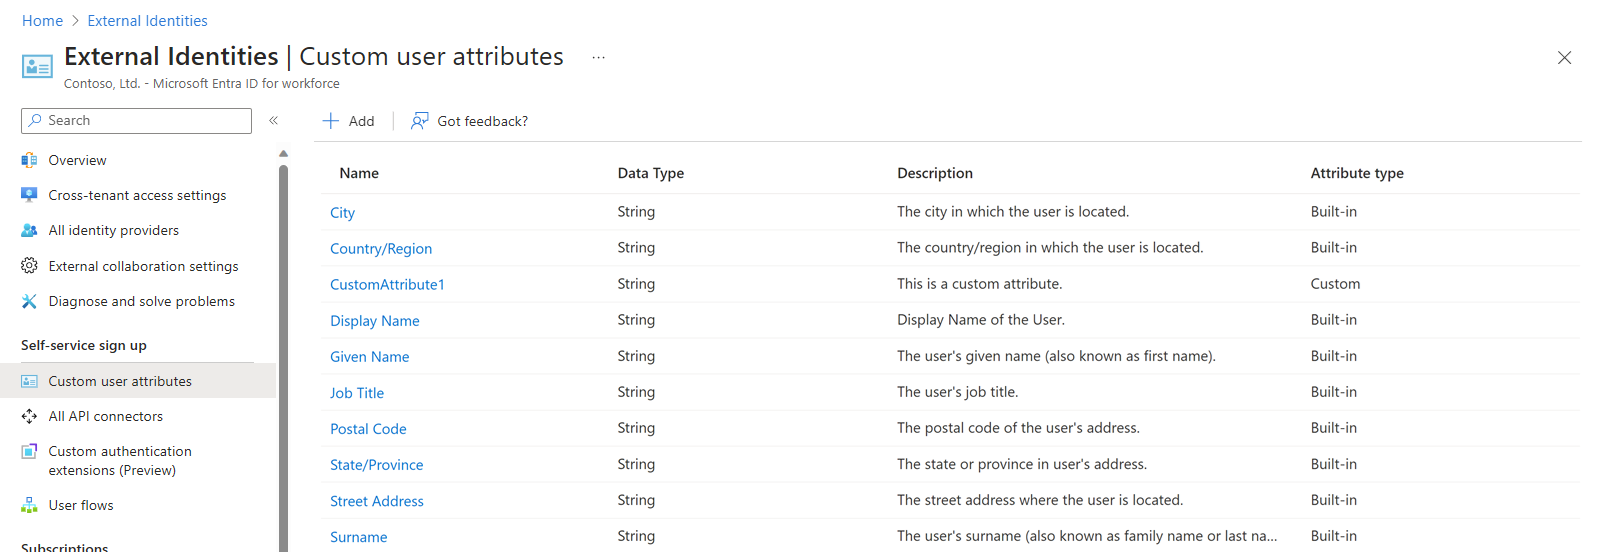
Select Custom user attributes. The available user attributes are listed.
To add an attribute, select Add.
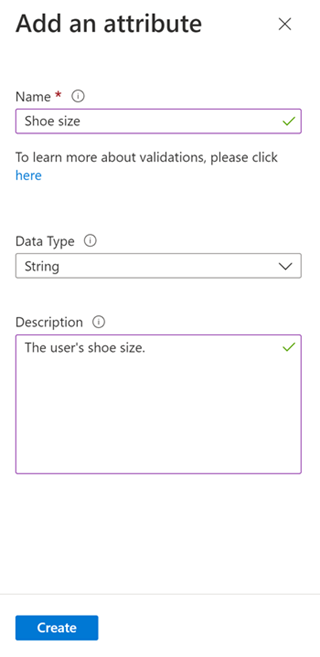
In the Add an attribute pane, enter the following values:
- Name - Provide a name for the custom attribute (for example, "Shoe size").
- Data Type - Choose a data type (String, Boolean, or Int).
- Description - Optionally, enter a description of the custom attribute for internal use. This description isn't visible to the user.

Select Create.
When you add a custom attribute to the list of user attributes, it becomes available for use in your user flows. However, the attribute is only created the first time it’s used in any user flow. Once you’ve created a new user through a user flow that includes the newly added custom attribute, the object can be queried in Microsoft Graph Explorer. You should now see ShoeSize in the list of attributes collected during the sign-up journey on the user object. You can call the Graph API from your application to get the data from this attribute after it's added to the user object.
