Assign Azure roles to external users using the Azure portal
Azure role-based access control (Azure RBAC) allows better security management for large organizations and for small and medium-sized businesses working with external collaborators, vendors, or freelancers that need access to specific resources in your environment, but not necessarily to the entire infrastructure or any billing-related scopes. You can use the capabilities in Microsoft Entra B2B to collaborate with external users and you can use Azure RBAC to grant just the permissions that external users need in your environment.
Prerequisites
To assign Azure roles or remove role assignments, you must have:
Microsoft.Authorization/roleAssignments/writeandMicrosoft.Authorization/roleAssignments/deletepermissions, such as User Access Administrator or Owner
When would you invite external users?
Here are a couple example scenarios when you might invite users to your organization and grant permissions:
- Allow an external self-employed vendor that only has an email account to access your Azure resources for a project.
- Allow an external partner to manage certain resources or an entire subscription.
- Allow support engineers not in your organization (such as Microsoft support) to temporarily access your Azure resource to troubleshoot issues.
Permission differences between member users and guest users
Users of a directory with member type (member users) have different permissions by default than users invited from another directory as a B2B collaboration guest (guest users). For example, member users can read almost all directory information while guest users have restricted directory permissions. For more information about member users and guest users, see What are the default user permissions in Microsoft Entra ID?.
Invite an external user to your directory
Follow these steps to invite an external user to your directory in Microsoft Entra ID.
Sign in to the Azure portal.
Make sure your organization's external collaboration settings are configured such that you're allowed to invite external users. For more information, see Configure external collaboration settings.
Select Microsoft Entra ID > Users.
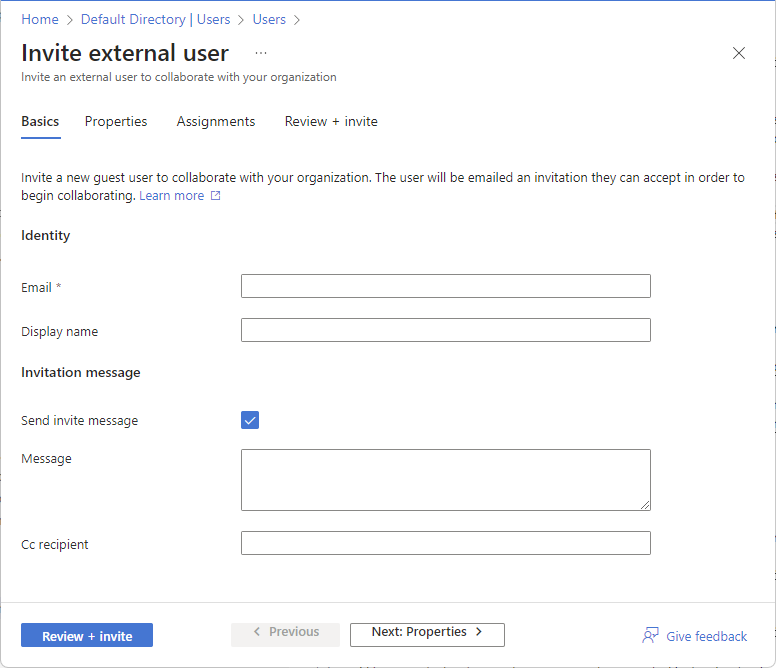
Select New user > Invite external user.
Follow the steps to invite an external user. For more information, see Add Microsoft Entra B2B collaboration users in the Azure portal.
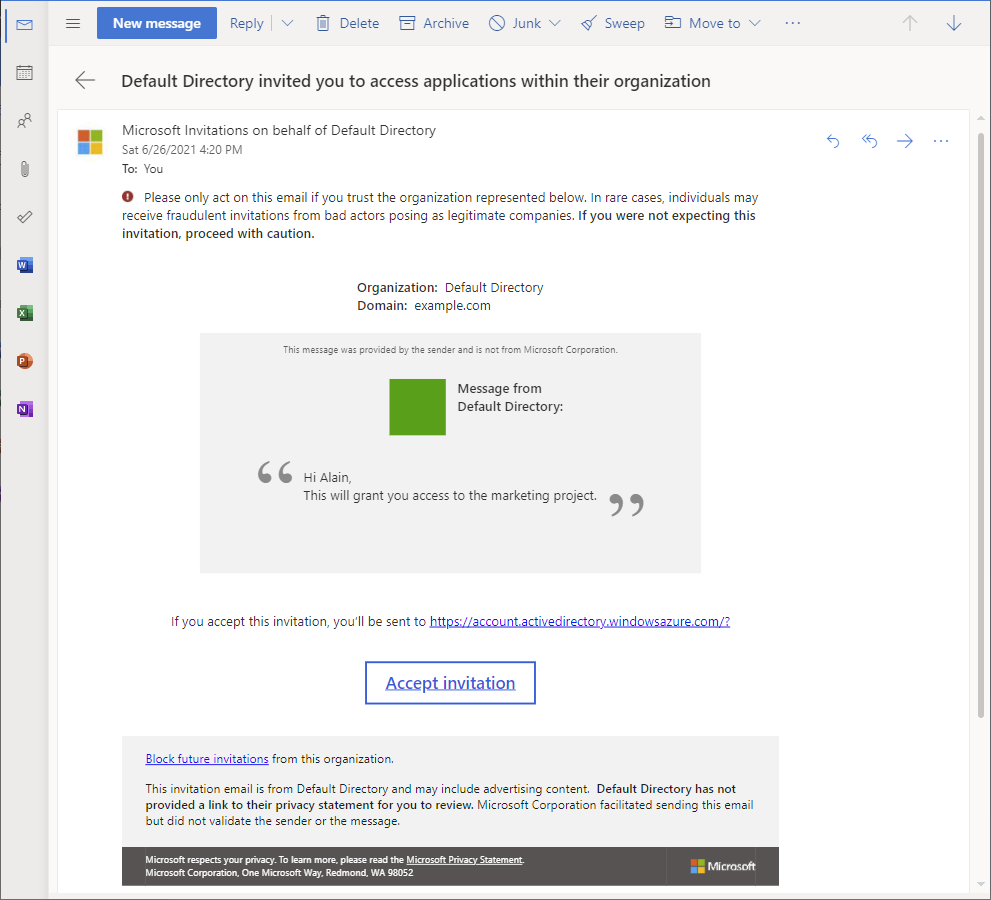
After you invite an external user to the directory, you can either send the external user a direct link to a shared app, or the external user can select the accept invitation link in the invitation email.
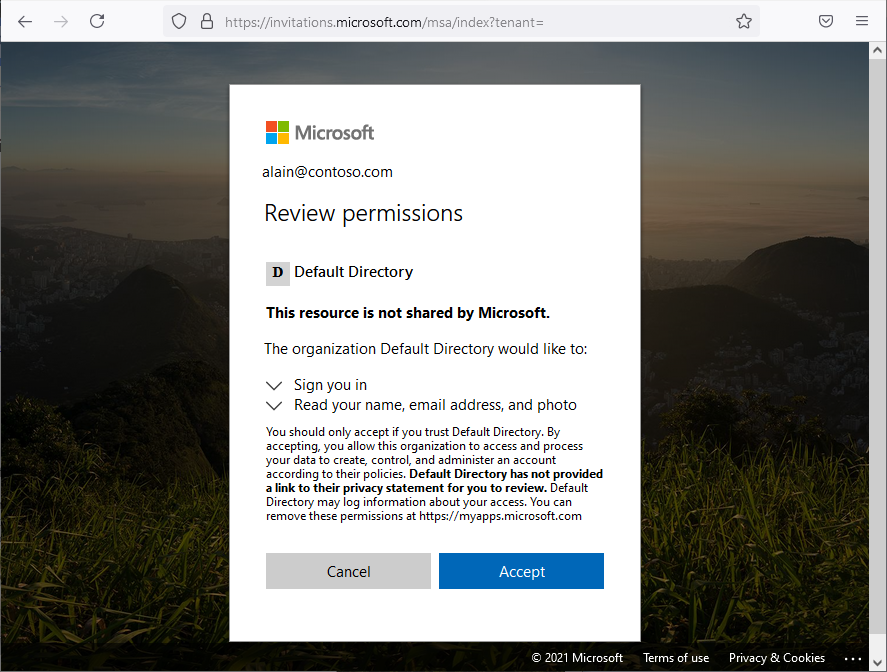
For the external user to be able to access your directory, they must complete the invitation process.
For more information about the invitation process, see Microsoft Entra B2B collaboration invitation redemption.
Assign a role to an external user
In Azure RBAC, to grant access, you assign a role. To assign a role to an external user, you follow same steps as you would for a member user, group, service principal, or managed identity. Follow these steps assign a role to an external user at different scopes.
Sign in to the Azure portal.
In the Search box at the top, search for the scope you want to grant access to. For example, search for Management groups, Subscriptions, Resource groups, or a specific resource.
Select the specific resource for that scope.
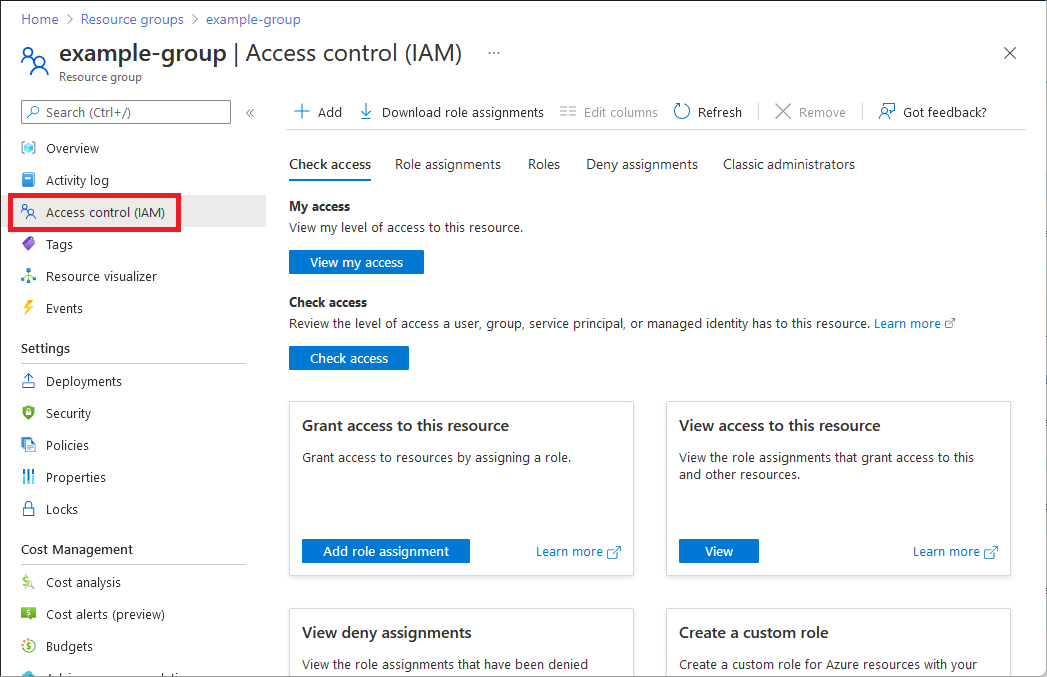
Select Access control (IAM).
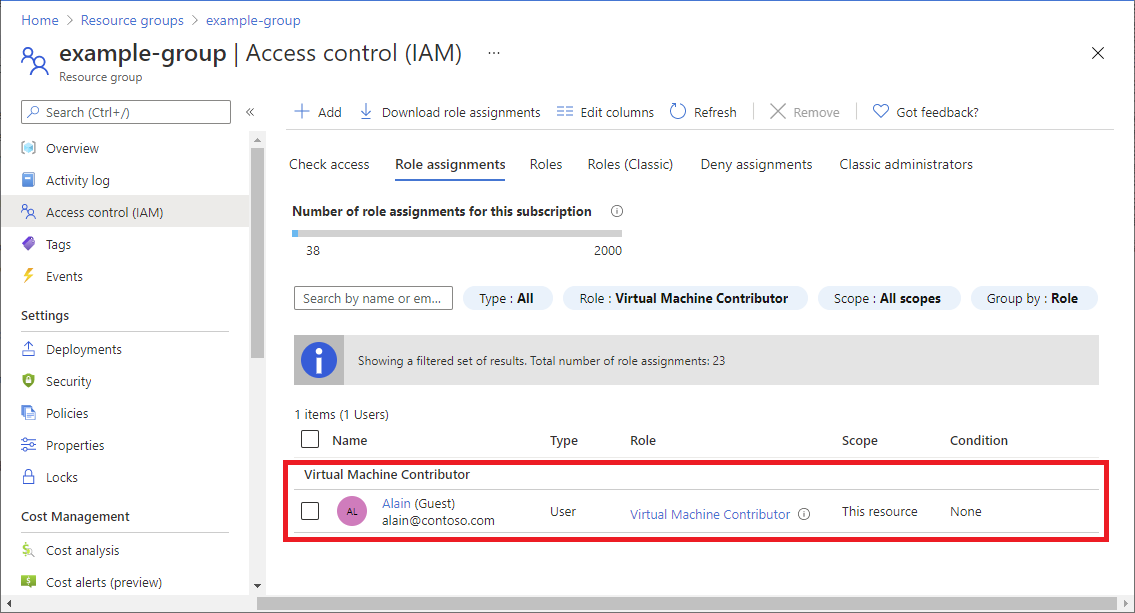
The following shows an example of the Access control (IAM) page for a resource group.
Select the Role assignments tab to view the role assignments at this scope.
Select Add > Add role assignment.
If you don't have permissions to assign roles, the Add role assignment option will be disabled.
The Add role assignment page opens.
On the Role tab, select a role such as Virtual Machine Contributor.
On the Members tab, select User, group, or service principal.
Select Select members.
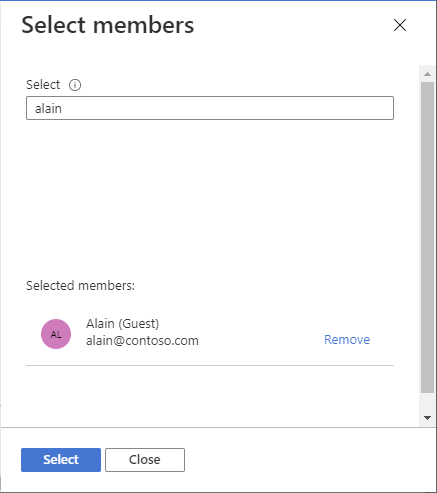
Find and select the external user. If you don't see the user in the list, you can type in the Select box to search the directory for display name or email address.
You can type in the Select box to search the directory for display name or email address.
Select Select to add the external user to the Members list.
On the Review + assign tab, select Review + assign.
After a few moments, the external user is assigned the role at the selected scope.
Assign a role to an external user not yet in your directory
To assign a role to an external user, you follow same steps as you would for a member user, group, service principal, or managed identity.
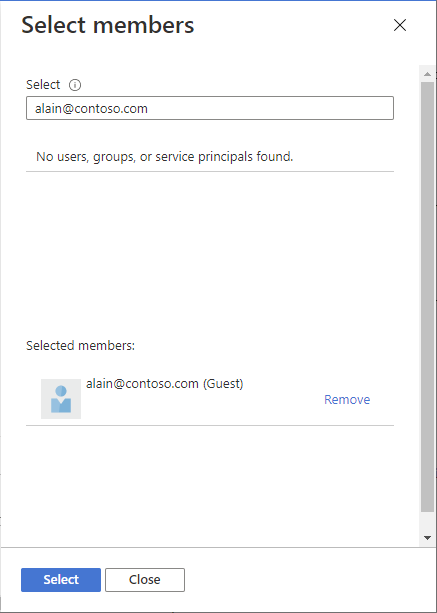
If the external user is not yet in your directory, you can invite the user directly from the Select members pane.
Sign in to the Azure portal.
In the Search box at the top, search for the scope you want to grant access to. For example, search for Management groups, Subscriptions, Resource groups, or a specific resource.
Select the specific resource for that scope.
Select Access control (IAM).
Select Add > Add role assignment.
If you don't have permissions to assign roles, the Add role assignment option will be disabled.
The Add role assignment page opens.
On the Role tab, select a role such as Virtual Machine Contributor.
On the Members tab, select User, group, or service principal.
Select Select members.
In the Select box, type the email address of the person you want to invite and select that person.
Select Select to add the external user to the Members list.
On the Review + assign tab, select Review + assign to add the external user to your directory, assign the role, and send an invite.
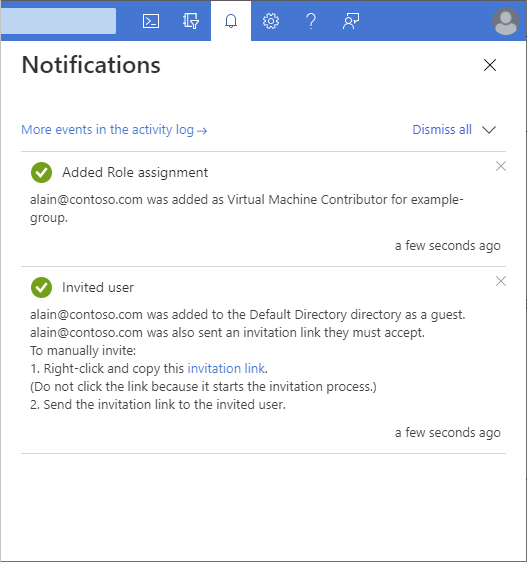
After a few moments, you'll see a notification of the role assignment and information about the invite.
To manually invite the external user, right-click and copy the invitation link in the notification. Don't select the invitation link because it starts the invitation process.
The invitation link will have the following format:
https://login.microsoftonline.com/redeem?rd=https%3a%2f%2finvitations.microsoft.com%2fredeem%2f%3ftenant%3d0000...Send the invitation link to the external user to complete the invitation process.
For more information about the invitation process, see Microsoft Entra B2B collaboration invitation redemption.
Remove an external user from your directory
Before you remove an external user from a directory, you should first remove any role assignments for that external user. Follow these steps to remove an external user from a directory.
Open Access control (IAM) at a scope, such as management group, subscription, resource group, or resource, where the external user has a role assignment.
Select the Role assignments tab to view all the role assignments.
In the list of role assignments, add a check mark next to the external user with the role assignment you want to remove.
Select Remove.
In the remove role assignment message that appears, select Yes.
Select the Classic administrators tab.
If the external user has a Co-Administrator assignment, add a check mark next to the external user and select Remove.
In the left navigation bar, select Microsoft Entra ID > Users.
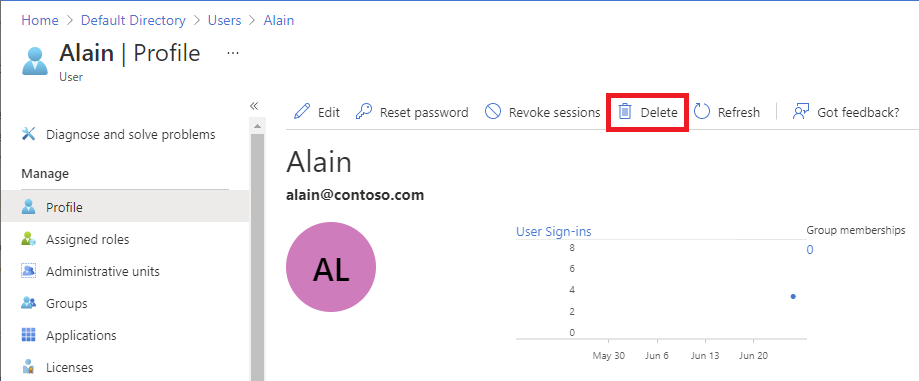
Select the external user you want to remove.
Select Delete.
In the delete message that appears, select Yes.
Troubleshoot
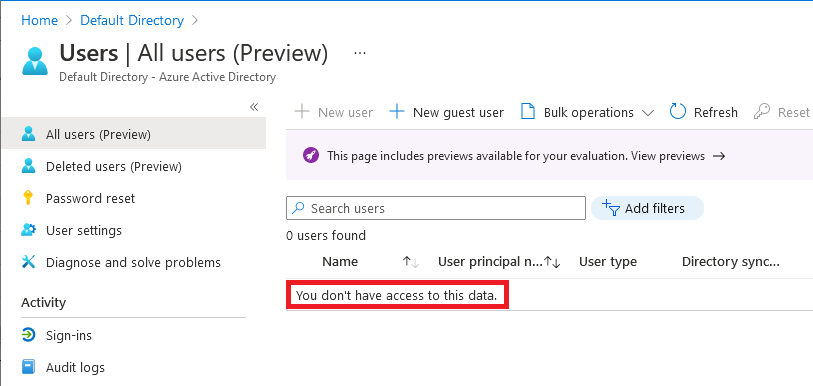
External user cannot browse the directory
External users have restricted directory permissions. For example, external users can't browse the directory and can't search for groups or applications. For more information, see What are the default user permissions in Microsoft Entra ID?.
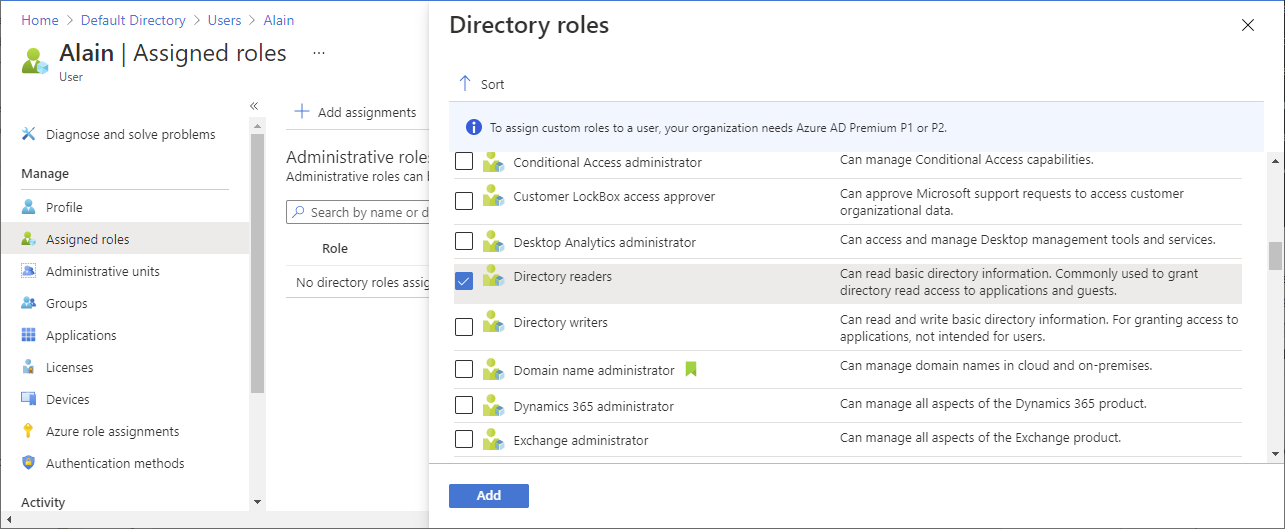
If an external user needs additional privileges in the directory, you can assign a Microsoft Entra role to the external user. If you really want an external user to have full read access to your directory, you can add the external user to the Directory Readers role in Microsoft Entra ID. For more information, see Add Microsoft Entra B2B collaboration users in the Azure portal.
External user cannot browse users, groups, or service principals to assign roles
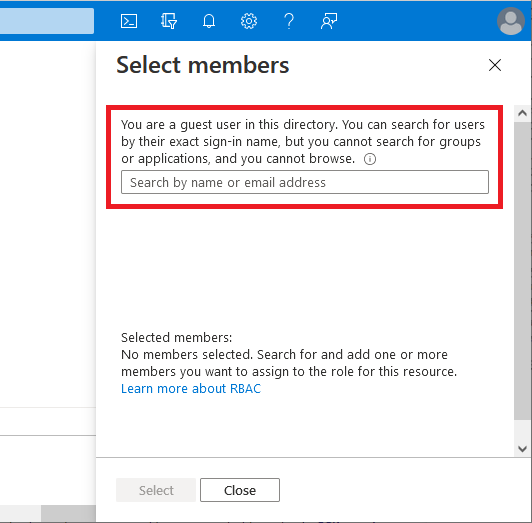
External users have restricted directory permissions. Even if an external user is an Owner at a scope, if they try to assign a role to grant someone else access, they can't browse the list of users, groups, or service principals.
If the external user knows someone's exact sign-in name in the directory, they can grant access. If you really want an external user to have full read access to your directory, you can add the external user to the Directory Readers role in Microsoft Entra ID. For more information, see Add Microsoft Entra B2B collaboration users in the Azure portal.
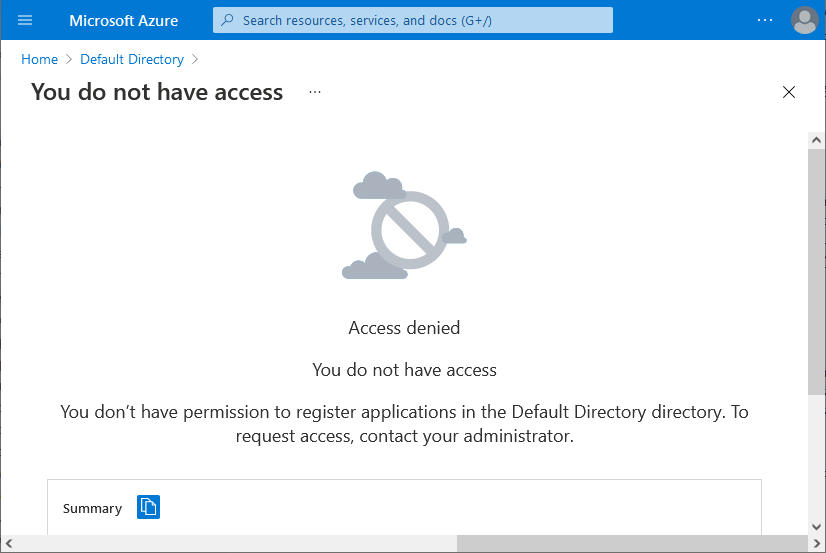
External user cannot register applications or create service principals
External users have restricted directory permissions. If an external user needs to be able to register applications or create service principals, you can add the external user to the Application Developer role in Microsoft Entra ID. For more information, see Add Microsoft Entra B2B collaboration users in the Azure portal.
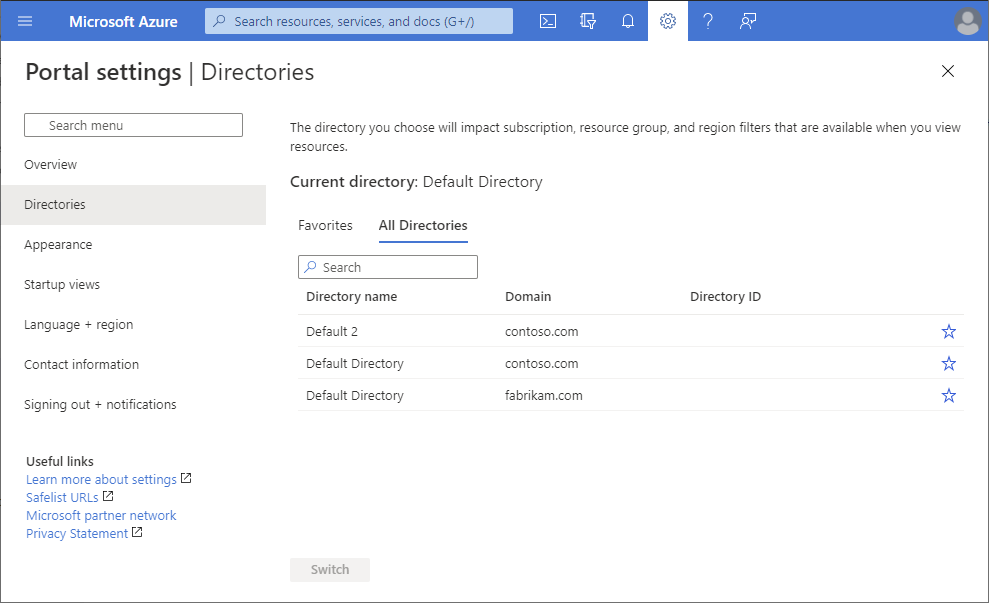
External user does not see the new directory
If an external user has been granted access to a directory, but they don't see the new directory listed in the Azure portal when they try to switch in their Directories page, make sure the external user has completed the invitation process. For more information about the invitation process, see Microsoft Entra B2B collaboration invitation redemption.
External user does not see resources
If an external user has been granted access to a directory, but they don't see the resources they have been granted access to in the Azure portal, make sure the external user has selected the correct directory. An external user might have access to multiple directories. To switch directories, in the upper left, select Settings > Directories, and then select the appropriate directory.
