Scale storage performance
APPLIES TO:  Azure Database for PostgreSQL - Flexible Server
This article provides step-by-step instructions to perform scaling operations of the performance related aspects of the storage attached to an Azure Database for PostgreSQL flexible server.
If your server is using Premium SSD disk, you can use a performance tier higher than the original baseline to meet higher demand. The baseline performance tier is set based on the provisioned disk size. For more information, see Performance tiers for managed disks.
If your server is using Premium SSD v2 disk, you can also adjust, independently, the IOPS and throughput of your disk. For more information, see Premium SSD v2 performance.
Steps to scale storage performance tier (Premium SSD)
Important
If you increase the performance tier of your disk, you can only decrease it to a lower tier 12 hours after the last increase. This restriction is in place to ensure stability and performance after any changes to your server's configuration.
Any attempt to decrease the performance tier within the 12 hours after increasing it, produces the following error:
Code: PerformanceTierCannotBeDowngradedBefore12HoursError
Message: Unable to downgrade storage tier: A higher tier was explicitly set on the server at <mm/dd/yyyy hh:mm:ss AM|PM +00:00>. Tier can only be downgraded after 12 hours
Using the Azure portal:
Select your Azure Database for PostgreSQL flexible server.
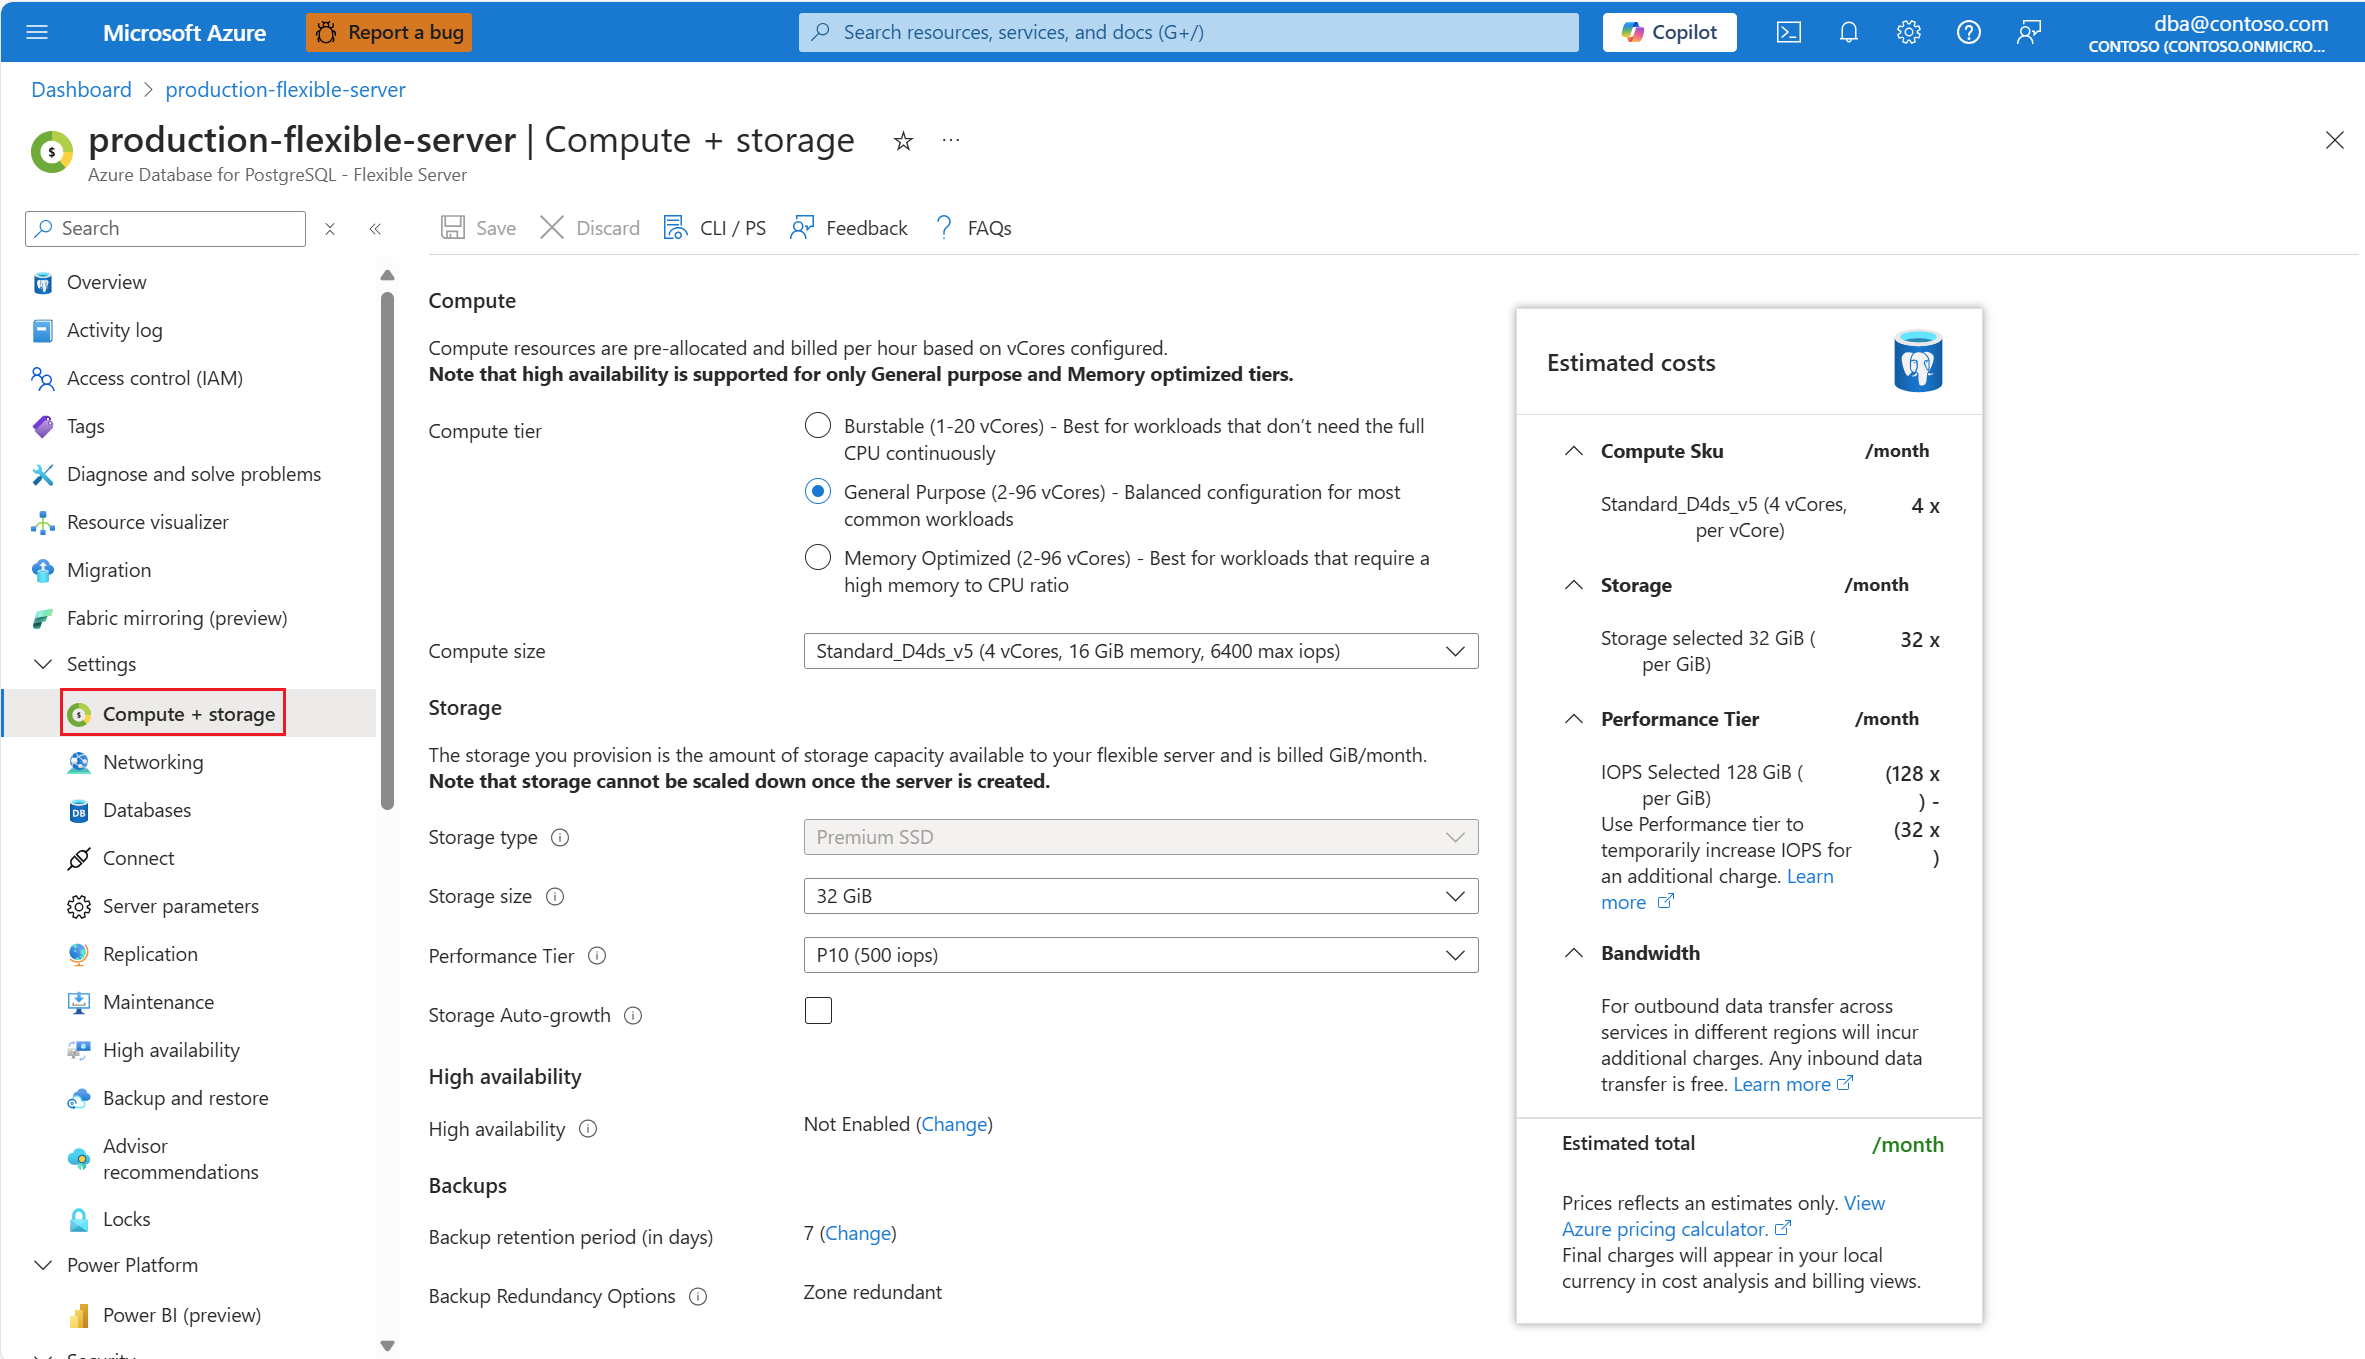
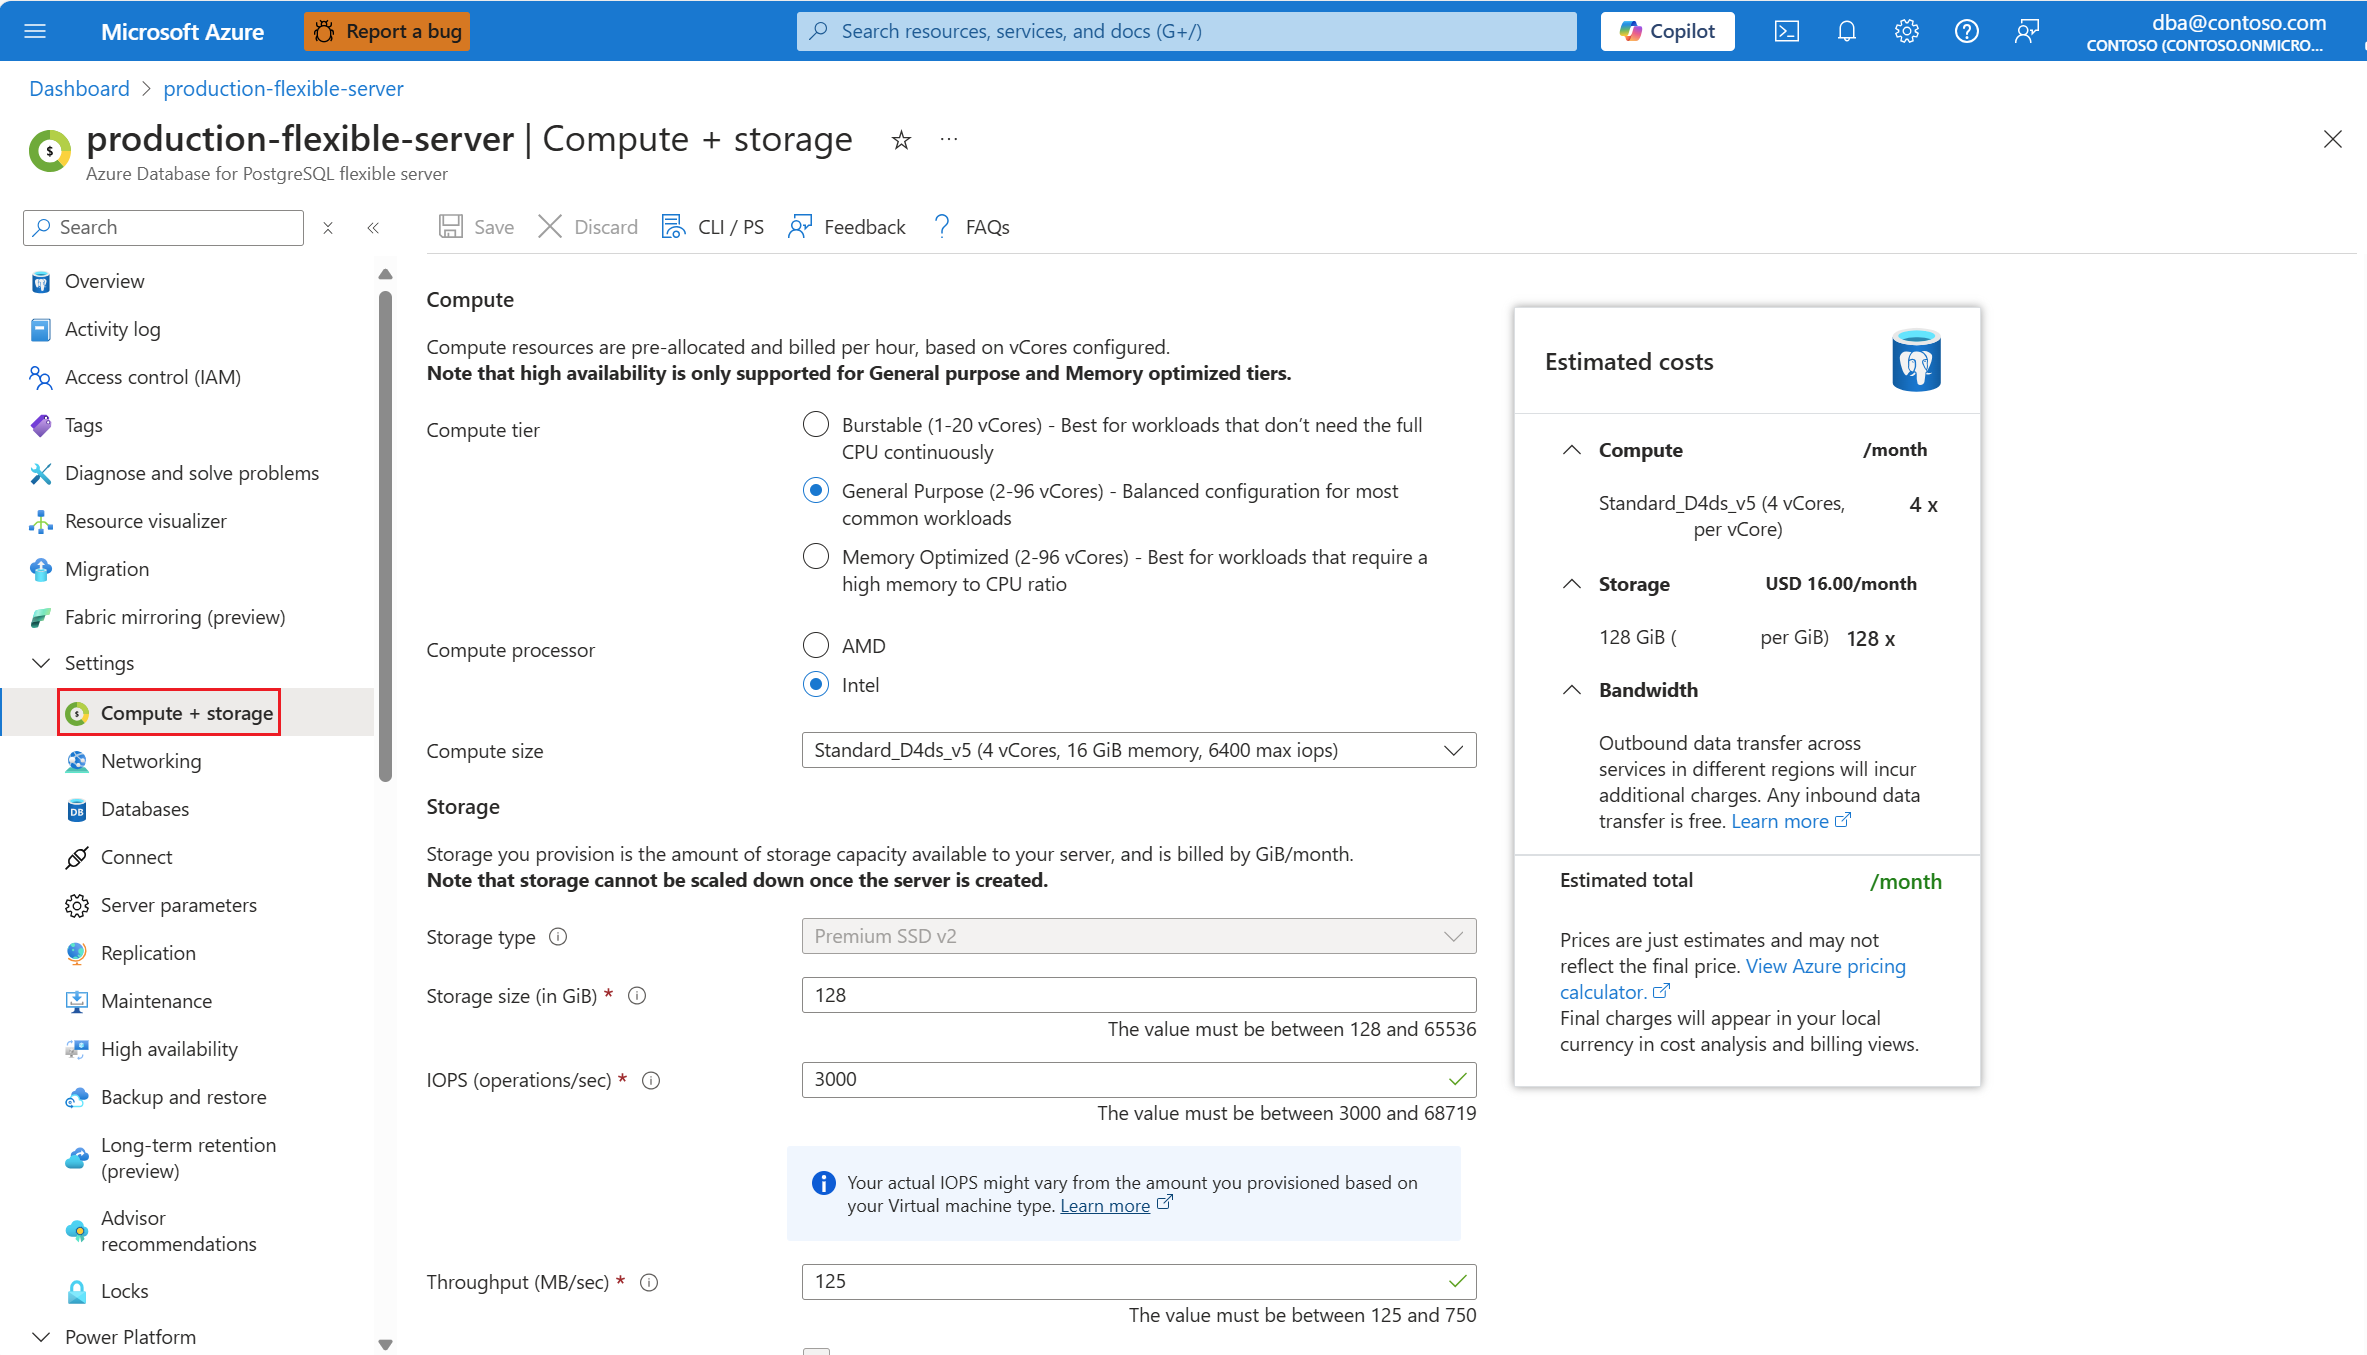
In the resource menu, select Compute + storage.
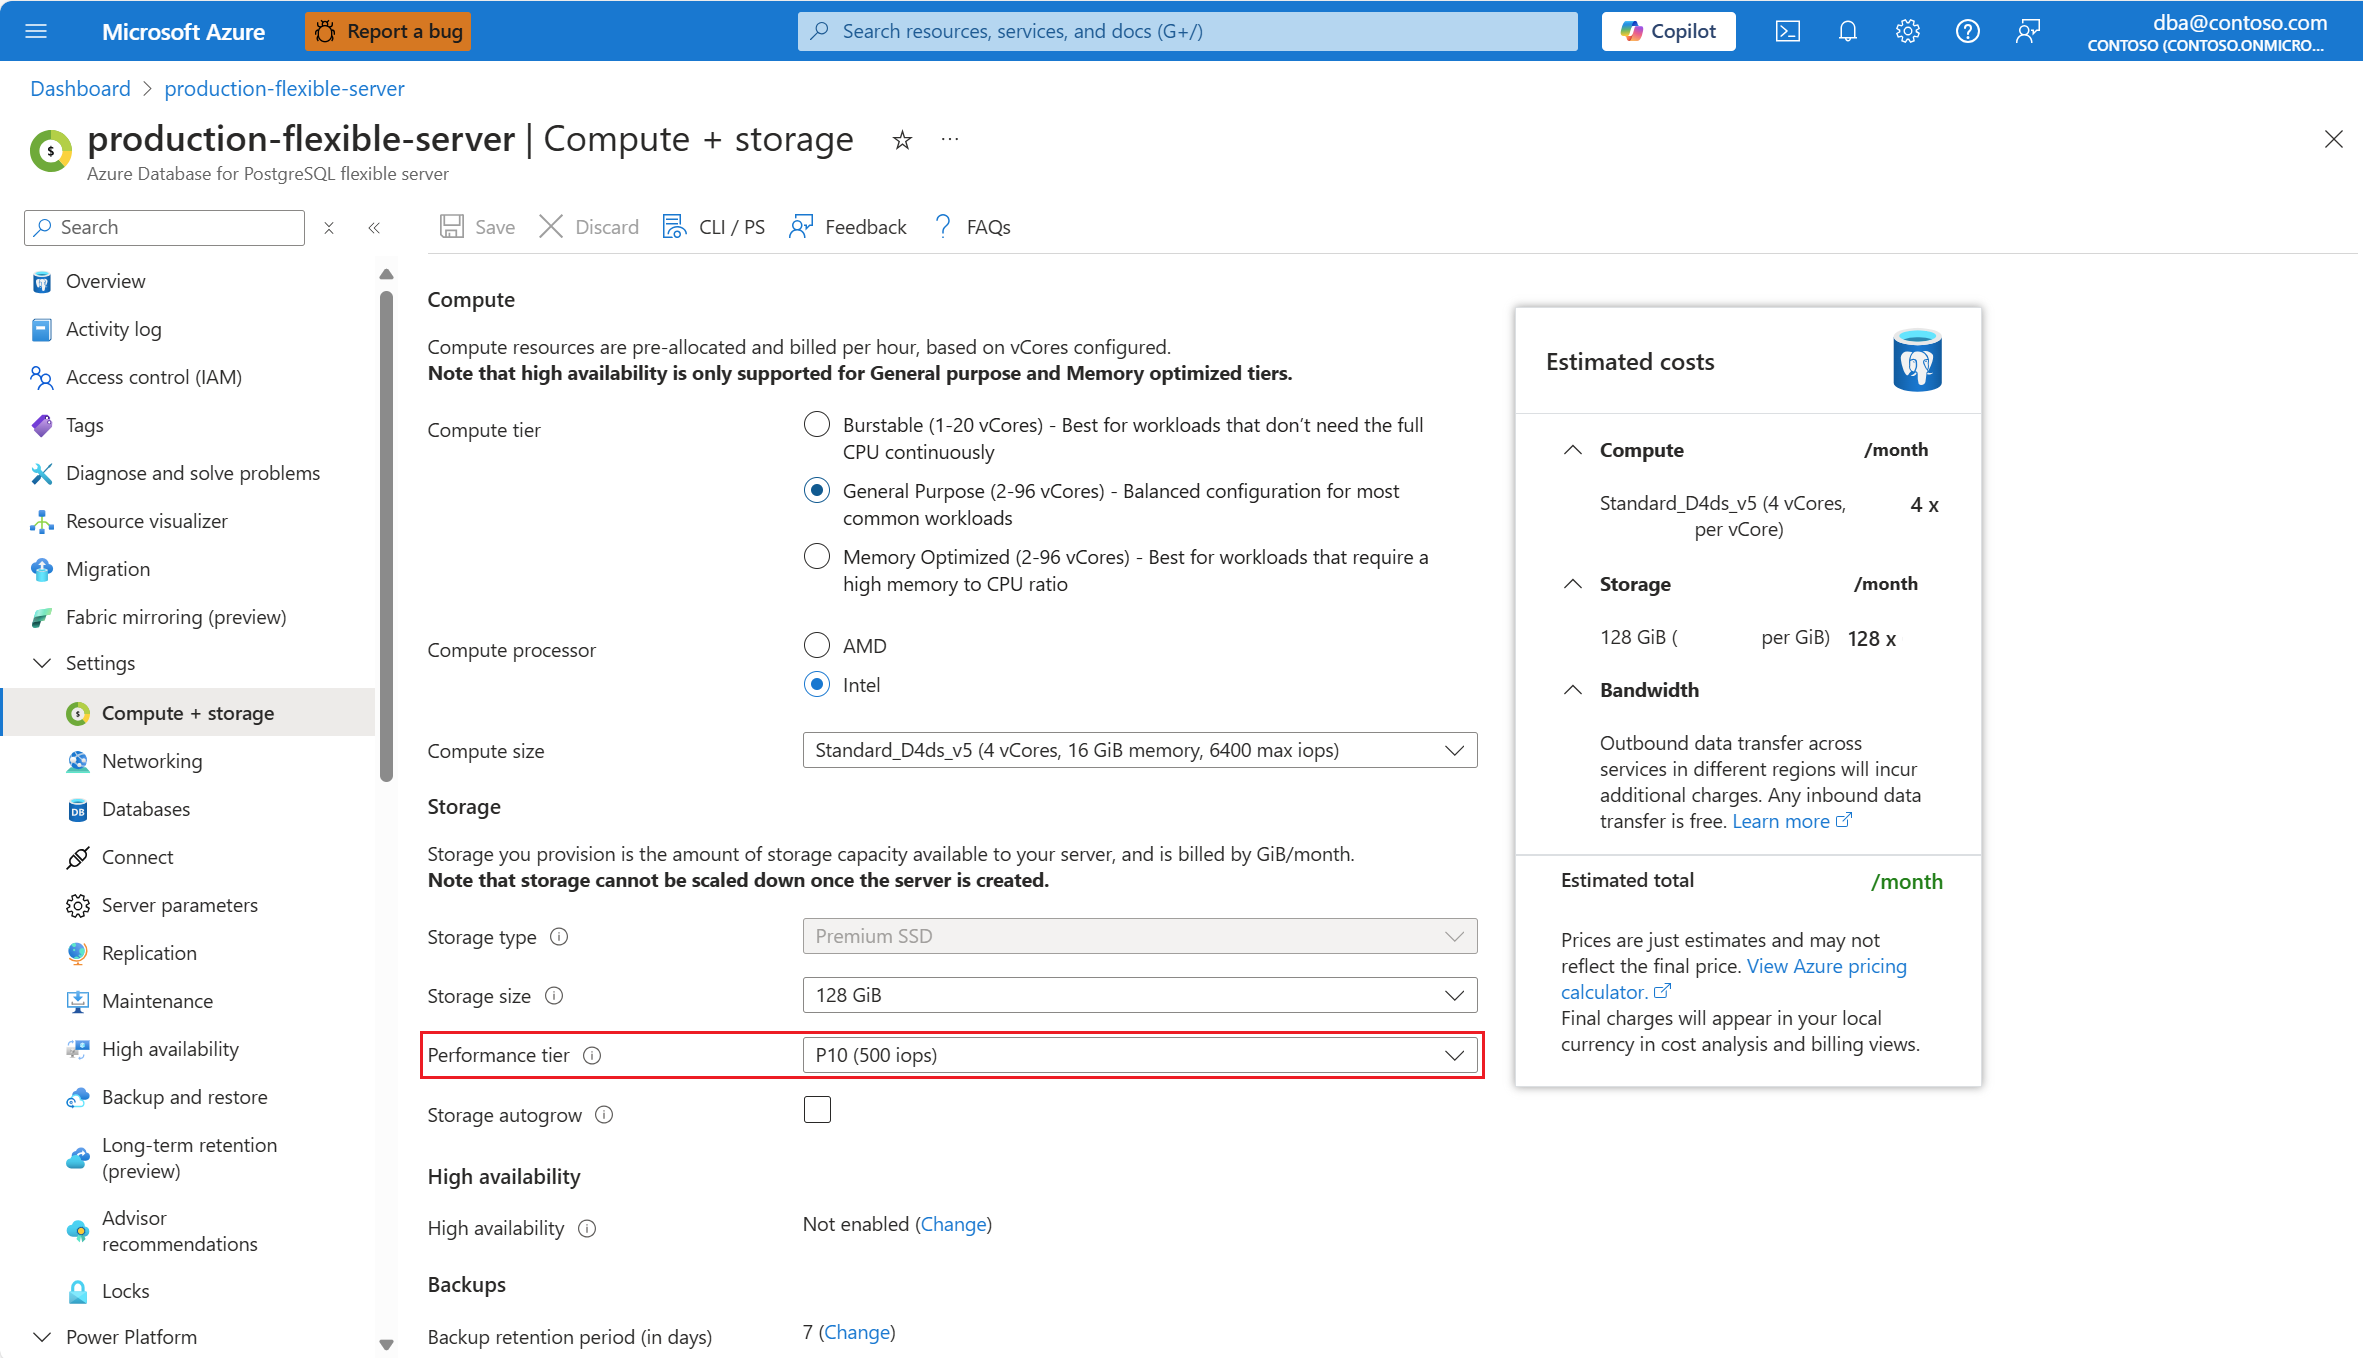
If you want to increase the performance tier of the disk allocated to your server, expand the Performance Tier drop-down and select the tier that suits your needs. Smallest tier that can be assigned to a disk, depends on the allocated size of the disk. That smallest tier is referred to as the baseline performance tier of a disk of that size. If you increase the performance tier, you're increasing the maximum IOPS and throughput of the disk. To learn about the baseline performance tiers set for each size of a disk, and the tiers to which you can upgrade, see what Premium SSD disk performance tiers can be changed.
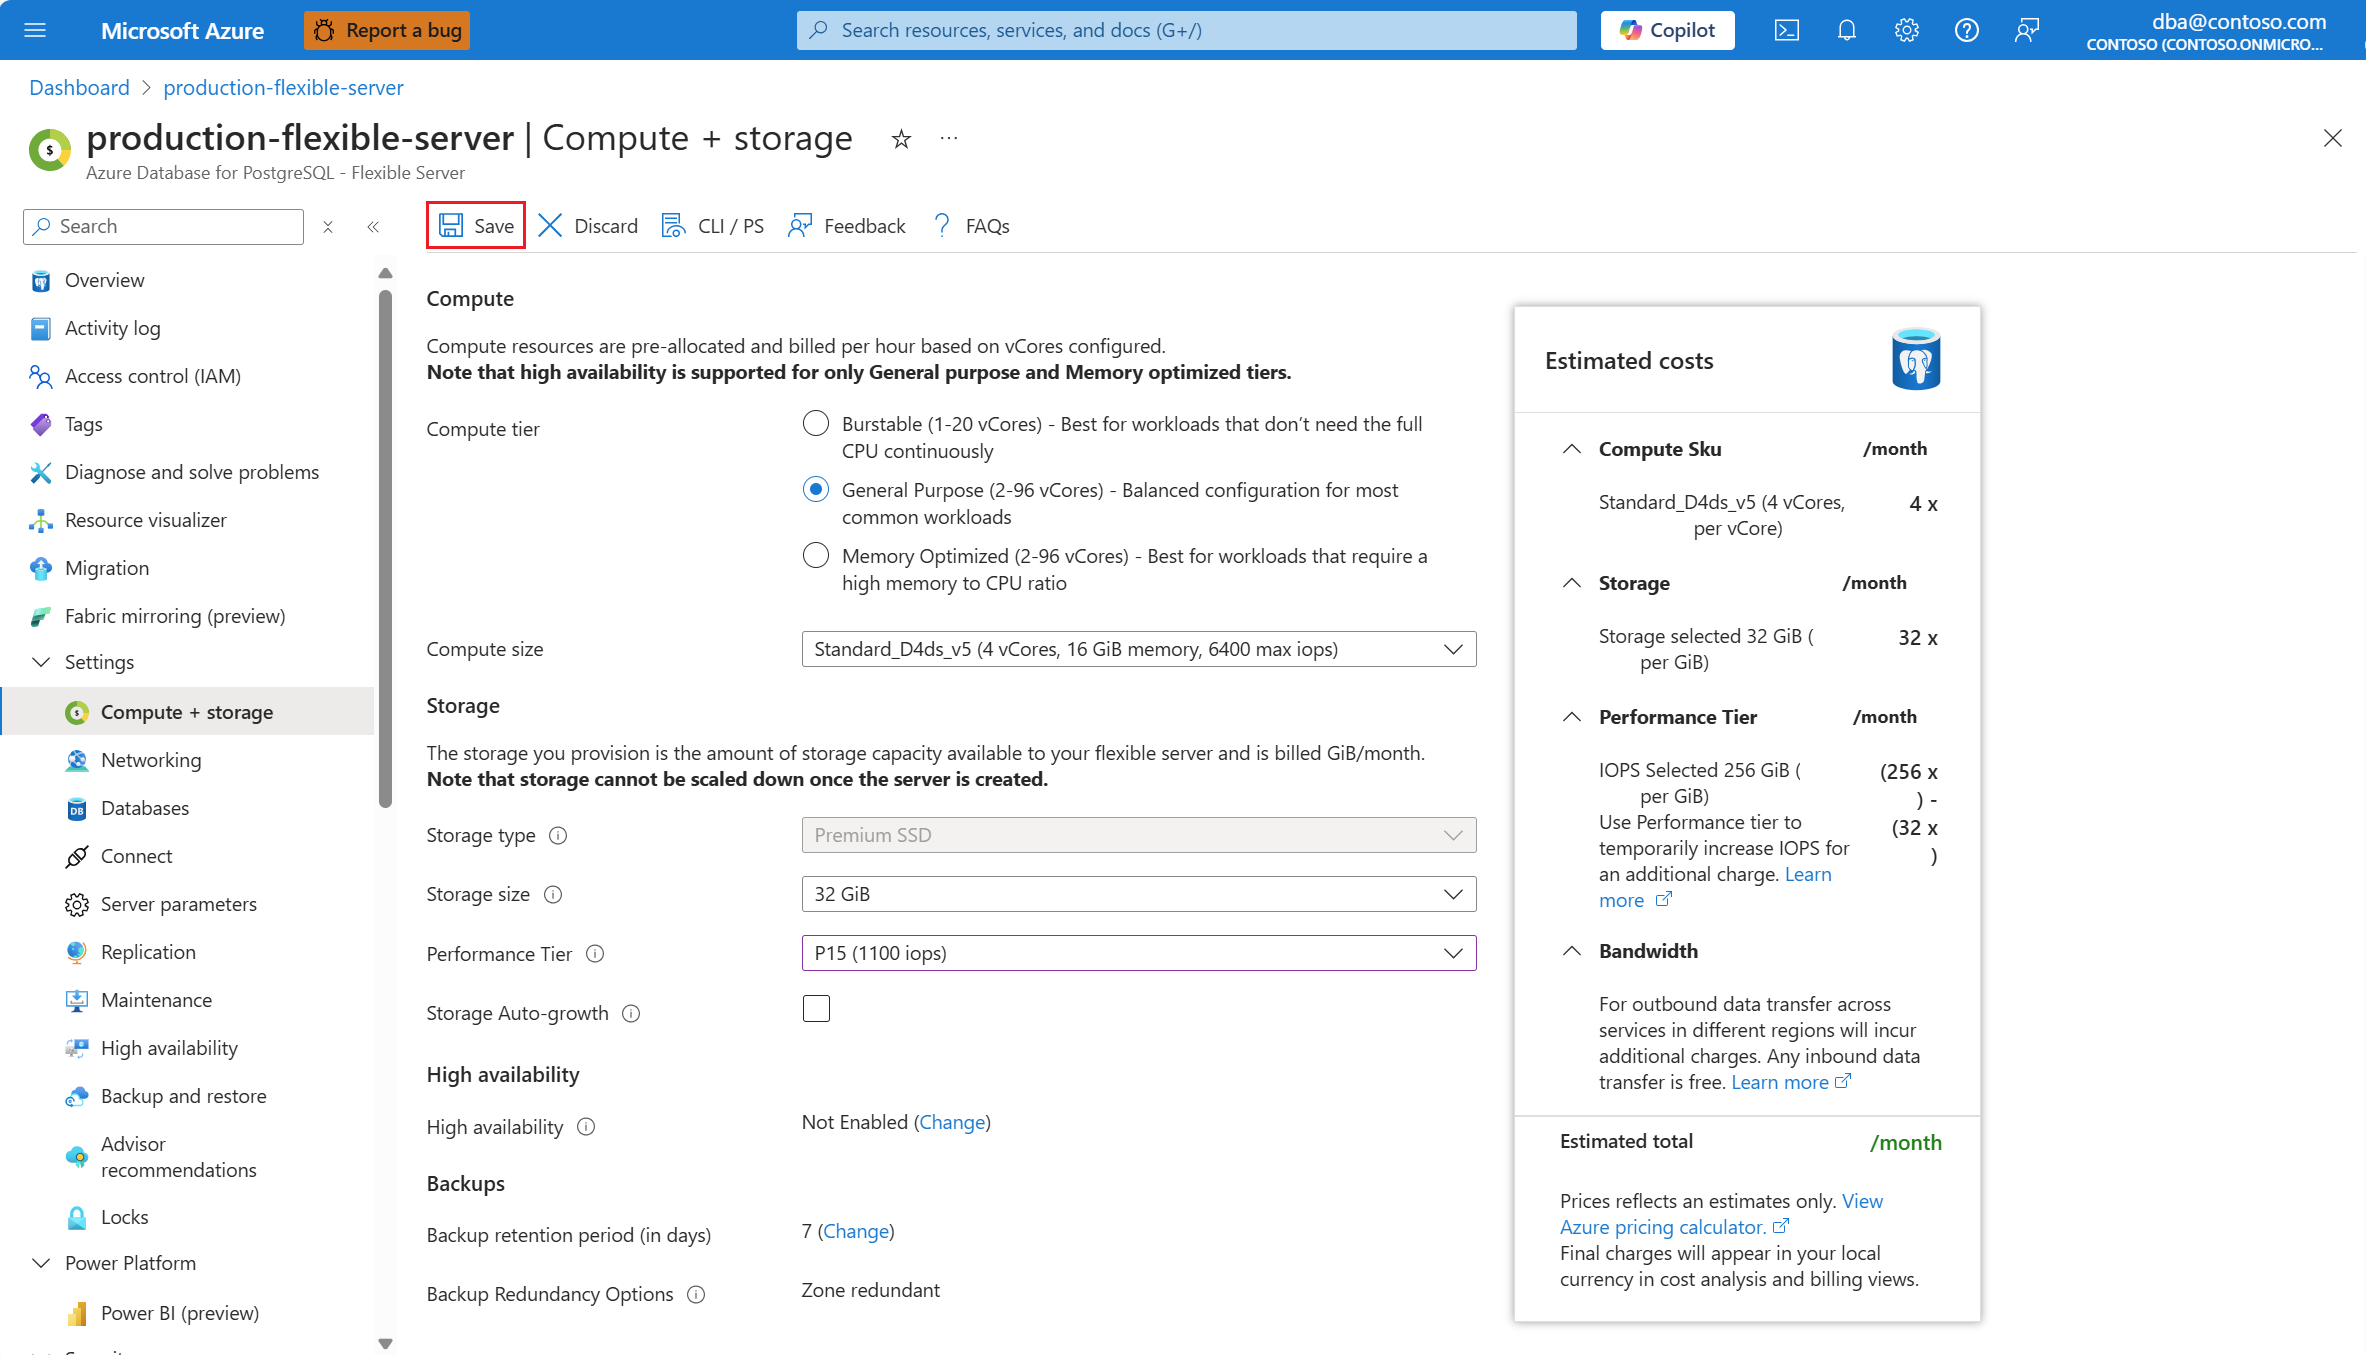
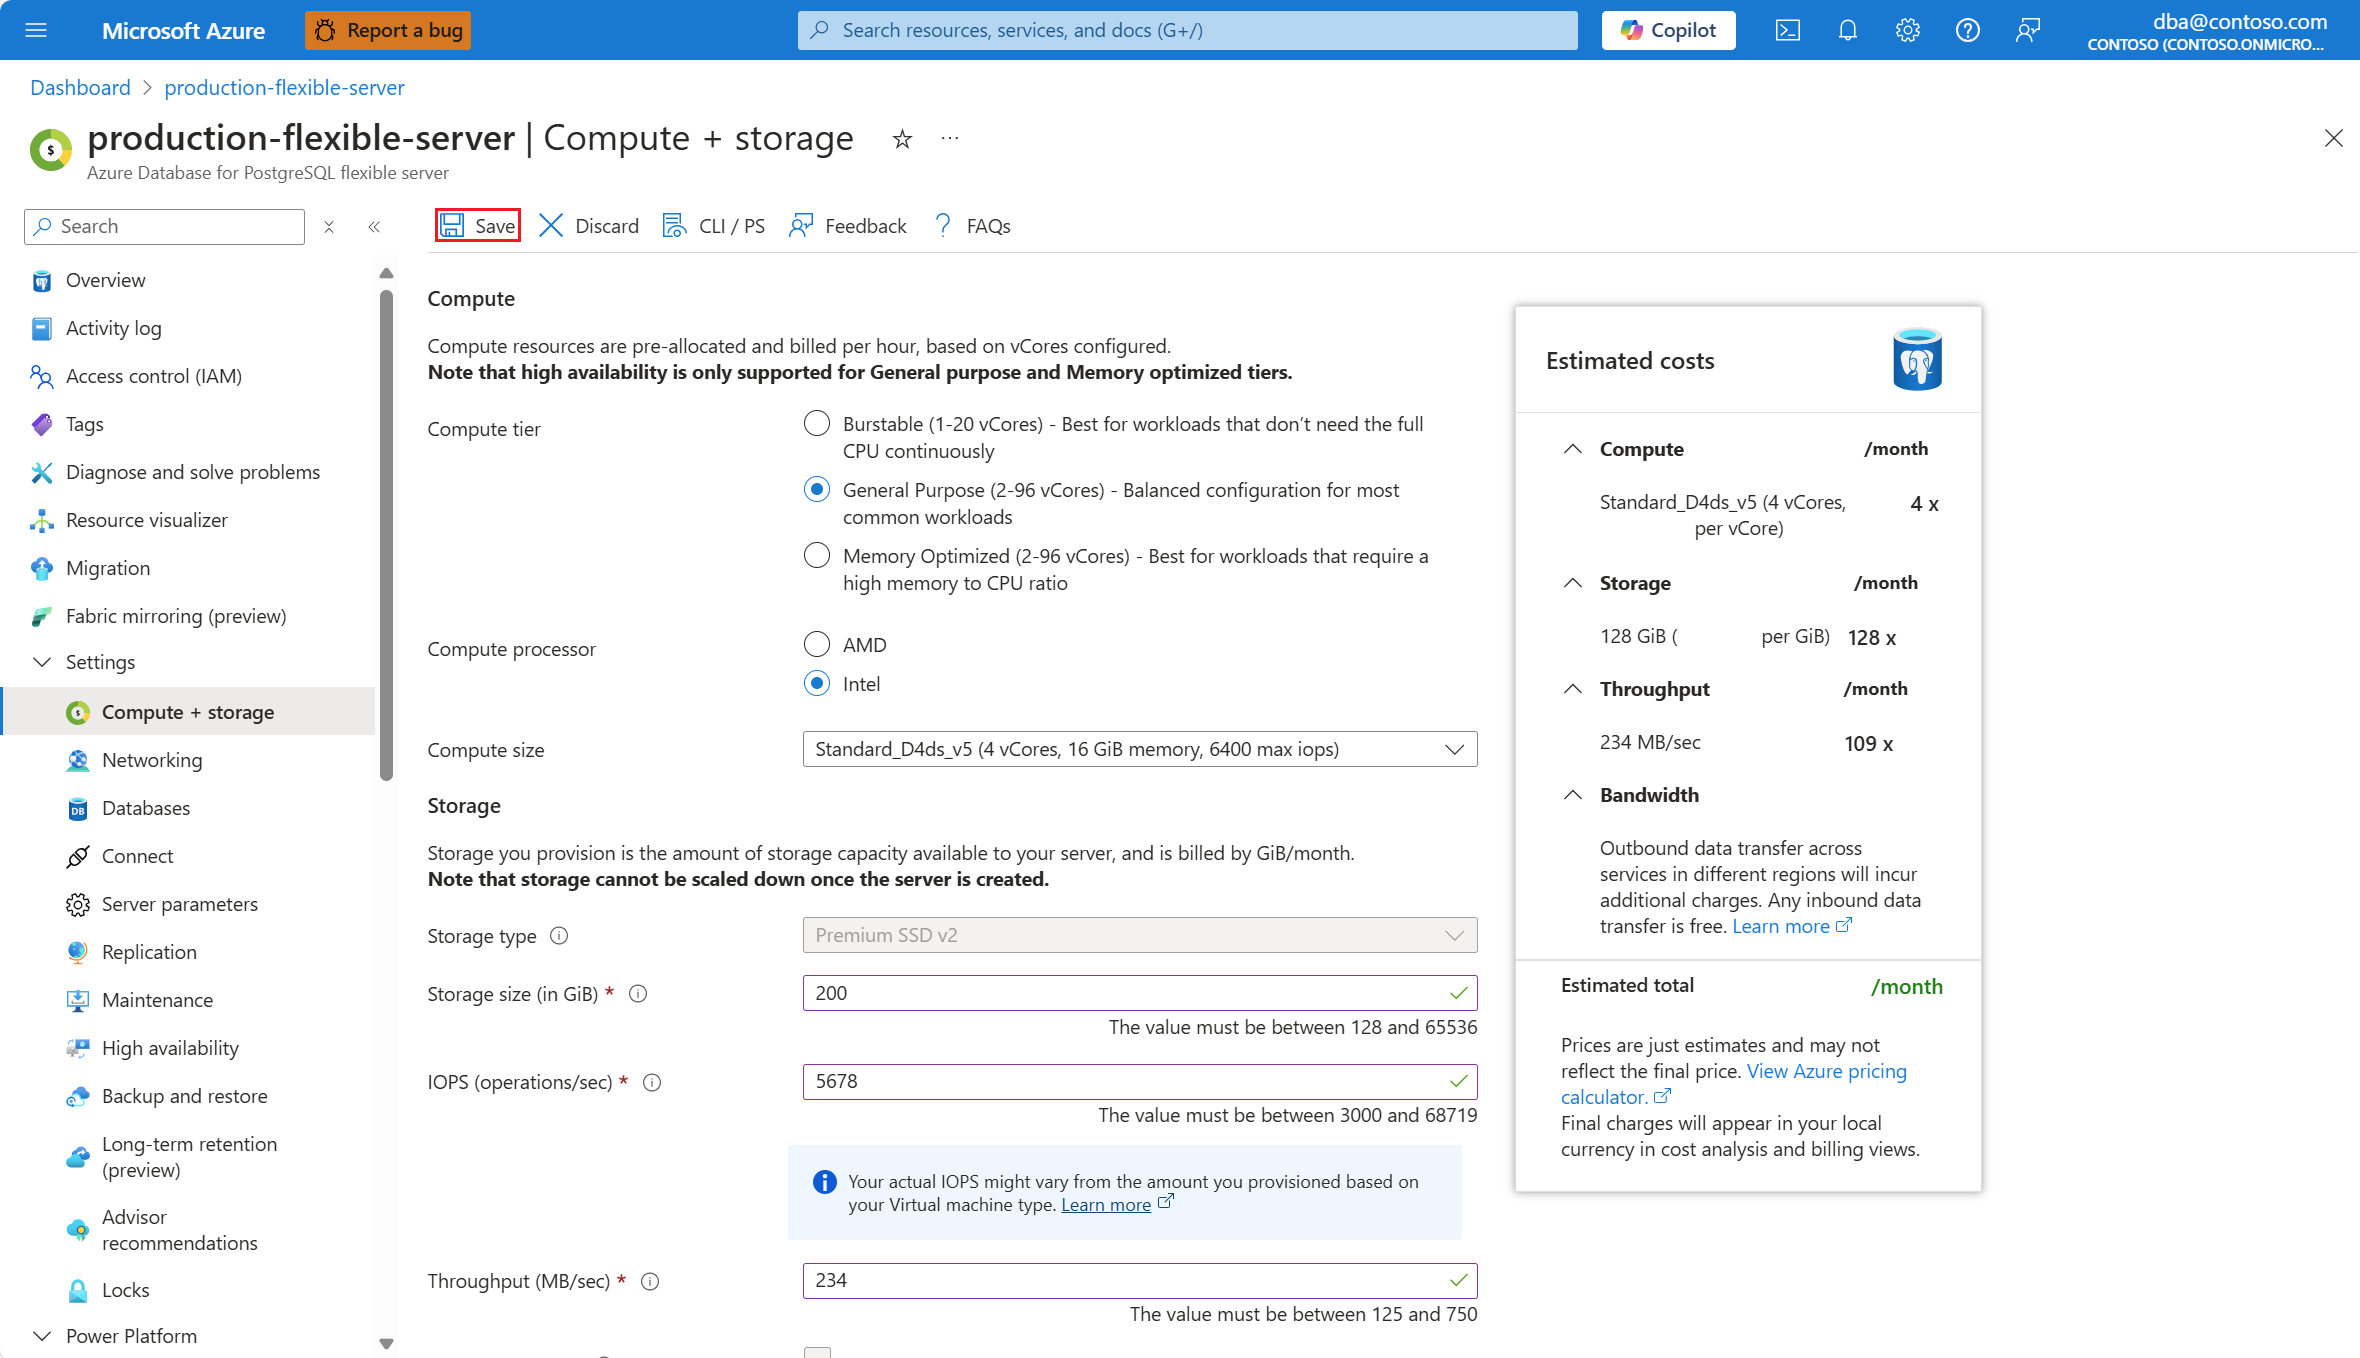
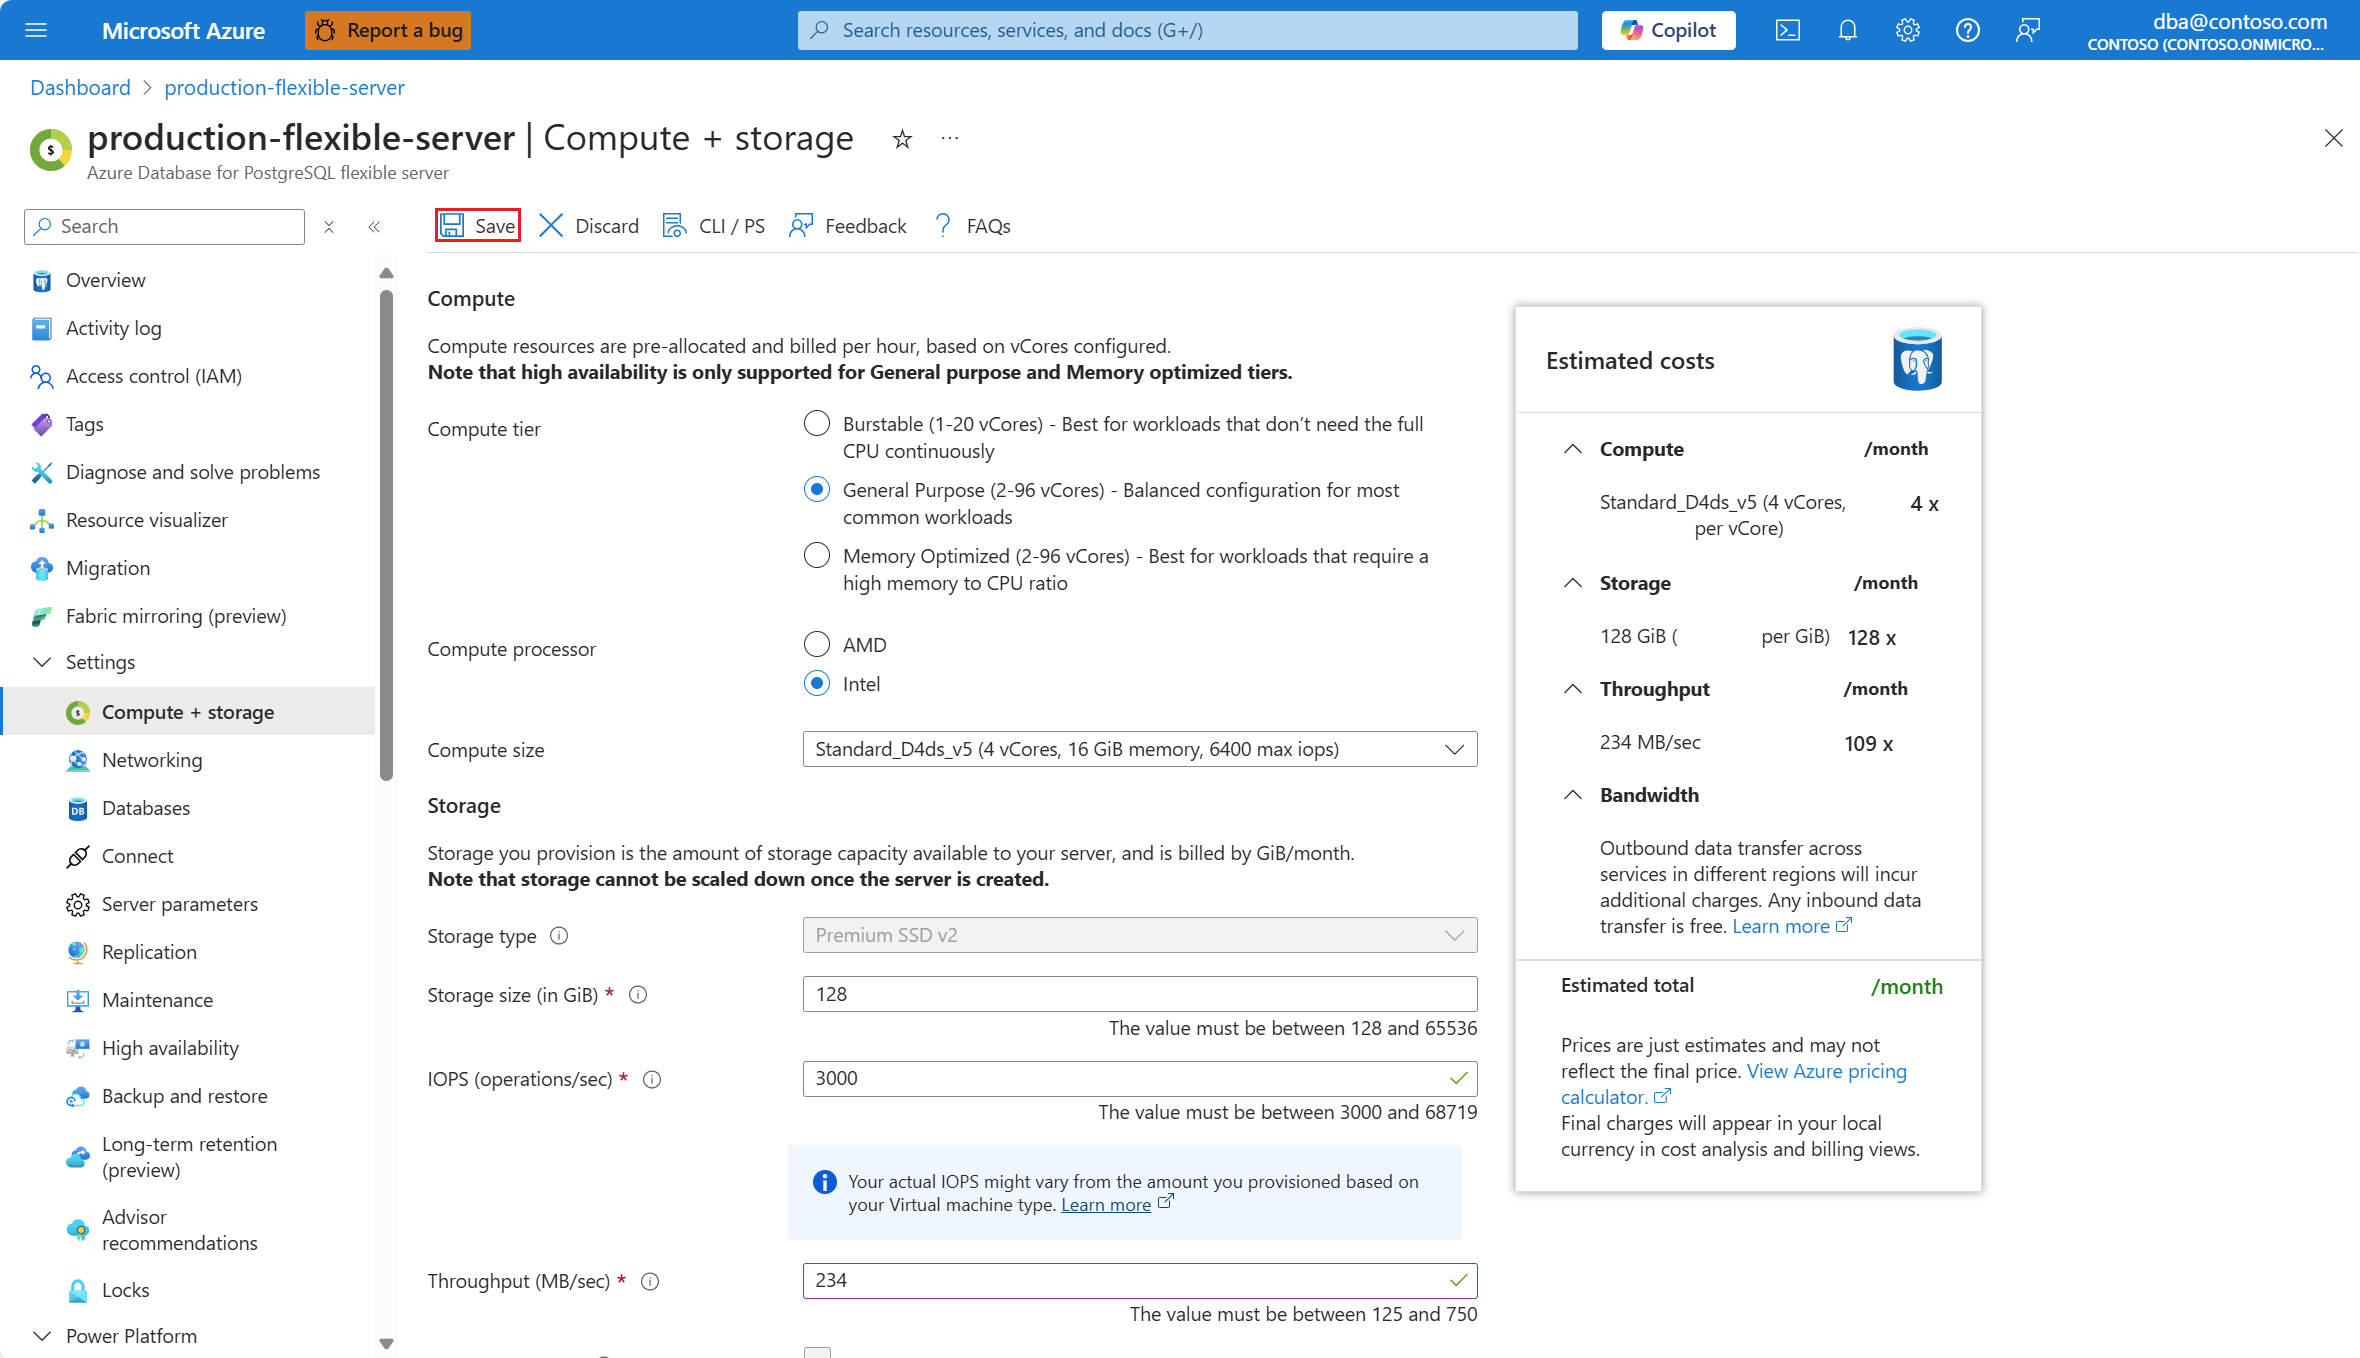
Select Save.
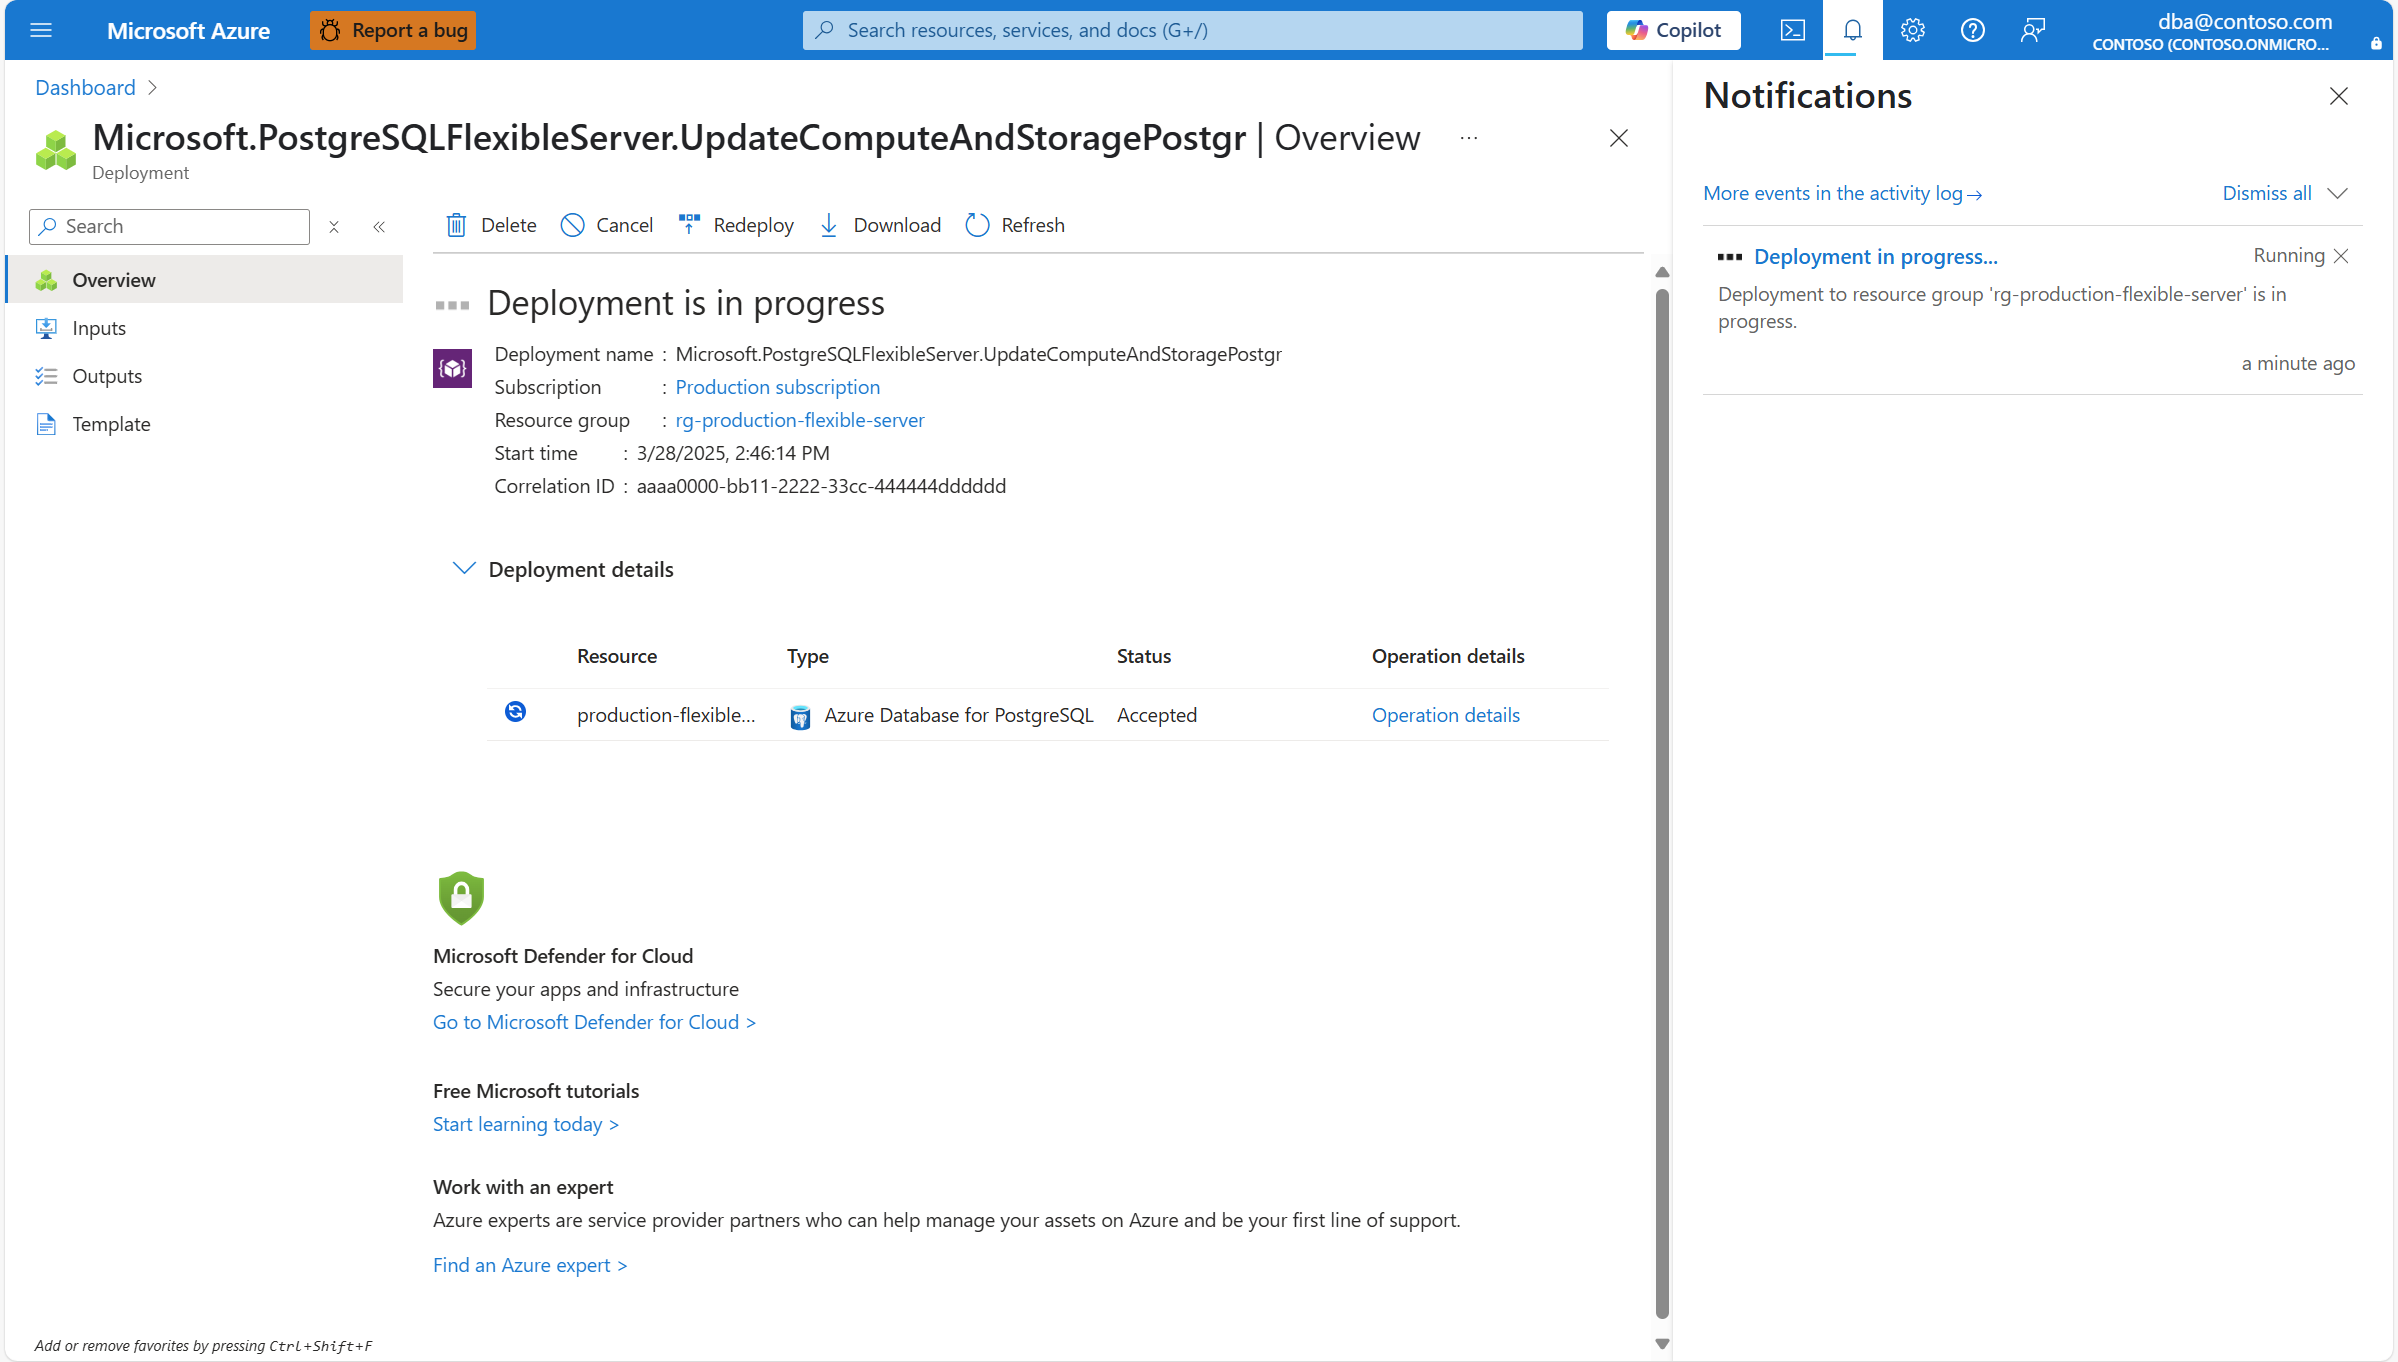
A notification shows that a deployment is in progress.

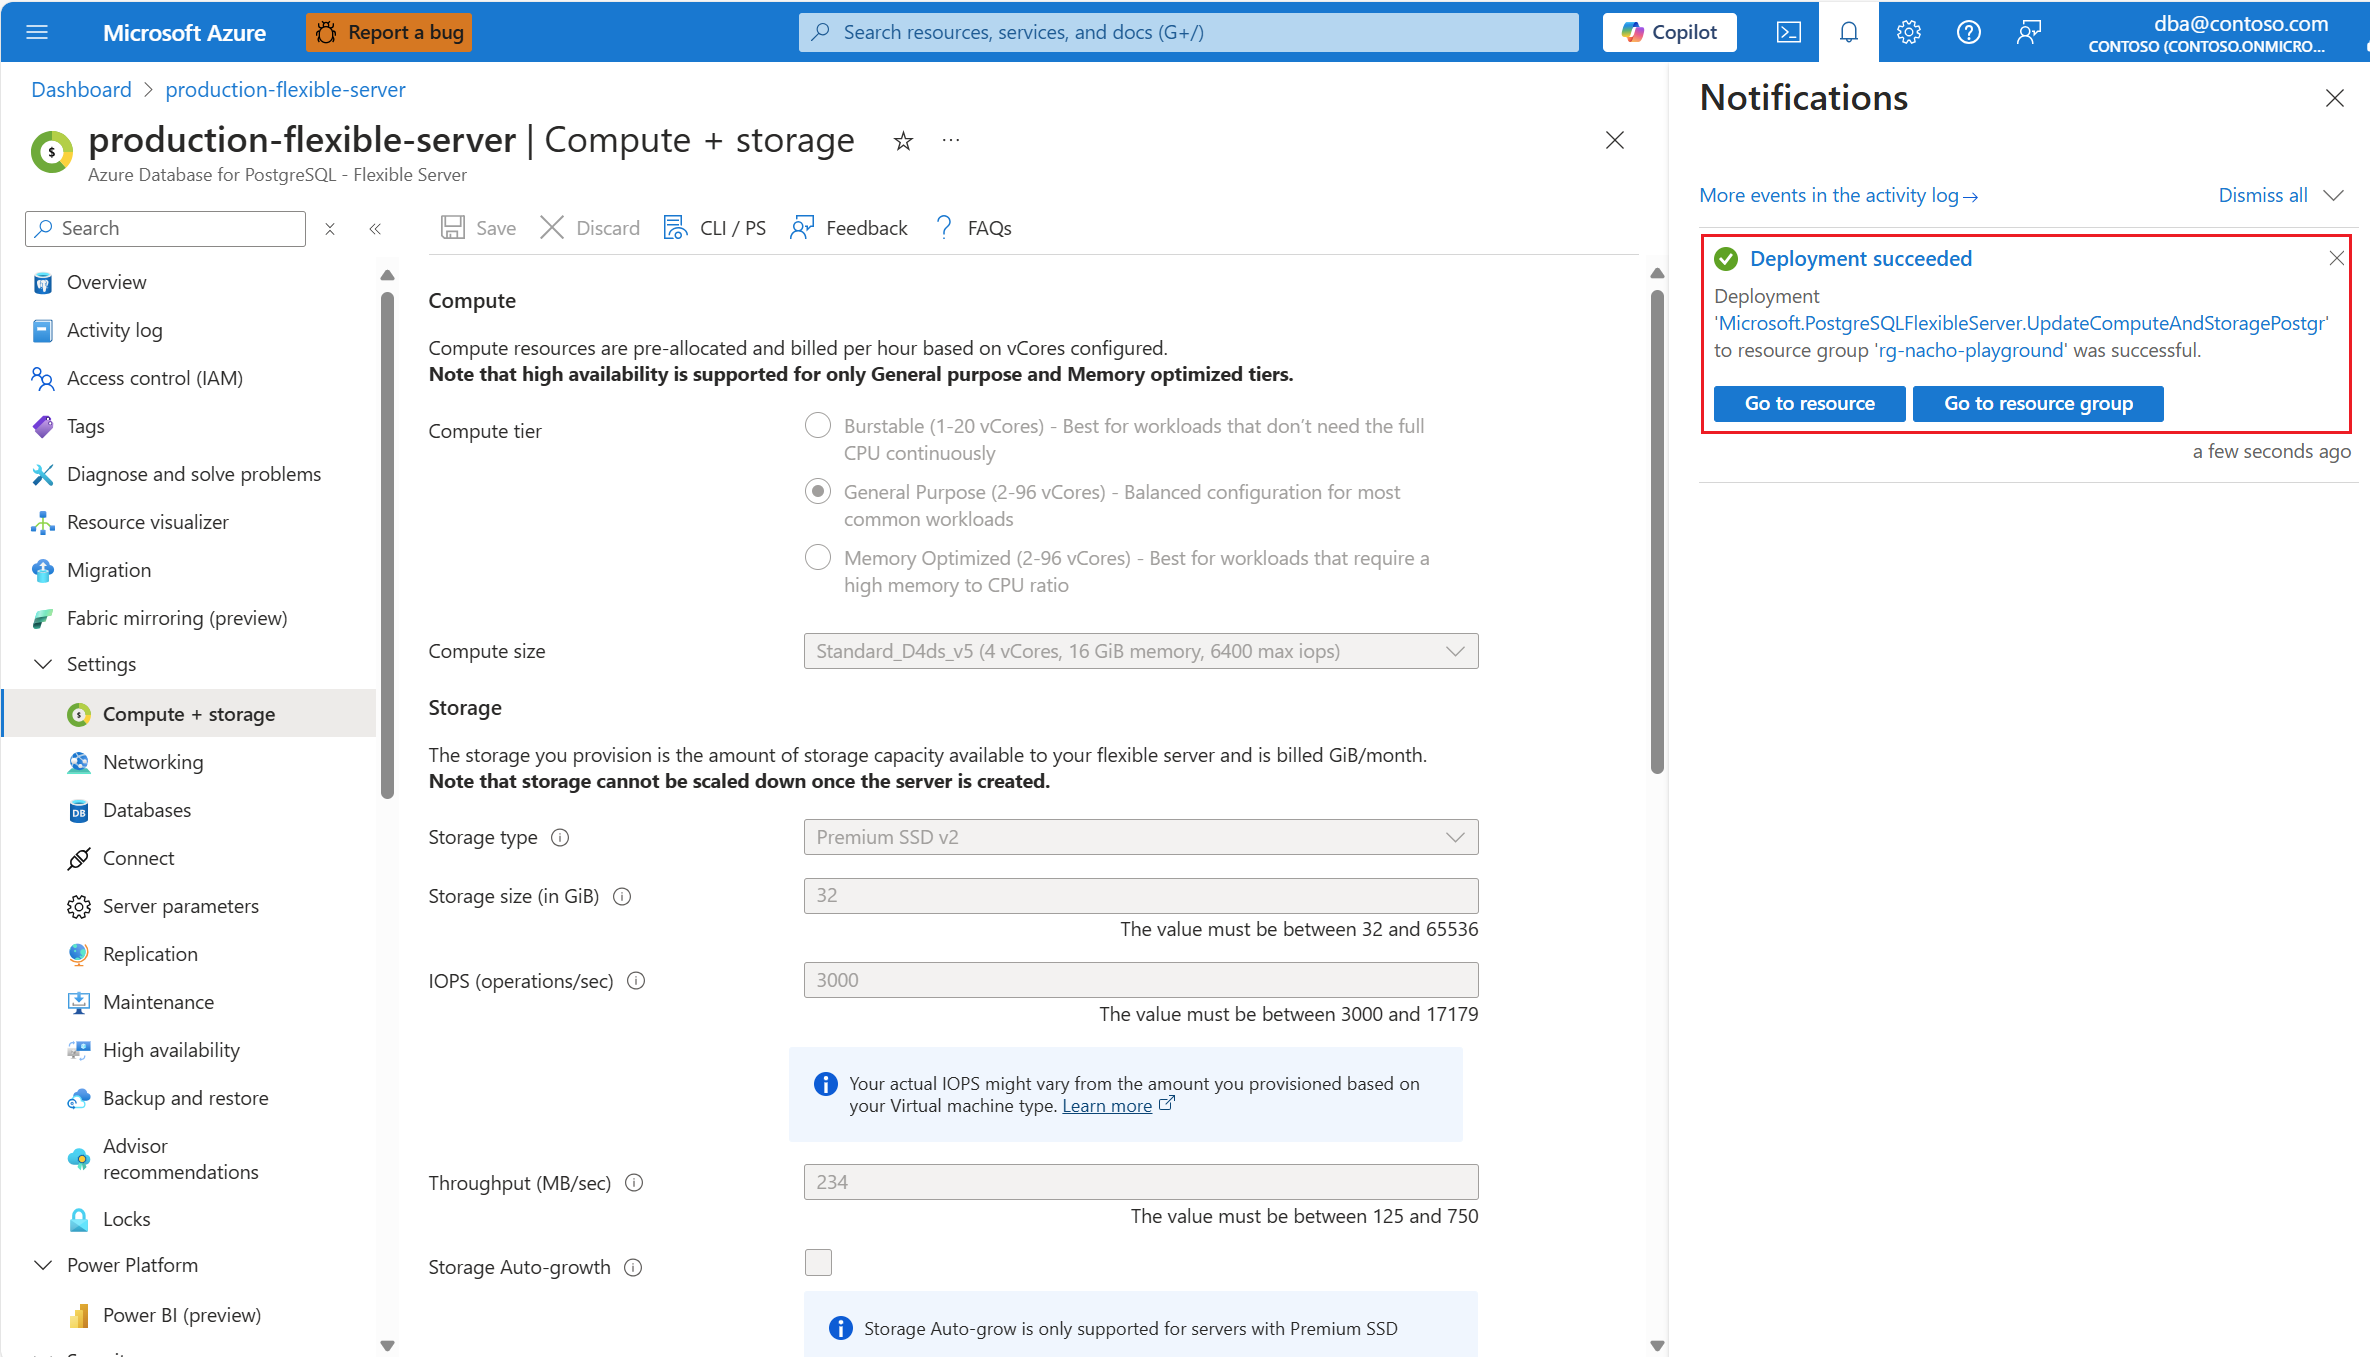
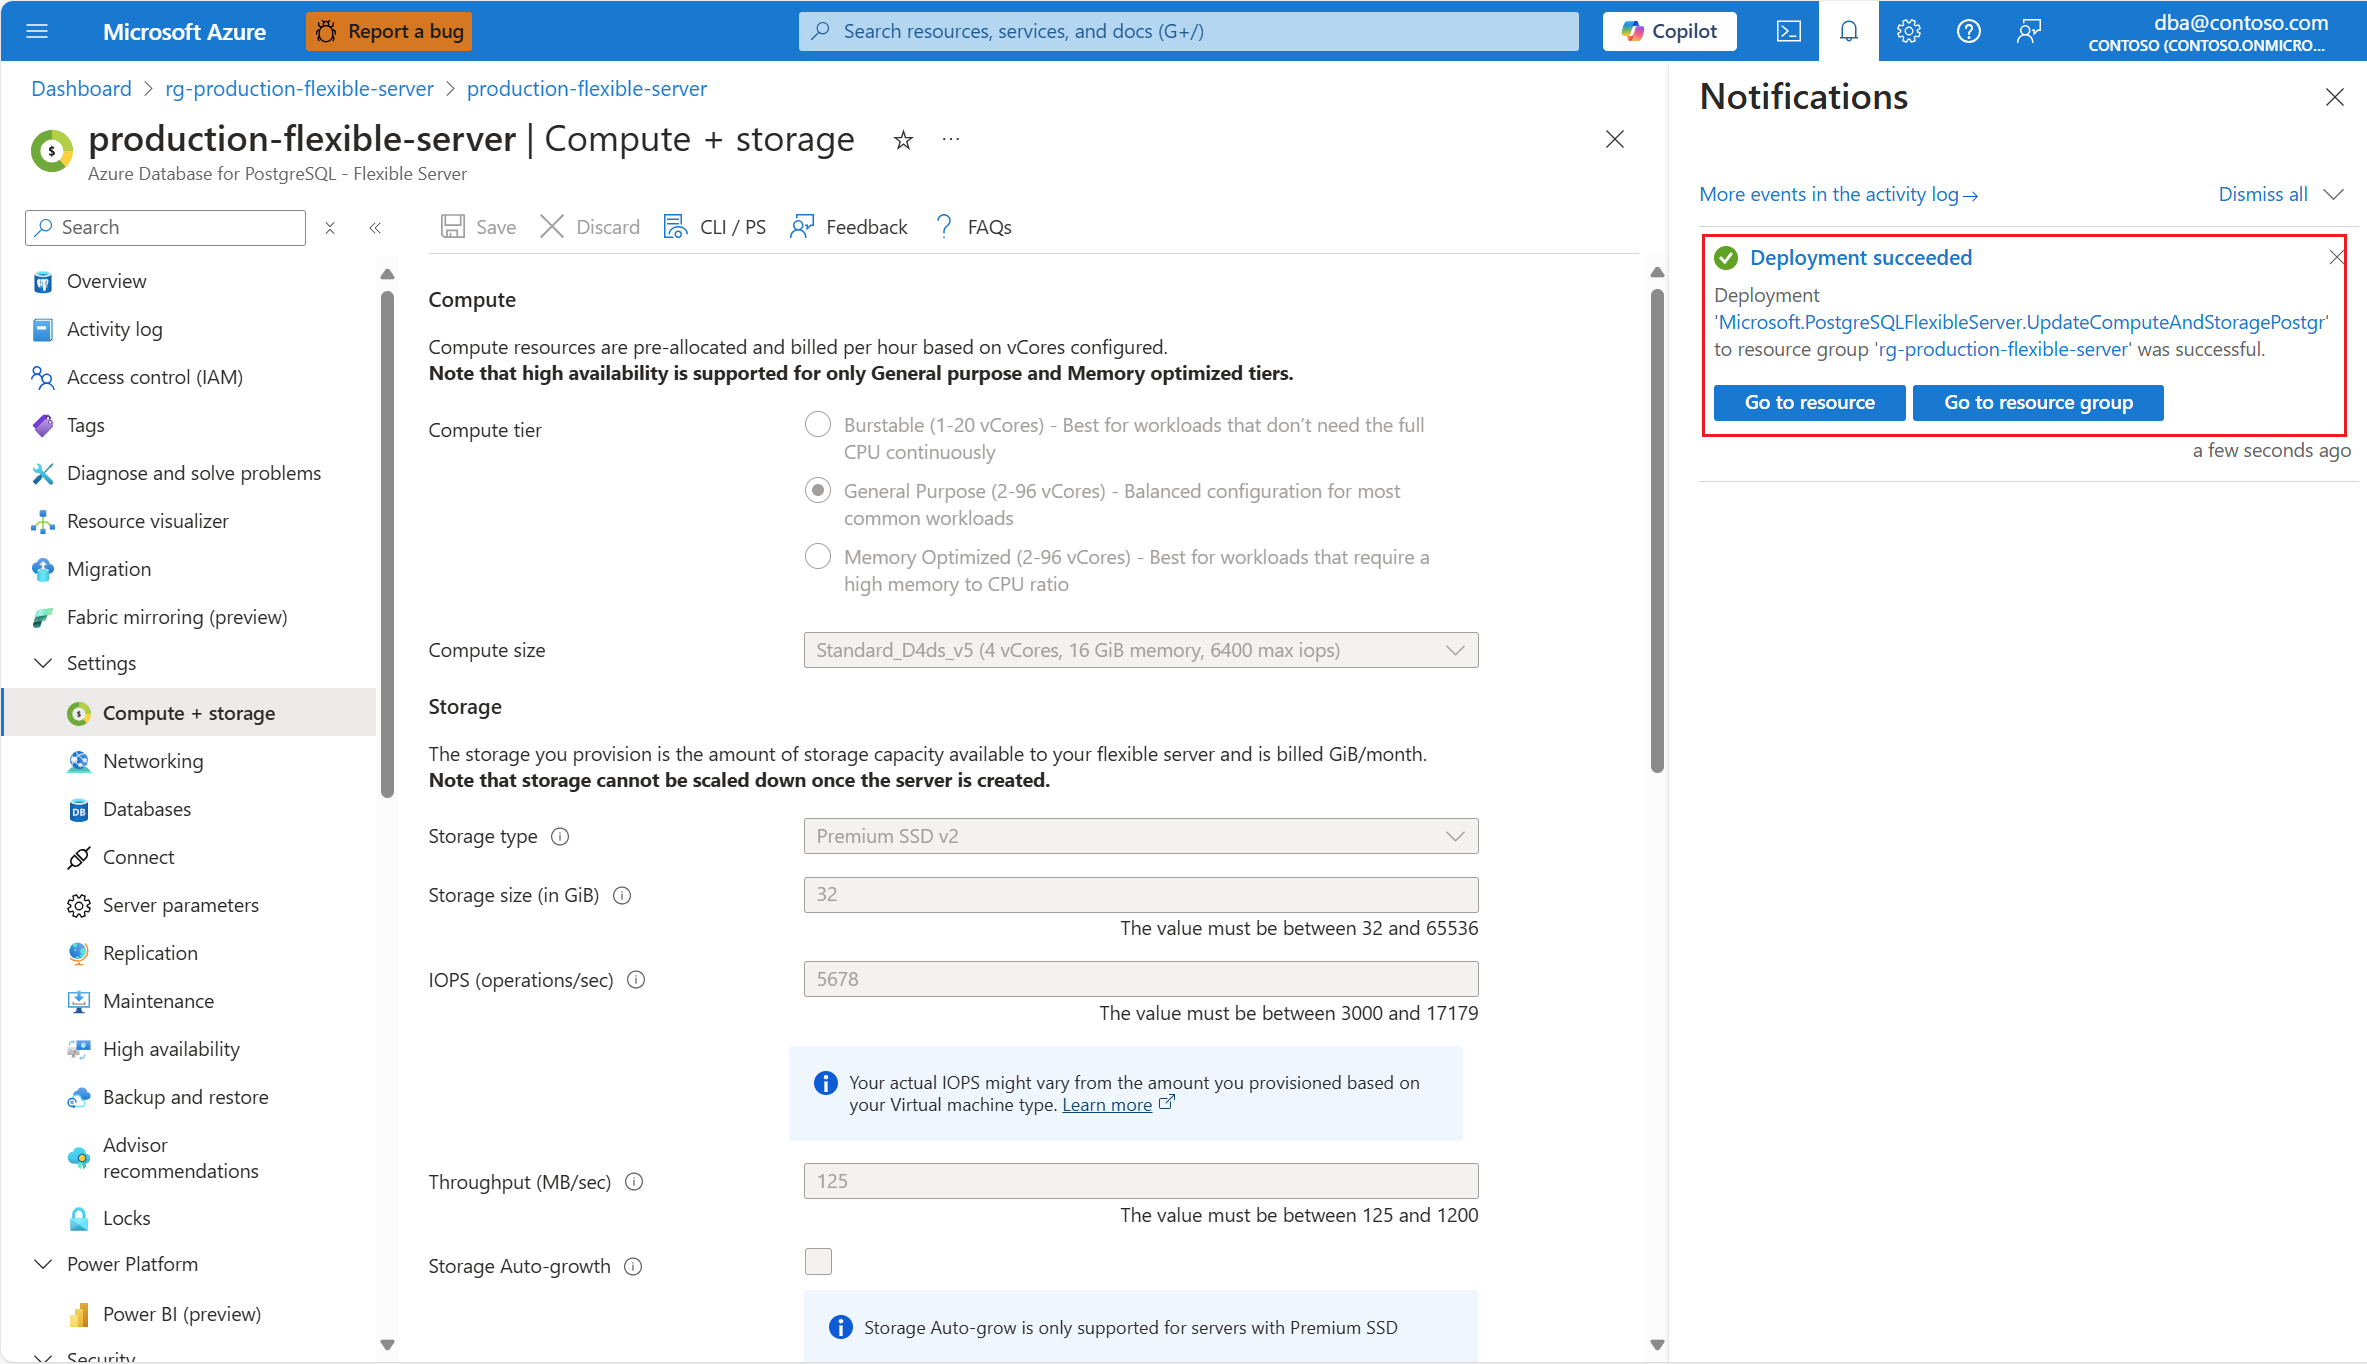
When the scale process completes, a notification shows that the deployment succeeded.


Steps to scale storage IOPS (Premium SSD v2)
Using the Azure portal:
Select your Azure Database for PostgreSQL flexible server.
In the resource menu, select Compute + storage.
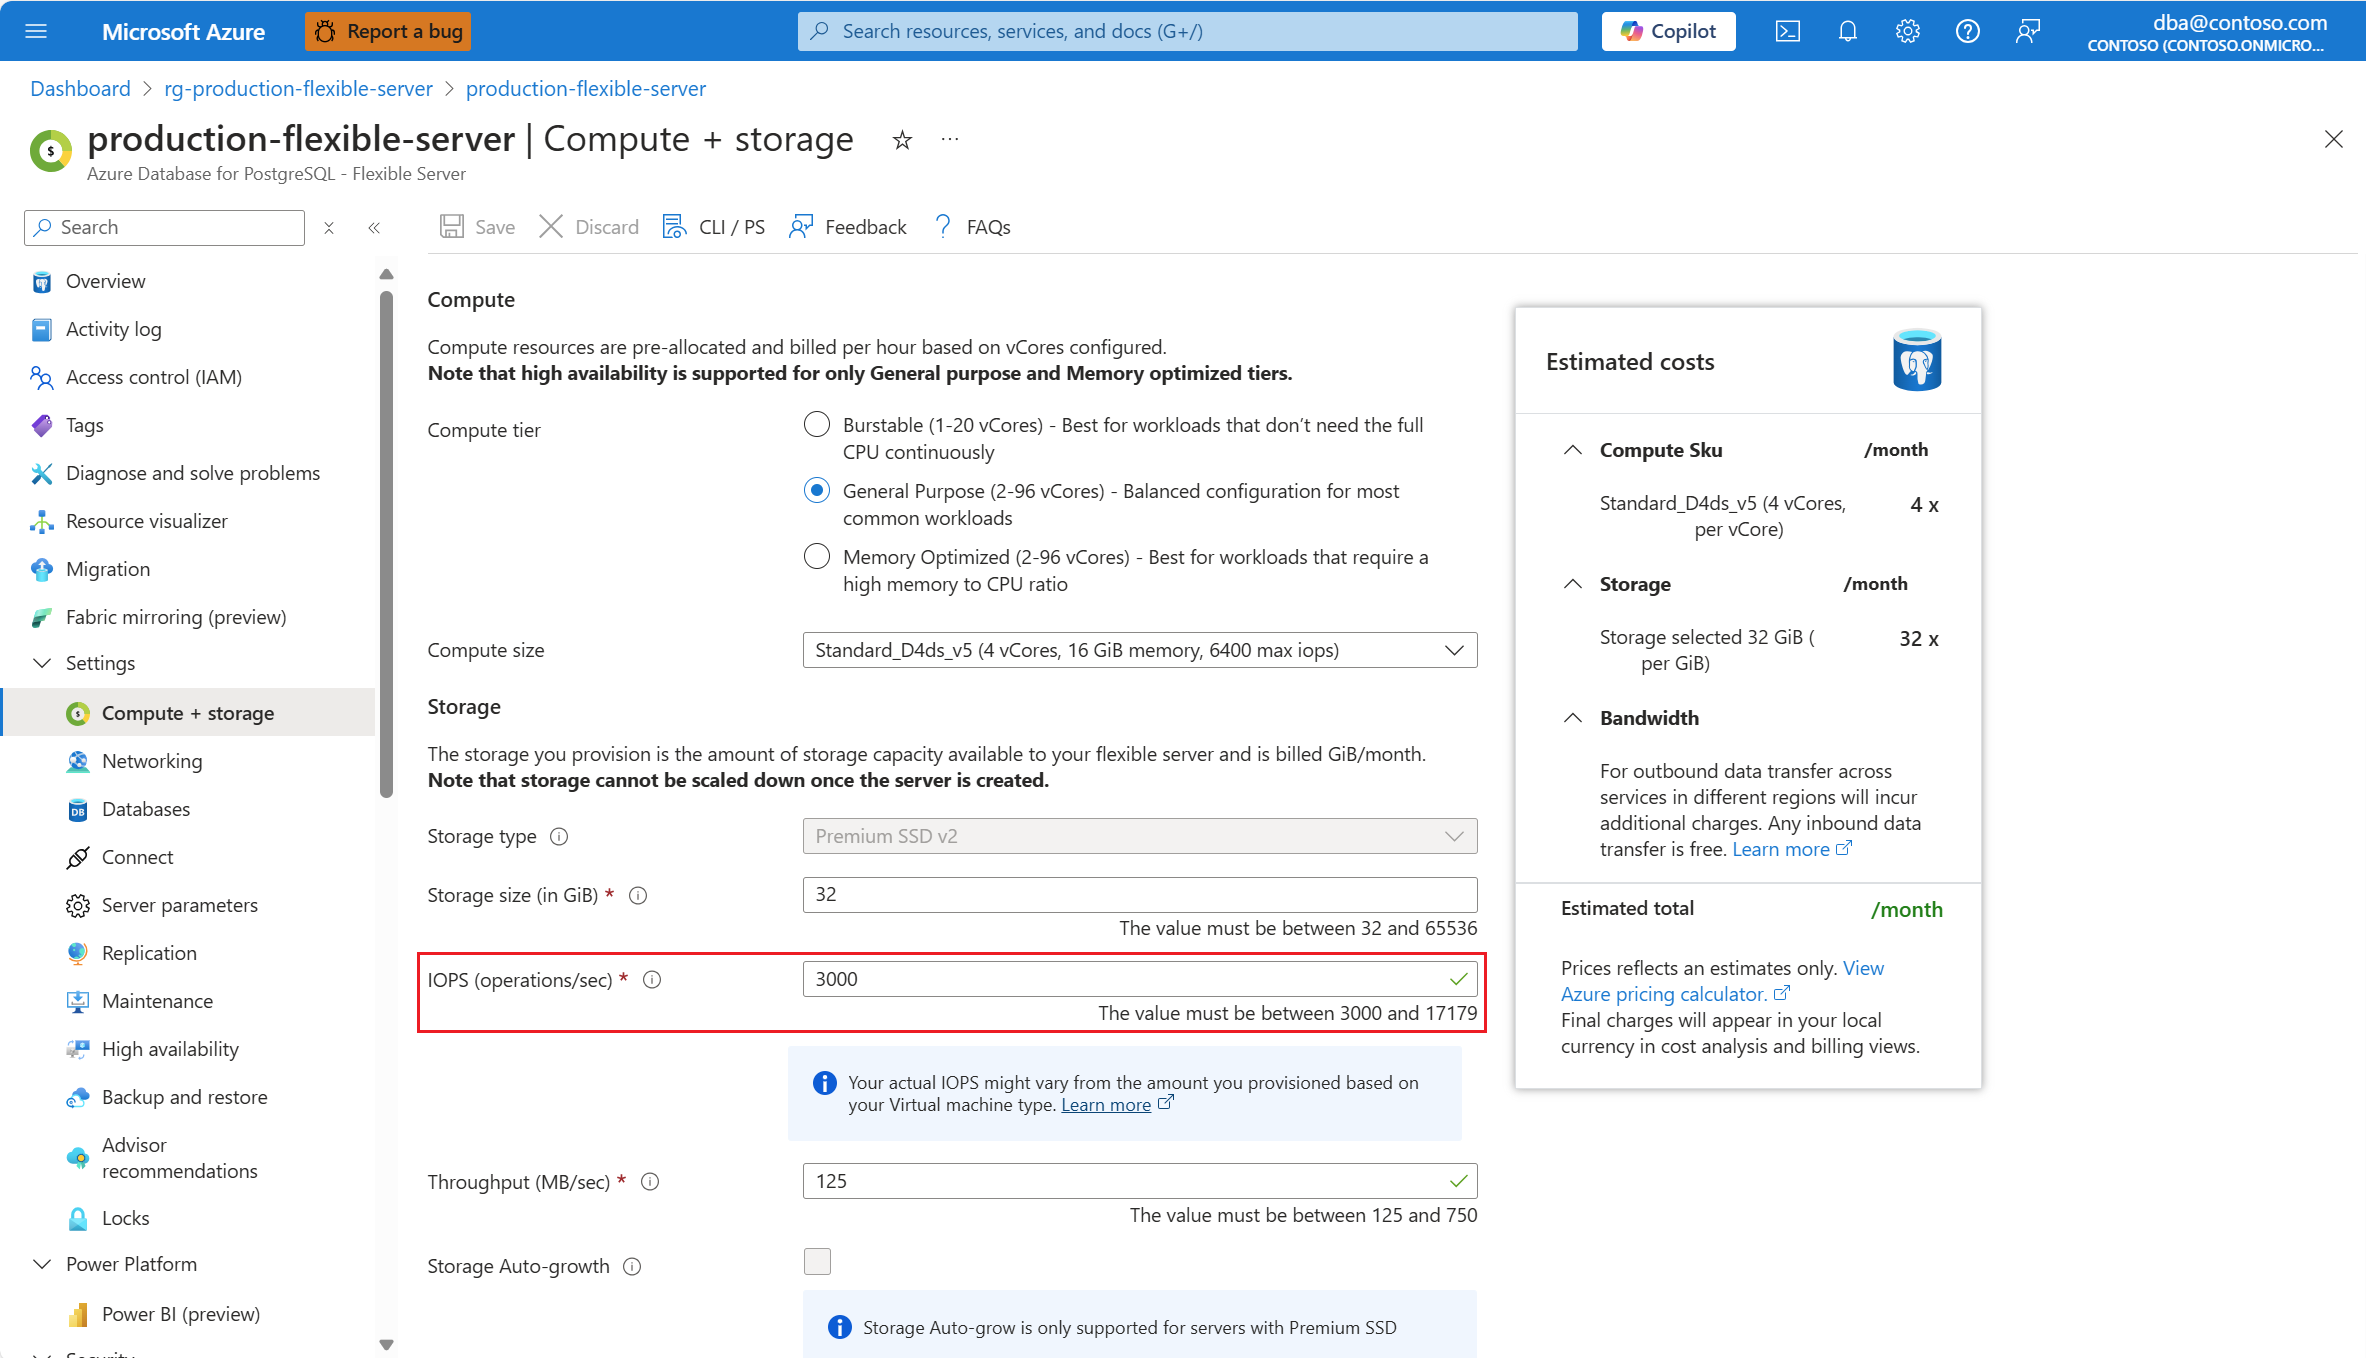
If you want to change the IOPS assigned to the disk allocated to your server, type the desired value in the IOPS (operations/sec) text box. Range of IOPS that can be assigned to a disk, depends on the allocated size of the disk. To learn more about it, see Premium SSD v2 - IOPS.
Select Save.


Important
The operation to change the IOPS assigned to Premium SSD v2 disks is always performed as an online operation, which doesn't produce any downtime of your server.
A notification shows that a deployment is in progress.

When the scale process completes, a notification shows that the deployment succeeded.


Steps to scale storage throughput (Premium SSD v2)
Using the Azure portal:
Select your Azure Database for PostgreSQL flexible server.
In the resource menu, select Compute + storage.
If you want to change the throughput assigned to the disk allocated to your server, type the desired value in the Throughput (MB/sec) text box. Range of throughput that can be assigned to a disk, depends on the size of the disk and the IOPS assigned. To learn more about it, see Premium SSD v2 - Throughput.
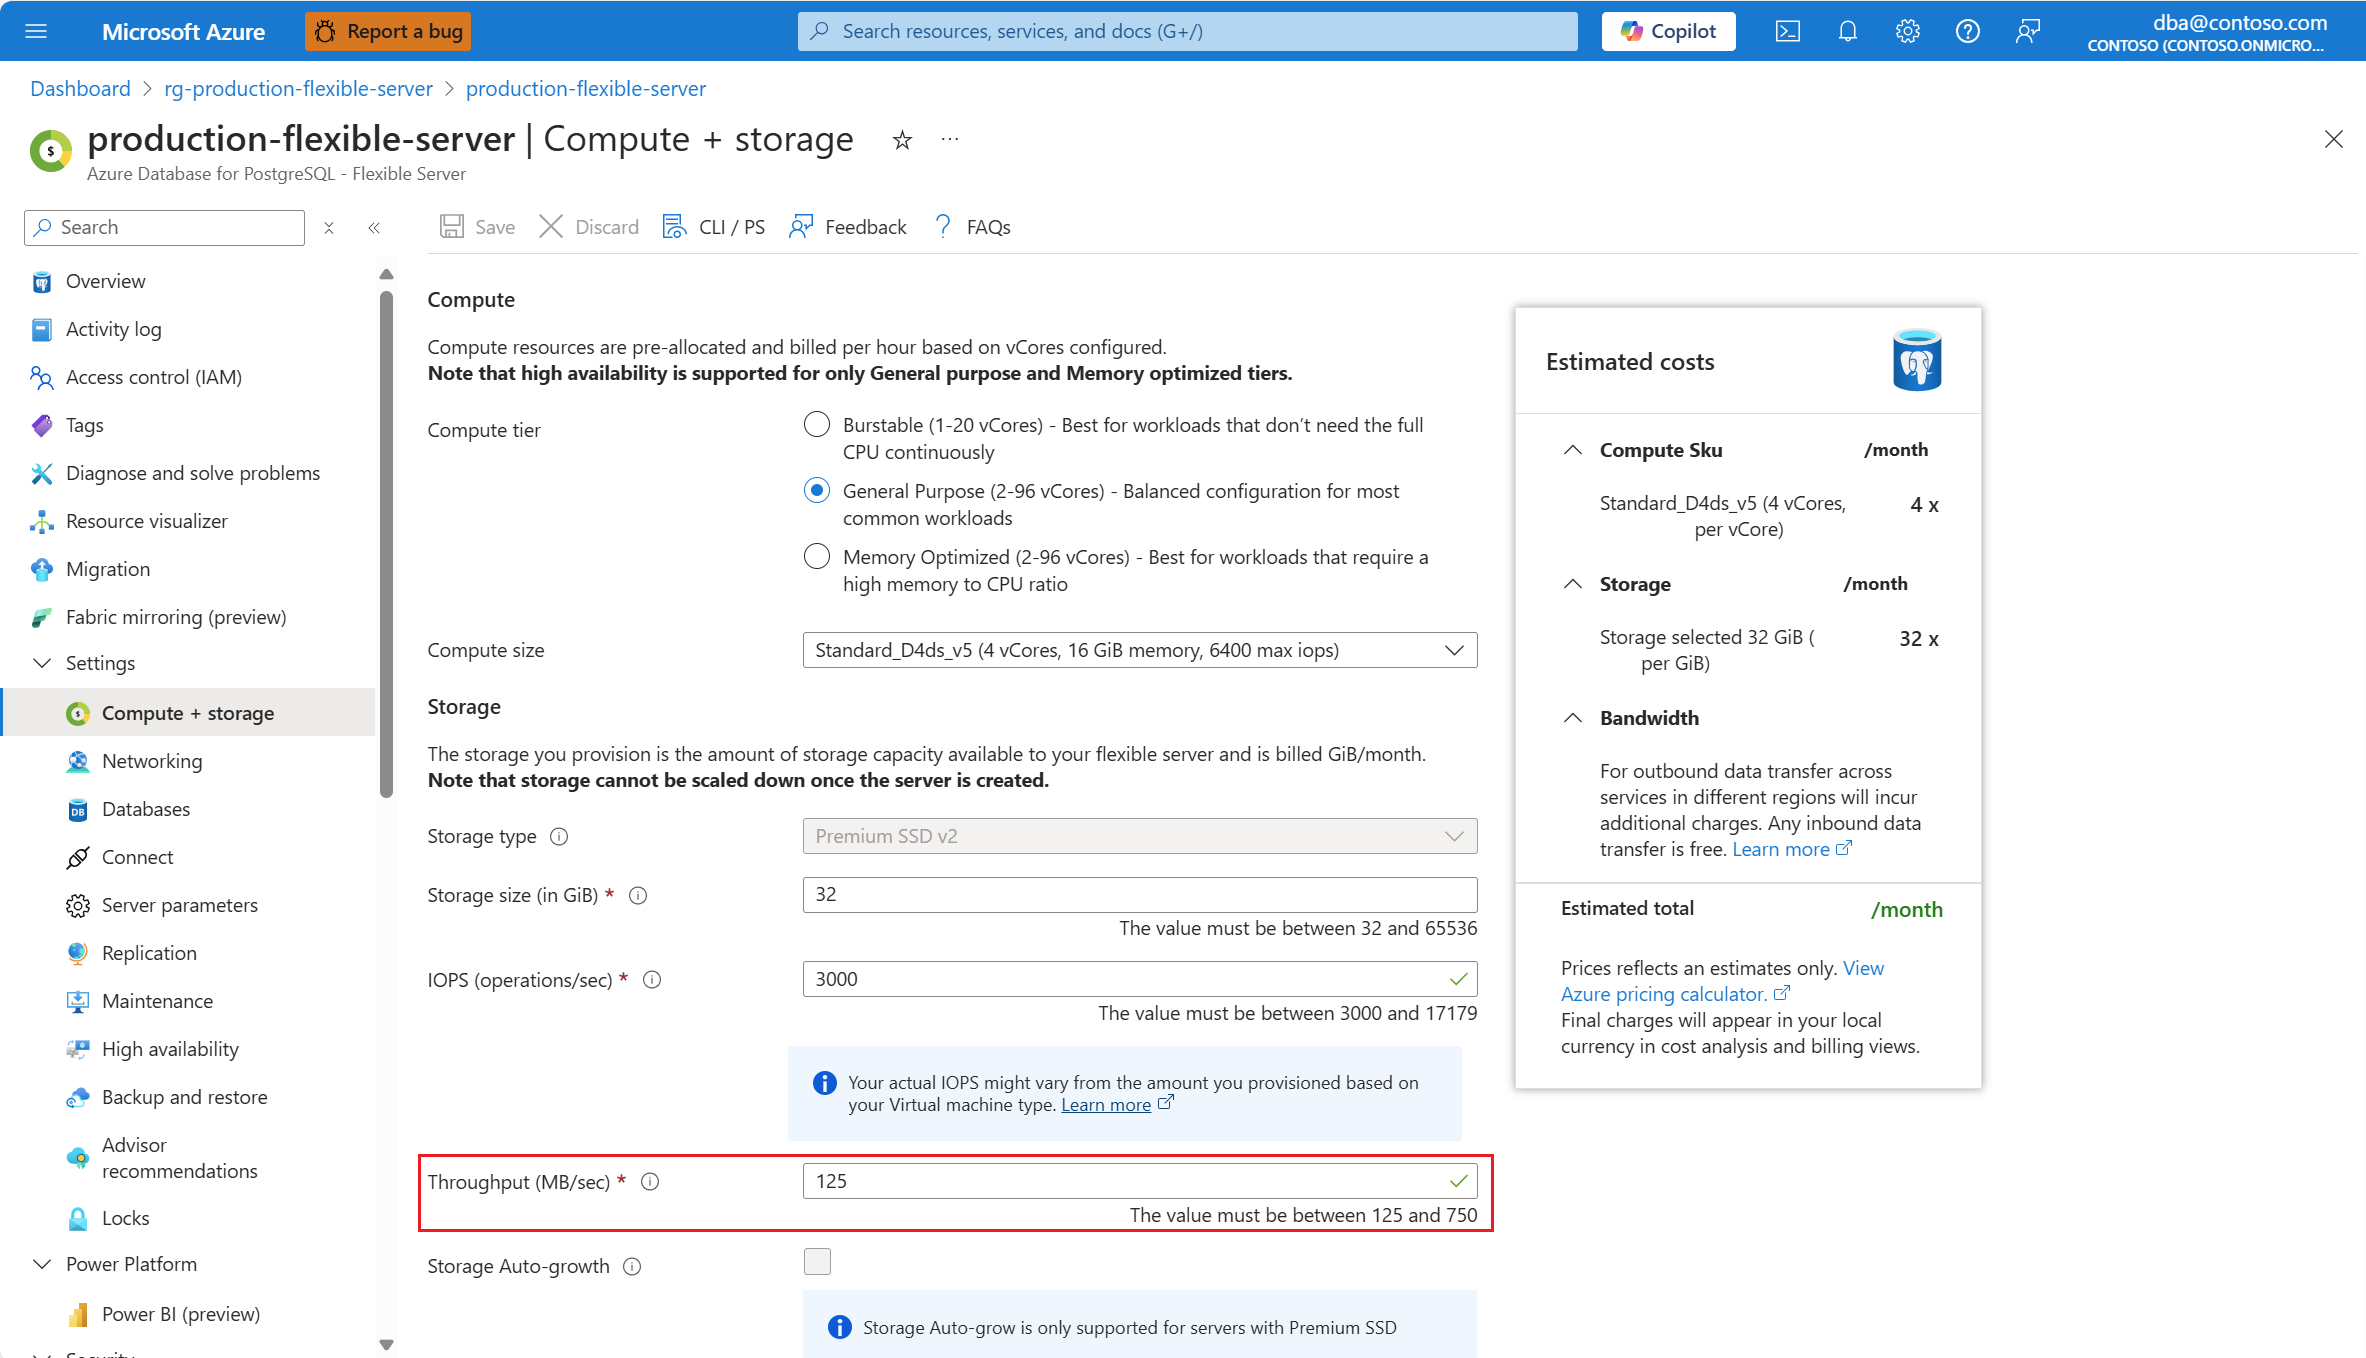
Select Save.


Important
The operation to change the throughput assigned to Premium SSD v2 disks is always performed as an online operation, which doesn't produce any downtime of your server.
A notification shows that a deployment is in progress.
When the scale process completes, a notification shows that the deployment succeeded.