Manage work item attachments
Azure DevOps Services | Azure DevOps Server 2022 - Azure DevOps Server 2019
Visual Studio 2019 | Visual Studio 2022
Attachments enhance work items by enabling you to share essential information with your team. You can attach files, images, and links directly to work items, facilitating better collaboration and documentation. This article provides guidance on managing attachments within Azure DevOps.
Each work item can include up to 100 attachments, with each file limited to 60 MB. This article provides guidance on managing attachments within Azure DevOps.
By default, each work item can include up to 100 attachments, with each file limited to 4 MB. The maximum size of attachments can be configured via the Azure DevOps Server Administration Console.
Prerequisites
| Category | Requirements |
|---|---|
| Permissions | - To view, follow, and edit work items: View work items in this node and Edit work items in this node permissions set to Allow. By default, the Contributors group has these permissions. For more information, see Set work tracking permissions. - To add tags to work items: Project-level Create new tag definition permission set to Allow. By default, the Contributors group has this permission. |
| Access levels | - Project member. - To add new tags to work items or to view or follow pull requests: At least Basic access. - To view or follow work items: At least Stakeholder access. For more information, see About access levels. - All project members, including those in the Readers group, can send emails containing work items. |
| Permanent deletion permissions | To permanently delete attachments: Permanently delete work items permission set to Allow. |
Manage attachments through the web portal
Do the following steps to manage attachments through the web portal:
Go to the desired work item and select the Attachments tab.

Use the Collapse/Expand button to toggle the visibility of attachments.

Switch between List and Grid views by selecting the corresponding icon.

After you add an attachment, hover over the work item to access the more actions
 menu. This menu allows you to do the following tasks:
Tips
- Bulk management: To manage multiple attachments simultaneously, consider using bulk actions available in the Attachments tab.
- Permissions: Ensure you have the appropriate permissions to add, edit, or delete attachments. Project administrators typically have full access, while other roles might have limited permissions.
- File size and type: Be mindful of the attachment size limits (up to 60 MB per file) and ensure that the file types you upload are supported by Azure DevOps.
Go to the desired work item and select the Attachments tab.

Choose a list or grid view of attachments. The grid view provides a thumbnail preview of the attachment.

After you add an attachment, hover over the work item to access the more actions
 menu. This menu allows you to do the following tasks:
- Preview an attachment
- Add and Edit a comment
- Download an attachment
- Delete an attachment
Add attachment
To add an attachment to a work item, do the following steps:
From your work item, select Attachments > Add attachment.
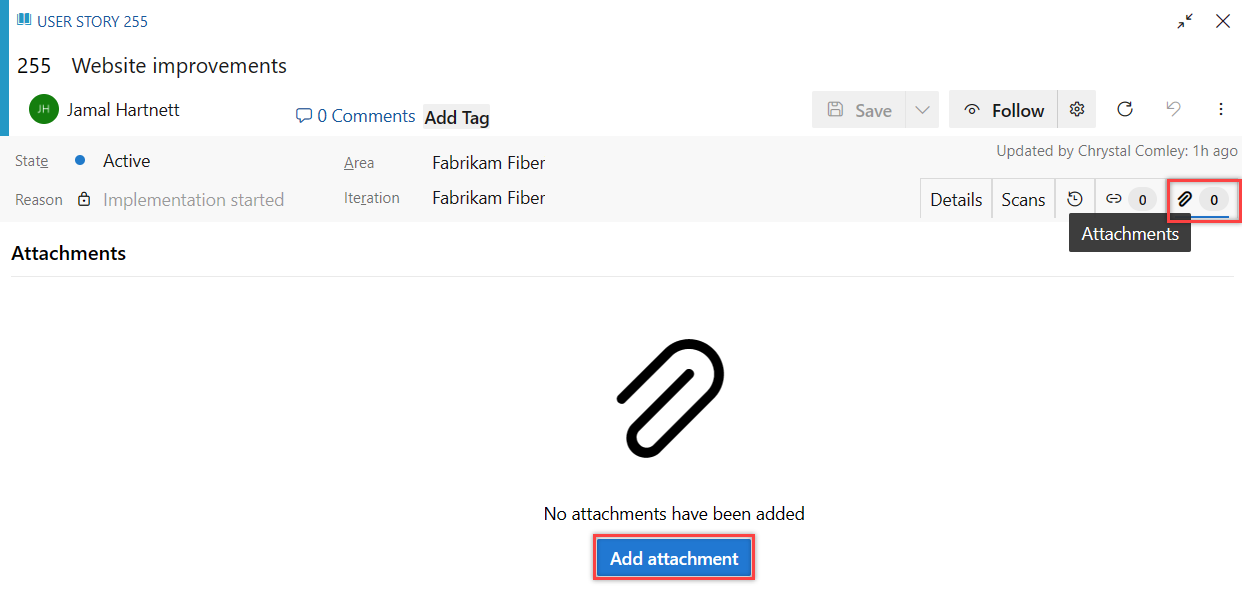
Select the file > Open > Save.
The attachment gets added to the work item. To add more attachments, select + Add attachment.
Add and edit comment
To add or edit a comment for an attachment, do the following steps:
Hover over the attachment and select more actions
 > Edit comment.
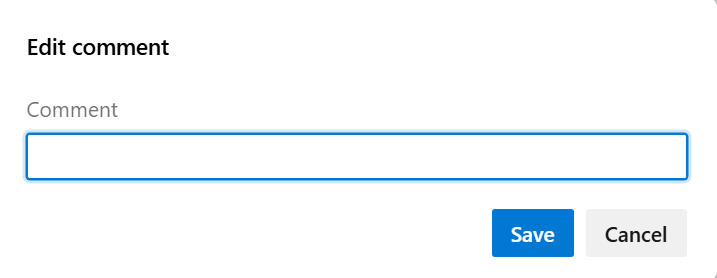
Add or edit your comment and select Save.
Select or hover over the attachment and select more actions
 > Edit comment.
Edit your comment and select Save.
Copy attachment link
To copy the link to an attachment:
Hover over the attachment and select more actions ![]() > Copy attachment link.
> Copy attachment link.
Download attachment
To download an attachment to your browser's download directory:
Hover over the attachment and select more actions ![]() > Edit comment.
> Edit comment.
Select or hover over the attachment and select more actions ![]() > Download attachment.
> Download attachment.
Delete attachment
To delete an attachment, do the following steps:
Hover over the attachment and select more actions
 > Delete attachment.
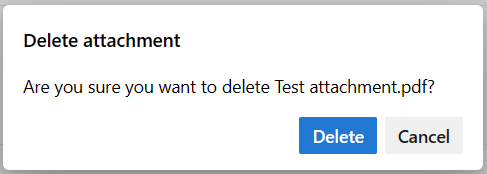
Select Delete to confirm you want to delete the attachment.
Select or hover over the attachment and select more actions
 > Delete attachment.
Select Delete to confirm you want to delete the attachment.

The deleted attachment can't be restored and is permanently removed after 28 days. In the meantime, if you have permissions, you can permanently delete it.
The deleted attachment can't be restored and is permanently removed after 28 days. In the meantime, if you have permissions, you can permanently delete it.
Permanently delete attachment
This action is typically reserved for situations requiring immediate removal, such as when files are infected. Otherwise, deleted attachments are automatically removed within 28 days.
From your work item, select the Attachments tab.
Select more actions
 > Permanently delete attachment.
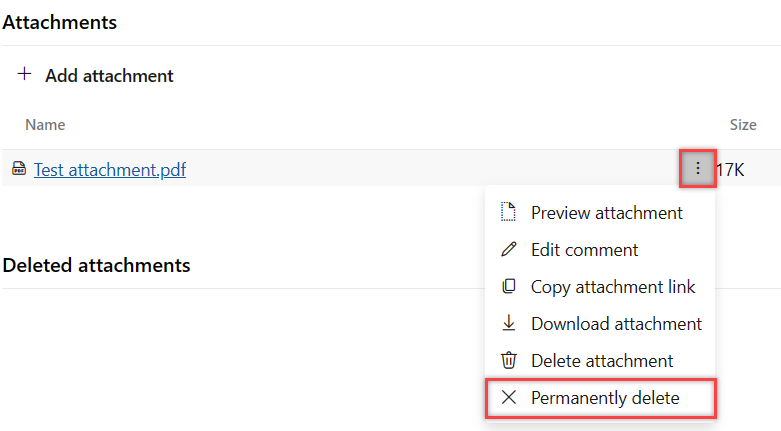
Select Delete to confirm you want to permanently delete the attachment.
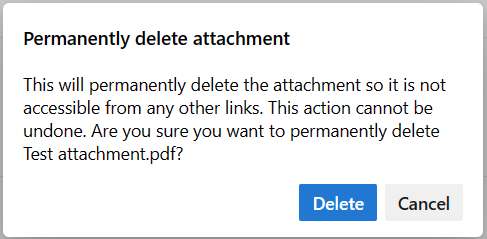
The attachment is permanently deleted and isn't accessible from any other links.
Note
This feature requires the New Boards Hub, which is enabled by default. For more information, see Manage or enable features.