PPKGs Part 2 - Testing and deploying provisioning packages for Windows 10 1607
Hello again, is it really a week since I wrote Part 1?
Without further ado, let's get cracking.
So in Part 1 we created a simple provisioning package. Now we want to test that in a VM before you go deploying it to all those shiny Surface Pro 4s you've got to get ready before the big technology demo event tomorrow.
When you turn on your new tablets, they'll boot up into OOBE ("out-of-box experience") so this is the scenario we're going to look at testing (versus just double clicking on a ppkg in a running OS - you'd have to go through all the OOBE screens and create a user account to get to that stage which you just aren't going to do on 100 tablets.)
The first thing to do is to install Windows 10 1607 on a virtual machine and stop at the first OOBE screen; I'm not going to go through all the steps to do this as there's plenty blog posts on how to do that but I've recorded the world's most boring GIF you can watch if you like.
You should stop your installation at this point. This is the first screen of the out of box experience for a fresh installation of Windows 10.
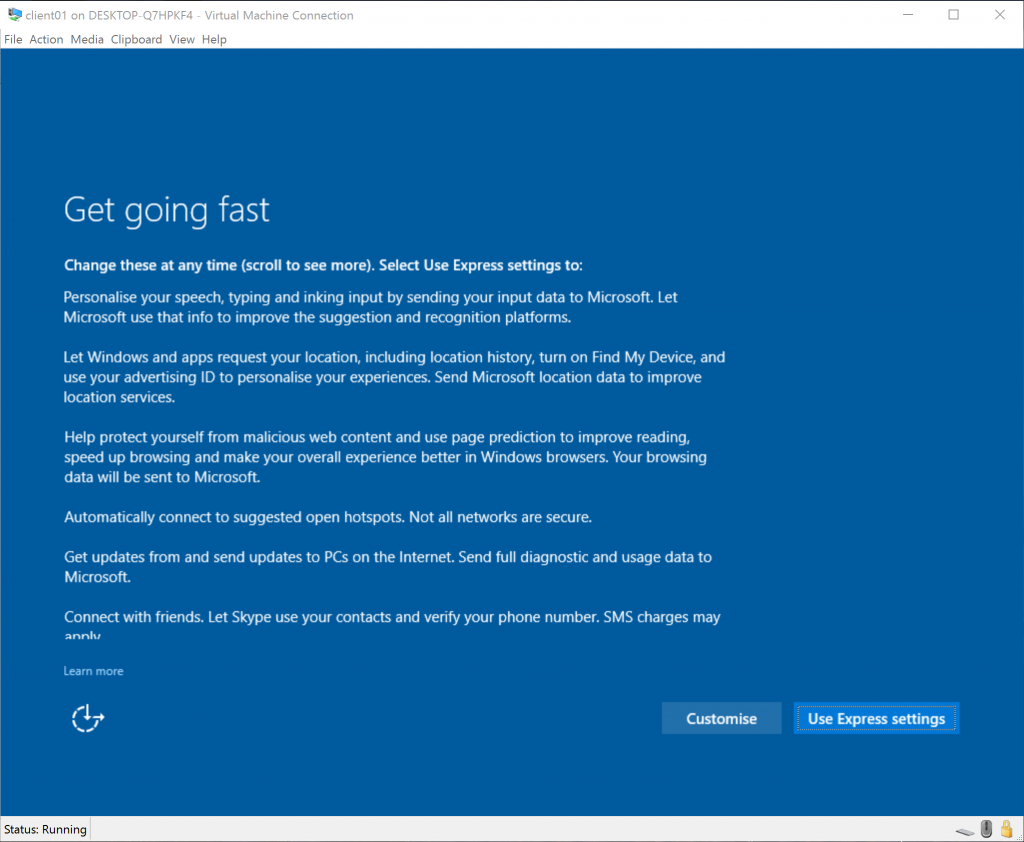
The provisioning pack we created won't work here - this isn't how you receive a device from the manufacturer. You need to sysprep the installation of windows just as if you were preparing a customised image.
The quickest way to do this from here is to hit CTRL+SHIFT+F3 to bypass the initial oobe screens and boot into Audit mode. Your VM will reboot and you'll automatically be logged on as "Administrator" and the sysprep (System Preparation Tool) will be running. If you were going to duplicate this image to other machines then you would tick the generalize box, otherwise just change the Shutdown Option to "Shutdown" and click OK.
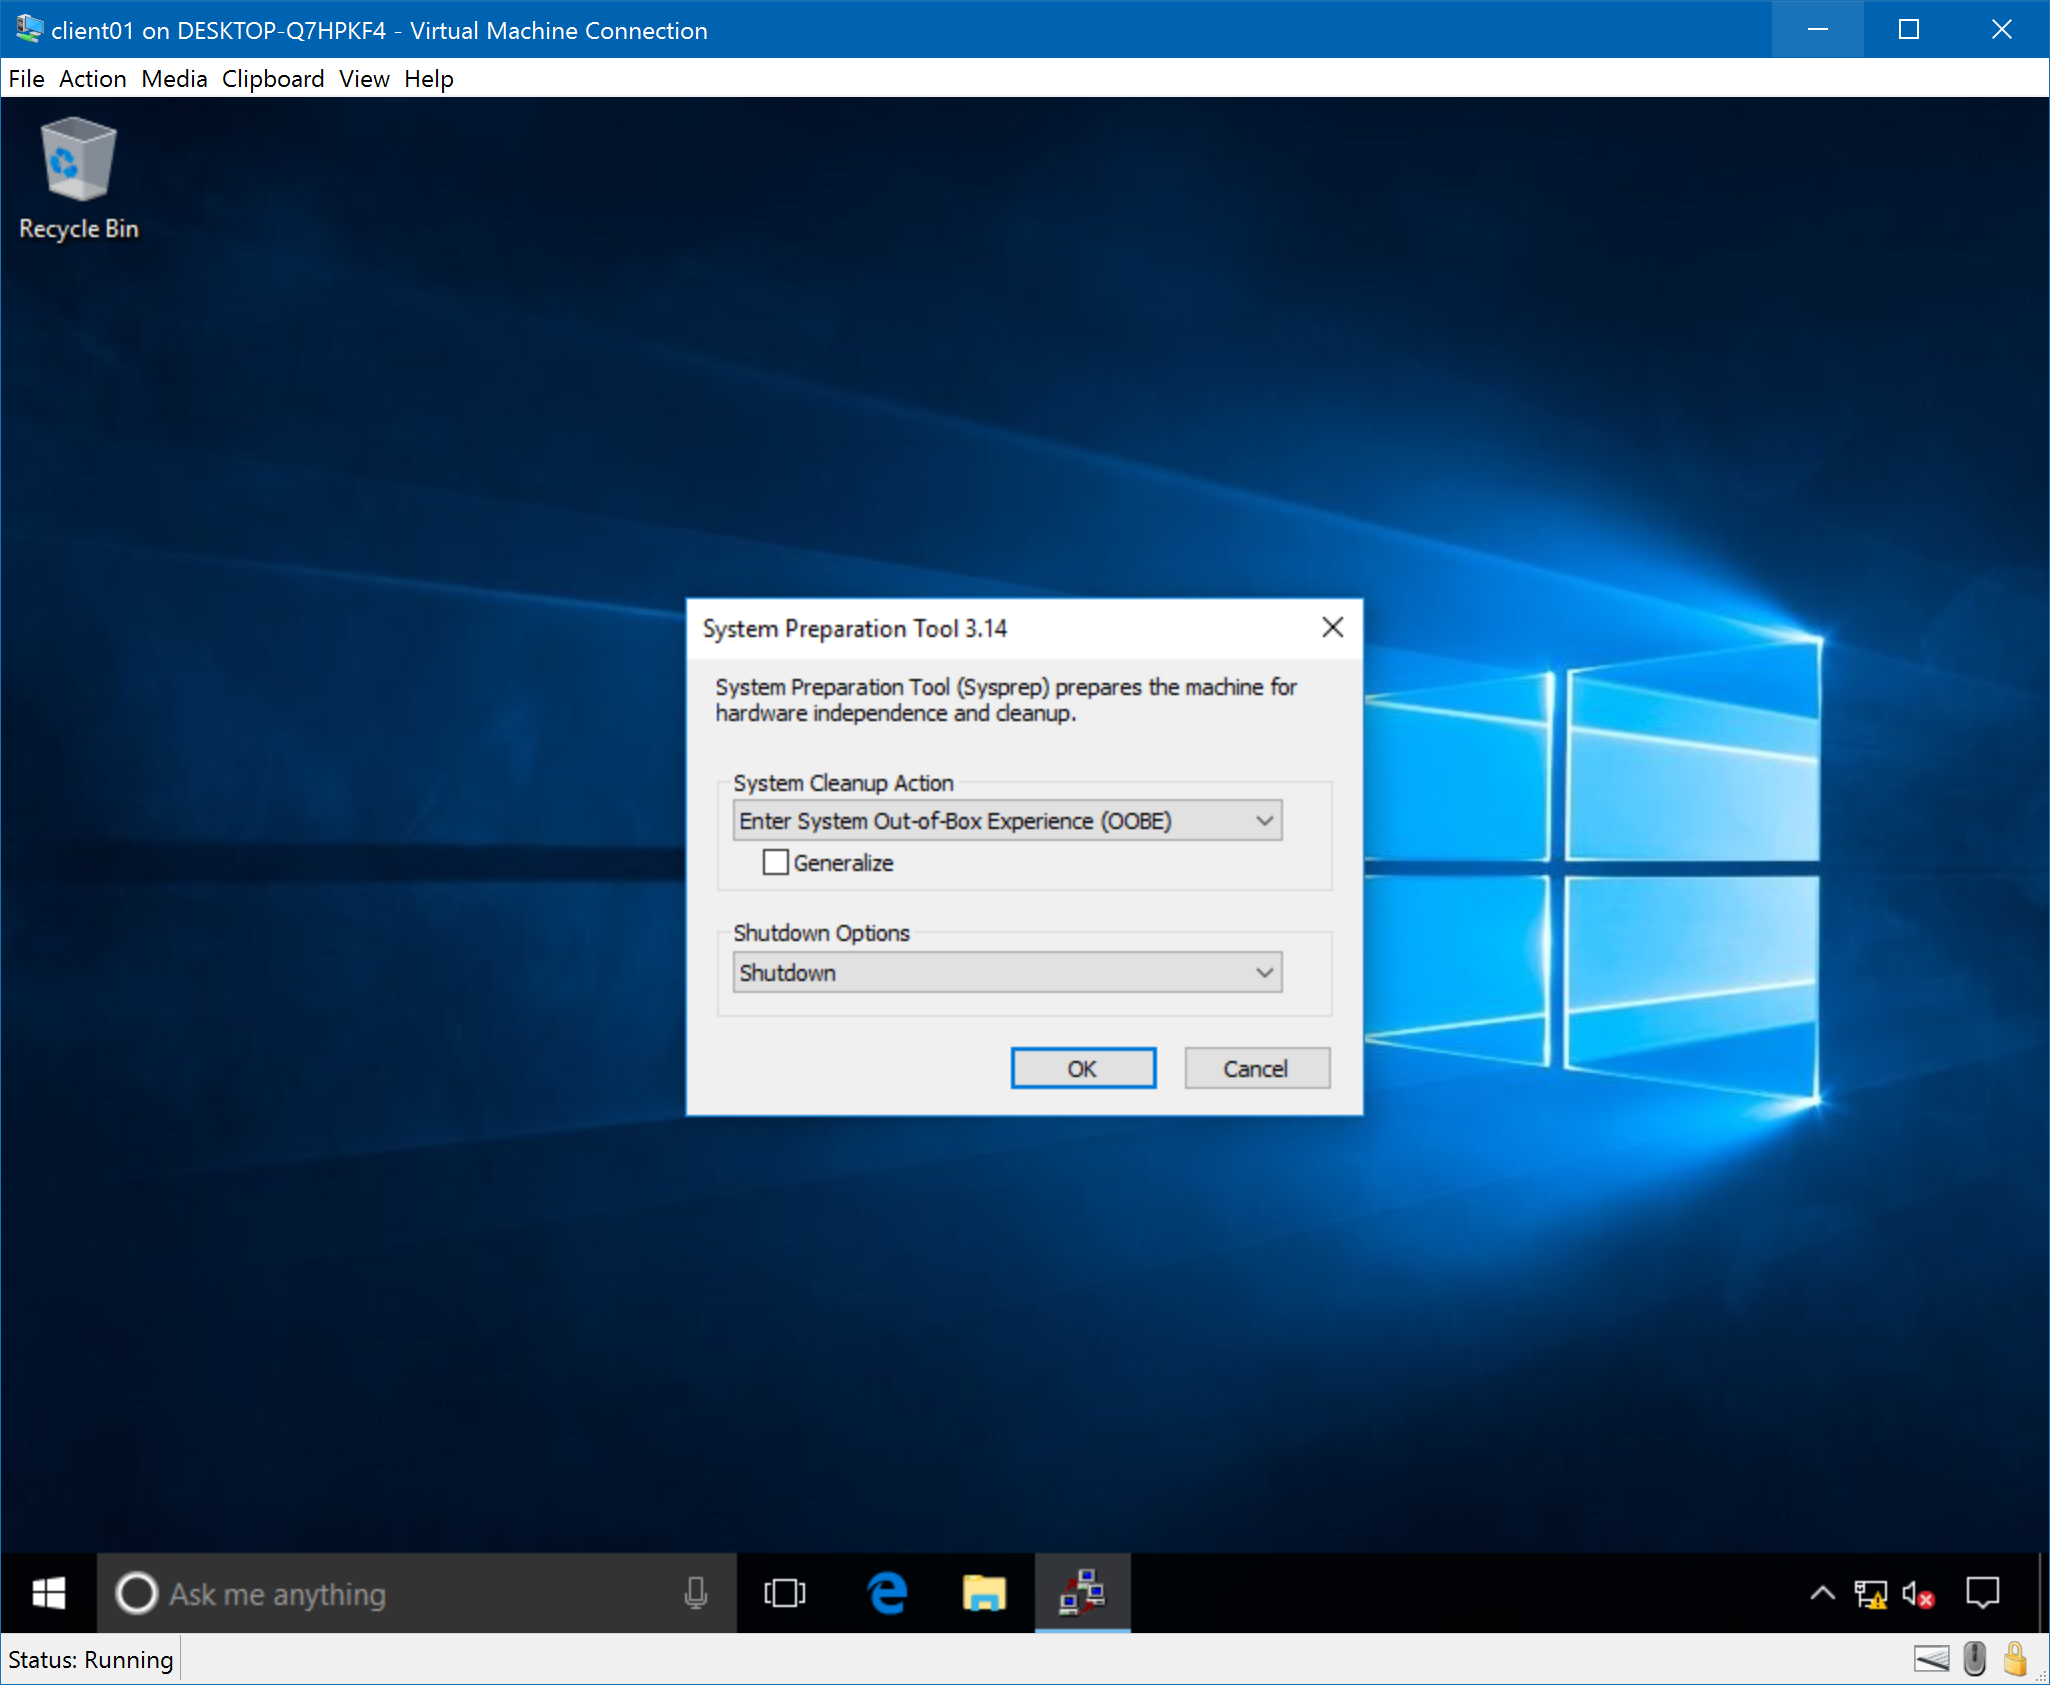
Once sysprep has completed and the VM has shut down, it's a good idea to take a checkpoint so you can re-use this VM as many times as you like for testing your provisioning packages.
Start the VM again and it will boot into OOBE only it will be different this time, the first screen will be the language selection screen. Here we can use our provisioning package!
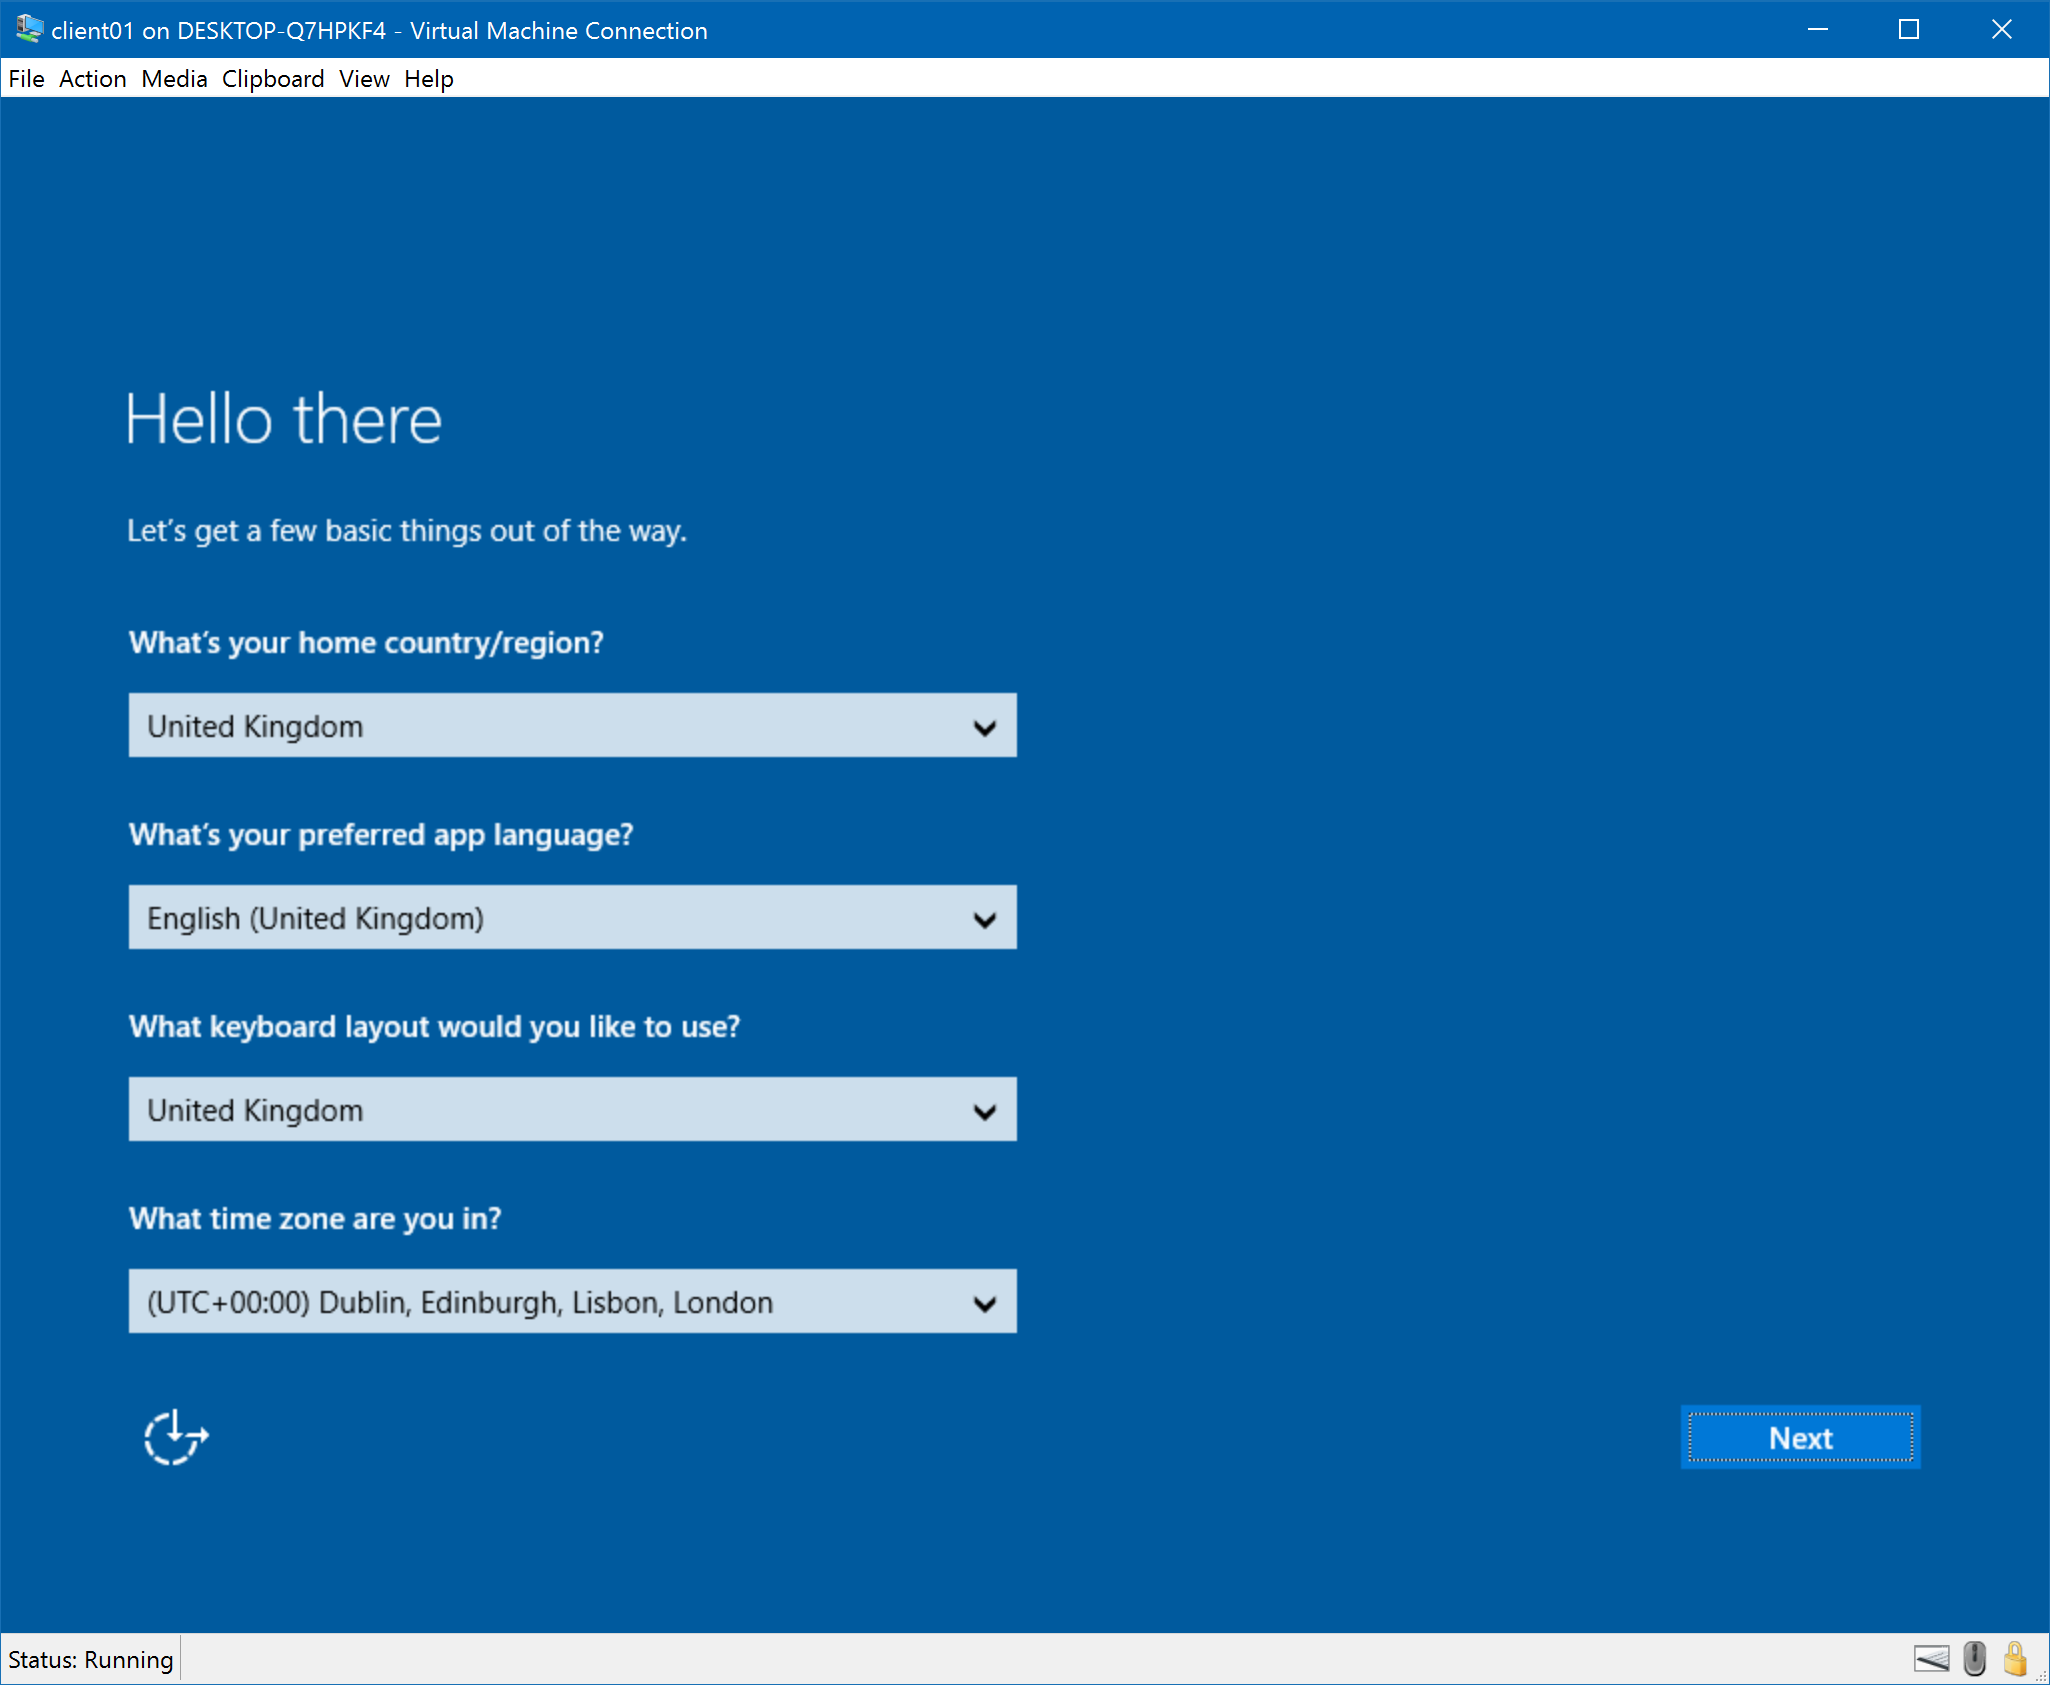
At this point, virtual machine extensions aren't running so we can't start an enhanced session in order to connect a USB device, so how can we get our provisioning package into our VM?
How about a good old ISO?
In order to get my PPKG file into an ISO I have used a PowerShell Function from the TechNet Gallery called New-IsoFile.
There's also various paid for and free third party software that you can use to create an ISO.
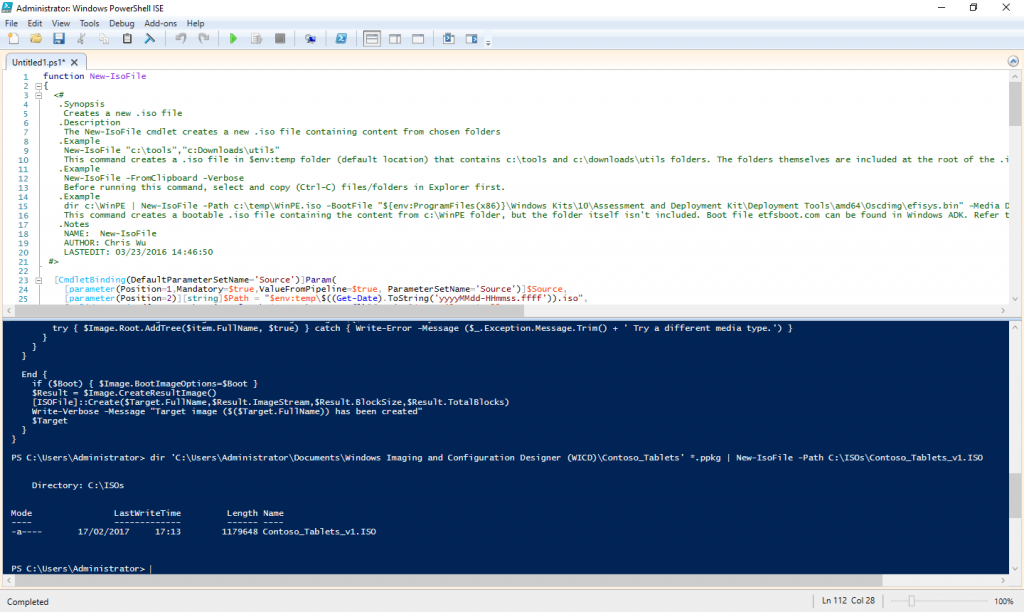
To create the ISO with New-IsoFile, I pasted the New-IsoFile code into a PowerShell ISE Script Window and clicked Run (the play icon). Then in the console pane I ran:
dir 'C:\Users\Administrator\Documents\Windows Imaging and Configuration Designer (WICD)\Contoso_Tablets' *.ppkg | New-IsoFile -Path C:\ISOs\Contoso_Tablets_v1.ISO
dir being an alias for Get-ChildItem just lists all the files with the PPKG extension, we then pipe this list into the New-IsoFile function and specify the path of the output ISO (make sure the folder exists first!)
Your PPKG needs to be at the root of the file system and not in a subfolder.
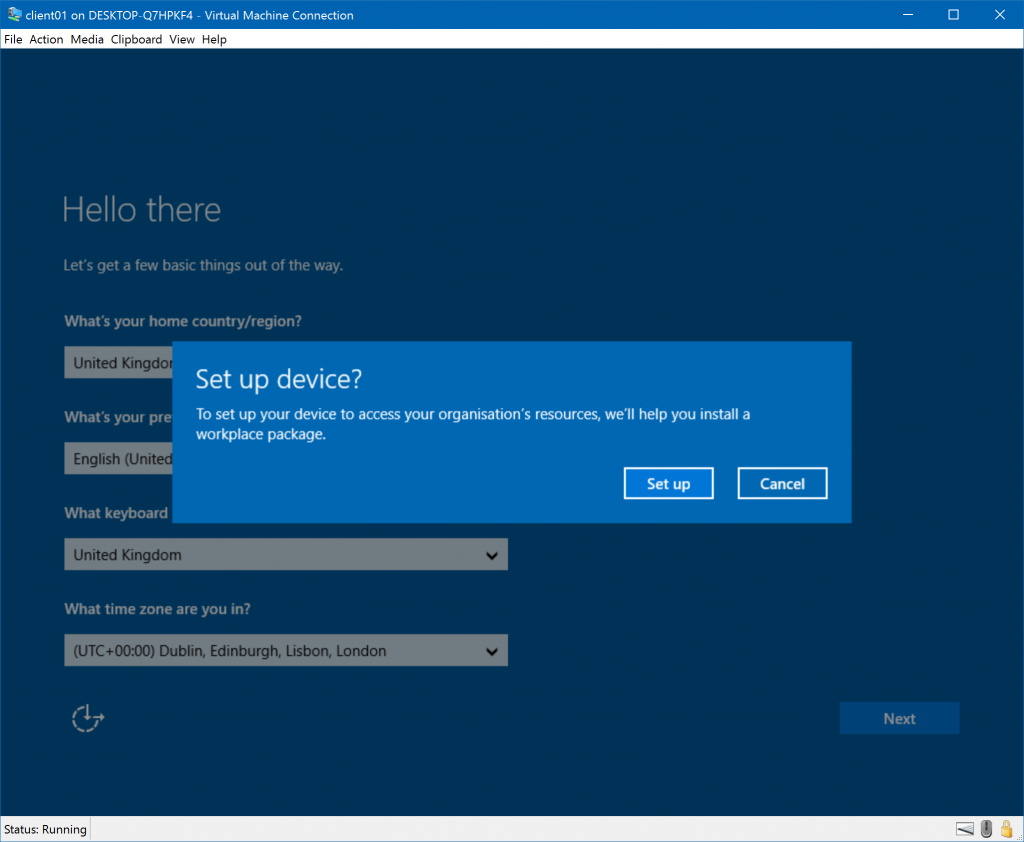
Now you have your PPKG in an ISO, attach it to your virtual machine. It should automatically pop up saying "Set up Device?" - if it doesn't for some reason then press the windows key 5 times (make sure you've clicked somewhere in the VM window so it's capturing your keystrokes.) Click "Set up."
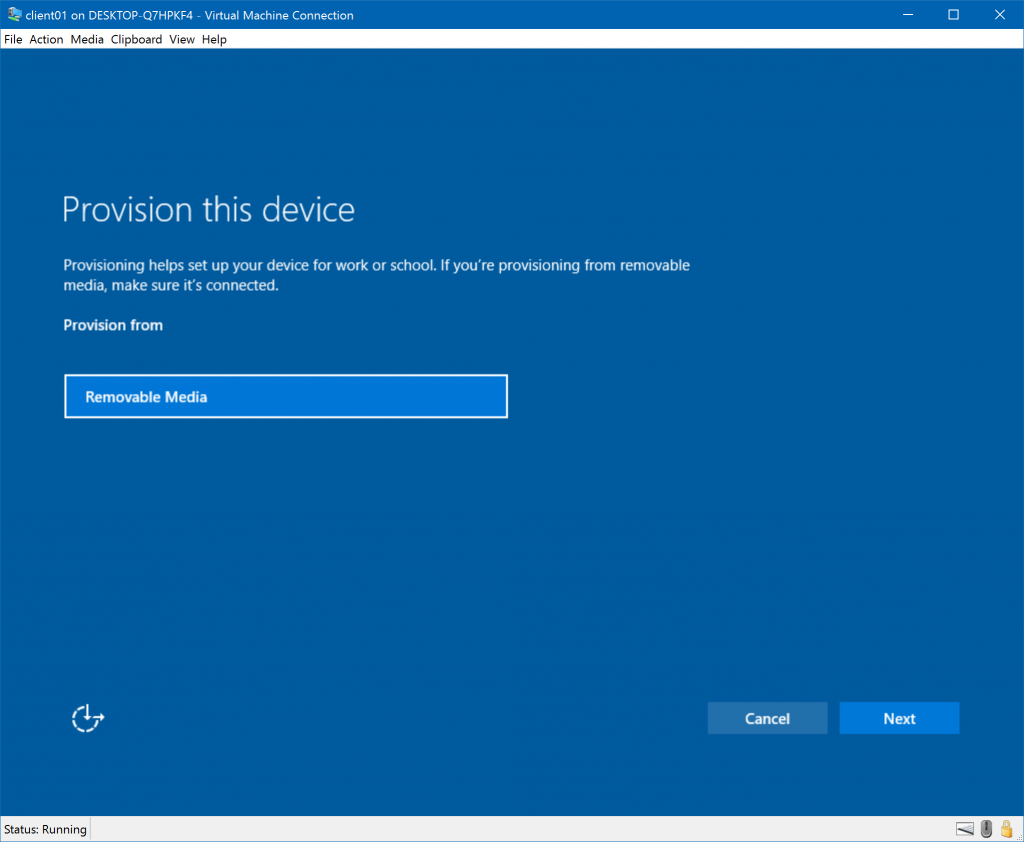
You'll now be asked where you want to provision the device from. Removable Media is already selected, so click Next.
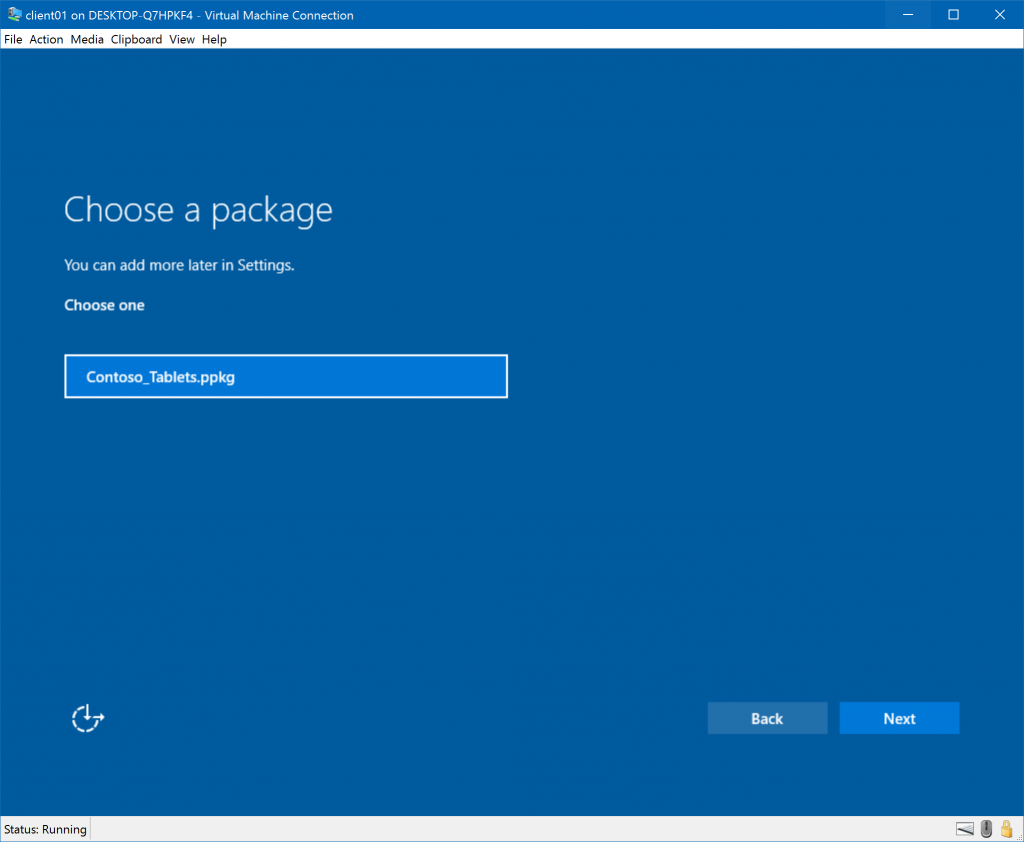
On the "Choose a package" screen select the provisioning package you want to apply and click Next
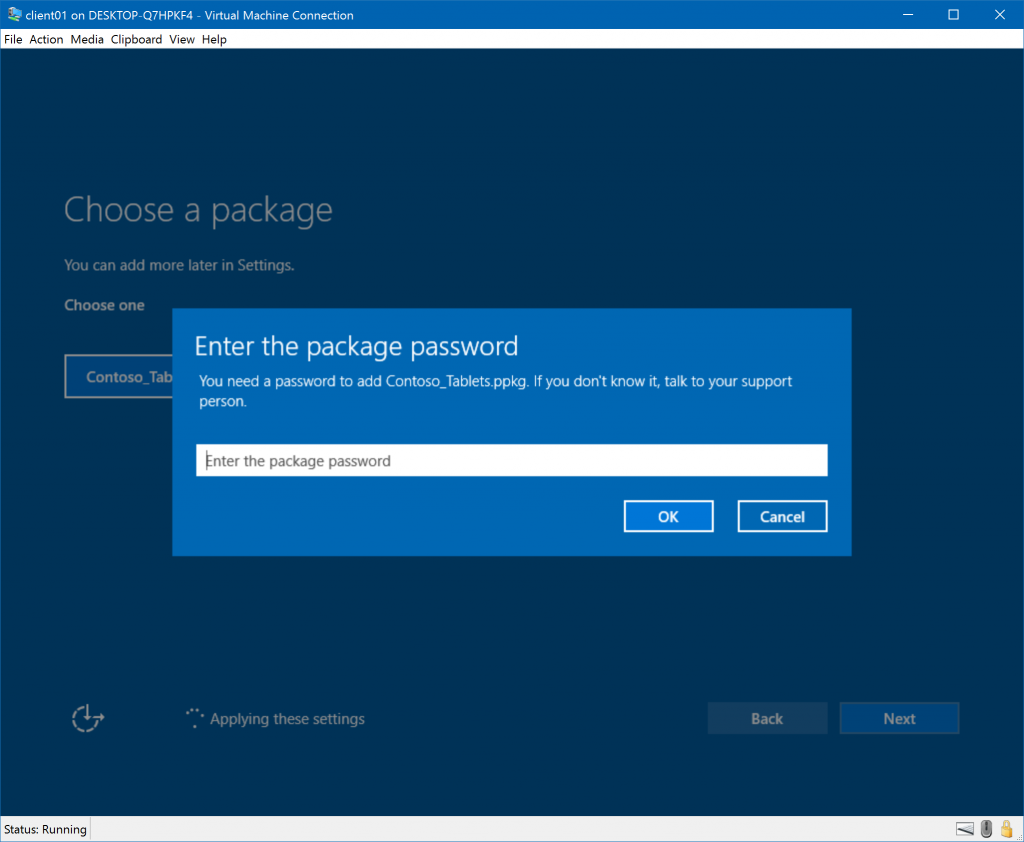
You'll now be asked to enter the password for the package. Enter the password you set and click OK
You'll now be asked if the package is from a source you trust and there is a list of everything that will happen if you apply the package. If you trust the package, click Yes, add it.
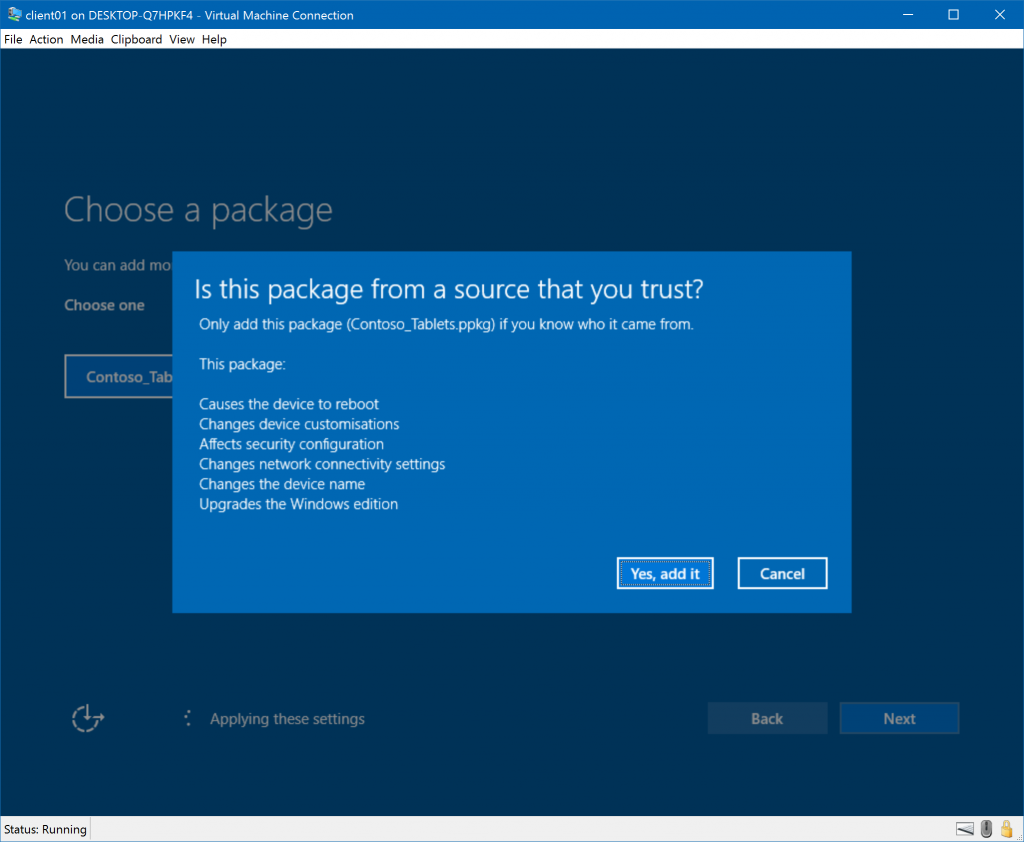
The package will now apply (notice the little "Applying these settings" at the bottom.) This package includes a reboot; once the VM has rebooted it should be joined to the domain and running Enterprise edition.
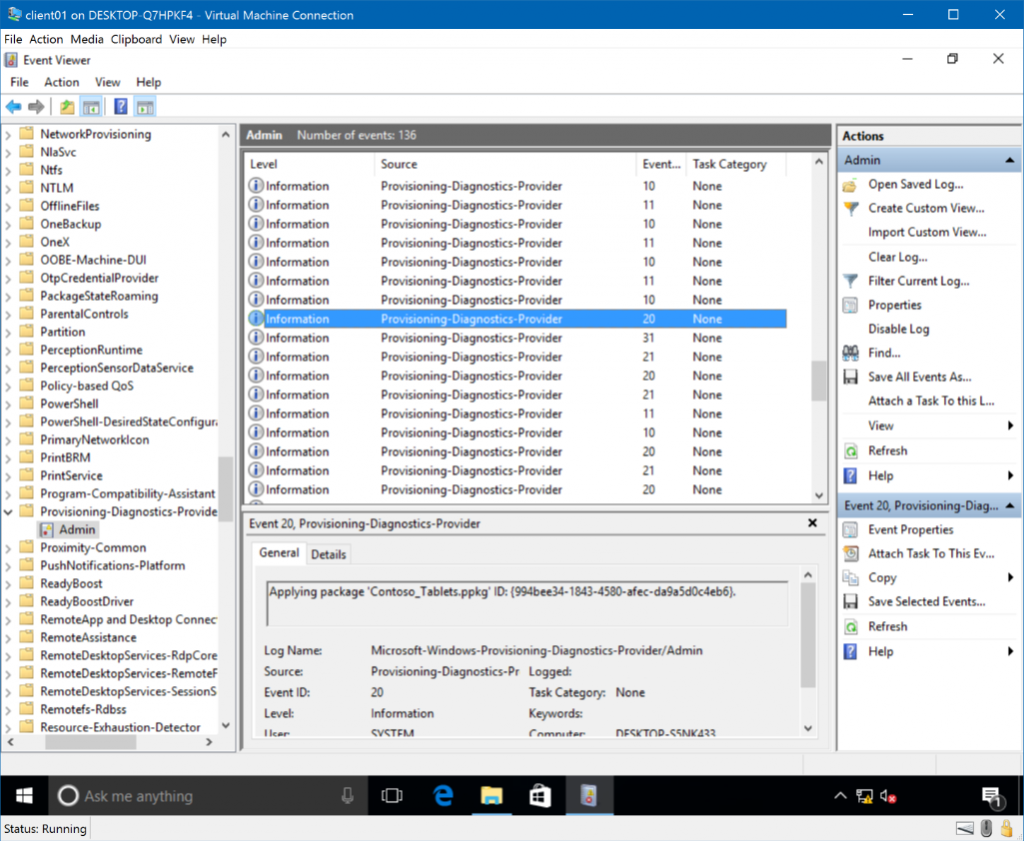
You can check for success/failure of the settings in your package in the "Provisioning-Diagnostics-Provider" Admin log in Event Viewer.
When you're happy everything's working just copy the PPKG file over to the root of a USB stick and you're good to go to use it on those tablets you need to get ready to demo for tomorrow! Remember 5 presses on the Windows key if you don't get the "Set up device?" popup.
Thanks for reading my post, feel free to comment below if you've found it helpful or have any suggestions or questions - see you again in Part 3!
Comments
- Anonymous
July 18, 2017
I've been working through this, and part 2, i've found this fascinating so far, when is part 3 coming out?- Anonymous
July 24, 2017
Hi Martin, knowing there's demand drives action, I'll schedule some time to write it up soon :)
- Anonymous