Microsoft Cognitive Services Translation API with Python & C#
If you want to programmatically translate text from one language to another, then the Translation service (translation api) is the right one for you. The Microsoft Translation Service just requires an authentication via a Microsoft Cognitive Services API Key and then you can easily translate text from one language to another. By leveraging the scale and power of Microsoft’s AI supercomputer, specifically the Microsoft Cognitive Toolkit, Microsoft Translator now offers neural network (LSTM) based translation that enables a new decade of translation quality improvement. These neural network models are available for all speech languages through the Microsoft Translator Speech API on the try and compare site https://translator.microsoft.com and through the text API by using the ‘generalnn’ category ID.
How do it work?
In this blog post, I’ll quickly describe how to create the translation service and how to use it with Python, Jupyter Notebook, C#, Powershell and Node.js.
Create the translation service in Azure
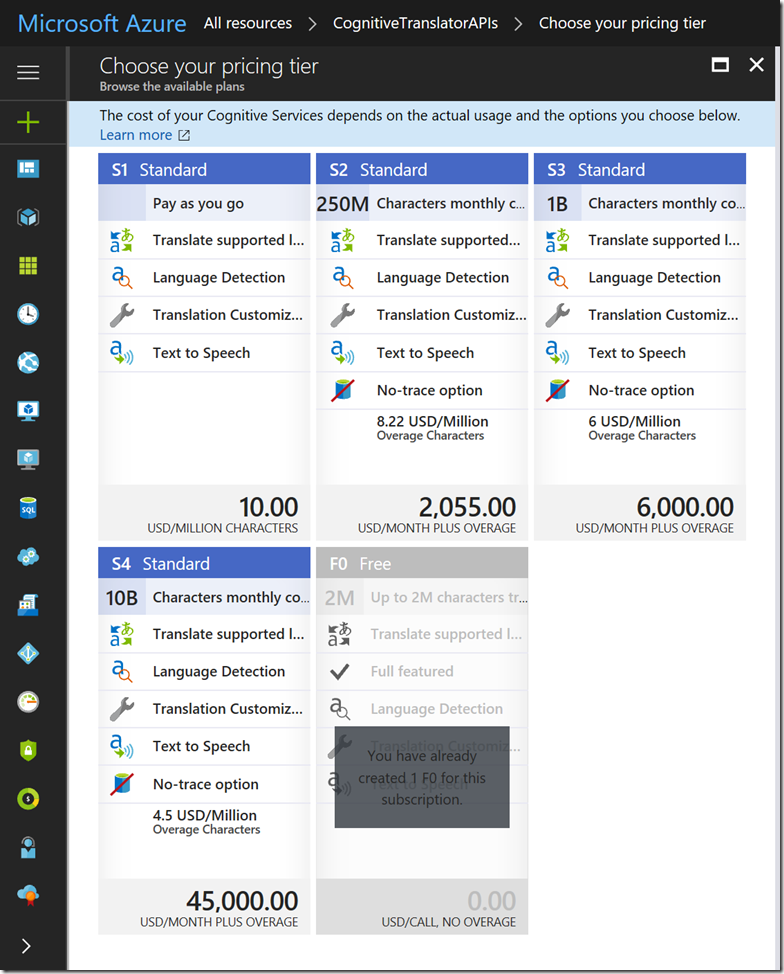
The translation service is part of the cognitive services and can therefore be found as cognitive service in the Azure portal: For this demo the F0 Free Services is more than capable of supporting the example with over 2Million character being supported.
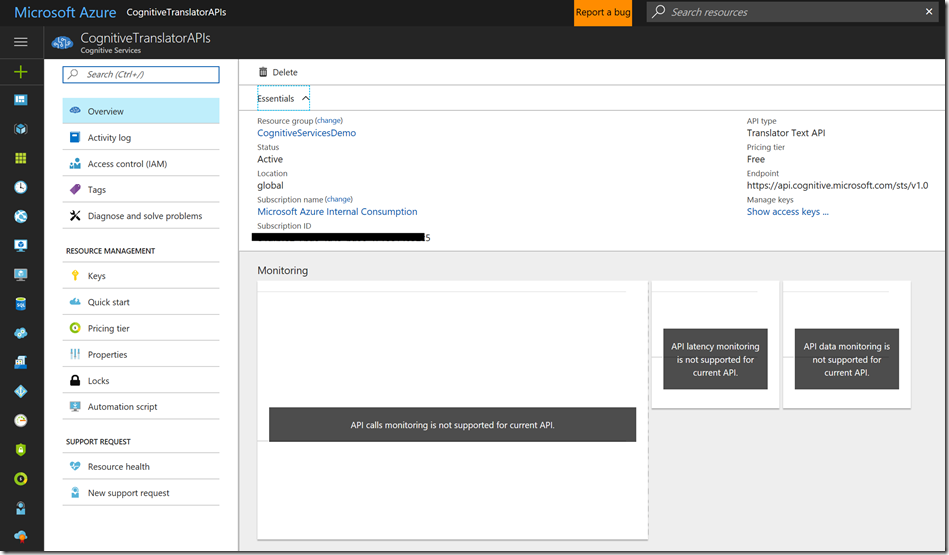
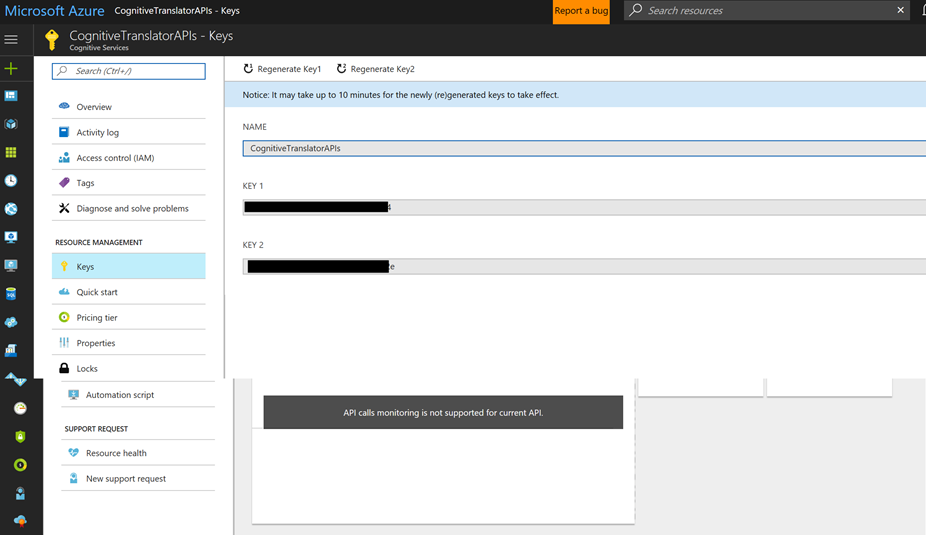
The creation of the service just takes a few seconds. After the creation, we can check the service and see, that it is globally deployed and it also shows us the endpoint url. The keys can be accessed via the keys link in menu.
Navigate to it and copy one of the keys that are shown there.
Now we are ready to implement a simple python, script that reads text and translates it to another language
Translate text using Python
 #install additional libraries to add coloured text to output
 !pip install termcolor
 !pip install bs4
 from termcolor import colored
 from bs4 import BeautifulSoup
 import requests
 #Using Python for Text Translation with Microsoft Cognitive Services
 # Specify the subscription Key
 subscriptionKey = "ENTER YOUR COGNITIVE API KEY"
 #Specify URLs for Cognitive Services - Translator Text API
 translateUrl = 'https://api.microsofttranslator.com/v2/http.svc/Translate'
 cognitiveServiceUrl = 'https://api.cognitive.microsoft.com/sts/v1.0/issueToken'
 # Request Access Token
 requestHeader = {'Ocp-Apim-Subscription-Key': subscriptionKey}
 responseResult = requests.post(cognitiveServiceUrl, headers=requestHeader)
 token = responseResult.text
 print ("Access Token")
 print (token)
 # Original Text
 text = "Créez des applications intelligentes et stratégiques avec une plateforme de base de données évolutive et hybride qui intègre tout ce qu'il vous faut : performances in-memory et sécurité avancée pour les analyses au sein de la base de données."
 print(text)
 # Specify source and target language
 srcLanguage = "fr"
 targetLanguage = "en"
 # Define Parameters
 params = {'appid': 'Bearer '+token, 'text': text, 'from': srcLanguage, 'to': targetLanguage}
 requestHeader = {'Accept': 'application/xml'}
 # Invoke Cognitive Services to perform translation
 responseResult = requests.get(translateUrl, params=params, headers=requestHeader )
 # Show original and target text
 print(colored('Original Text\n', 'green'))
 print(colored(text,'green'))

 print ("\n")
 print(colored('Translated Text\n', 'blue'))

 soup = BeautifulSoup(responseResult.text,"lxml")
 print(colored(soup.get_text(), 'blue'))
Using Azure Notebooks (Jupyter)
see https://notebooks.azure.com/n/ZzbLkrUnDWs/notebooks/Cognitive+Services+Translation.ipynb
Translate text using C#, dotnet core and Translation API
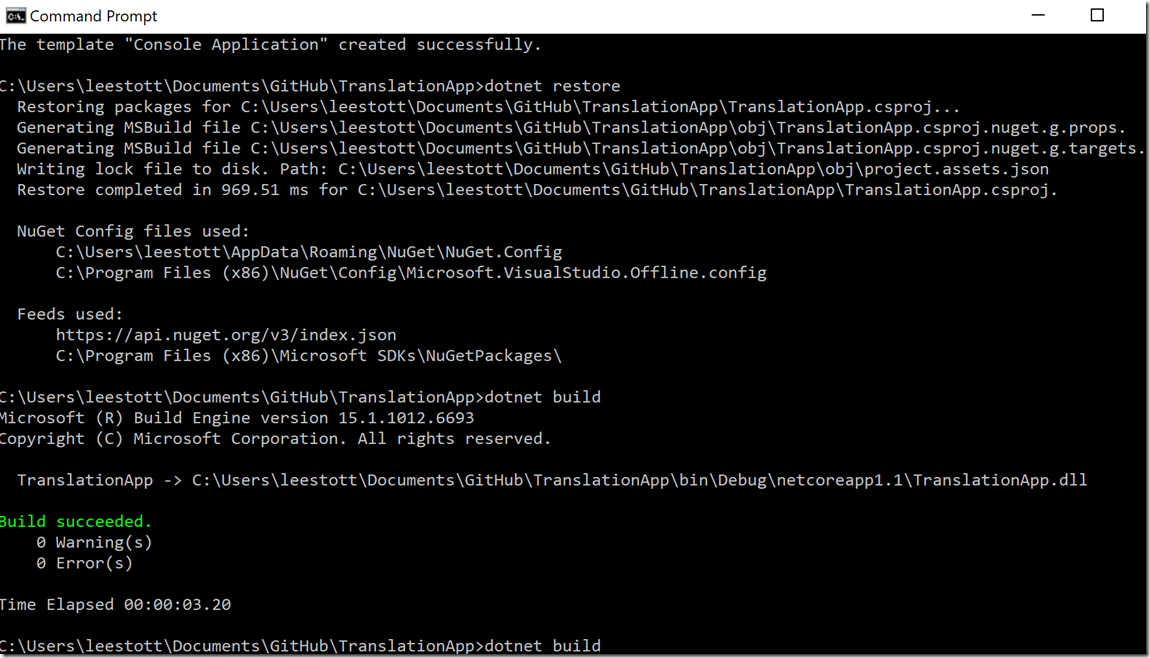
Using a simple dotnet core application and the command line tools. Visual Studio code and the command line (but the code would by sure also work in a .net 4.x Console Application in VS2017):
 mkdir TranslationApp # create a directory for the solution

 cd TranslationApp    # Goto the TranslationApp Dir

 dotnet new console   # create a new dotnet core console application

 dotnet restore       # restore dotnet dependencies and tools

 dotnet build         # build the application

 code Program.cs      # edit the file in Visual Studio Code
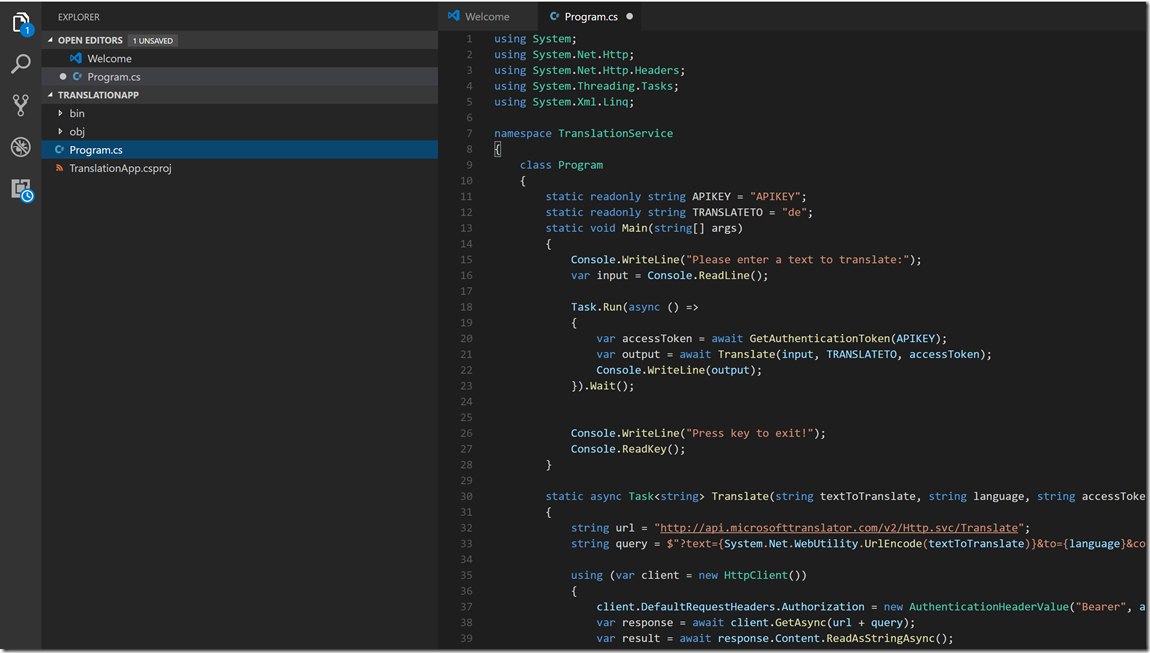
Copy and paste the following C# console sample to the Program.cs and replace the APIKEY with the one that you got from the Azure portal:
Program.cs
 using System;
 using System.Net.Http;
 using System.Net.Http.Headers;
 using System.Threading.Tasks;
 using System.Xml.Linq;

 namespace TranslationService
 {
     class Program
     {
         static readonly string APIKEY = "APIKEY";
         static readonly string TRANSLATETO = "en";
         static void Main(string[] args)
         {
             Console.WriteLine("Please enter a text to translate:");
             var input = Console.ReadLine();

             Task.Run(async () =>
             {
                 var accessToken = await GetAuthenticationToken(APIKEY);
                 var output = await Translate(input, TRANSLATETO, accessToken);
                 Console.WriteLine(output);
             }).Wait();


             Console.WriteLine("Press key to exit!");
             Console.ReadKey();
         }

         static async Task<string> Translate(string textToTranslate, string language, string accessToken)
         {
             string url = "https://api.microsofttranslator.com/v2/Http.svc/Translate";
             string query = $"?text={System.Net.WebUtility.UrlEncode(textToTranslate)}&to={language}&contentType=text/plain";

             using (var client = new HttpClient())
             {
                 client.DefaultRequestHeaders.Authorization = new AuthenticationHeaderValue("Bearer", accessToken);
                 var response = await client.GetAsync(url + query);
                 var result = await response.Content.ReadAsStringAsync();

                 if (!response.IsSuccessStatusCode)
                     return "ERROR: " + result;

                 var translatedText = XElement.Parse(result).Value;
                 return translatedText;
             }
         }

         static async Task<string> GetAuthenticationToken(string key)
         {
             string endpoint = "https://api.cognitive.microsoft.com/sts/v1.0/issueToken";

             using (var client = new HttpClient())
             {
                 client.DefaultRequestHeaders.Add("Ocp-Apim-Subscription-Key", key);
                 var response = await client.PostAsync(endpoint, null);
                 var token = await response.Content.ReadAsStringAsync();
                 return token;
             }
         }
     }
 }
Save it and then we can run the application via:
Additional information
Microsoft Cognitive Services https://aka.ms/cognitive
Visual Studio Code – command line options: https://code.visualstudio.com/docs/editor/command-line
Comments
- Anonymous
August 30, 2017
Hi Lee,I am finding some differences between the Text Translation API behavior versus online translation on the bing translation online webpage (https://www.bing.com/translator)When I use the python API, following URL is invoked...http://api.microsofttranslator.com/v2/Http.svc/Translate?text="Add the shallot, tomatoes, peppers and red pepper flakes and cook, stirring often, until slightly softened and aromatic, about 4 minutes"&to=esThe translated result is ---> "Añadir los copos de cebolleta, tomate, pimiento y pimiento rojo y cocine, revolviendo frecuentemente, hasta que se ablanden un poco y aromático, unos 4 minutos"However, with bing translation (https://www.bing.com/translator) using the english text below"Add the shallot, tomatoes, peppers and red pepper flakes and cook, stirring often, until slightly softened and aromatic, about 4 minutes"I get following translated results:Añada la chalota, los tomates, los pimientos y las hojuelas de pimiento rojo y cocine, revolviendo a menudo, hasta que se suavicen ligeramente y aromáticos, unos 4 minutosTheir are some differences that looks very odd. For example, shallot is getting translated as "los copos de cebolleta" via API versus as "chalota" on bing.Can you see what I may be doing wrong ?- Anonymous
September 04, 2017
Hi Rajesh this was a query on stackoverflow see https://stackoverflow.com/questions/44945868/big-differences-between-ms-translator-api-results-and-bing-translator-results-w here are some more indepth details of the APIs https://docs.microsoft.com/en-us/azure/cognitive-services/Translator/translator-info-overview and Bing Translator see https://www.bing.com/translator/ the team also have an excellent blog at https://blogs.msdn.microsoft.com/translation/
- Anonymous

