Animated PowerPoint Templates: copy, customize, and create something new!
Here’s a quick review of animated PowerPoint appearing on Office Online Templates over the last few months… and one in-depth example showing that while templates are often intended to use as-is, many are also a starting point for original expression.
Part One: Popular animated templates: Terberg Design and Animation Factory
First, here are some popular PowerPoint animations that have been available from the templates site, here shown in motion:
- Example slide effects with instructions by Terberg Design offer a large variety of PowerPoint effects for graphics and images. Copy and customize these slides into your own presentation, or get in-depth with extensive instructions to create your own.
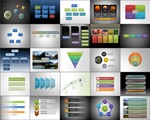
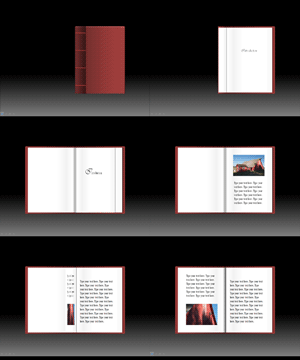
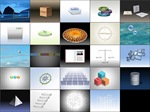
- Animated presentations by Animation Factory are a great series or pre-designed presentations offering layouts with both motion and still-frame slides in each.


Part Two: A community submitted customization example:
Click these links to find a list of submitted animated PowerPoint templates and discover some interesting things happening -- (from the quiet Animated Snowflakes slide to this audio-tracked Self-Running, Animated Presentation). ***
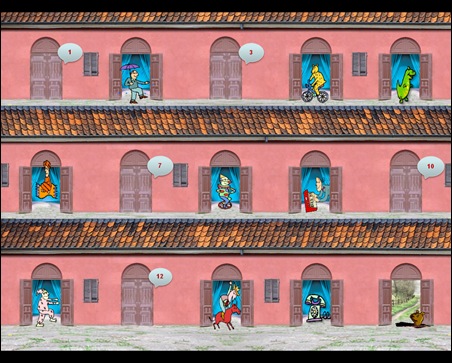
Here you will find the animated countdown calendars. And here’s how one Community submitter turned this into something new, twice.
*** Note: you may made need to change the website’s Community Filter setting to see some of the following. Here is a review of what those settings mean:
[Strict] - Allows only templates created by Microsoft or its partners to be displayed.
[Moderate] - Allows Microsoft and partner templates, plus templates from established community members to be displayed.
[Unfiltered] - All templates are displayed, even from non-established community members.
Version 1: same template, now a 12 point business presentation.
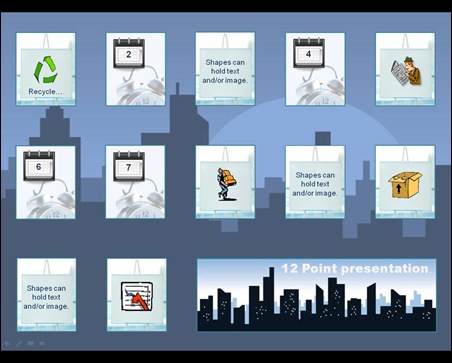
How-to edit (from simplest to advanced):
- To edit characters:
- Right-click characters to Format Picture or Edit (add) Text.
- If you select Format Picture, choose FILL (from the pop-up dialog box, left menu) and hit the radio button for “Picture or texture fill”
- Hit the FILE button to get images from your hard drive, or click CLIP ART to get images you have downloaded from Office Online Clip Art & Media. Here are some animated, clear-background styles to consider:
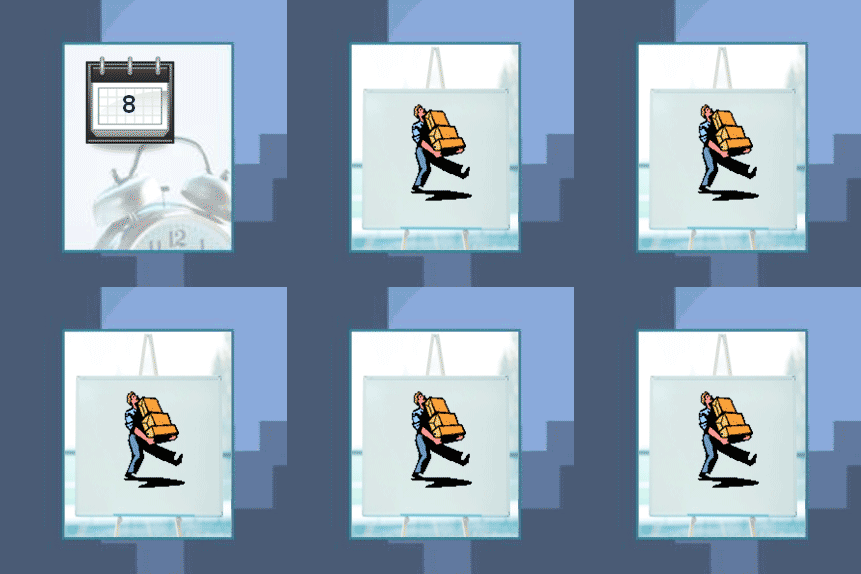
Web Animators from Clip Art <---- Style #917 Style #655 ---->
- Tinker with Offset size to focus your image. And explore the dialog box for additional image effects.
- Note: The video instructions previously located --> here <-- are offline at this time.
- To edit clickable button graphics:
- Ctrl-click to select multiple shapes and change style all at once.
- Edit size to contain more text, or (as above) Format Picture to fill with clip art such as calendars, clocks, etc.
- To create a completely new background:
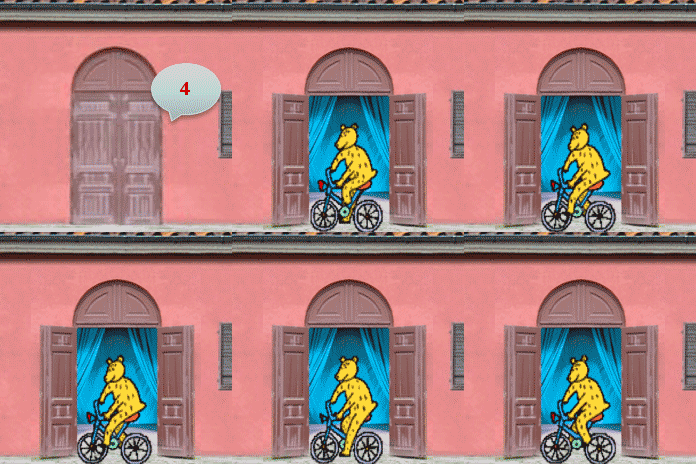
- Duplicate slide #1. On the new #2 slide (your future background), delete characters and buttons, leaving one each of a rectangular shape where the 15 “open door” images appear.
- In each of the 15 shapes, right-click to Format Picture to update your “closed door” image, and then tweak to fit.
- Now right-click the #2 slide’s Background Image and replace with a texture or image that ties-in visually with the 15 doors.
- Save the current #2 slide as a jpg. This is your new scene for slide #1.
Note – This is a good time to edit the jpg in image software to add special details, like shutters, roofs, etc… - Returning to slide #1, replace its background with the new #2 jpg.
- Replace the 15 “open door” images on slide #1 using the same right-click Format Picture method.
Note - The steps outlined above keep the “open” and “close” images directly above each other. If needed, move the Character shapes directly over these too, if they contain edge-to-edge photos. - Optional: In the video, the “open door” shapes are given a Soft Edge effect at the very end, to help them blend a bit better on appearance.
- Note: The video instructions previously located --> here <-- are offline at this time.
- To edit characters:
-
- To change animation and sounds:
- You can change animation timing, order of operations, visual effects, and special effect sounds by accessing Animations from the top menu and selecting Custom Animations from the ribbon.
- To create a new animated series of events: Draw a shape, this will be a #Button, and add effects to it from the Custom Animation menu such as Disappear.
- Right click the #Button name, which is now listed in Custom Animation. Select Timing. From the dialog box hit the Trigger button and select the radio button for “Start effect on click of:” and find the name of your #Button. Hit OK. (This creates a tab named Trigger in your list).
- Click on another shape in your scene (for example the dog character), and in the Custom Animation window, add an effect to Appear. Use the drop down to have it Appear only With Previous action.
- Now that its name appears listed in the Custom Animation window, drag the name of this shape beneath the On Click action of #Button.
- Proceed with other shapes in the desired chain of events, adding timing and sound effects as needed.
Note With the On Click of Button #1, the character and “open door’ image appear then disappear after 3 seconds, looping the Button to Appear again on the visible screen. - Note: The video instructions previously located --> here <-- are offline at this time.
- To change animation and sounds:
How can you extend this example? For additional exploration of animation with image-masking: see also (Team effort fundraiser goals presentation and 10 Question Test for Pop Quiz).
Part Three: Additional animated PowerPoint Help and How-To
Office Online offers a variety of links, resources, and templates for PowerPoint animation, and here are just a few links Office Online Help and How-To recently spotlighted:
- Animate text or objects
- Create a "snake trail" animation effect
- Free animated text effects template for PowerPoint 2007
- Create quizzes, games, and menus
-- Aaron
Comments
- Anonymous
July 22, 2009
wonderful tutorial ,and so many beautiful pictures at the same time!After you create your presentation ,you can use this tool for you converting your presentation to video that can be uplaoding to YuTube! http://www.ppt-to-dvd.com/ppt-to-video-overview.html#10070
