BI and SharePoint Onine
Business Intelligence (BI) and SharePoint online are maturing to the point that it's becoming much easier to point to your data source, select the data you want to present, how you want to present it and publish it for consumption. Even though this is a bit over simplified, this is much easier than current on premises options like SSRS, Performance Point and PowerView.
PowerBI is quickly becoming the gold standard for BI activities in O365. The feature set has matured to the point that multiple data sources are provided out of the box (Microsoft and non-Microsoft) which allows you to quickly start analyzing the data rather than having to constantly build and modify static reports. Adopting PowerBI will quickly get you out of the report writing business and into the data analysis business because of the non-static and interactive way of answering questions and making decisions.
Let's take a look at how to use PowerBI and SharePoint together.
What you need
A few things you'll need to get started.
- PowerBI Desktop - this is the desktop application that you'll need to gather, design and publish your dashboard solutions.
- PowerBI SKU to publish reports - even though PowerBI desktop is free, you'll need a license to publish this to PowerBI in O365 for others to interact with it.
- SharePoint list - For this post I'm using a standard SharePoint list that contains Contoso sales information. Any list will do.
Getting the data from a list
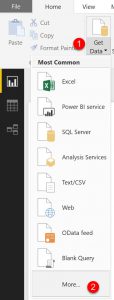
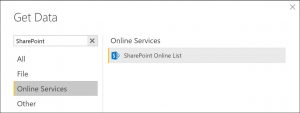
- Fire up PowerBI desktop and go Get Data -> More... -> Online Service -> SharePoint Online List:
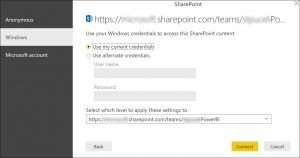
- Provide the URL to your site (not the list)
- Choose the authentication method to connect to you're tenant:
- Once authenticated you can see the objects in the site. Select the list you want to use as a data source.
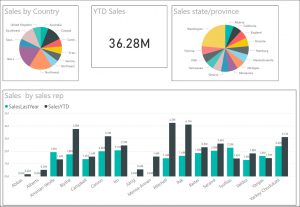
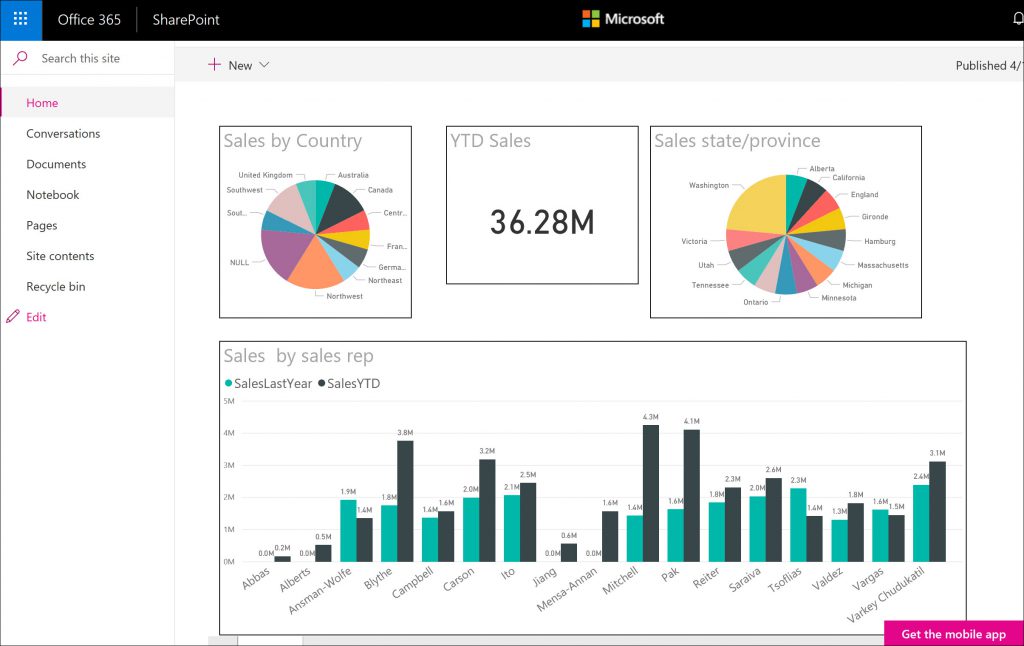
At this point you can configure the dashboard so it conveys the information you want to share with your users. Here is a sample using the list data selected above.
Now that you have everything configured the way you want, it's time to publish it to PowerBI in O365 so you can consume it in your SharePoint site.
Configure the PowerBI web part
- Navigate to PowerBI in O365 and get the URL of the report you want to use in the web part.
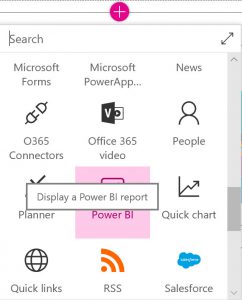
- Within your O365 site, create a new modern page and add the PowerBI web part (only available in the commercial cloud, not government cloud as of this publication date)
- Edit newly added web part and then paste in the URL copied from PowerBI.
- Publish the page and then view the report on your SharePoint page.
Once the report is displayed in the web part, the user has full interactivity with the data as you would expect. Slicers, filters etc all provide for a very rich user experience and one that saves you hours of time building another static report to do what PowerBI does naively.
