Using Microsoft Expression Encoder to display characters based on a dfxp (UTF-8) file format - Expression Encoder 4 SP1
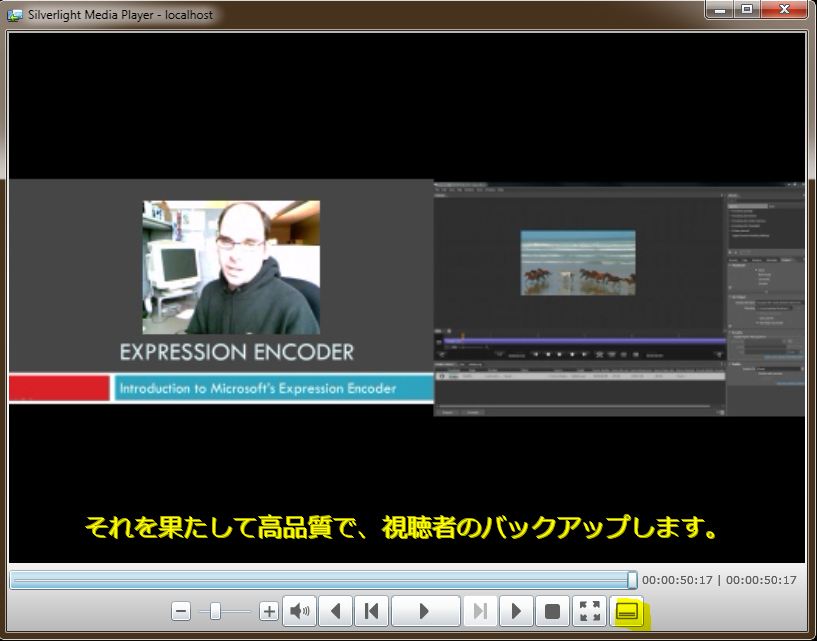
The Expression Encoder generated template has the capability to display captions using a different language. For this scenerio we used the Experssion Encoder 4 Pro SP1 to create the content to display Japanese characters as the displayed captions.
1. Configure the screen capture utility
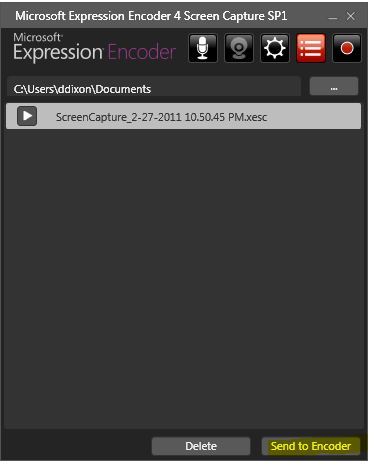
2. Configure the Screen , Microphone and Camera settings appropriately. Then capture your content.
3. Once you have your content created, send it to the Expression Encoder.
4. Once the Encoder is open position any overlays as you would like, also perform any edits like cropping or cuts at this stage.
5. Add the appropriate language .dfxp caption file
- Select the "Text" tab
- Click the "+" (plus) next to the file you want to add the .dfxp file.
- Browse to the directory that contains the .dfxp file.
- Select the preconfigured .dfxp file
- Click Open
Note: The contents of a .dfxp will look similar to the following files contents, you will want to change the parameter for the xml:lang and also add appropriate content using the characaters of the language you wish to use as captions. The file is saved with the .dfxp extension and as a UTF-8 format. Also note that you can create .dfxp formated files if you build the "CaptionConverter" application in the Encoder SDK sampless\CaptionConverter
<?xml version='1.0' encoding='UTF-8'?>
<tt xmlns='https://www.w3.org/ns/ttml' xmlns:tt='https://www.w3.org/ns/ttml' xmlns:ttm='https://www.w3.org/ns/ttml#metadata' xmlns:tts='https://www.w3.org/ns/ttml#styling' xmlns:ttp='https://www.w3.org/ns/ttml#parameter' xml:lang='jpn'>
<head>
<metadata>
<ttm:title></ttm:title>
<ttm:desc></ttm:desc>
<ttm:copyright></ttm:copyright>
</metadata>
<styling>
<style xml:id='backgroundStyle'
tts:fontFamily='proportionalSansSerif'
tts:fontSize='1.5c'
tts:textAlign='center'
tts:origin='0% 90%'
tts:extent='100% 8%'
tts:backgroundColor='rgba(0,0,0,0)'
tts:displayAlign='center'/>
<style xml:id='speakerStyle'
style='backgroundStyle'
tts:color='white'
tts:textOutline='0px 1px'
tts:backgroundColor='transparent'/>
</styling>
<layout>
<region xml:id='speaker' style='speakerStyle' tts:zIndex='1'/>
<region xml:id='background' style='backgroundStyle' tts:zIndex='0'/>
</layout>
</head>
<body>
<div> <p region='speaker' begin='00:00:07:00' end='00:00:08:27'>Microsoft Expression Encoder </p> <p region='speaker' begin='00:00:08:27' end='00:00:19:05'> 高度なアプリケーションを web に Microsoft Silverlight と滑らかなストリーミング シナリオでの再生の質の高い、編集したビデオ プロジェクトまたはライブのブロードキャストをもたらすように設計です。</p> <p region='speaker' begin='00:00:19:05' end='00:00:32:09'>個人のモバイル デバイスにダウンロードするには、LAN サーバー上に複数のクライアントをストリーミングから何かのために複数のビット レート、フレーム サイズ、編集したビデオ プロジェクトをエンコードできます。</p> <p region='speaker' begin='00:00:32:09' end='00:00:42:29'>Expression Encoder を使用して、複数のビット ストリームと高品質の VC-1 および H.264 コーデック </p> <p region='speaker' begin='00:00:42:29'>それを果たして高品質で、視聴者のバックアップします。</p> </div>
</body>
</tt>
6. Select the appropriate language from the dropdown.
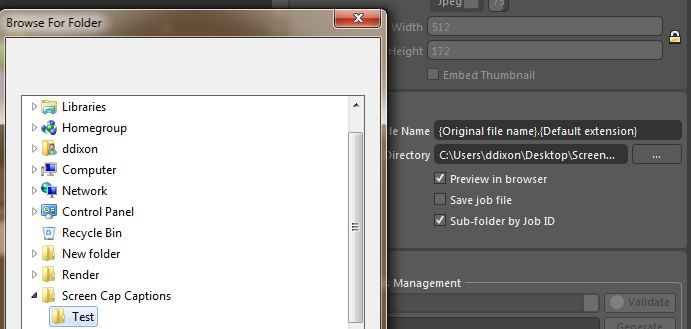
7. Select the Output tab, create a folder to store the encoded files
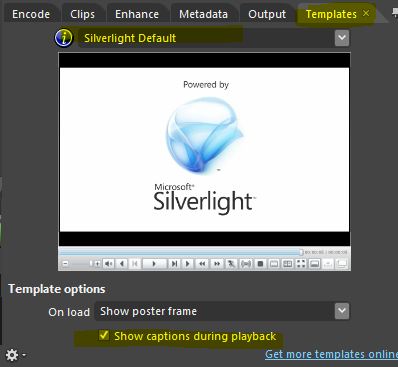
8. Select the Templates tab
- Choose an appropriate template
- Verify that "Show captions during playback" check box is checked
9. Select the Media Content tab to expose the Encode button
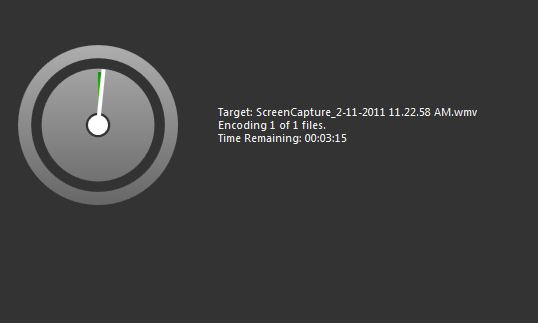
10. Note the encoding will proceed.
11. After the encode is complete a sample player will display, toggle the captions button to see the captions.
Click the Icon below to download Sample files:


