Azure File Sync - Public Preview
Whilst at Microsoft Ignite in Orlando last month I came across a number of new Hybrid technology announcements. Azure File Sync is the one I think will impact on many of my readers, those being primarily on-premises datacenter type folks.
This new service provides an ability to extend your on-premises file servers into the Azure Files service. Sound good? Well it gets better, you can use the sync tool to synchronize all your on premises file servers across the globe if you want to, without having to invest in any other infrastructure or deploy complicated DFS hierarchies.
In this rather lengthy post I am going to dive in and show you how to create and use the service. I demonstrated this at the first of the new @TechNetUK #UKITCamps last week in Cardiff. They loved it.
The service has a number of requirements to work successfully and also a number of limitations.
First, it cannot synchronize any file system share other than NTFS.
Second, it does require an Azure subscription.
The benefit is that it can provide a number of valuable sync scenarios to your business. As shown below.
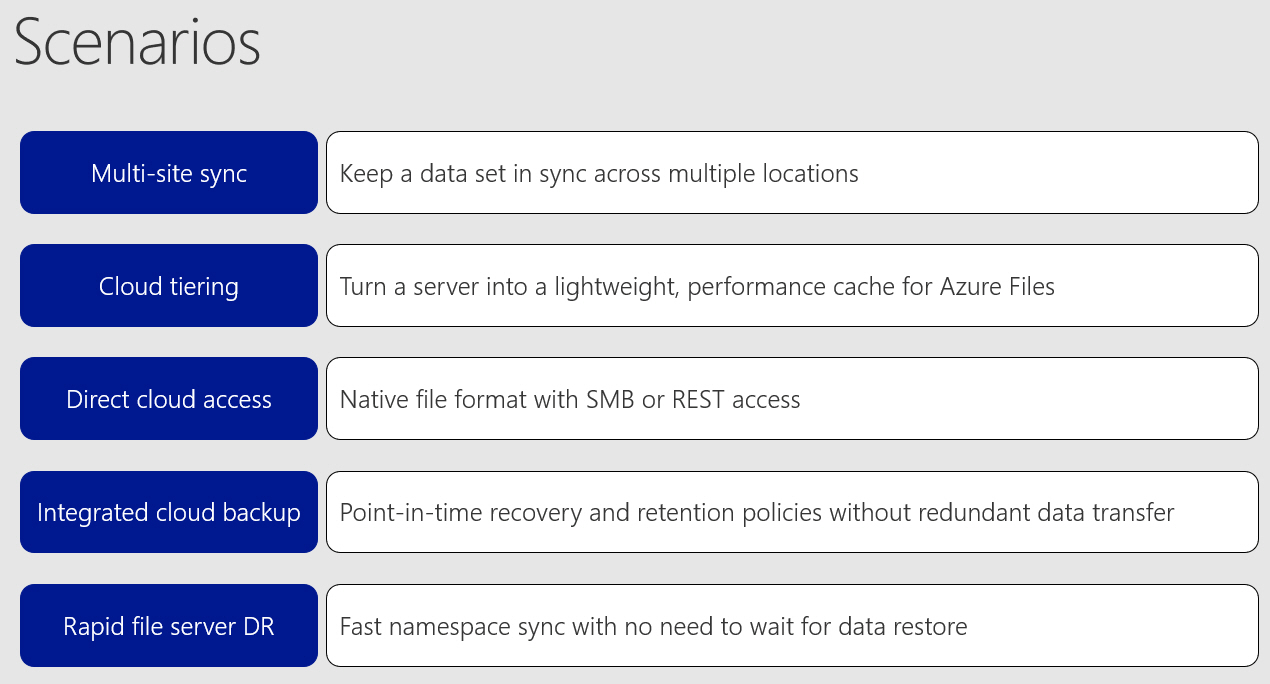
In short in a few short steps you can centralize all your file services in a managed cloud, reduce complexity in your file server infrastructure and even reduce the need for some of them. Finally you can preserve your compatibility with on-premises solutions and maintain performance levels.
The next step I suppose is to show you how to create a File Sync of your very own. Here goes!
Create Your Own at home.
Pre requisites
Storage Account and File share in a region hosting the Azure File Sync preview Service and at least one Windows Server File Server. This can be a Windows Server 2012 R2 or 2016 as long as it has a GUI (no Nano server or Core for this preview). The server can be either Standard or Datacenter edition.
Step 1 - Create a Storage Account
First you need to know the regions where file sync is available in preview.
 In addition, in preview, sync is only supported where the file share is in the same region as the file sync service. Our demo service will be in West Europe.
So I need to create a storage account in West Europe. Although I normally do just about all my Azure work now in the Preview cloud Shell using either bash or PowerShell, In this instance I will use the GUI.
Having logged into an Azure account that has an active subscription I need to click +New on the hub menu.
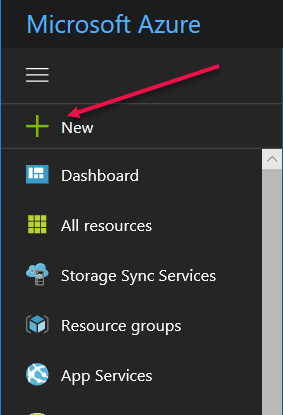
This allows me to create a new resource. In this case a Storage account.

I next need to add the Storage account properties.

The important items here are the storage account name must be all lower case.
I would select the cheapest available storage account type as this is for a demonstration. Locally redundant storage accounts keep three copies of all data in the same region. For a production system you may want to choose a geographically redundant account where an additional three copies are stored in a remote region.
Also not I have chosen a new resource group so that we can track what I do and that the storage account and resource group will be in the West Europe region, where the Azure File Sync service preview is available.
I also selected the pin to dashboard option and clicked create.
Step 2 - Create a file share.
Having created the storage account we now need to create a File share within Azure Files, inside that storage account. To start this, click the Storage account tile on your dashboard.

Then click the Files tile on the Storage account blade.

Click the + File Share at the top of the File Service blade
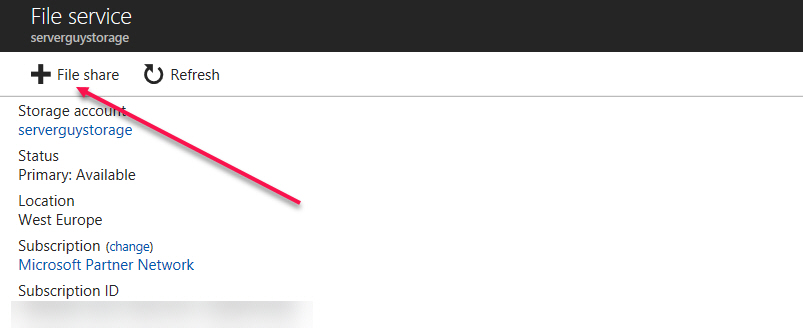
Here you just enter a name (and a quota if required), again only lower case letters in the file share name.
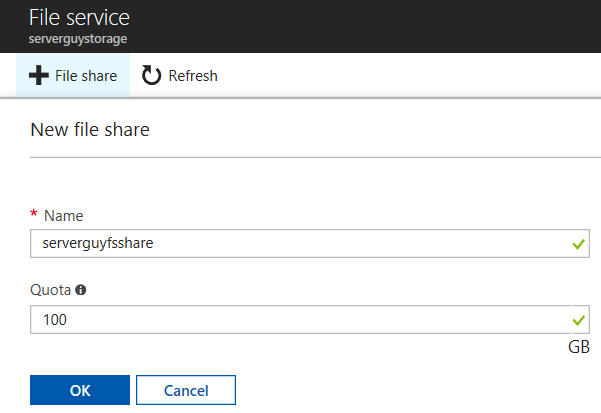
Step 3 - Deploy the File Sync Service.
Next step is to create and deploy the file sync service and connect it to your file share.
Click +New on the hub menus and search for and select Azure File Sync.
Click Create and complete the Storage Sync properties
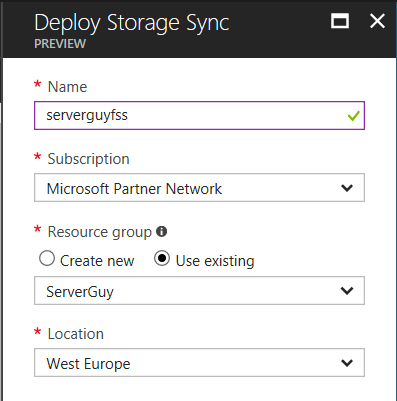
NOTE must be in the same region as the file share - suggest same as the storage account too.

Once completed you will have your Storage Sync Service listed. Note you can configure these from this blade but NOT create new ones. Next Select your service and open the blade.

Step 4 - Create a Sync Group
Having completed Steps 1-3 your next task is to create a sync group. A sync group consists of Cloud endpoints (file shares in Azure Files) and Server Endpoints (file shares in on-premises Windows Servers). First create the group then the endpoints.
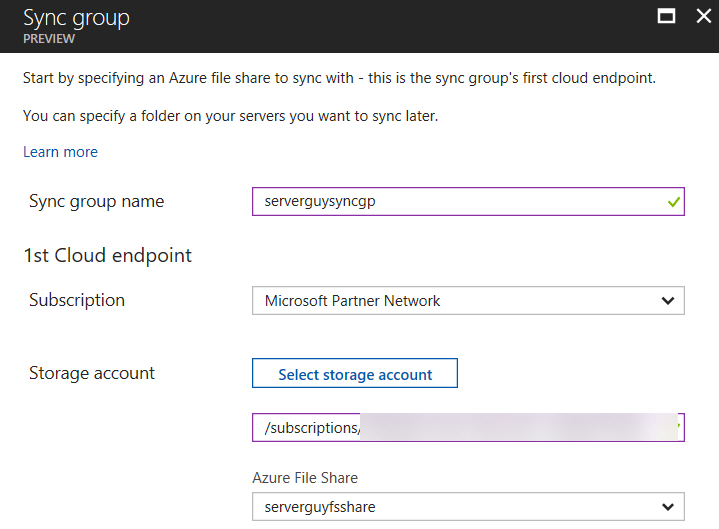
Having created the Sync Group you now create a Cloud Endpoint - Click Add Cloud Endpoint in the Sync Group blade and complete the details for your Azure Files Share created in the earlier step. The result is shown below.

The final stage is to create a server endpoint. This is a multi step process.

Within a Windows Server, download and install the Azure Storage Sync agent and return to the Azure Portal to register your server in the Storage Sync Service.
The download contains a number of files

You can download the files from here.
Once installed it is a simple matter of sunning the Server Registration App and registering the Server with your Azure File Sync Service..
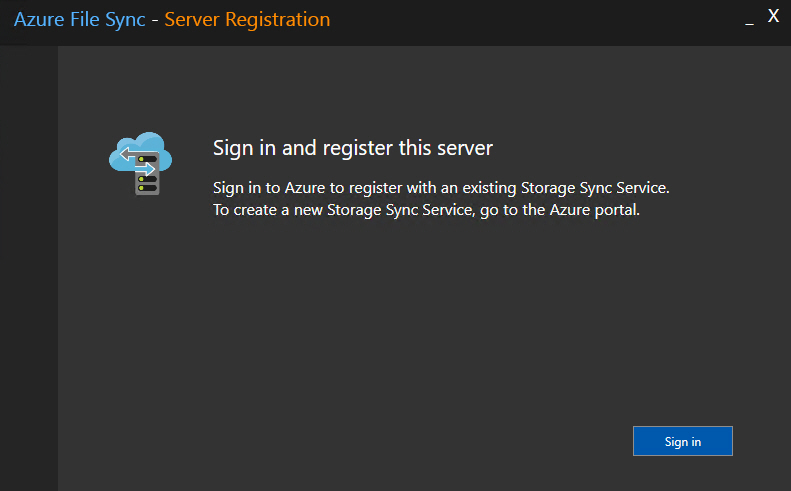
This sign in process can take several minutes

The process to here can also take a few minutes - be patient
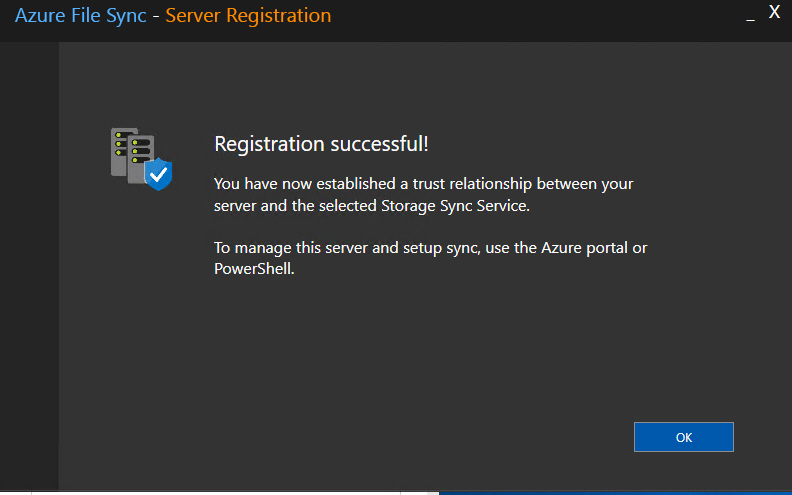
Now switch back to the Azure Portal and add the registered server as a Server endpoint for your file sync service.
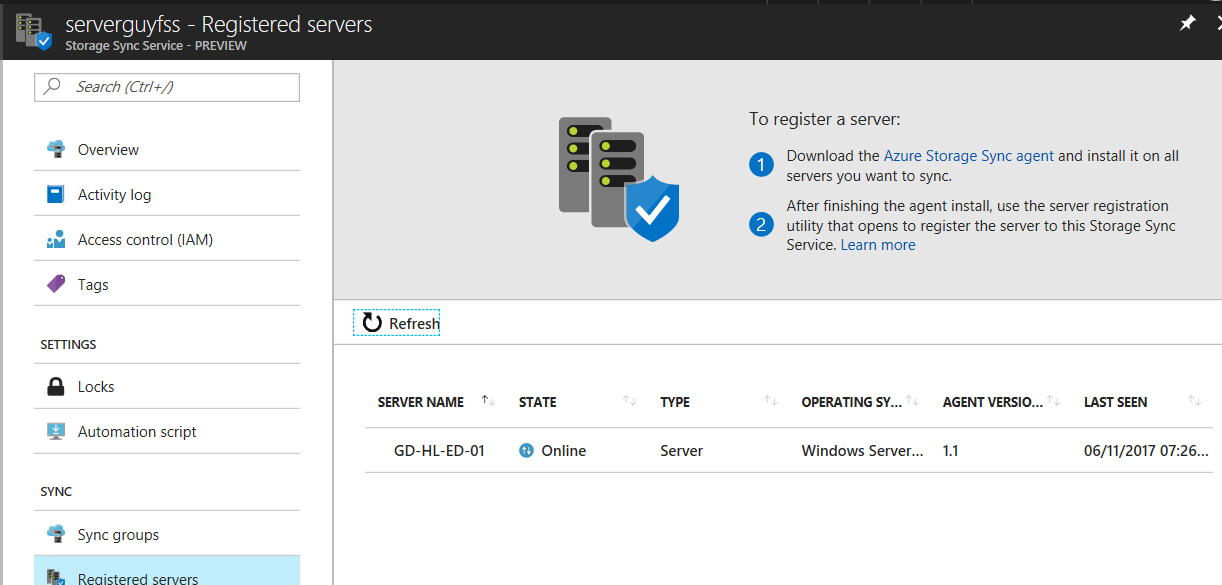
Choose from the list of registered servers.
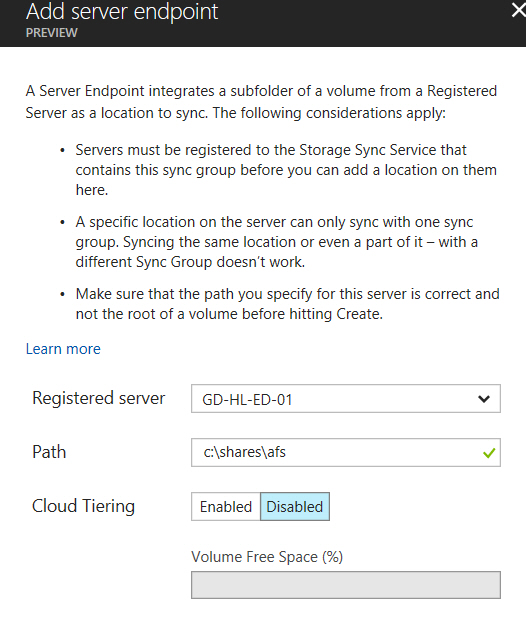
Here you can select if you want cloud tiering to move cold data to the cloud completely and save space on your local servers until the files are needed again.
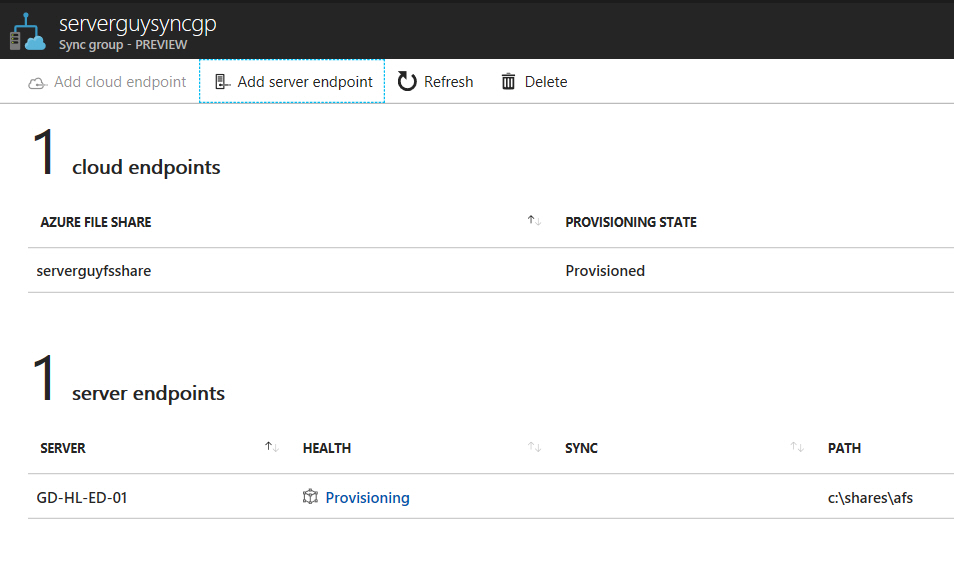
A short wait again
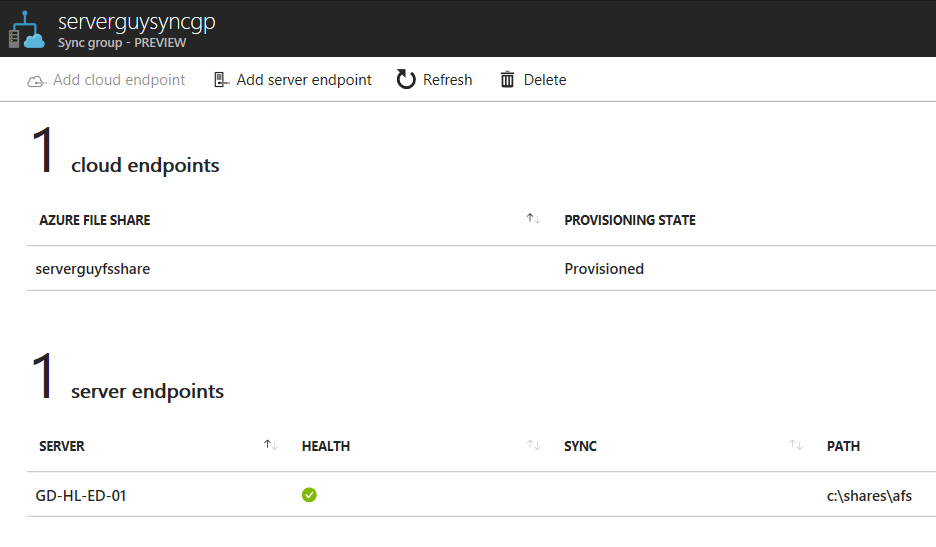
Finished! All that remains is to add some files to your local share and watch them replicate directly into your Azure Files file share.
NOTE - Files are sync'd every 5 minutes or so from Server to Azure and Server to server, through Azure BUT if you add files directly to the Azure File share, they will only be processed every 12 hours, by design.

Here you can see two local 5 GB VHD's in the local file share . And below less than 5 minutes later they are in the Azure Files container.

Fast , efficient, friendly file sync.
Go try it.
Better still join me on Friday 10th November at Noon GMT to watch a live demo and hear more about Azure File Sync preview.
Join the Skype Meeting HERE