Costa Farms - Setting up software for the Adafruit Feather M0 Wifi using the Arduino IDE and C Code, for Remotely Monitoring pH Sensors in Microsoft Azure (Article 2 of 2)
This is the second of two articles, the first one explaining the hardware setup of this new system as “Proof of Concept” as far as the building the device itself and the second, this article covering the C code and setting the software and Arduino IDE/Compiler up.
First, let’s discuss what’s needed for this project –
Hardware you should have already assembled -
- You need the Microsoft Azure IoT Starter Kit w/ Adafruit Feather M0 WiFi at least one pHSensor kit from Atlas Scientific. You need to also download the Arduino IDE/C Compiler. Your IoT Azure Kit will come with the breadboard, wires, sensors and all the pieces you will need but make sure and get the kit. If you get the Atlas pH Sensor make sure and get the kit with pH test liquids that are included.
- I2C code for C Code to add into the file with the Adafruit Feather M0 Wifi, or you can get the sample code from GitHub.
Software –
- Microsoft Azure Subscription
- Arduino IDE
- I2C code from Atlas Scientific website
- Our code sample from GitHub for the Adafruit – Atlas code that works together with Wifi.
Next, make sure and setup the Arduino IDE and get the sample code from GitHub that you can modifiy if you would like. Make sure and watch the video we built before you start.
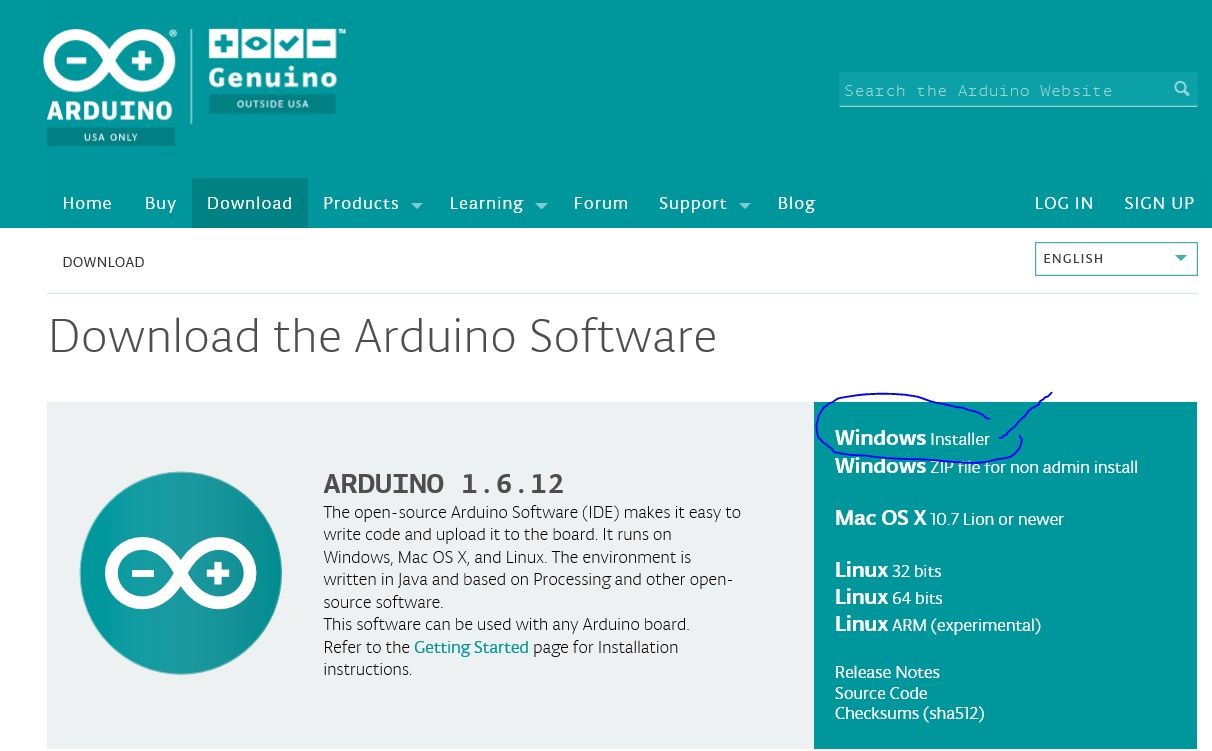
To begin, go up to the Arduino site and download the latest open-source Arduino Software (IDE).
The latest version is 1.6.12 at the writing of this article. Shown below.
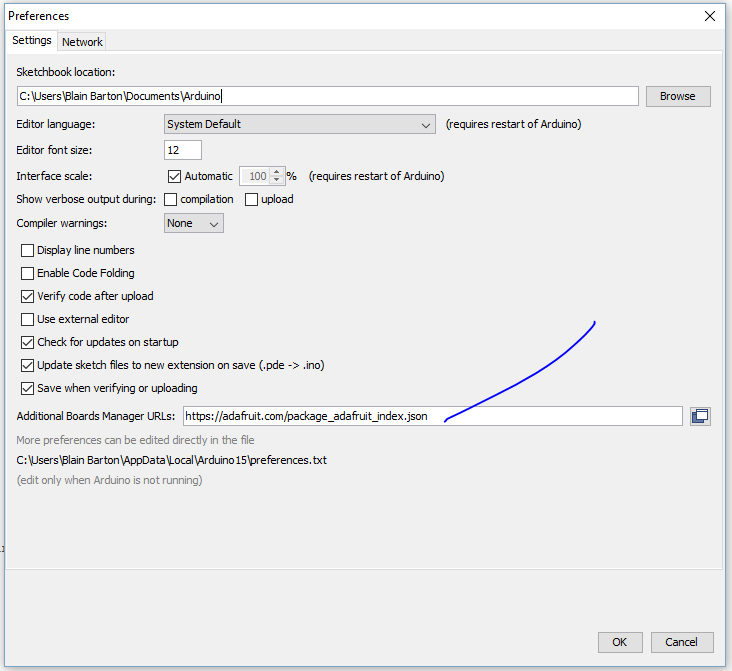
Next, go to File, Preferences and select Additional Boards Manager URL’s and cut and paste https://adafruit.com/package_adafruit_index.json as this will add the additional software you need to install.
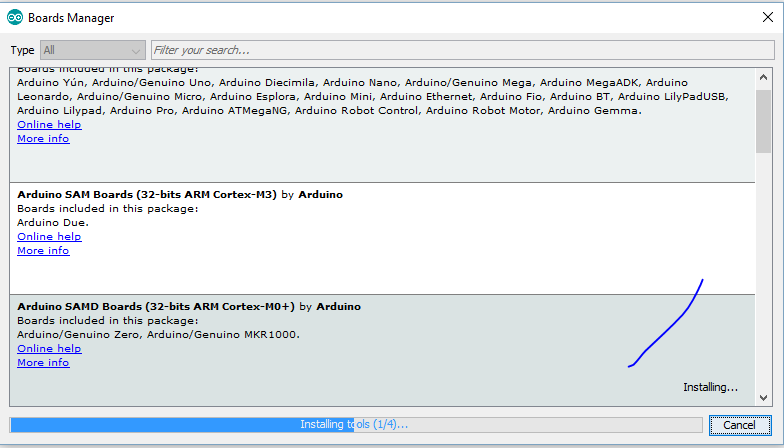
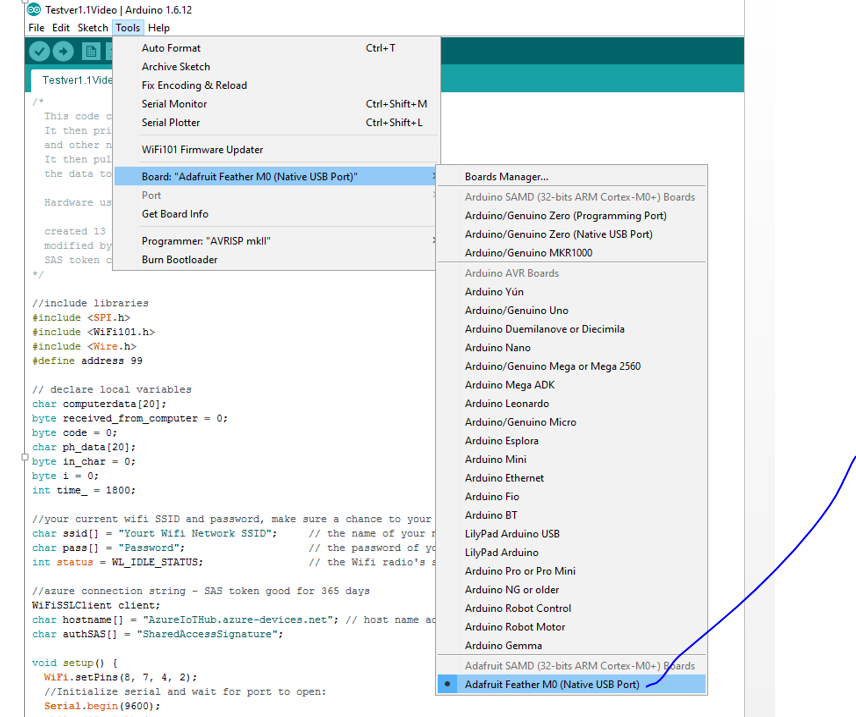
Next go to Tools, Board <selected>, Boards Manager shown below. Select Arduino SAMD Boards (32-bits ARM Cortex-M0+) by Arduino.
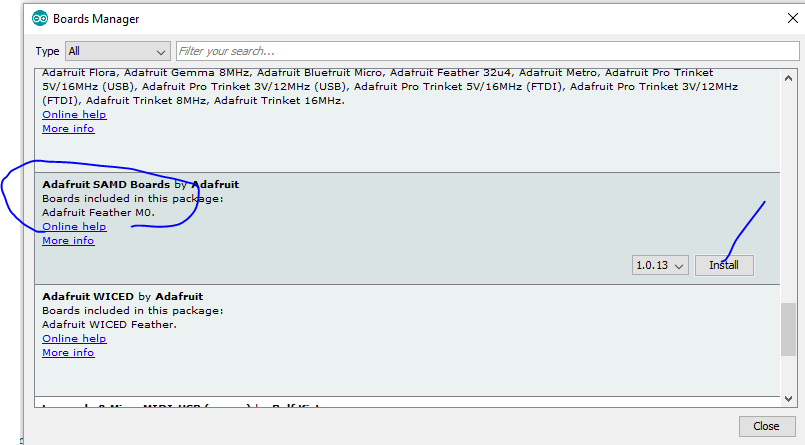
Next select, Adafruit SAMD Boards by Adafruit, (look for the Adafruit Feather M0) below. Install.
Next, select Board and select the “Adafruit Feather M0 (Native USB Port)” as the board.
Next, download and installed the drivers (Windows Only) for the Adafruit Driver for Windows.

Save the Adafruit_drivers.exe 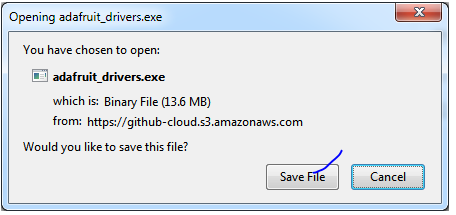
Accept the License Agreement after reading the terms select “I Agree” 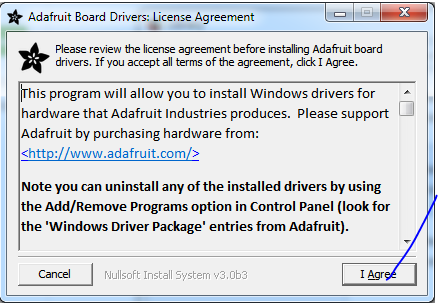
Make sure that Feather MO and the others are checked so the correct drivers are installed.
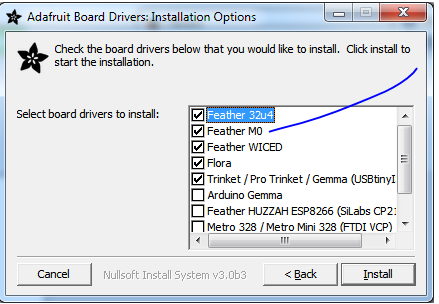
Click Install,
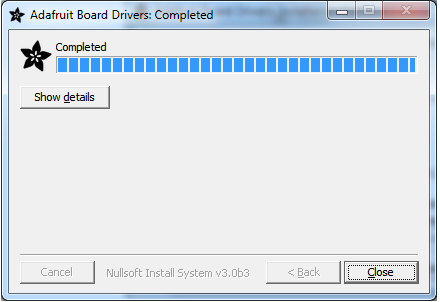
After the install, go to Sketch and select Include Library, then Manage Libraries. 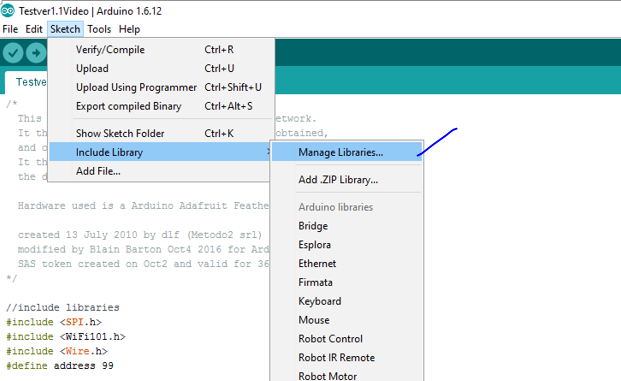
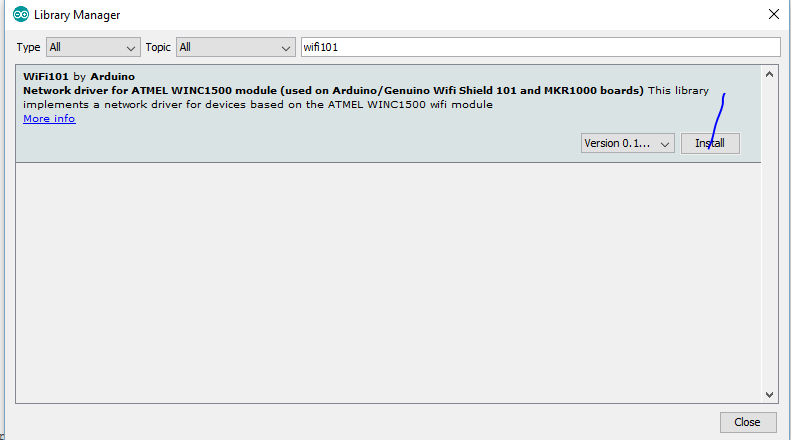
Make sure and Select Wifi101 by Arduino to get the Wifi libraries you need for the Adafruit Feather.
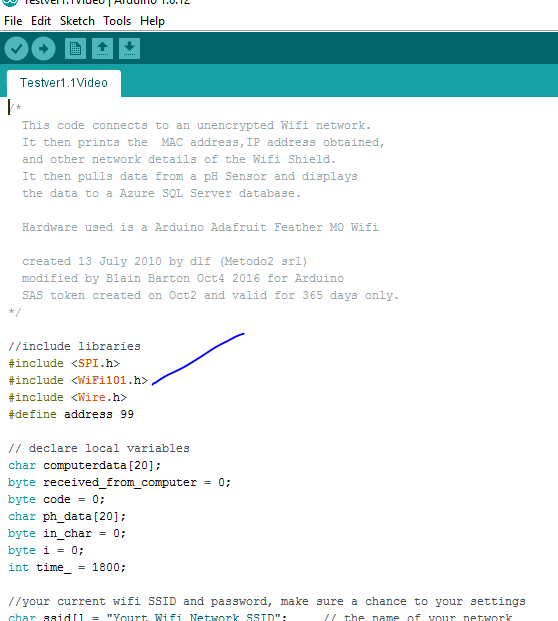
You will see the SPI.h, Wifi101.h and Wire.h libraries (Wire.h is for the pH Sensor) highlight itself.
Make sure that in your void setup you have Wifi.setPins are set to (8, 7, 4, 2) 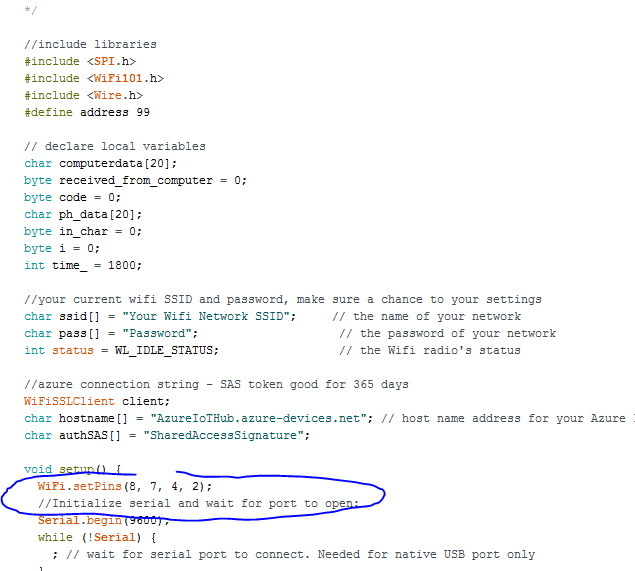
Next, put in your SSID and Password for your local wifi network.

Install Device Explorer.
I recommend that you get the Device Explorer tool for you can see the messages been sent to the IoT Hub. Go to the site and follow the directions on how to add your IoT Hub connection string and how to add and view the device or sensor that you are monitoring.

Next you’ll want to build your Microsoft Azure infrastructure now that your devices are built and seeing your Wifi network. You can watch the following video on what is needed for your setup for Microsoft Azure.
Comments
- Anonymous
October 25, 2016
nice job - Anonymous
October 25, 2016
Great article!!! I really enjoy the detail step by step so it is easy to follow.