Changing the Hyper-V screen resolution during OOBE
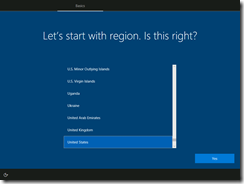
I’ve recorded a variety of videos (especially for Windows AutoPilot, but prior to that for other Windows deployment scenarios) that involve capturing the initial phases of a Hyper-V VM’s boot process. Normally, these default to a resolution like 1024x768, although they can be changed to a better resolution (e.g. 1366x768 or 1920x1080) manually after Windows has started up. The end result is a rather “square” image:
But what if you want the entire video to be fixed at a particular resolution? If you are running Hyper-V on Windows 10 or Windows Server 2016, there is an easy way to do this using the Set-VMVideo PowerShell cmdlet. First, let’s try switching to 1366x768:
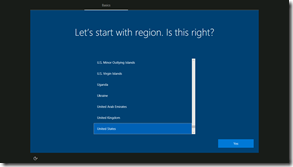
PS C:\> Set-VMVideo -VMName Demo -ResolutionType Single -HorizontalResolution 1366 -VerticalResolution 768
The result (effective the next time the VM starts up):
The "-ResolutionType Single” is required in this case to force the VM to a specific resolution by telling Windows that is the only supported video resolution. (And yes, OOBE does add black bars to left and right.)
You can also change to 1080p (1920x1080) the same way:
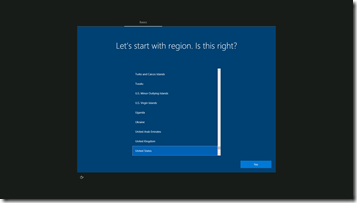
PS C:\> Set-VMVideo -VMName Demo -ResolutionType Single -HorizontalResolution 1920 -VerticalResolution 1080
with this result (yes, more and bigger black bars from OOBE):
You may still see the VM start up with a smaller resolution and then switching to a higher resolution a second or two later. There’s no easy way around that, but if you set the VM to be full screen (e.g. using a 1080p monitor) and then capture a video from that monitor, you don’t notice the switching.
If you want to change the VM back to its original, default behavior, you can:
PS C:\> Set-VMVideo -vmname Demo -ResolutionType Default


