OpsMgr 1801 All in One - Quick Start Deployment Guide

Maybe you want to play with the new SCOM version like me?
Following Kevin Holman's Quick Start Deployment Guide for SCOM 2016, build out an All in One
High Level Deployment Process:
1. In AD, note the ID's and groups used for Operations Manager for the technical preview
2. Install Windows Server 2016 to all server role servers
3. Install Prerequisites and SQL 2016.
4. Install the Management Server and Database Components
5. Deploy Agents
6. Import Management packs
7. Set up security (roles and run-as accounts)
Prerequisites:
1. Install Windows Server 2016 on Server
2. Join server to domain.
3. Install the Report Viewer controls. Install them from https://www.microsoft.com/en-us/download/details.aspx?id=45496
NOTE If SQL is installed on the MS (remember All in One server)
“Microsoft System CLR Types for SQL Server 2014” (ENU\x64\SQLSysClrTypes.msi) is not needed.
SQL SysClrTypes available here: https://www.microsoft.com/en-us/download/details.aspx?id=42295
4. Install all available Windows Updates.
5. Add the “OMAdmins” domain global group to the Local Administrators group on each server.
6. Install IIS on any management server that will also host a web console:
Open PowerShell (as an administrator) and run the following:
Add-WindowsFeature NET-WCF-HTTP-Activation45,Web-Static-Content,Web-Default-Doc,Web-Dir-Browsing,Web-Http-Errors,Web-Http-Logging,Web-Request-Monitor,Web-Filtering,Web-Stat-Compression,Web-Mgmt-Console,Web-Metabase,Web-Asp-Net, Web-Windows-Auth –Restart
Note: The server needs to be restarted at this point, even if you are not prompted to do so. If you do not reboot, you will get false failures about prerequisites missing for ISAPI/CGI/ASP.net registration.
7. Install SQL 2016 to the server
- Setup is fairly straightforward. This document will not go into details and best practices for SQL configuration. Consult your DBA team to ensure your SQL deployment is configured for best practices according to your corporate standards.
- Run setup, choose Installation > New SQL Server stand-alone installation…
When prompted for feature selection, install ALL of the following:
- Database Engine Services
- Full-Text and Semantic Extractions for Search
- On the Instance configuration, choose a default instance, or a named instance. Default instances are fine for testing, labs, and production deployments. Production clustered instances of SQL will generally be a named instance. For the purposes of the POC, choose default instance to keep things simple.
- On the Server configuration screen, set SQL Server Agent to Automatic. You can accept the defaults for the service accounts, but I recommend using a Domain account for the service account. Input the DOMAIN\sqlsvc account and password for Agent, Engine, and Reporting. Set the SQL Agent to AUTOMATIC.
- On the Collation Tab – accept the default which is SQL_Latin1_General_CP1_CI_AS
- On the Account provisioning tab – add your personal domain user account and/or a group you already have set up for SQL admins. Alternatively, you can use the OMAdmins global group here. This will grant more rights than is required to all OMAdmin accounts, but is fine for testing purposes of the POC.
- On the Data Directories tab – set your drive letters correctly for your SQL databases, logs, TempDB, and backup.
- Choose Install, and setup will complete.
- You will need to disable Windows Firewall on the SQL server, or make the necessary modifications to the firewall to allow all SQL traffic. See https://msdn.microsoft.com/en-us/library/ms175043.aspx
- When you complete the installation – you might consider also downloading and installing SQL Server Management Studio Tools from the installation setup page, or https://msdn.microsoft.com/en-us/library/mt238290.aspx
SCOM Step by step deployment guide:
1. Install the Management Server role on SCOM1.
- Log on using your personal domain user account that is a member of the OMAdmins group, and has System Administrator (SA) rights over the SQL instances.
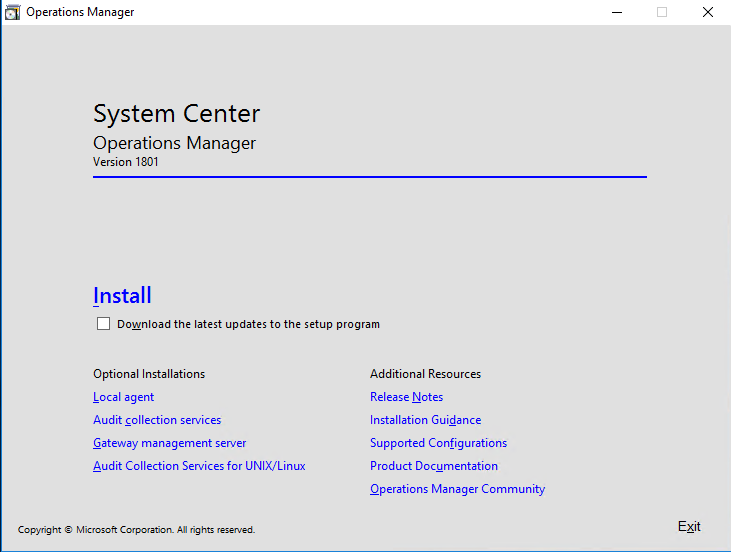
- Run Setup.exe

- Click Install
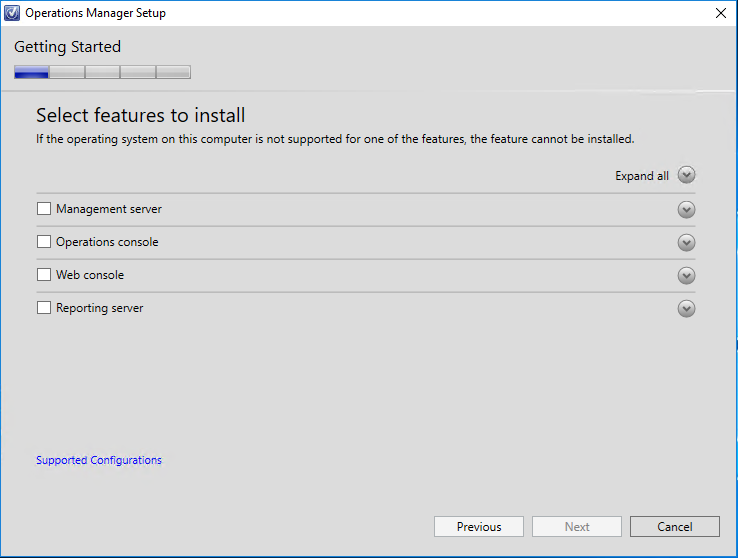
- Select the following, and then click Next:
- Management Server
- Operations Console
- Web Console
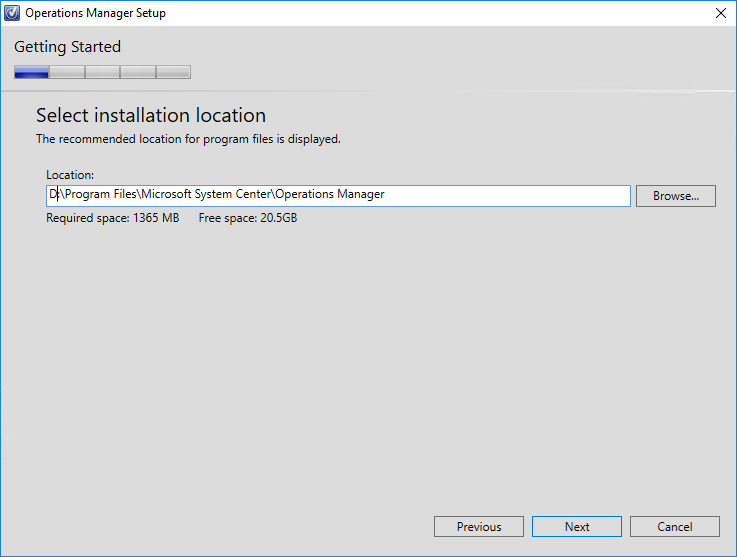
- Accept or change the default install path and click Next.
- You might see an error from the Prerequisites here. If so – read each error and try to resolve it.
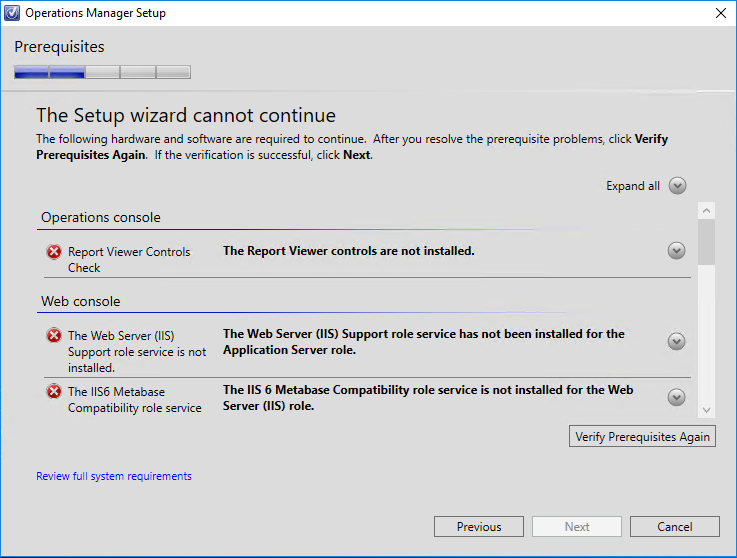
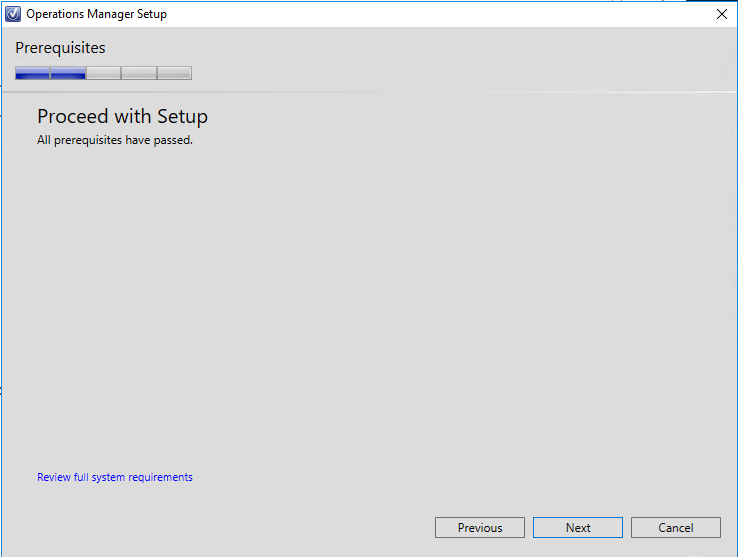
- On the Proceed with Setup screen – click Next.
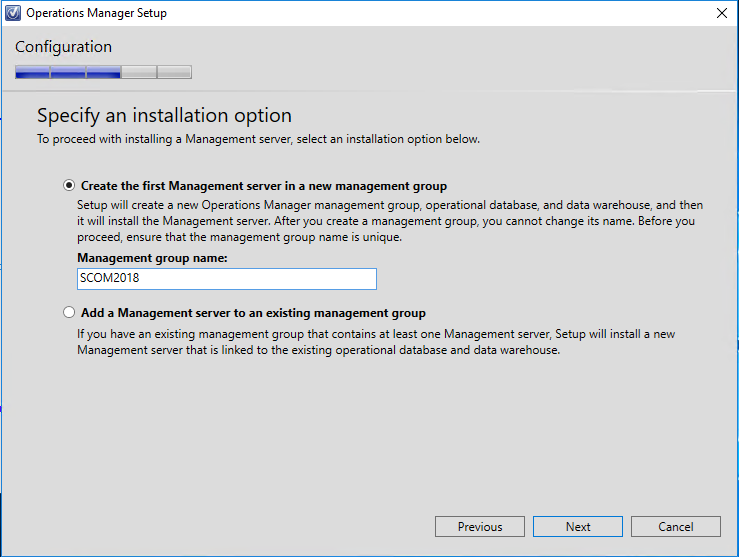
- On the specify an installation screen – choose to create the first management server in a new management group.
- Give your management group a name. Don’t use any special or Unicode characters, just simple text.
- KEEP YOUR MANAGEMENT GROUP NAME SIMPLE, and don’t put version info in there.
- Click Next.
- Accept the license. Next.

- On the Configure the Operational Database screen, enter in the name of your SQL database server name and instance.
- In my case this is “18MSB01”.
- Leave the port at default unless you are using a special custom fixed port.
- If necessary, change the database locations for the DB and log files.
- I changed the default size to 5000 MB for now.
- Click Next.

- On the Configure the Data Warehouse Database screen, enter in the name of your SQL database server name and instance.
- In my case this is “18MS01”.
- Leave the port at default unless you are using a special custom fixed port.
- If necessary, change the database locations for the DB and log files.
- I changed the default size to 5000 MB. Click Next.

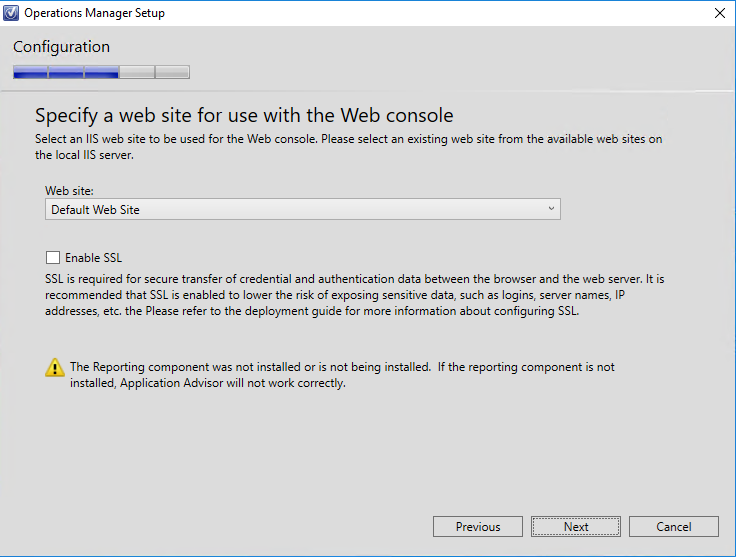
- On the Web Console screen, choose the Default Web Site, and leave SSL unchecked. If you have already set up SSL for your default website with a certificate, you can choose SSL. Click Next.
- On the Web Console authentication screen, choose Mixed authentication and click Next.

- On the accounts screen, change the accounts to Domain Account for ALL services,
- Enter in the unique DOMAIN\OMAA, DOMAIN\OMDAS, DOMAIN\OMREAD, DOMAIN\OMWRITE
- accounts we created previously.
- It is a best practice to use separate accounts for distinct roles in OpsMgr
- Although you can also just use the DOMAIN\OMDAS account for all SQL Database access roles to
- simplify your installation (Data Access, Reader, and Writer accounts).
- Click Next.
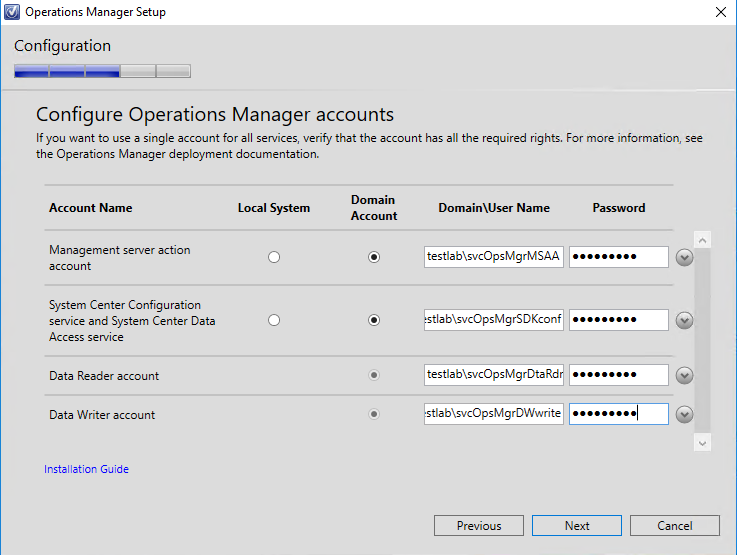
- On the Diagnostic and Usage Data Click Next

- Microsoft Update screen – choose to use updates or not. Click Next
- Click Install
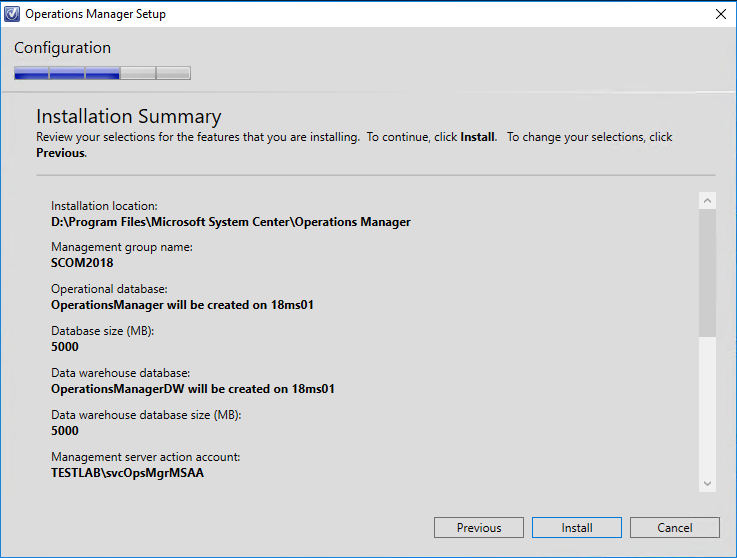
- Watch Installation progress

- After a few minutes, when installation completes
- Close when complete.

- The Management Server will be very busy (CPU) for several minutes after the installation completes. Before continuing it is best to give the Management Server time to complete all post install processes, complete discoveries, database sync and configuration, etc. 10 minutes is typically sufficient.
Verify Console
Login to Management Group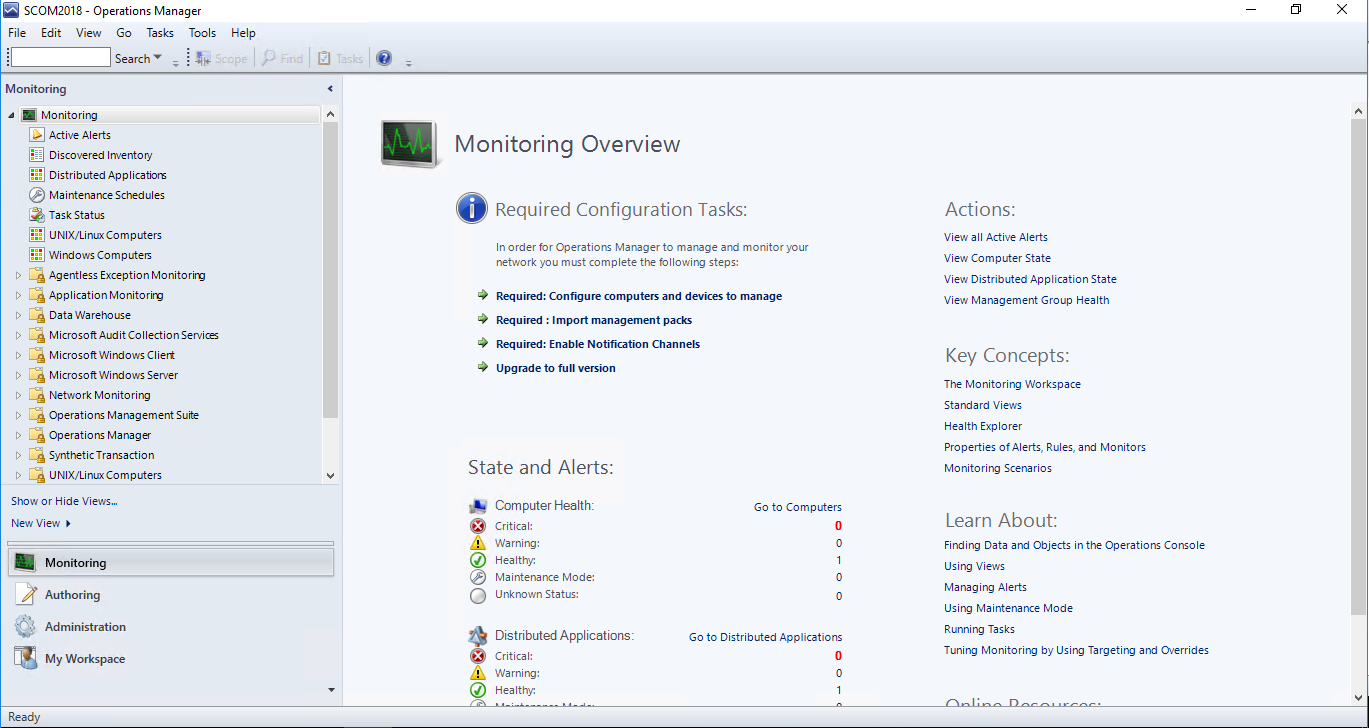
Import Management Packs
Import your preferred management packs
- https://docs.microsoft.com/en-us/system-center/scom/manage-mp-import-remove-delete
- Using the console – you can import MP’s using the catalog, or directly importing from disk. I recommend always downloading MP’s and importing from disk. You should keep a MP repository of all MP’s both current and previous, both for disaster recovery and in the case you need to revert to an older MP at any time.
- Import the Base OS and SQL MP’s at a minimum.
- Prefer to add Holman's packs for SCOM Management, SCOM Agent Version Addendum, SCOM Agent Thresholds for Health Service Restarts
Continue with Optional Activities
- Quick Reference /en-us/system-center/scom/manage-quick-reference?view=sc-om-1711
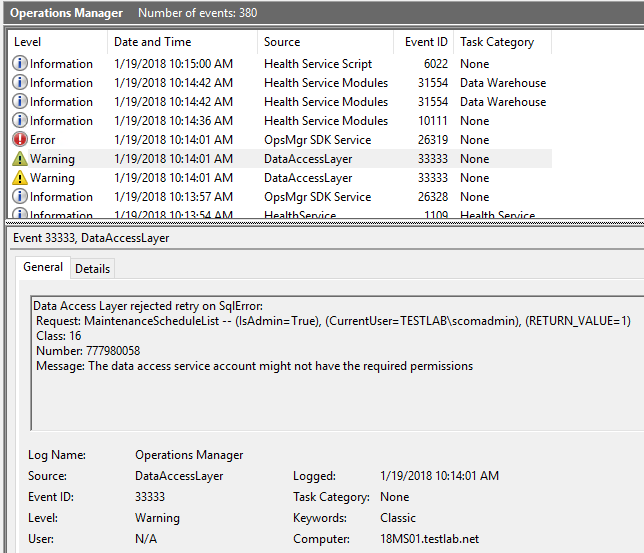
Verify any errors in the Operations Manager Event logs
Note the Maintenance permissions is still an issue
- Fix the Database permissions for Schedule Maintenance Mode
- The database permissions need to be edited to stop errors and allow Scheduled Maintenance to work:
- https://blogs.technet.microsoft.com/kevinholman/2016/10/22/enabling-scheduled-maintenance-in-scom-2016-ur1/
Operations Manager Event logs

