Continuously publish your PowerShell module to PowerShell Gallery by using GitHub and VSTS
PowerShell rocks!
I know that we all write PowerShell modules every day to automate the world, but do you publish them to PowerShell Gallery so that the others can take advantage of your work.
To optimize the workload, I automated the process by using Visual Studio Team Services (VSTS) extension.
What is PowerShell Gallery?
In case you don’t know about PowerShell Gallery, it’s a central repository for all PowerShell module which Microsoft hosts. If you are using PowerShell v5.0 or PowerShellGet, then you can simply use Find-Module and Install-Module to find and get modules from PowerShell window, so that you don’t need to open web browser to find desired modules anymore.
To publish the module manually, you can use Publish-Module cmdlet, which requires API Key. So please register yourself first at https://www.powershellgallery.com/
Prerequisites
You need API Key to publish modules.
1. Sign in to https://www.powershellgallery.com/
2. Click your account on right top of the page.
3. Obtain API key in Credentials section.
Manual Publish
Use Publish-Module cmdlet. https://msdn.microsoft.com/en-us/powershell/reference/5.1/powershellget/publish-module
Automate the publish
No, I don’t want to publish the module manually every time. So in this article, I explain how you can use GitHub to host your source code and use VSTS to publish the module to Gallery in DevOps fashion. Oh, you don’t have VSTS account? Sign up at https://www.visualstudio.com/team-services/
Source management
Create a repository at GitHub, and check in psm1 and psd1 files as well as any dependencies. If you love to use VSTS as source repo, go ahead to use it <3
Create VSTS Project and Build Definition
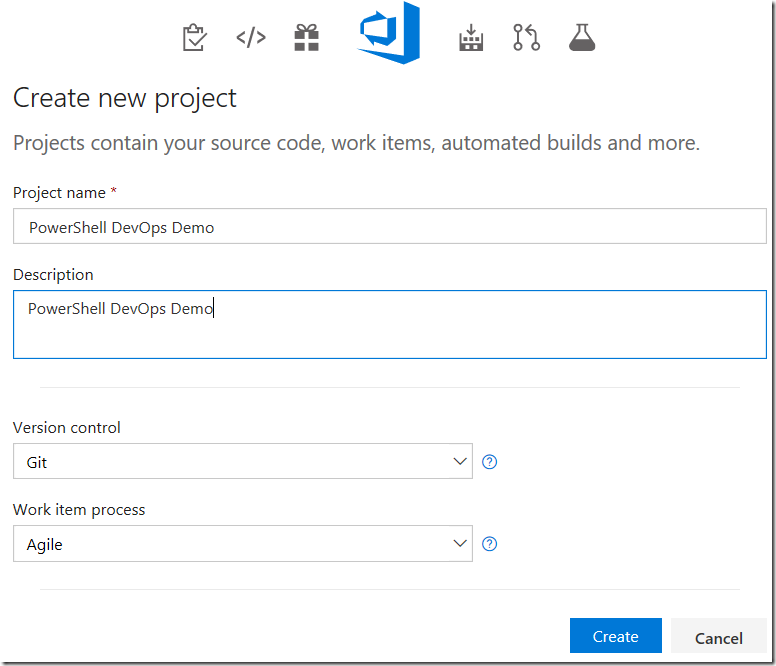
1. Login to VSTS, and click [New Project].
2. Enter any name and click [Create].
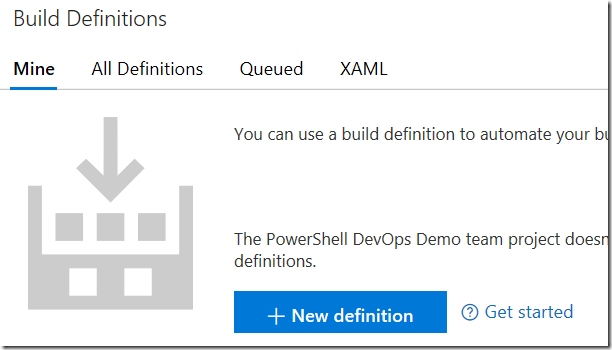
3. Go to [Build & Release]
4.Click [New definition].
5. As we don’t have appropriate build template, simply select [Empty] and hit [Next].
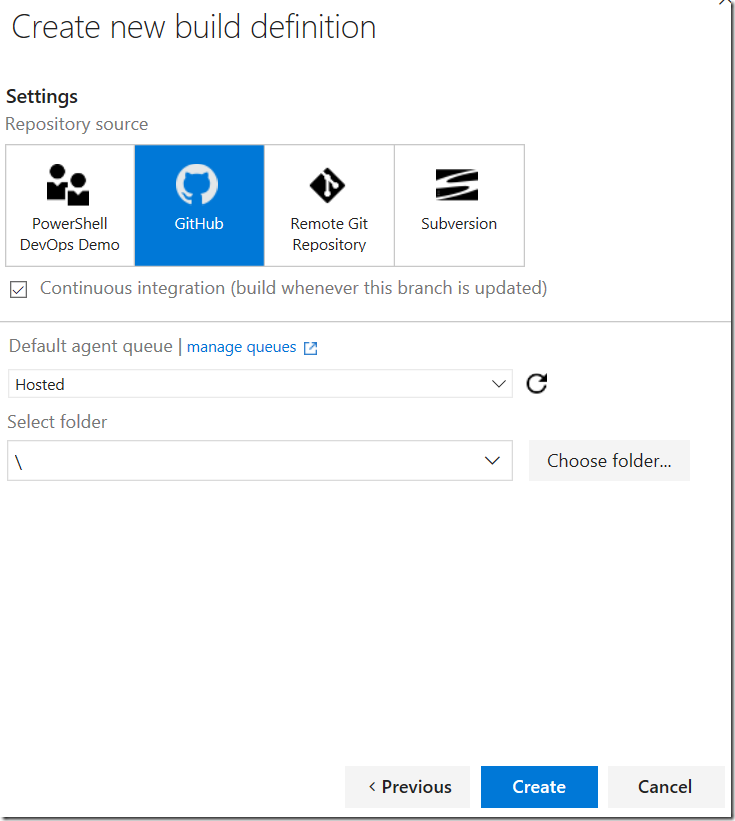
6.Select GitHub as your repo, check [Contentious integration] and click [Create].
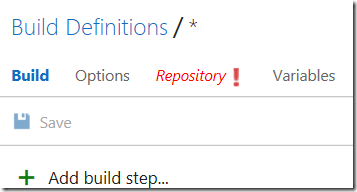
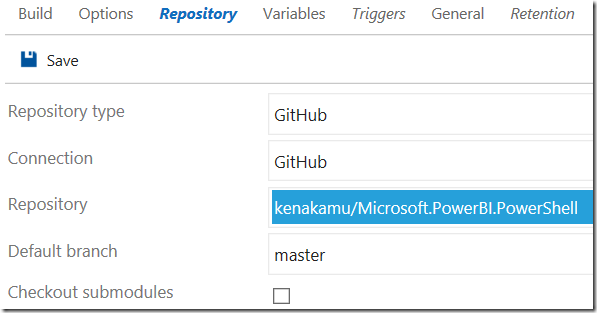
7. Click [Repository]. It is in red as you don’t have a connection to GitHub repo yet.
8. Click [Manage].
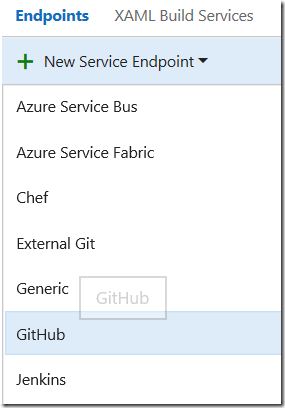
9. You will be navigated to manage page. Click [New Service Endpoint] | [GitHub]
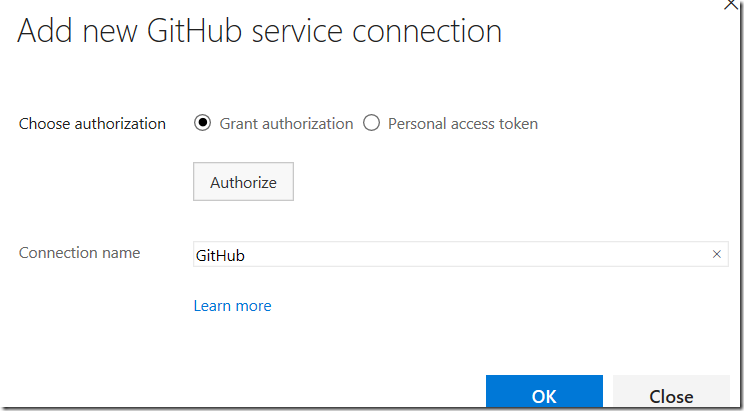
10. Enter any connection name and click [Authorize]. Sign in to your GitHub account.
11. Click [OK] to close the dialog, and go back to previous tab.
12. Click refresh icon next to [Manage] and you can select the connection you just added.
13. Select your repository.
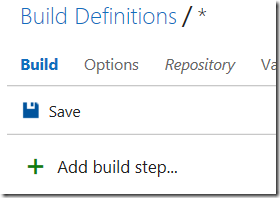
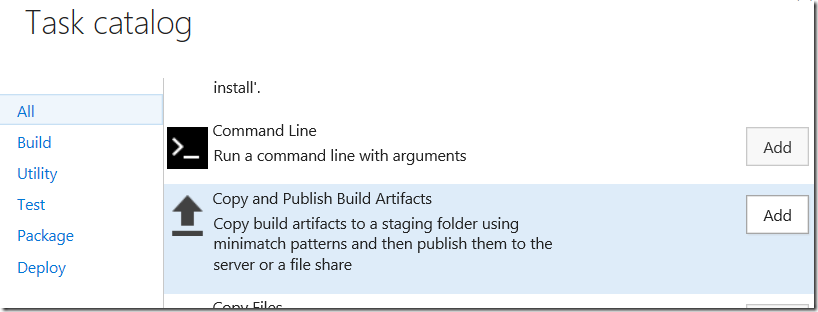
14. Click Build tab and [Add build step].
15. Click [Add] for [Copy and Publish Build Artifacts]. This task simply copies files from repo to temporary place.
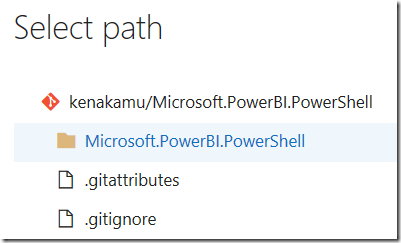
16. Click more menu (…) in Copy Root and select the file path in GitHub repo.
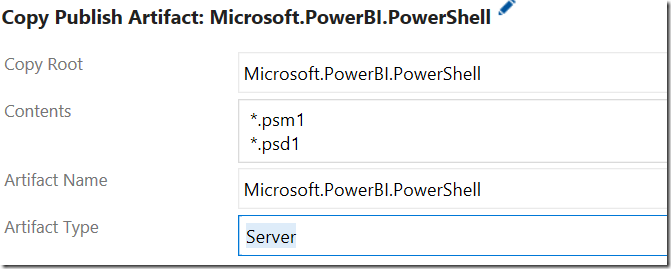
17. Specify files in [Contents]. You can use wildcard such as *.psm1, *.psd1.
18. Specify your module name at [Artifact Name].
19. Select [Server] for [Artifact Type]
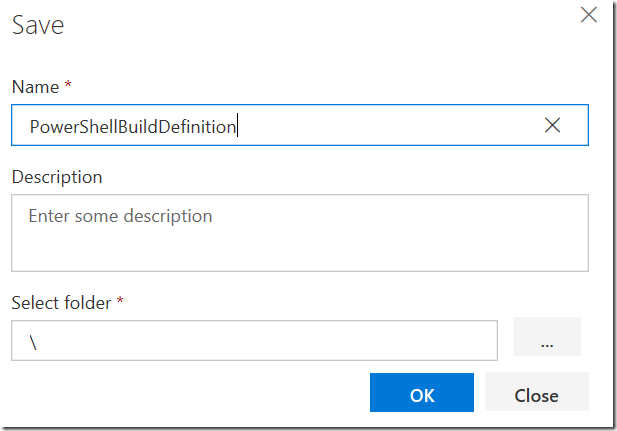
20. Save the definition.
Test the build
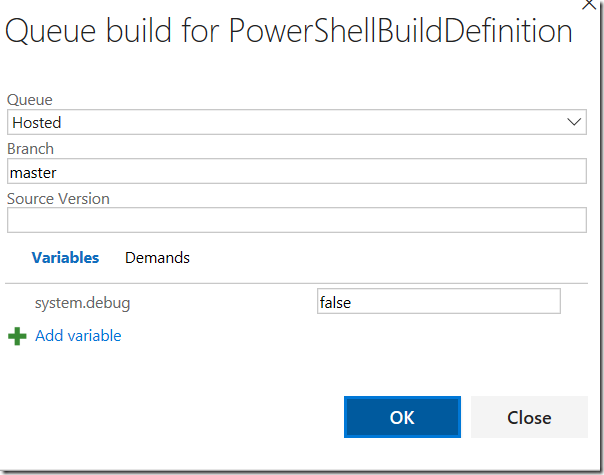
1. Click [Queue new build].
2. Click [OK].
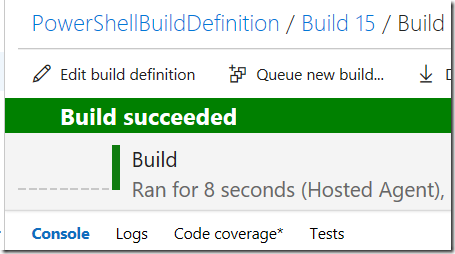
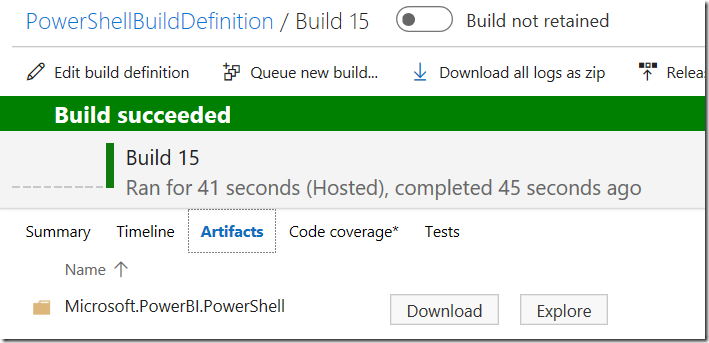
3. Verify if the build completed with success.
4. Click [Artifact] in build result to get what has been copied over.
Create Release Definition
Now, let’s create release definition to publish the module.
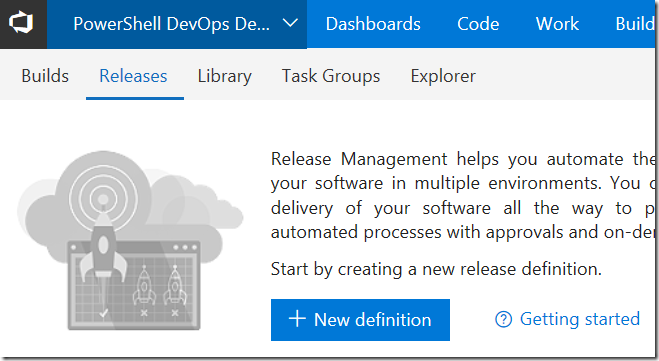
1. Click [New definition] in Release tab.
2. Select [Empty] and click [Next]
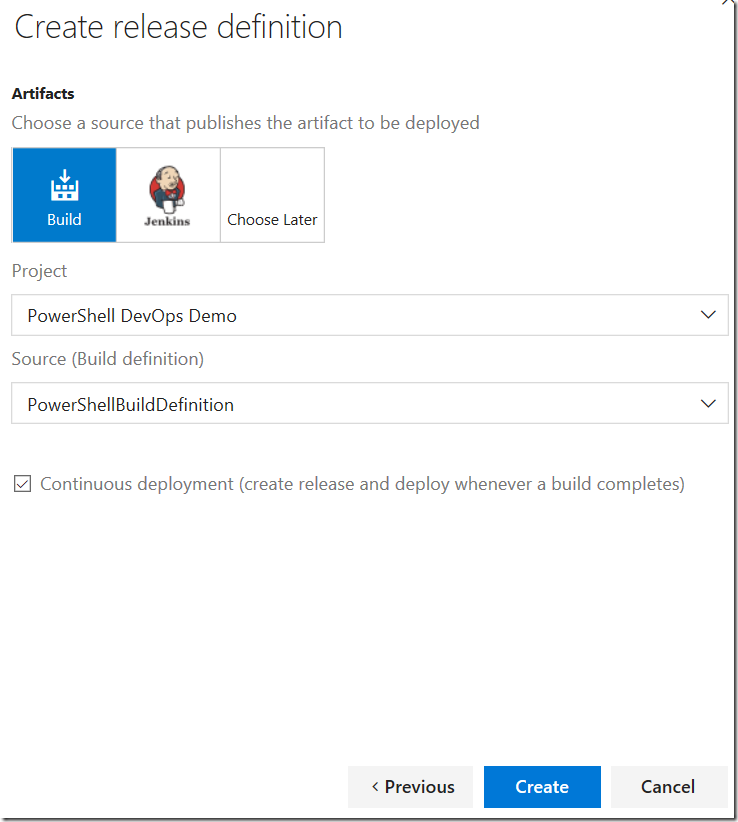
3. Select [Build] and Project which you created above. Check [Continuous deployment] and hit [Create].
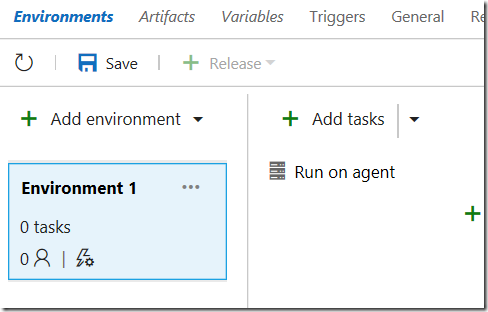
4. Click [Add tasks].
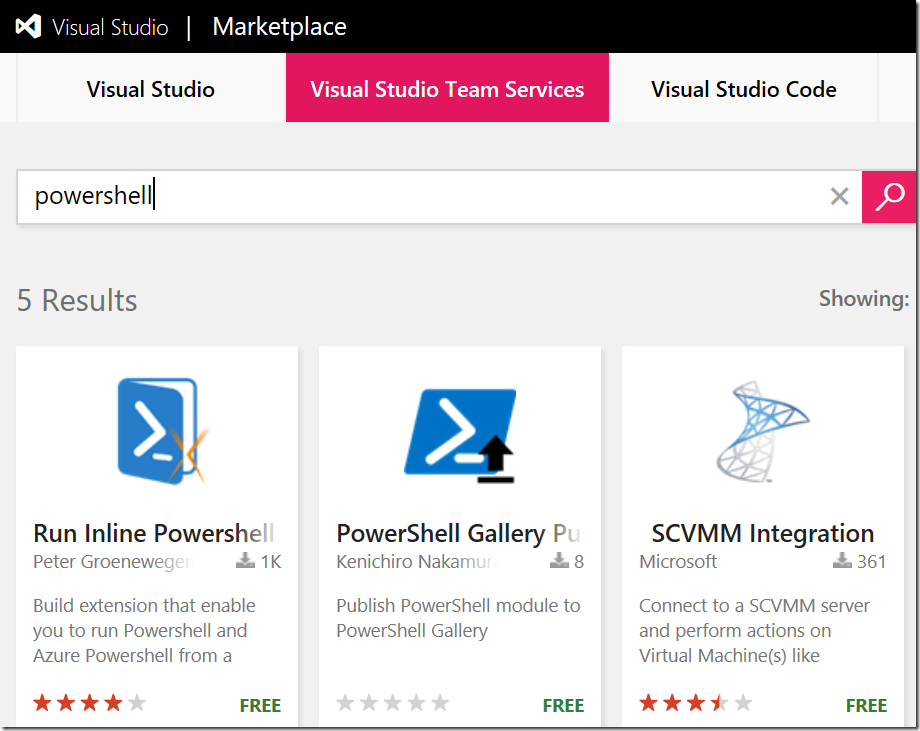
5. As we don’t have appropriate task for PowerShell publish, click marketplace link.
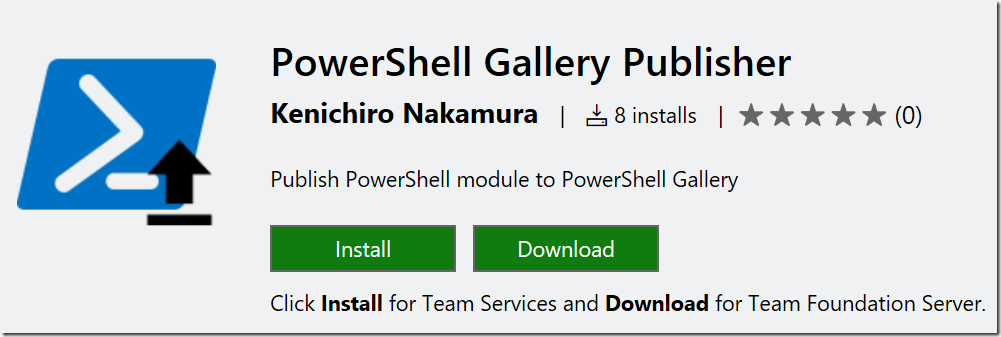
6. Search extension by [PowerShell] and click [PowerShell Gallery Publisher].
7. Click [Install].
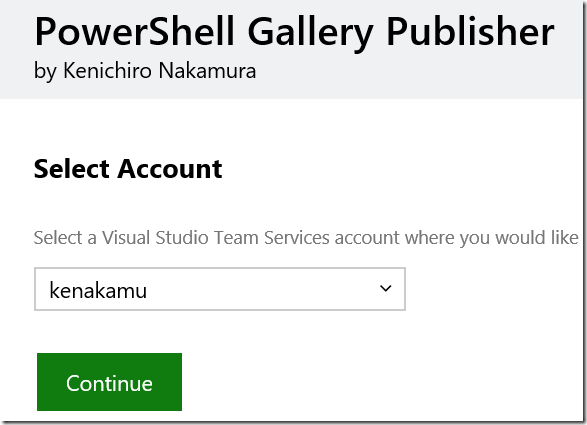
8. Select your account and click [Continue].
9. Go back to the release definition and add the installed task.
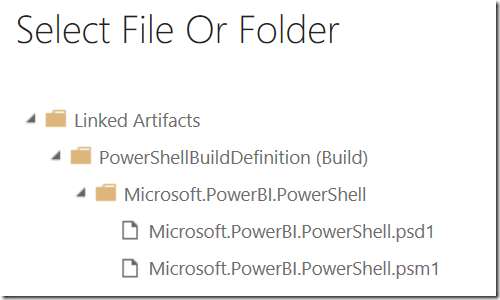
10. Enter API Key and select Module Folder by clicking more menu (…).
11. Modify the name by clicking pencil icon next to its name.
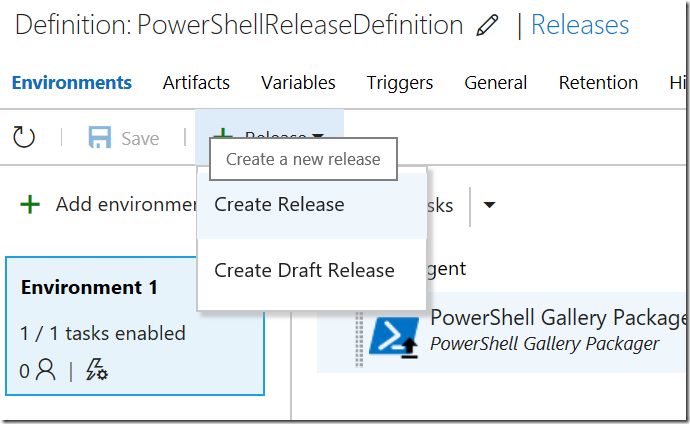
1. Click [Release] | [Create Release].
2. Simply click [Create]
3. Select the release definition you just created in left pane. Then you can find Release which you added right now.
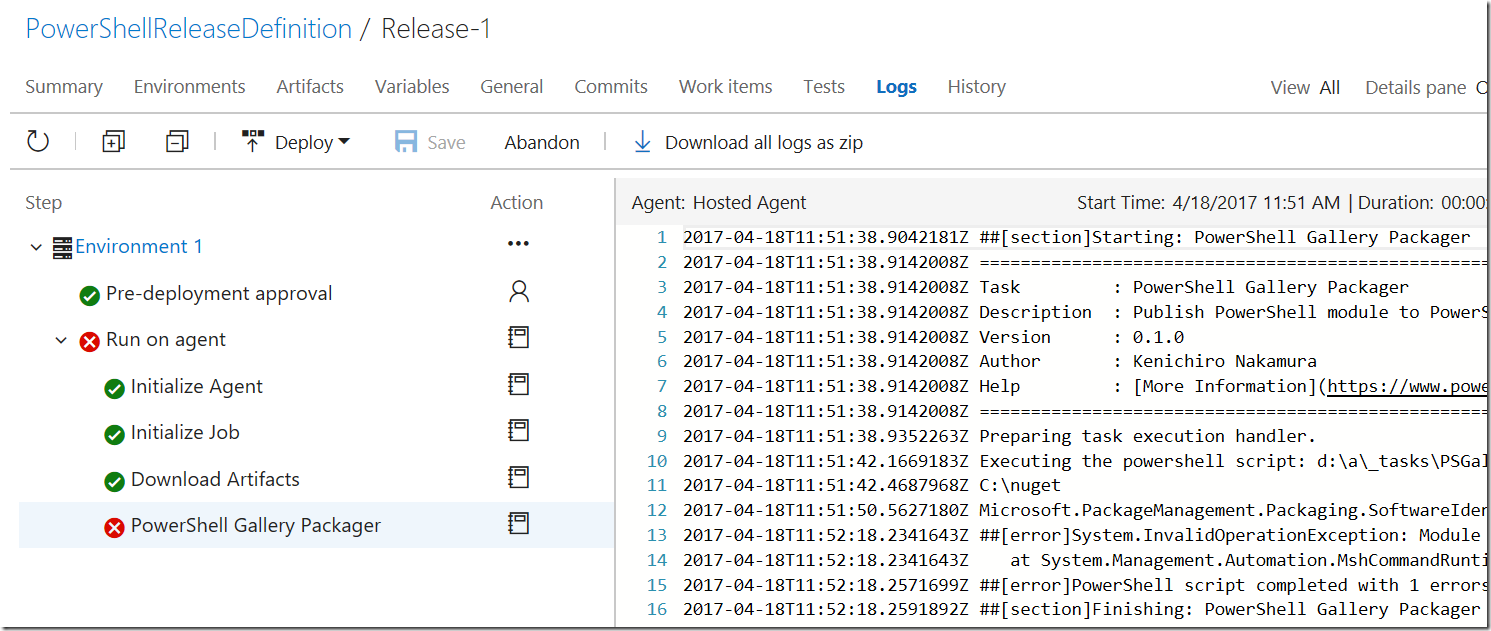
4. When I tested, I see the following error, which indicates I already have same version of the module.
2017-04-18T11:52:18.2341643Z ##[error]System.InvalidOperationException: Module ‘Microsoft.PowerBI.PowerShell’ with version ‘1.2’ cannot be published. The version must exceed the current version ‘1.2’ that exists in the repository ‘https://www.powershellgallery.com/api/v2/’.
Run through
To test all processes, you simply update your code and check-in to the GitHub repo.
Links
VSTS PowerShell Module Publisher Add-in
https://marketplace.visualstudio.com/items?itemName=kenakamu.PSGalleryPublisher
Source: https://github.com/kenakamu/vsts-tasks/tree/master/Tasks/PSGalleryPublisher
Ken
