Microsoft Azure: How to get started with Bitnami and WordPress
I thought I would write a quick how-to for getting started quickly with Bitnami and WordPress in less than 5 minutes from within Microsoft Azure. First, sign into the the new portal at portal.azure.com and then click on “New” on the left hand side. This will open a blade where you can search the marketplace for the Bitnami WordPress pre-configured, ready to run image for Microsoft Azure. 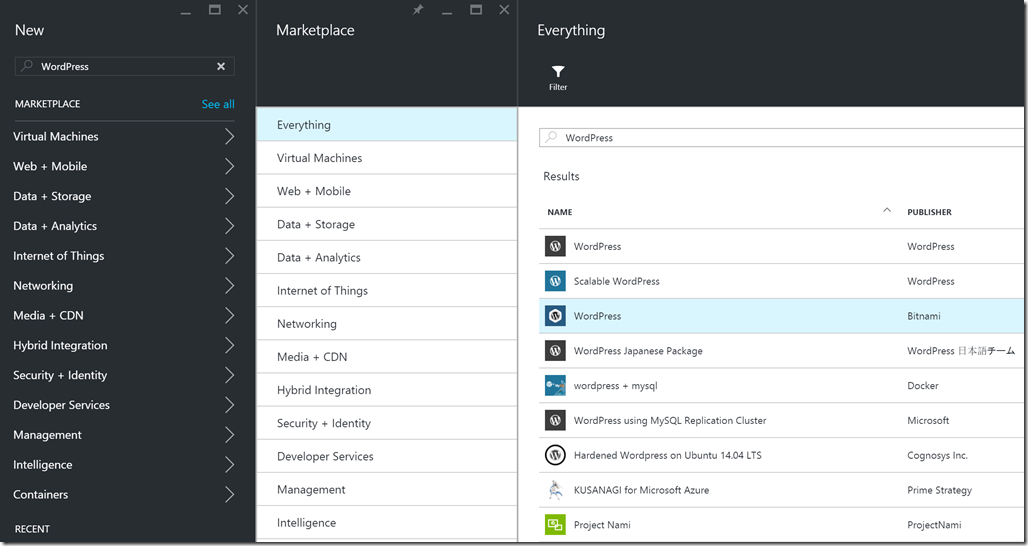
Select the WordPress option where Bitnami is the publisher and a new blade will open allowing you the option to select, “Create.” 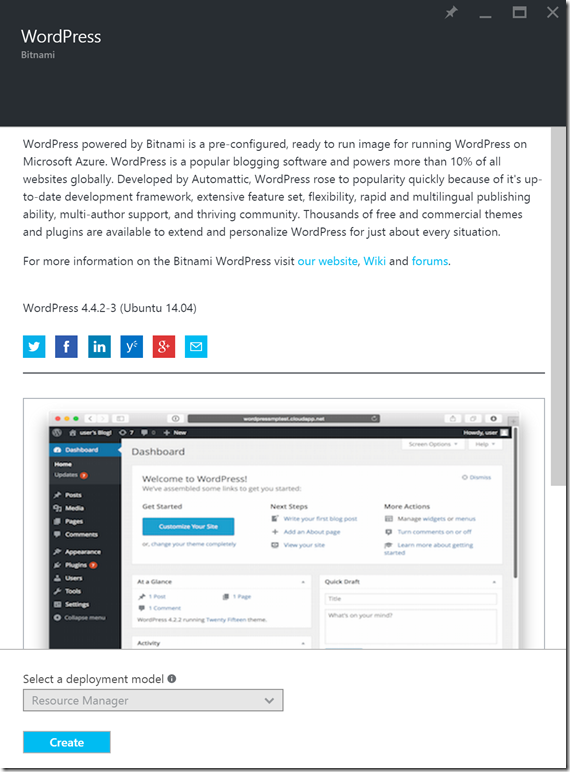
Once you click create, you will be sent on a journey to create and configure your virtual machine. You will want to enter in your required fields, and remember to make note of your username and password if you opted for that authentication option. 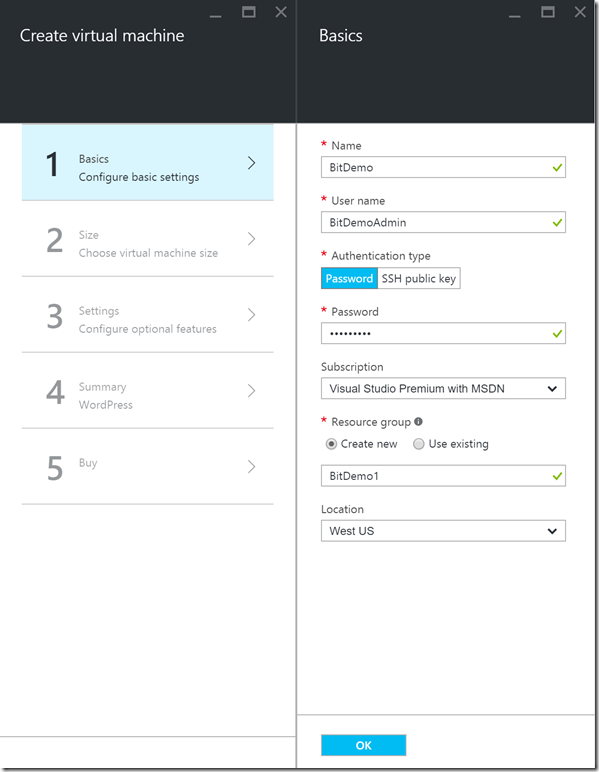
You will want to choose the size of the VM you want. I recommend starting with the A0 Standard option and then scaling as needed. You can then configure any optional features such as disk type, monitoring, network security groups, availability sets, etc. Finally, click on step 4 for the summary and confirm all looks well. 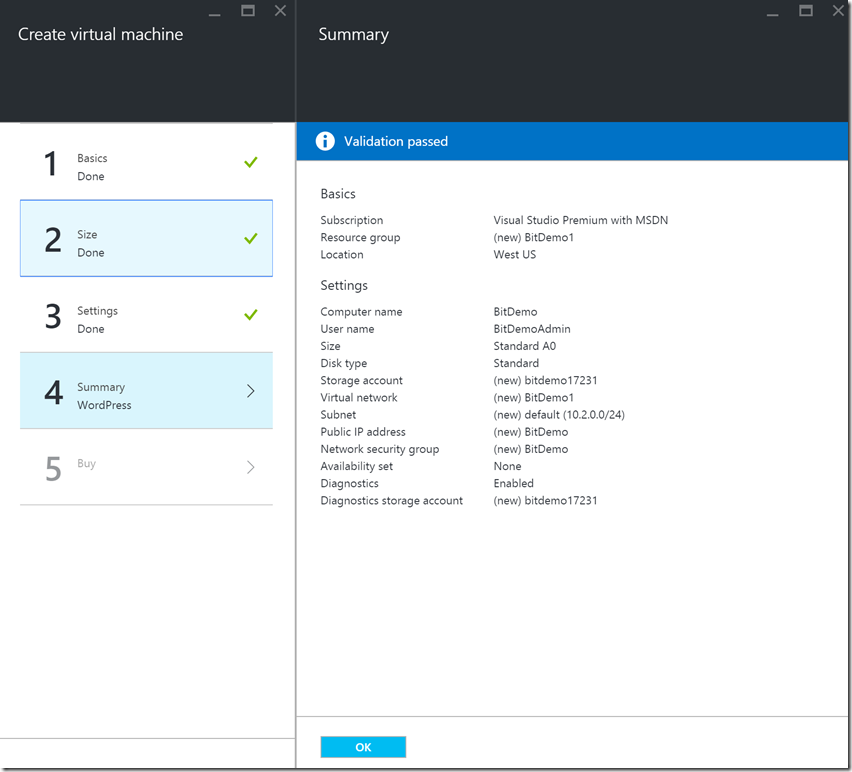
Press OK and proceed to step 5 to purchase and begin the VM creation. The creation process will take a little bit of time to get going, but once it completes, you will see a notification in your notification center. You can follow the deployment process along if you wish and watch as all your resources are created. 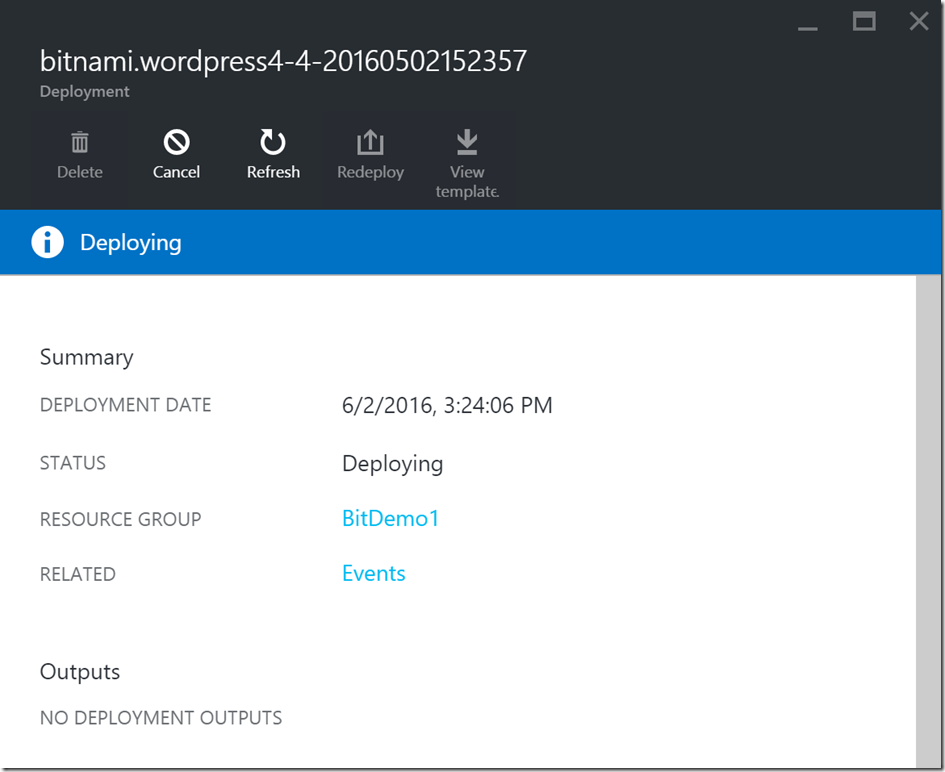
Finally, to login to your new instance, you can navigate to your public IP address and append /wp-admin/ to the end of it, or you can assign a DNS name to it if you wish and then still append the DNS with /wp-admin/. Example: 104.40.80.178/wp-admin/ or bitdemojd1.westus.cloudapp.azure.com/wp-admin/ 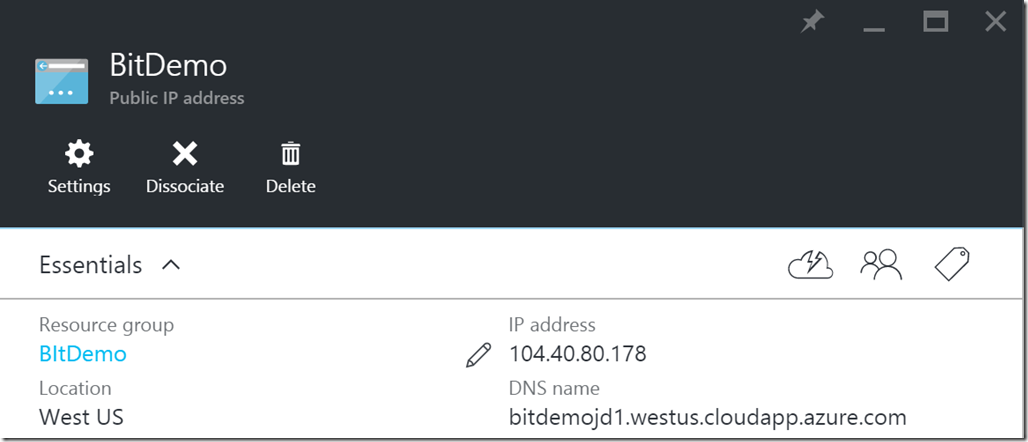
Your user credentials to login will be “user” and “bitnami” without quotations. 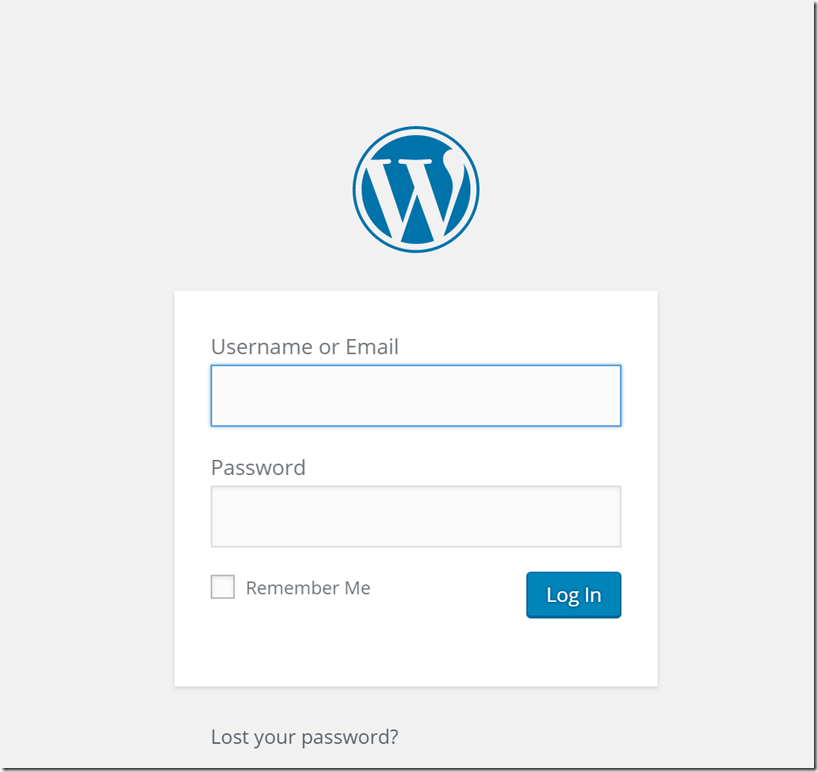

And that’s it! You’re ready to get started with WordPress running within Microsoft Azure using the Bitnami stack.