TechNet Events Follow Up from September 9 – 11, 2009
I’m sorry that I’m a bit behind in posting my follow up from the TechNet Events that I delivered in Southern California from September 9th through 11th.
I had only three questions that came up during the presentations and they are as follows:
- What happens to the Program Files directory if you perform a Custom (Advanced) Install of Windows 7?
- How do you configure the additional settings associated with AD Recycle Bin in Windows Server 2008 R2?
- Attendee mentioned that at her company, they were able to perform an in-place upgrade from Windows XP to Windows 7. Everyone wanted to know if this was indeed possible so I promised to test it out myself and report back.
Answer 1:
If you perform a Custom (Advanced) Install of Windows 7, the previous copy of the Windows directory will be renamed to Windows.Old and the Program Files directory is deleted.
Answer 2:
First, something went wrong with my demo on the AD Recycle Bin in San Diego so I figured I would put together a quick (15 minute) screen cast on AD Recycle Bin. In this screen cast, I walk through the steps required to enable the AD Recycle Bin as well as how to configure the Tombstone setting for the Recycle Bin. I also show the use of Powershell commands to undelete multiple items.
Answer 3:
I tested this scenario using Windows XP Pro SP3 installed in a Virtual Machine on Windows Server 2008 R2 Hyper-V as well as Windows XP Pro SP3 installed natively on physical hardware. I tested using the 32 bit version of Windows 7 Ultimate and Windows 7 Enterprise. The steps that I took are outlined below.
- While logged in as administrator on Windows XP, inserted the Windows 7 DVD.
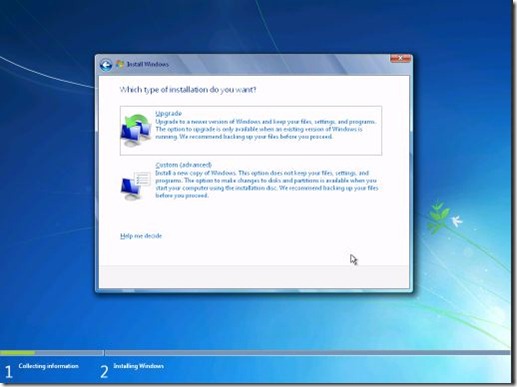
- Presented with 2 installation options:
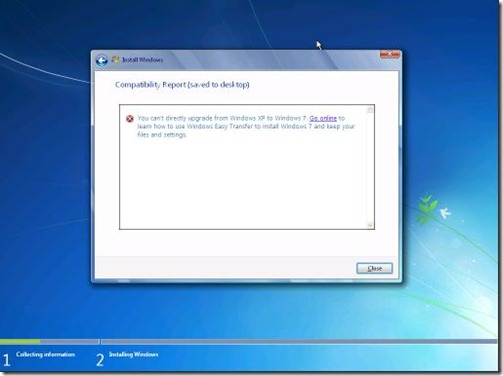
- I chose Upgrade and was presented with a Compatibility Report screen stating that it is not possible to directly upgrade from Windows XP to Windows 7.
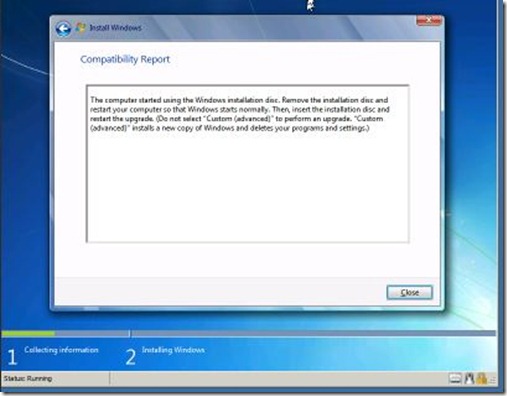
- Rebooted the Virtual Machine and booted directly to the Windows 7 DVD Setup.
- Again, I was presented with the two different installation options and chose the Upgrade Option. Just as before, I was presented with a Compatibility Report stating this option is not available in my current situation.
While I was doing the testing from Hyper-V, I used the Expression Encoder 3 Screen Capture utility to create a quick screencast for your viewing pleasure as well. I am including that right here.
The official details for moving to Windows 7 from Windows XP or Windows Vista can be found on the Windows Team Blog. I am including the two specific blog entries from the Windows Team Blog as well as the Step by Step Guide on the Windows 7 Site.
https://windowsteamblog.com/blogs/windows7/archive/2009/09/24/moving-to-windows-7.aspx
https://windowsteamblog.com/blogs/windows7/pages/moving-to-windows-7-faq.aspx
https://windows.microsoft.com/en-us/windows7/help/upgrading-from-windows-xp-to-windows-7
Please read through these carefully and in its entirety to get a full understanding of what is and is not supported.
Harold Wong
Comments
- Anonymous
October 13, 2009
Are you sure your answer for question 1 is correct? It has been my experience that a directory called windows.old is created, but it is not a copy of the old Windows directory. Instead, it is a folder containing the old Program Files directory and the old Users directory.


