Integrating SonarQube with VSTS
I’m still working on the end-to-end scenario for a customer to integrate several 3rd party tools into VSTS. See my previous posts for details. This post shows how to set up a basic SonarQube integration.
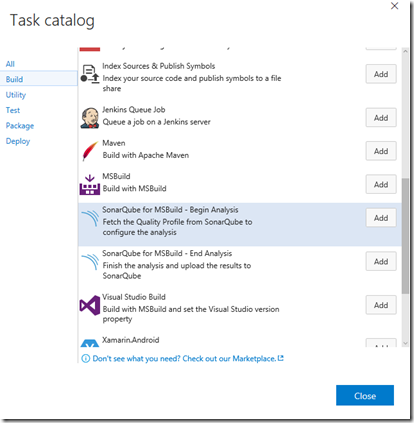
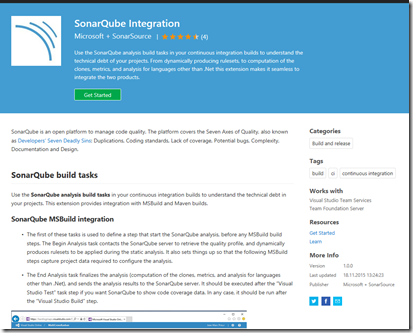
In a previous post I detailed out how I configured a SonarQube test server. Integration with SonarQube from VSTS is pretty easy as we do have build tasks available. If you don’t see the build tasks as shown below, just open up Visual Studio Marketplace and install the extension into your VSTS.
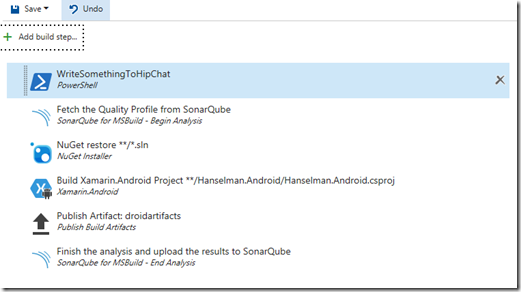
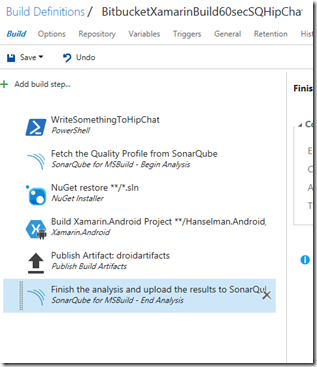
We will need both steps – begin analysis and end analysis. The steps are ment to surround the actual build process. So in my case I add the build step SQ Begin Analysis before the actual build and other behind the last step of my build process.
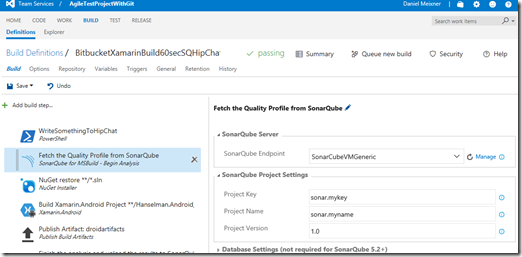
For SonarQube we have to provide a service endpoint again. We did this already for Bitbucket earlier. If you don’t have created a SonarQube service endpoint yet, just click “Manage” on the right.
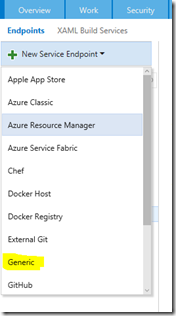
This time we create a “Generic” endpoint.
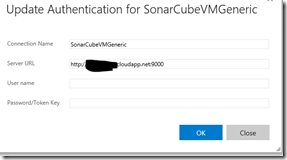
Provide the URL of your SonarQube server in the next dialog.
Hint: If you are working with the SonarQube demo server user and password might be admin/admin ![]()
As you can see from the screenshot above you also have to specify a project key and a project name. I wasn’t sure where it will appear – so I chose a name I will be able to recognize if I find it later somewhere. For the SQ Finish Analysis step: You really don’t have to specify anything here. Just enable the step. The full flow of build steps in VSTS now looks like this:
If you commit something to the Bitbucket repo now a build process will be triggered after latest 60 seconds because we configured CI. A message will then be posted to HipChat , SonarQube analysis will be started, the android app will be build, and you will find something like this in your SonarQube portal afterwards – and you will also find out where the name you specified in the SonarQube build step appears again.
![image_thumb[1] image_thumb[1]](https://msdntnarchive.z22.web.core.windows.net/media/2016/10/image_thumb1_thumb.png)
