Extending the Notepad sample with a Web Browser View - VB.NET Edition
Ricky Tan wrote a really cool post for the Acropolis Team Blog titled Extending the Notepad sample with a Web Browser View . Since the Notepad sample is available both as a C# and a VB.NET project we decided that it would be a good idea to publish his post on my blog too - this time however the "VB.NET Edition":
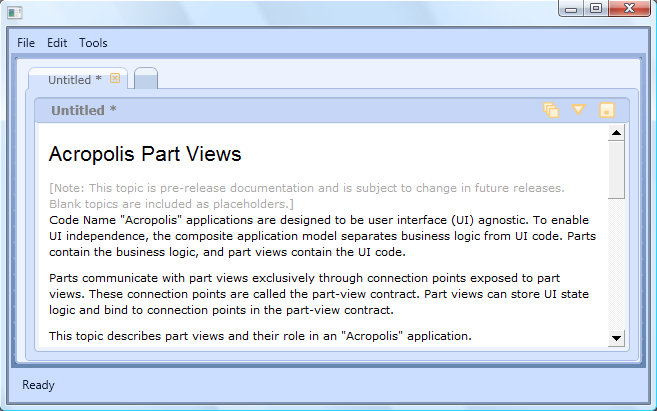
The purpose of this post is to show just how easy it is to create additional views with Acropolis to extend the functionality of an application. The application shown here is the Notepad sample included as part of Acropolis CTP1. What the WebBrowserView will do is display the contents of the text in HTML format, like in a web browser.


Step 1: First, add the WebBrowserView. Open the Notepad sample in Visual Studio. In Solution Explorer, right-click the Notepad project and select Add | New Item. In the Add New Item dialog box that appears, select the Acropolis View (WPF) template, change the name to WebBrowserView.xaml and then click Add. In WebBrowserView.xaml.vb, add the following ViewExtensionInfo attribute to the WebBrowserView class declaration (see NotepadPartView.xaml.vb for an example):
<ViewExtensionInfo(DefaultViewTechnologies.WindowsPresentationFoundation, _
"Web Browser View", "Web Browser View for HTML", _
GetType(INotepadPartViewContract))> _
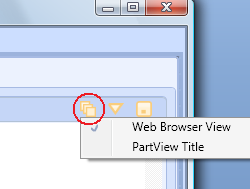
At this point, you can build and run to see the newly-added view with its default template. Click on the view-selector button, which is on the upper-right of the window (the button in the red circle in the image below), and select Web Browser View to change the view:

Step 2: Next, we shall customize the WebBrowserView. The WebBrowser control is from Windows Forms, so we need to add references to the System.Windows.Forms and WindowsFormsIntegration assemblies to our project. Then, in WebBrowserView.xaml, add the following to the class declaration (together with the other xmlns declarations):
xmlns:WF="clr-namespace:System.Windows.Forms;assembly=System.Windows.Forms"
Replace the default TextBlock with the WebBrowser control, which is hosted in a WindowsFormsHost:
<WindowsFormsHost>
<WF:WebBrowser x:Name="webBrowserControl" />
</WindowsFormsHost>
Step 3: Finally, we hook up the WebBrowser control to the value of the NotepadText property from the Part-View contract. In WebBrowserView.xaml.vb, add the following method:
Public Overrides Sub BindToContract(ByVal contract As Microsoft.Acropolis.PartFx.IPartViewContract)
MyBase.BindToContract(contract)
Dim notepadPart As INotepadPartViewContract = TryCast(contract, INotepadPartViewContract)
If (notepadPart IsNot Nothing AndAlso notepadPart.NotepadText.Value IsNot Nothing) Then
webBrowserControl.DocumentText = notepadPart.NotepadText.Value.ToString()
End If
End Sub
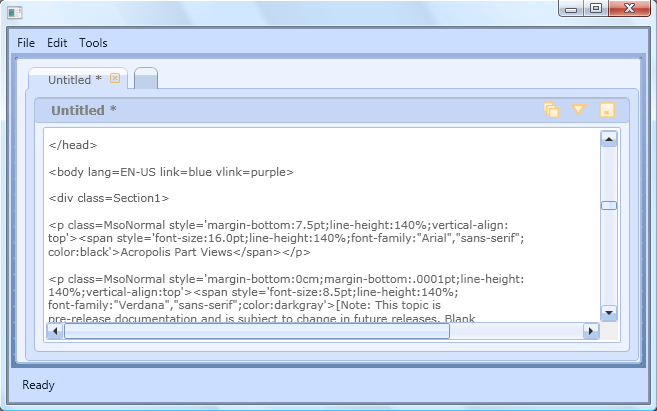
That’s it. Build and run to get the Notepad application started up, then type in or paste in some HTML source, and use the view-selector button to switch between the default Notepad view and the web browser view. Just one ViewExtensionInfo attribute, some XAML declarations, and five lines of code is all you need to extend the Notepad sample with a WebBrowserView.
This posting is provided "AS IS" with no warranties, and confers no rights.