Hinweis
Für den Zugriff auf diese Seite ist eine Autorisierung erforderlich. Sie können versuchen, sich anzumelden oder das Verzeichnis zu wechseln.
Für den Zugriff auf diese Seite ist eine Autorisierung erforderlich. Sie können versuchen, das Verzeichnis zu wechseln.
Neste post temos um exemplo de script PowerShell para auxiliar a criação de multiplas Collections para administração Configuration Manager 2012 e/ou posterior. Vamos utilizar um arquivo .CSV auxiliar para a nomenclatura das collections e queries utilizadas.
IMPORTANTE: Faça a execução sempre em um ambiente de testes, homologação e após sua total validação programe sua execução.
Copie o código abaixo e salve o mesmo como exemplo MSFT-Collections.ps1
##########################################################################
# SAMPLE POWERSHELL SCRIPT #
##########################################################################
# Removes all text from the current display
Clear-Host
# Type the path from CSV file
$SourcePath = Read-Host -Prompt "Type the path from CSV file"
$SourceFile = Read-Host -Prompt "Type the filename using CSV extension"
# Import the Configuration Manager PS Module (You must have the Admin Console installed for this to work)
Import-module ($Env:SMS_ADMIN_UI_PATH.Substring(0,$Env:SMS_ADMIN_UI_PATH.Length-5) + '\ConfigurationManager.psd1') -force
# Get ConfigMgr Provider
$PSD = Get-PSDrive -PSProvider CMSite
# Open ConfigMgr Site
CD "$($PSD.Name):\"
# Get current date and time
$Date = Get-Date -Format g
# Set Update Schedule for Collections
$Schedule = New-CMSchedule -Start $Date -RecurInterval Days -RecurCount 1
# Create Default limiting collections
$LimitingCollection = "All Systems"
# Create Defaut Folder
$DefaultFolderName = "MSFT"
if (!(Test-Path "$($PSD.Name):\DeviceCollection\$DefaultFolderName")){
New-Item -Name $DefaultFolderName -Path "$($PSD.Name):\DeviceCollection"
}
# Import Collections from CSV List
Import-Csv -Path $SourcePath\$SourceFile | ForEach-Object {
# Create device collections
$getCollection = Get-CMDeviceCollection -Name $_.CollectionName
# Check if collection exists
if ($getCollection -eq $null){
New-CMDeviceCollection -Name $_.CollectionName -LimitingCollectionName $LimitingCollection -RefreshSchedule $Schedule -RefreshType Periodic
# Create device collections
Add-CMDeviceCollectionQueryMembershipRule -CollectionName $_.CollectionName -QueryExpression $_.Query -RuleName $_.CollectionName
# Move the collection to the right folder
$FolderPath = "$($PSD.Name):\DeviceCollection\$($DefaultFolderName)"
Move-CMObject -FolderPath $FolderPath -InputObject (Get-CMDeviceCollection -Name $_.CollectionName)
$cont = $cont+1
$cont
}
}
##########################################################################
##########################################################################
Aqui parte do texto do arquivo auxiliar para a criação das collections e suas queries. No exemplo temos os campos CollectionName, Query separados por vírgula. Aqui apenas uma linha, para o exemplo completo faça o download do arquivo mais abaixo.
CollectionName,Query
All Clients Not-Approved,"select SMS_R_SYSTEM.ResourceID,SMS_R_SYSTEM.ResourceType,SMS_R_SYSTEM.Name,SMS_R_SYSTEM.SMSUniqueIdentifier,SMS_R_SYSTEM.ResourceDomainORWorkgroup,SMS_R_SYSTEM.Client from SMS_R_System inner join SMS_CM_RES_COLL_SMS00001 on SMS_CM_RES_COLL_SMS00001.ResourceId = SMS_R_System.ResourceId where SMS_CM_RES_COLL_SMS00001.IsApproved <> 1"
Siga os passos abaixo:
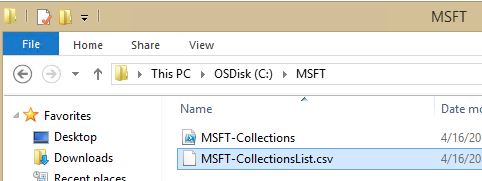
Passo 1: Criar uma pasta na unidade exemplo "C:\MSFT" e copie os 2 arquivos para dentro desta pasta
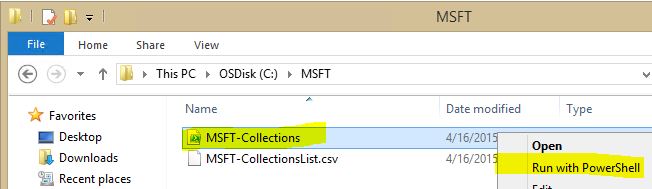
Passo 2: Executar o arquivo "MSFT-Collections.ps1" com o PowerShell para iniciar a criação das Collections
Você poderá receber uma mensagem semelhante a tela abaixo, digite Y para continuar

Passo 3: Digite o caminho e o nome do arquivo CSV, em nosso exemplo para pasta "C:\MSFT" . Ao digitar o nome “MSFT-CollectionsList.csv” do arquivo não esqueça de colocar a extensão.

Se o script PowerShell iniciar com sucesso, teremos uma tela semelhante ao print abaixo

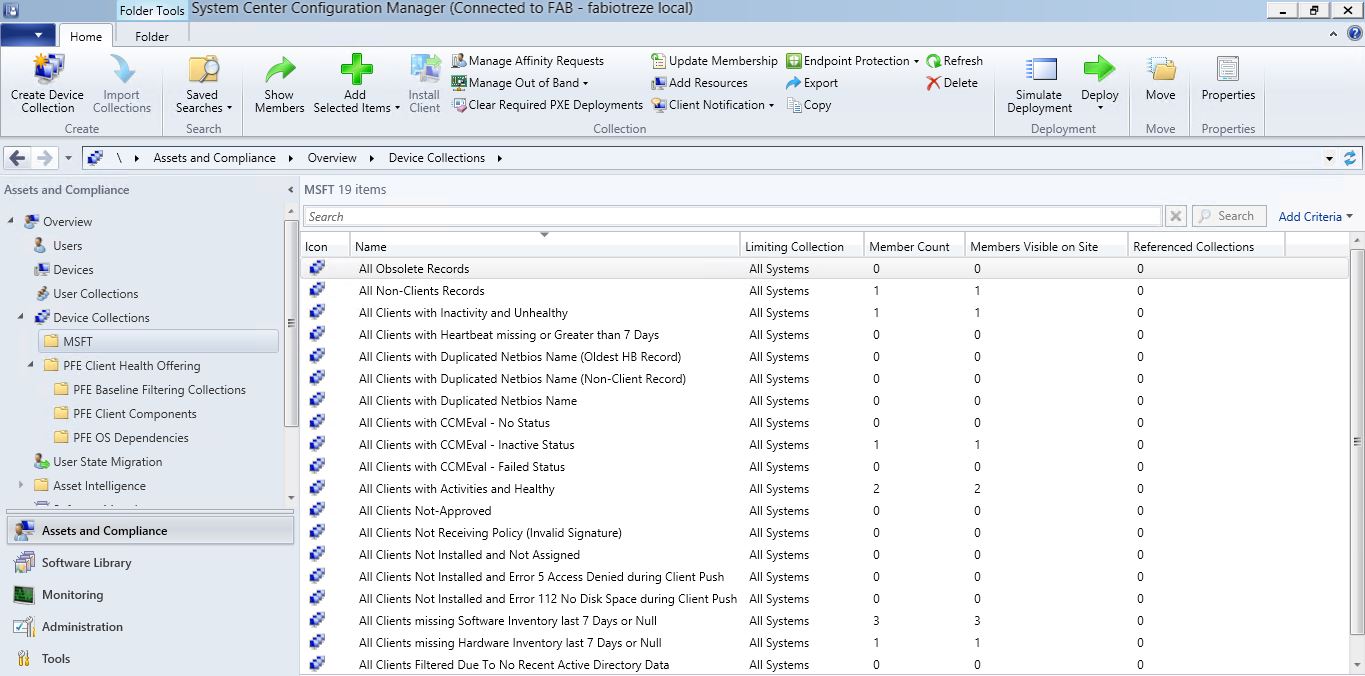
Passo 4: Como resultado devemos ter uma pasta chamada "MSFT" e no painel da direita a estrutura de Collections
Para o download do exemplo utilizado neste post, clique aqui.
Abs!