Configuration Manager 1511 to 1602 upgrade walkthrough
Configuration Manager build 1602 has been released!
First things first… Read through the upgrade checklist at https://technet.microsoft.com/en-us/library/mt691556.aspx. Additionally, here are some scenarios to streamline your installation https://technet.microsoft.com/en-us/library/mt703292.aspx. First things first, you MUST be running build 1511 in order to upgrade to build 1602. If you are currently running ConfigMgr 2012 R2 SP1, you’ll first need to upgrade to build 1511. Then you’ll be able to use the new in-console servicing upgrade feature to upgrade your hierarchy to 1602. Also, as always it is recommended to take a backup prior to any upgrade, as well as run the /testdbupgrade on a copy of the most recent backup of your database prior to beginning any ConfigMgr upgrade.
Note: Even if you find unsupported methods to upgrade from ConfigMgr 2012 R2 SP1 to ConfigMgr 1602, not only is it not supported, but you will miss getting important database schema changes that take place during the 1511 upgrade process. Do NOT take this unsupported route!
If you are running Configuration Manager build 1511 and aren’t yet seeing the Configuration Manager 1602 upgrade available in the Updates and Servicing node under the “Cloud Services” folder because you just finished upgrading to 1511 you may need to wait a bit. The new Service Connection Point role downloads a ConfigMgr.Update.Manifest.cab every 24 hours and copies it to the inboxes\hman.bo\CFD directory. The manifest identifies if there are new updates or hotfixes available to download. If you still don’t see it after awhile and are OK with restarting SMS_EXECUTIVE, this can sometimes make it happen sooner.
Another reason you may not see the update is you may not have the proper RBAC permissions needed. Your Security Scope setting radio button should be set to “All instances of the objects that are related to the assigned security roles” rather than “Only the instances of objects that are assigned to the specified security scopes and collections.”
Once you’re able to see it, the State should start off with “Downloading”.
Watch “DMPDownloader.log” in your ConfigMgr install directory, it will begin downloading files to the “<ConfigMgrInstallDir>\EasySetupPayload” directory. ConfigMgrSetup.log in the root of C: will show the files being extracted and hashes being checked within the EasySetupPayload directory download directory.
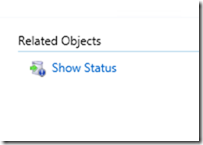
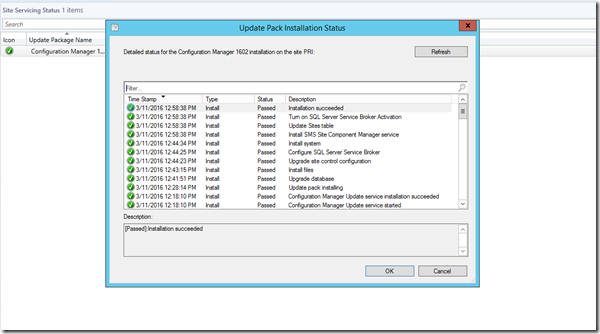
If you click “Show status” in the lower right hand corner under “Related Objects” it will bring up the Site Servicing Status node. Right-click the Update Package Name and again click “Show Status” which is also very informative.
You may see an error on occasion in dmpdownloader.log or ConfigMgrSetup.log.
In my experience, it seems to continue without fail, or recovers from this. If it appears everything is stopped for a long period of time, as long as CMUpdate.exe process is running, just be patient – this process can take some time, but killing cmupdate.exe or stopping services may cause issues, so be patient here.
Finally, you should see the “State” change from “Downloading” to “Available”:
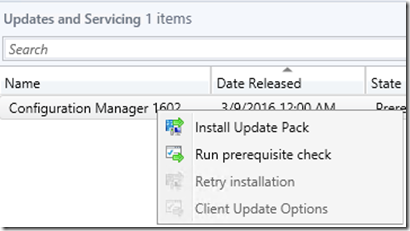
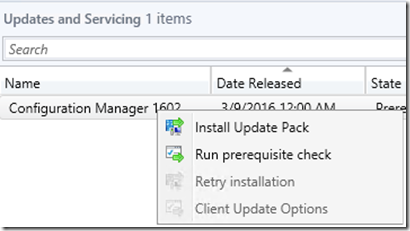
At this point, to be on the safe side I would recommend right-clicking the Configuration Manager 1602 node and selecting the “Run prerequisite check” option to verify your pre-requisites are all in place. This will also verify pre-requisites on any child primaries you have as well.
The State column will change to “Checking prerequisites” and “Prereq Only” will change to “Yes”.
After a while, you’ll see C:\ConfigMgrPrereq.log begin updating. If the State changes to Prerequisite check failed, review ConfigMgrPrereq.log to determine why. Remediate the cause, and re-run the prerequisite checks again until the State finally changes to “Prerequisite check passed”
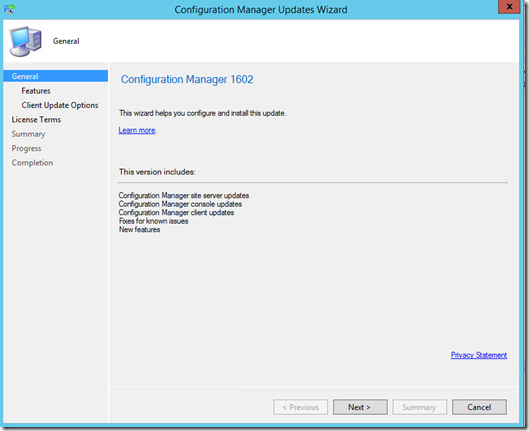
Now right-click the 1602 node and this time select “Install Update Pack”
You will be prompted with the following dialogs:
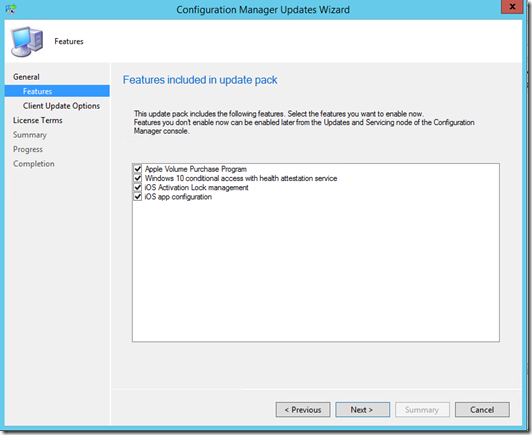
Select which features you want to enable in the following screen:
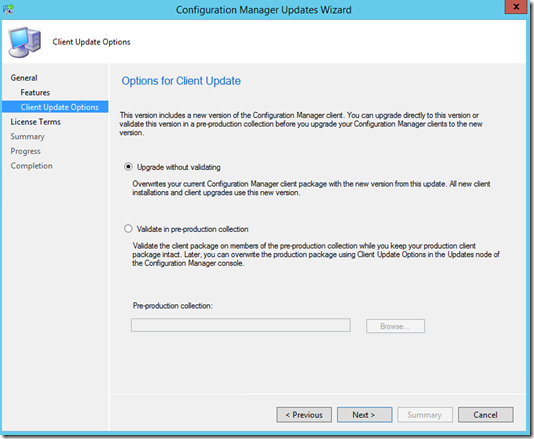
For the Options for Client Update prompt, I would recommend validating the client updates against a pre-production collection to be on the safe side. After validating, you should then roll out the new client to the remaining clients.
The last two screens displayed are the license terms, and summary pages. After finishing, the upgrade will proceed. Watch cmupdate.log for all the activity at this point as ConfigMgrSetup.log will no longer show any activity. You will see CMUpdate.log downloading content to your <ConfigMgrInstallDir>\CMUStaging directory. Also watch sitecomp.log for activity as well.
..and eventually:
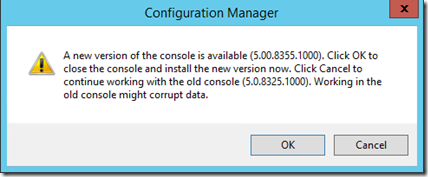
After the upgrade is complete, the next time you launch the Configuration Manager Admin Console it will prompt you to update it.
Click OK, watch it upgrade, and if you have a standalone primary site, you’re all done. If you just finished upgrading the CAS, the child primaries will automatically begin upgrading next. If you have any secondary sites, you must update them manually.
Depending on which option you picked on the “Client Update Options” screen, your clients, or a subset of them will also begin automatically upgrading. As always, the new client version will not be reflected in the console until they also run their next heartbeat discovery.
Make sure you if you’re using SQL backups in lieu of the internal site backup maintenance task, that you’re also backing up the CD.Latest folder as well. Beginning with build 1511, this is your media for site recovery and reinstall activities.
Thanks for reading!
Comments
- Anonymous
March 11, 2016
Great job Russ! - Anonymous
March 16, 2016
Hello,When clicking "OK" to update the console, it asks to close config mgr console, so I click "Retry" and it then shows a quick window showing "downloading files" and it disappears. Nothing else happens next.Any suggestions?- Anonymous
May 19, 2016
Does the admin console update keep appearing over and over? I saw this at one customer and we ended up just upgrading the admin console manually using consolesetup.exe in the tools directory.
- Anonymous
- Anonymous
May 08, 2016
Presumably you are saying the 1511 route to 1602 is if you are on 2012 R2SP1?I only ask as I have successfully installed 1602 from a clean install from media directly without installing 1511. Presumably if this wasn't supported there would be a message to say so during installation?- Anonymous
May 19, 2016
Yes you must go to 1511 before going to 1602 if you're on 2012 R2. Skipping from 2012 R2 to 1602 is not supported and I believe they're working to block it from working altogether since it currently allows you to without any warnings.
- Anonymous
- Anonymous
September 14, 2016
Excellent article Russ, Can we upgrade side side migration also.

