Building a Virtualized UC Development Environment: Part 2 – Joining the Fabrikam Domain
This is Part 2 of a series of blog posts on setting up a virtualized development environment based on the Office Communications Server 2007 R2 VHDs.
You can find Part 1 here.
Now that we have the TS virtual machine built, we need to join it to the Fabrikam domain and get it ready to act in the Terminal Services role. Grab another cup of coffee and we’ll get started…
1. If the Hyper-V Manager is not already running, start it by selecting Start, All Programs, Administrative Tools and Hyper-V Manager.
- Click Continue on the User Account Control dialog.
2. If the DC virtual machine is not already running, start it by selecting it in the Virtual Machines list, right-click and select Start.
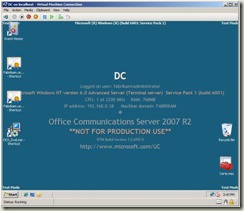
- Wait for the DC virtual machine to completely start. You’ll see the desktop when the machine has completely started.
3. If the TS virtual machine is not already running, start it by selecting it in the Virtual Machines list, right-click and select Start.
- Wait for the TS virtual machine to completely start. You’ll see the login screen when the machine has completely started.
4. In Hyper-V Manager, right-click on the TS machine, select Connect and use the administrator/pass@word1 credentials to login.
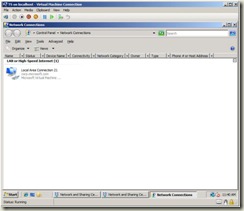
5. Select Start, Control Panel, Network and Sharing Center and select Manage Network Connections under Tasks.
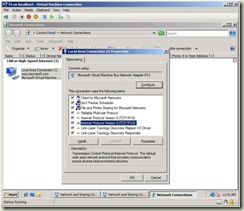
6. Select Local Area Connection 21, right-click and select Properties.
- Local Area Connection 21 is the default network connection for these VMs.
- We’ll hard code the IP address to match the other virtual machines and to make it easy to connect from the host machine.
7. Select Internet Protocol Version 4 (TCP/IPv4) and click Properties.
8. Select Use the following IP address and enter the following:
- IP address: 192.168.0.40.
- Subnet mask: 255.255.255.0
- Default gateway: Leave blank.
9. Select Use the following DNS server address and enter the following:
- Preferred DNS server: 192.168.0.18.
- Alternative DNS server: Leave blank.
10. Click OK. Click Close.
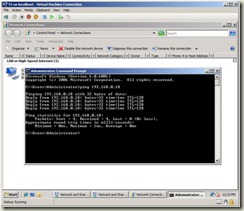
11. Click Start, Command Prompt and enter ping 192.168.0.18. You should get a timely response.
- The ping confirms the TS machine is on the same subnet as the DC virtual machine, making joining the Fabrikam domain possible.
12. Close the Command Prompt.
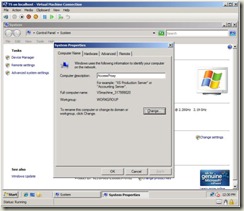
13. Click Start, right-click on Computer and select Properties.
14. Under Computer name, domain, and workgroup settings click the Change settings link.
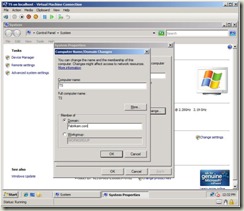
15. Enter TS in the Computer description text box and click the Change button.
16. In the Computer Name/Domain Changes dialog, enter TS in the Computer name text box.
17. Select the Domain option and enter Fabrikam.com in the Domain text box. Click OK.
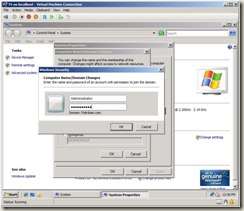
18. When prompted for credentials, enter the administrator/pass@word1 credentials. Click OK.
19. You will see a dialog welcoming you to the Fabrikam.com domain. Click OK.
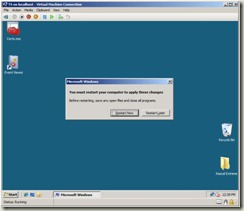
20. When prompted to restart, click Restart Now.
21. When the TS virtual machine restarts, log in using the administrator\pass@word1 credentials.
Before we add the Terminal Services role, we’ll create a new AD group for the accounts that will be allowed to connect to the TS virtual machine.
1. In Hyper-V Manager, right-click on the DC virtual machine and select Connect.
2. Select Start, Active Directory Users and Groups.
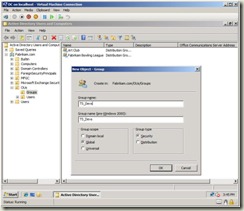
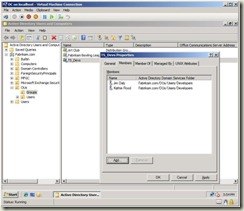
3. Select Fabrikam.com, OUs and right-click on Groups and select New Group. Enter TS_Devs for the Group name and click OK.
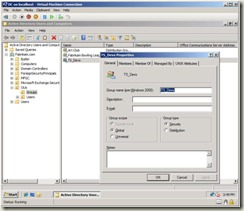
4. To add the users that will connect to the TS virtual machine, select the TS_Devs group, right-click and select Properties.
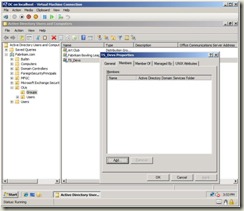
5. In the TS_Devs Propterties dialog, click the Members tab and click the Add button.
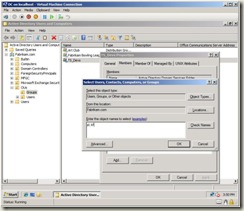
6. In the Enter the object names to add text box, enter “jd; kf" (without the quotes) and click Check Names.
- I’ll use these accounts as examples throughout the rest of this process. Add your own accounts to the Fabrikam domain and this group to provide access to the TS virtual machine to your team members.
7. Click OK after the users are confirmed.
At this point, it’s a good idea to change the password of the accounts in the Fabrikam domain to strong passwords. I’ll still refer to the pass@word1 password in this process as a placeholder for the strong password you assign to each account.
The TS virtual machine is now on the domain and ready to become the Terminal Services machine for your development. We’ll take care of that in the next post.
Please respond with comments if you run into any issues.
Thanks,
Chris
Comments
Anonymous
April 16, 2009
This is Part 4 of a series of blog posts on setting up a virtualized development environment based onAnonymous
April 17, 2009
This is Part 5 of a series of blog posts on setting up a virtualized development environment based onAnonymous
April 29, 2009
Creating you UC development environment is not a simple task to do. Chris Mayo has written a walkthrough
