Windows Home Server
I’m sitting in Brussels airport waiting for my flight, which has been delayed by 1 hour, to travel to Barcelona where I will attend TechEd EMEA. While waiting I wanted to share my experiences with my brand new home server. yes I treated our family or should I say myself to a new Home Server. What is the first thing an IT Professional does after unpacking the box, right opening the home server and I must admit I liked the design of my Fujitsu Siemens Home server. The server contains two disks of 500GB and I have room for two more disks. I already used one of the additional disk slots and this was a very easy process. Just put your disk into the tray, connect the cables and close the tray again and you are done.
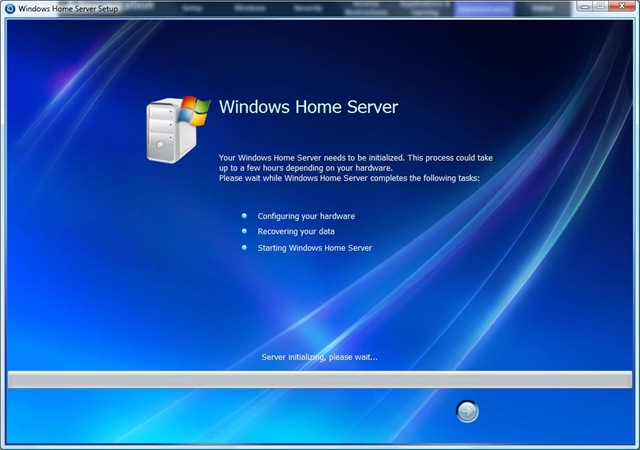
I plugged the network and power cable in and now I’m ready to start using my new home server. Let’s go to the process of installing and configuring the home server. First I needed to install the home server connector onto my client. After installing my client I got the following screen which mentions that my server is initializing.
After a minute or two I could start with the actual configuration.
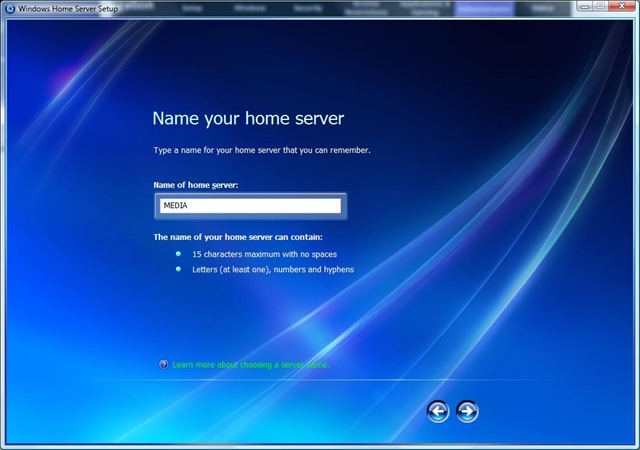
The first step is to give this server a new name I decided to call it MEDIA, yes I know not very original.
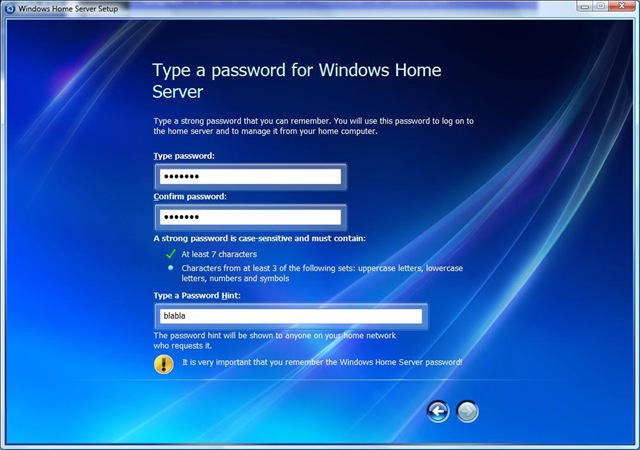
Next I needed to fill in the password and hint information.
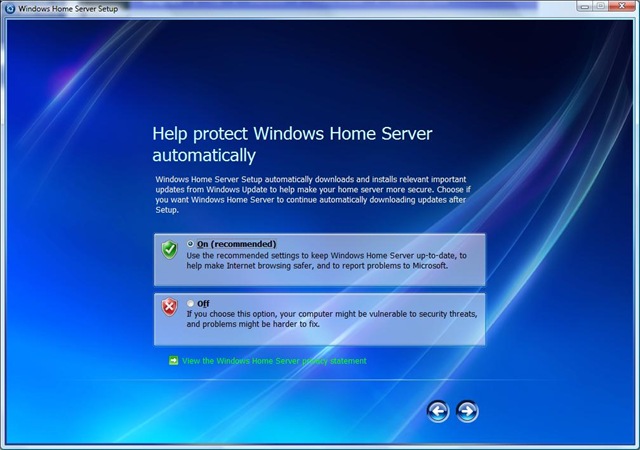
I will let my server use the automatic updating so I don’t have to worry about installing patches myself. Next I had the choice to join the “Customer Experience Program” and the “Windows Error Reporting” program, which I did because this way I’m helping Microsoft to improve the products even more.
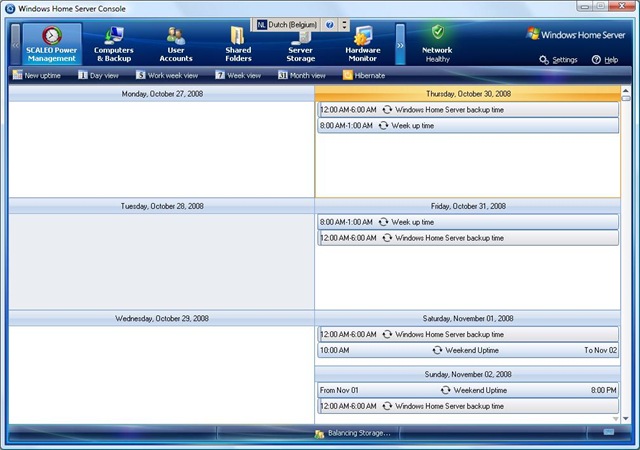
That’s it my server is now ready to use, this took me no more that 5 min to complete. By using the Windows Home server console I can now start managing my server not that there is a lot to do but a few things have to be done. The first I noticed was this nice “SCALEO Power Management” plug-in where I can define the uptime scheme for my server and also define the backup times.
I decided to make sure my server was always up from 8:00AM till 1:00PM on weekdays and from 10:00AM till 20:00 during weekends. Further I configured the backup to run at 9:00PM every night. Next I started adding my clients to the server by installing the “Home Server Client Connector” after that I took a backup of all my machines so I can travel safely knowing that my data is secured at home.
As a last thing I copied all my media being videos, family pictures and MP3’s to the server and now I can stream them to my Xbox 360 which is connected through my wireless network.
Oh and by the way the disk I added was automatically configured and added to the Server Storage pool.
Overall I am very please with the user experience of my home server, in the next couple of weeks I will start adding more plug-ins to the server. I’ll share my experiences with you.
Technorati Tags: Windows Home Server
Comments
Anonymous
November 01, 2008
PingBack from http://mstechnews.info/2008/11/windows-home-server/Anonymous
November 24, 2008
The comment has been removed

