Work with screens and controls
Copilot for Power Apps helps you create your draft app, and it continues to work with you as you build and refine the app. You can use Copilot during the editing session, regardless of whether you use Copilot to create the app or not.
You can ask Copilot to help you with many tasks, including:
Adding controls, such as text label, button, form, or gallery.
Adding a new screen.
Editing controls to include colors, sizing, and placement.
Working with galleries to sort and search items.
The previous example shows that Copilot added a new calendar screen to your app. Also, it added the necessary connections for the screen to work properly.
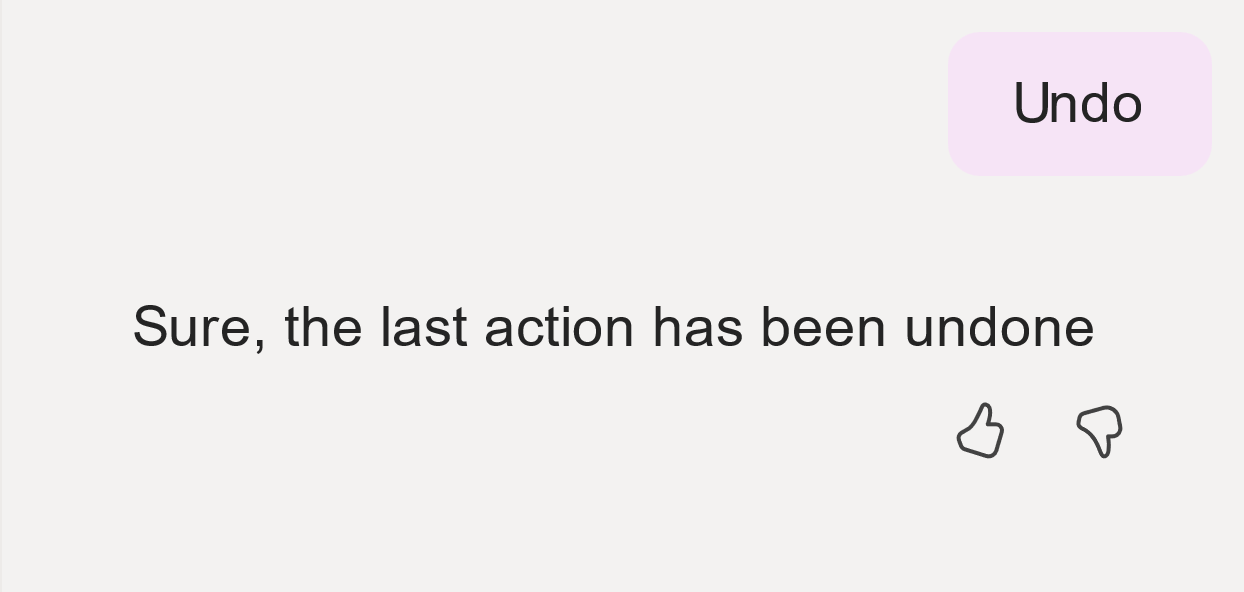
Copilot acts on your behalf to build what you request in your prompts. However, if the results don't meet your needs, you can use the Undo option to return the state that your app was in before the previous prompt.
This Undo action removes the screen and the connection that Copilot created for the app's use.
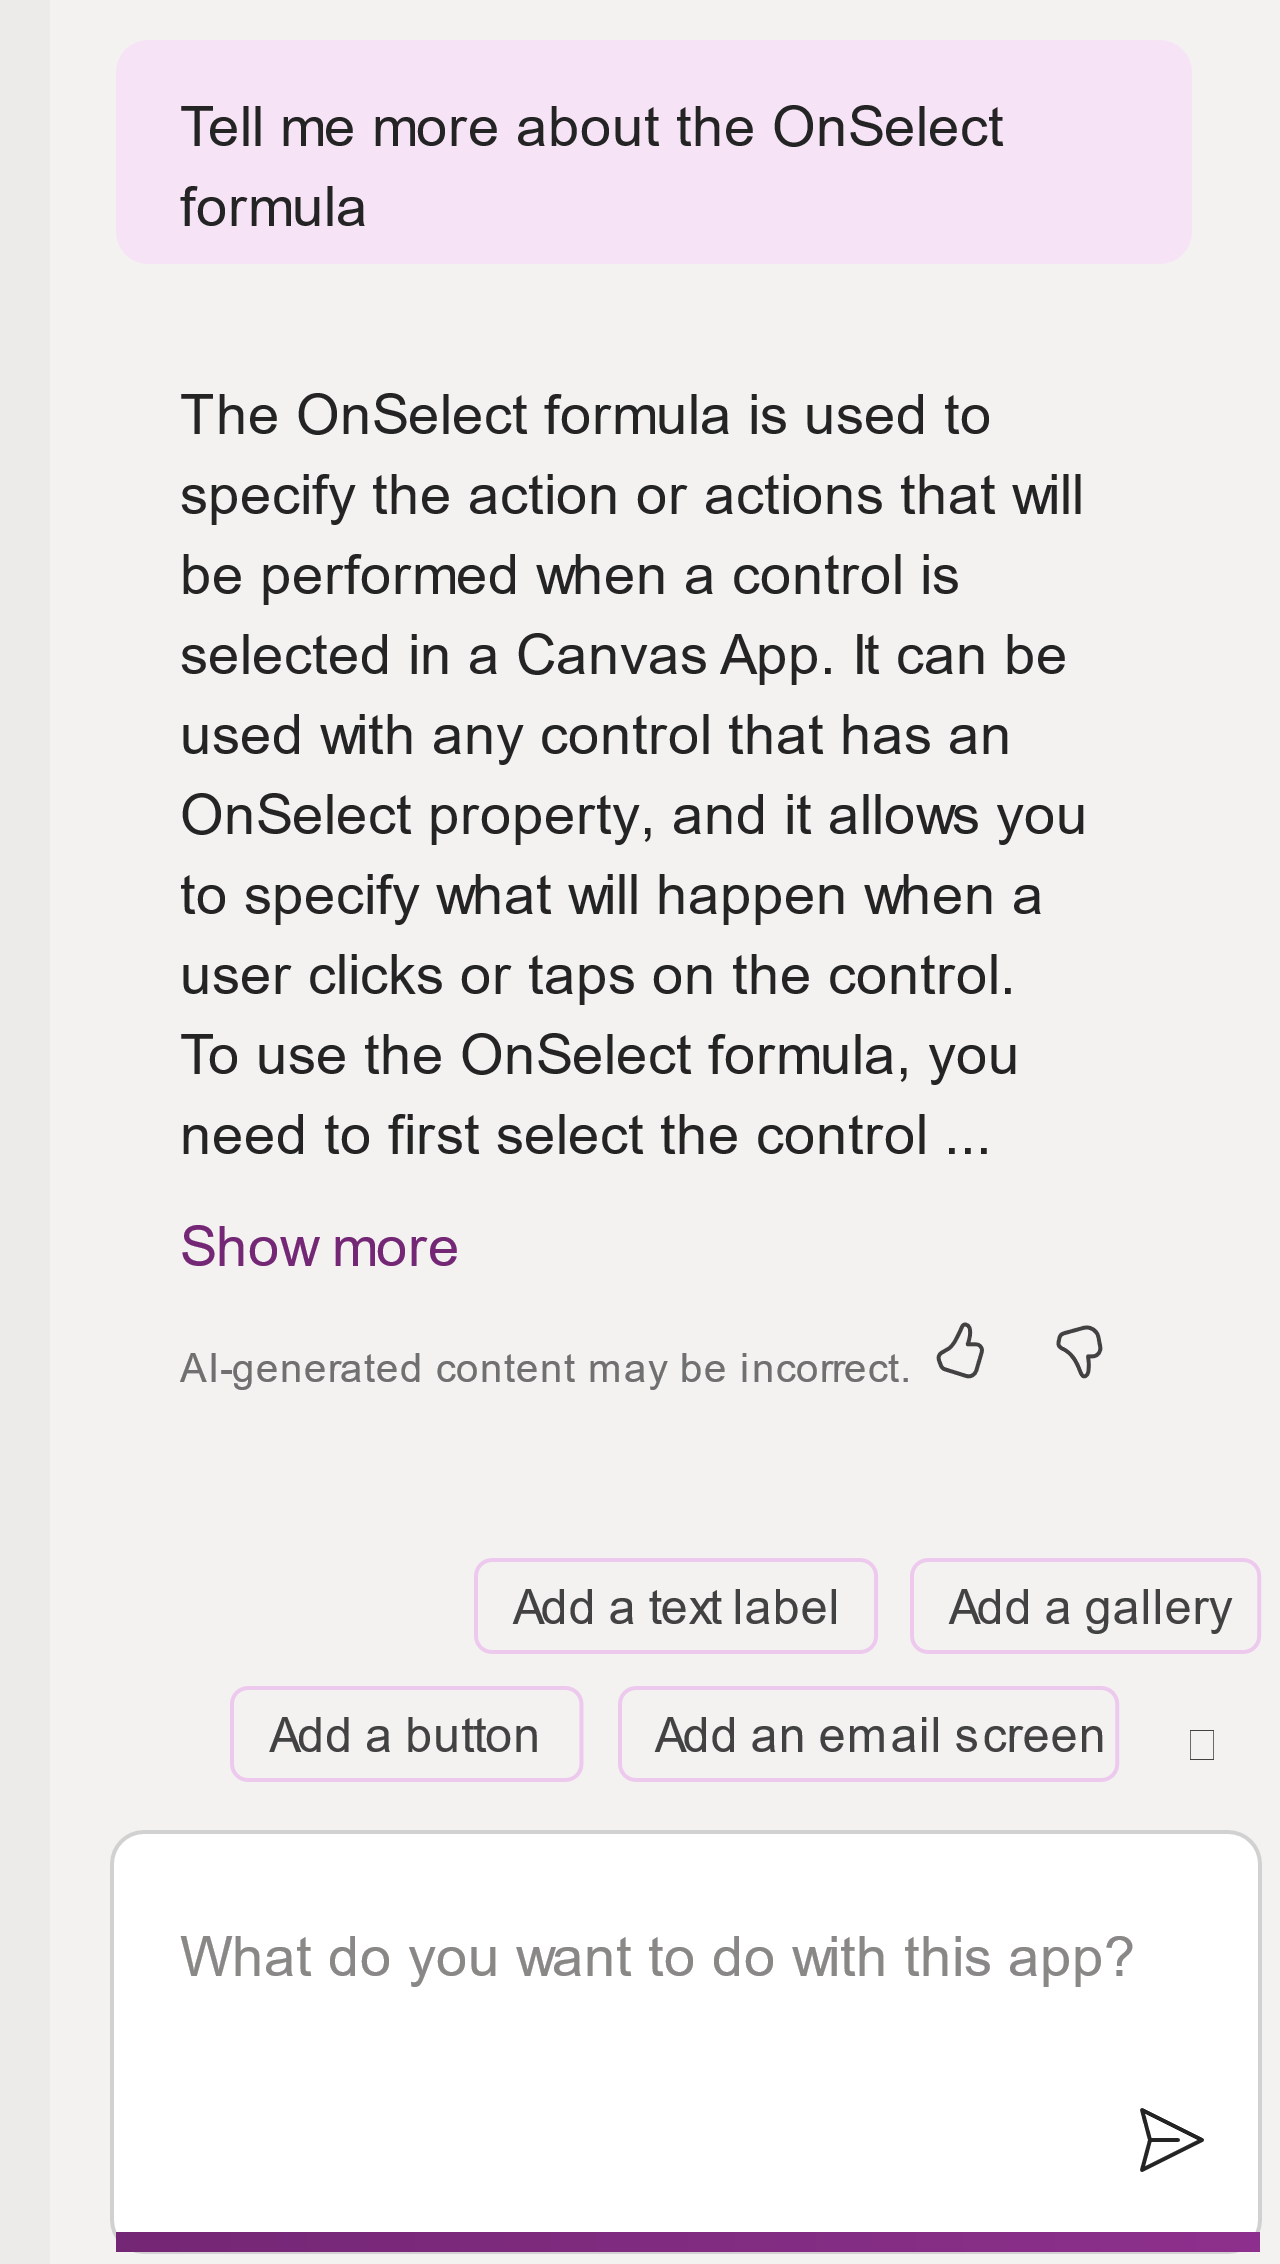
Copilot can also explain relevant details about building an app. Starting your prompt with Tell me notifies Copilot that you're looking for information.
Build prompts
To get the best results from Copilot, you need to build prompts that can help it be successful. Make sure that you remove any ambiguity that might lead Copilot to act on the wrong control. For example, if you enter the prompt "Change the button to blue," Copilot would need to pick which button to use if your app had multiple buttons. A more specific prompt, such as "Change button_1 fill to blue," would guide Copilot to a specific button and a specific property.
Prompts that you might try when editing an app include:
"Add a new blank screen and add a form," or the more specific, "Add a new blank screen named OrderScreen and add a form named OrderForm."
"Insert a new [Template Name] screen named [Screen Name]."
"Change the [property] value of [control name] to [New Value]."
"Add a [Control Type] with [Data Source Name] as the data source," for example, "Add a vertical gallery with Contacts as the data source."
"Add a button to OrderDisplay screen," or a more complex prompt of, "Add a button to OrderDisplay screen named Refresh and put it in the lower-right corner of the screen and have the button call refresh on Contacts data source."
"Add a button that submits the [Form name] and show notification [The text of the notification]."
"Move [Control name] to the bottom-right of the screen."
Use copilot control ideas
When you select controls on a screen in the Power Apps designer, you can check if Copilot is available to complete tasks, such as manage conditional formatting.
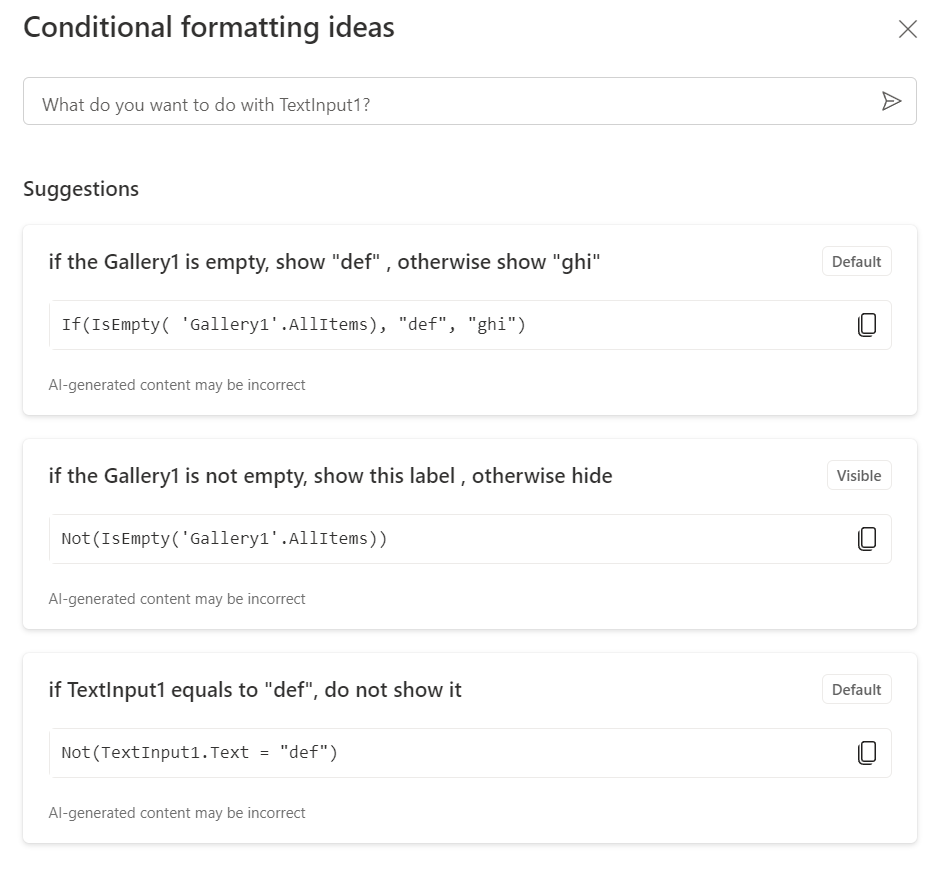
For this text control, when you select the Copilot icon and select Conditional formatting, a panel opens with some conditional formatting ideas that you can use. You can also provide a prompt to help Copilot understand what type of conditional formatting that you want to use.
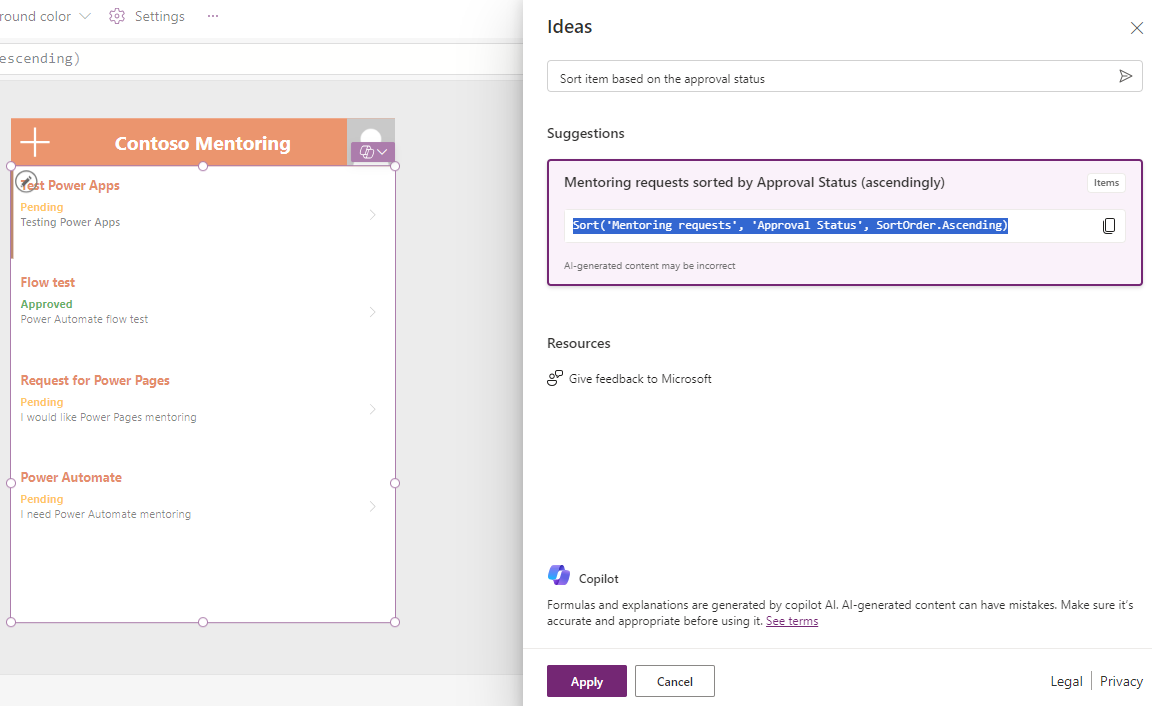
Copilot can help you with formulas to sort, filter, and search collection. For example, if you add a gallery to your canvas application, and you want to sort the items based on the approval status, you can provide a description of what you want.
Copilot suggests a formula that you can copy or apply to your gallery. As shown in the following image, you can ask copilot to "Sort item based on the approval status." Then, Copilot returns the formula that you can use to get those results.
Copilot can help when you want to conditionally format your controls based on a value. For example, if you want to change the color of a label based on the approval status, select the label and then ask Copilot to change the color by describing what you want.
Make the text color green if [control] is Approved, orange if Pending, and red if Rejected.
Then, Copilot suggests a formula that you can review. If the formula is satisfactory, you can copy or apply it, as shown in the following image.
After you apply the formula, the approval status text color should resemble the following image. You can undo your changes by selecting the Undo button.


