Deploy the customer experiences portal
Customer experience homepages provide a one-stop destination for your customers to make new bookings, manage existing bookings, track their technician, and provide feedback.
Portal templates
Portal templates are preconfigured portal solutions that are available to accelerate deployment. Power Pages are customizable, but a portal template will provide a preconfigured environment that is immediately suitable for specific scenarios.
Each portal template includes a particular set of features that are designed to accelerate solution development that targets the selected audience.
The Field Service Portal template creates the customer experiences homepages so that customers can book work orders themselves.
Provision a Field Service customer experience portal
The high-level steps to provision a customer experience portal are as follows:
Go to the Power Apps Maker Portal.
Select your Dynamics 365 Field Service environment by using the environment selector in the upper-right corner of the screen.
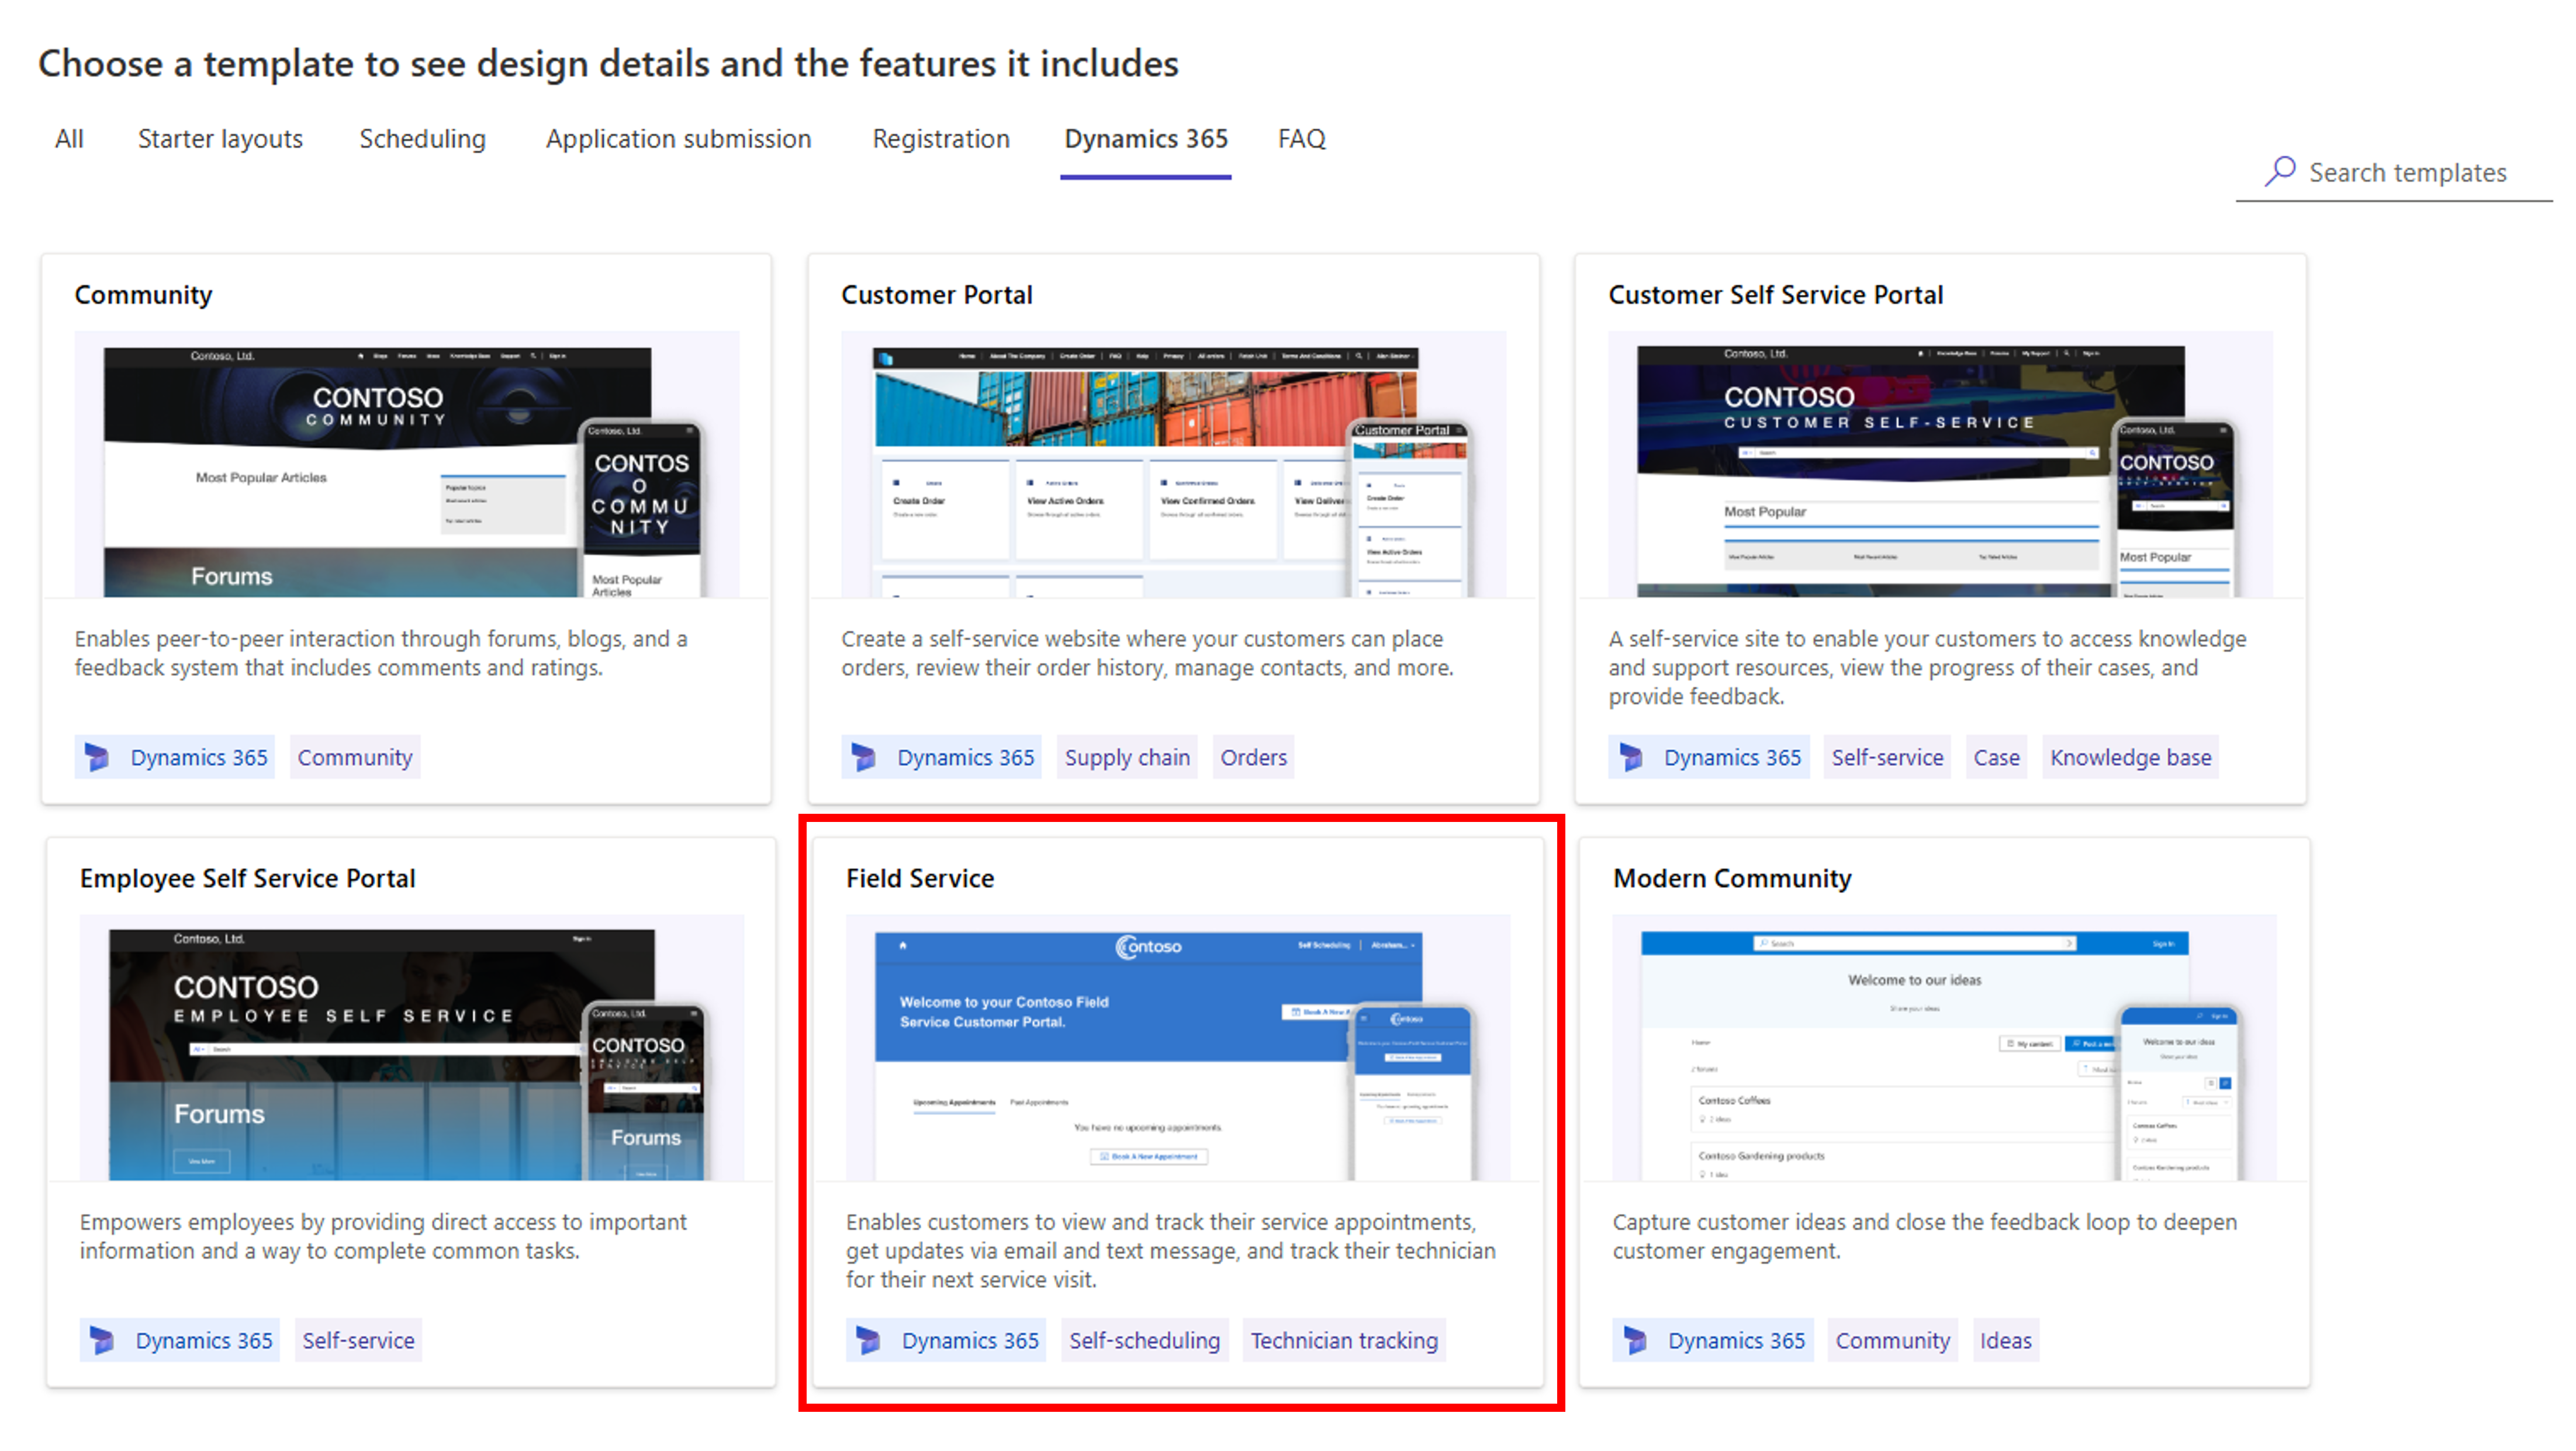
On the Choose a template to see details, select Dynamics 365.
Select the Field Service template, and select Choose this template.
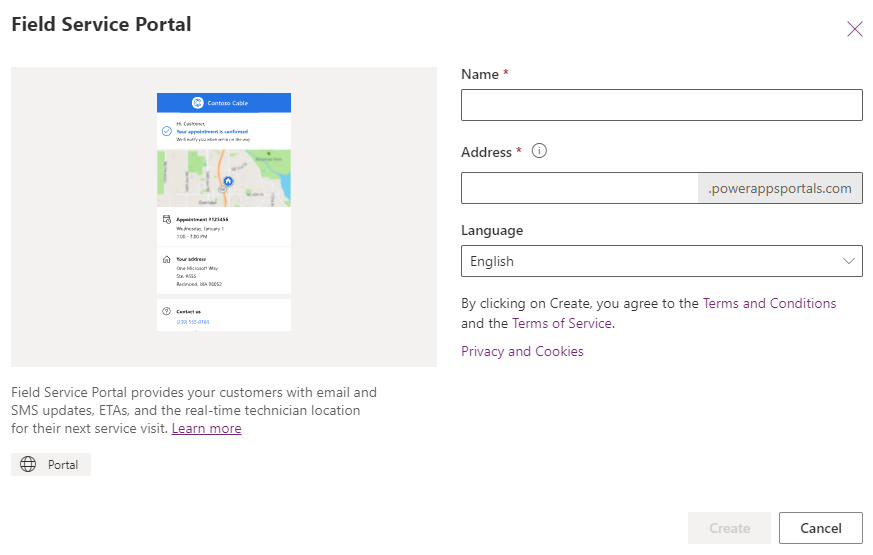
Provide your site with a Name and Web address.
Select the language you want to use.
Select Done to start the portal provisioning process.
The provisioning process takes around 45 minutes. After portal provisioning has completed, the portal will appear in the list as an app of type Portal.
Customer experiences portal
The Field Service customer experiences portal provides the following features for customer self-service:
Schedule bookings
Manage existing bookings
Track the field technician
Provide feedback
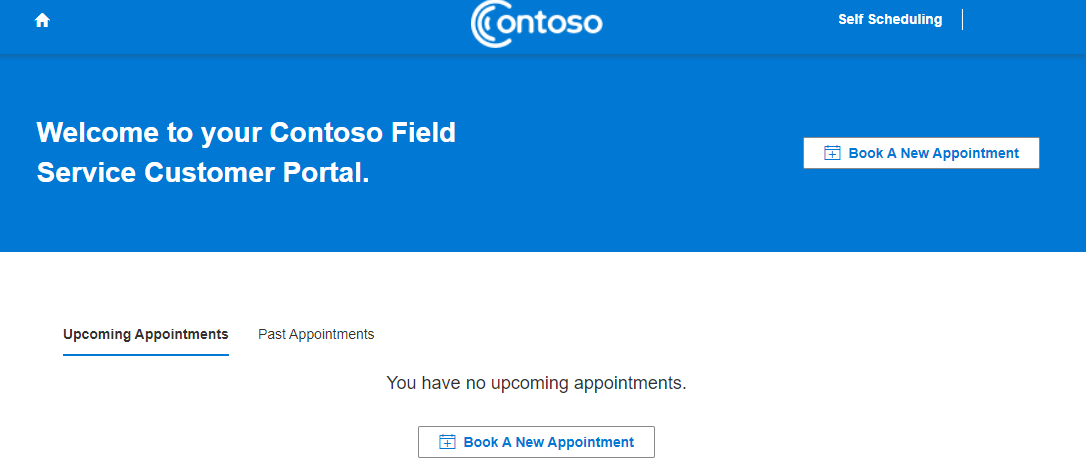
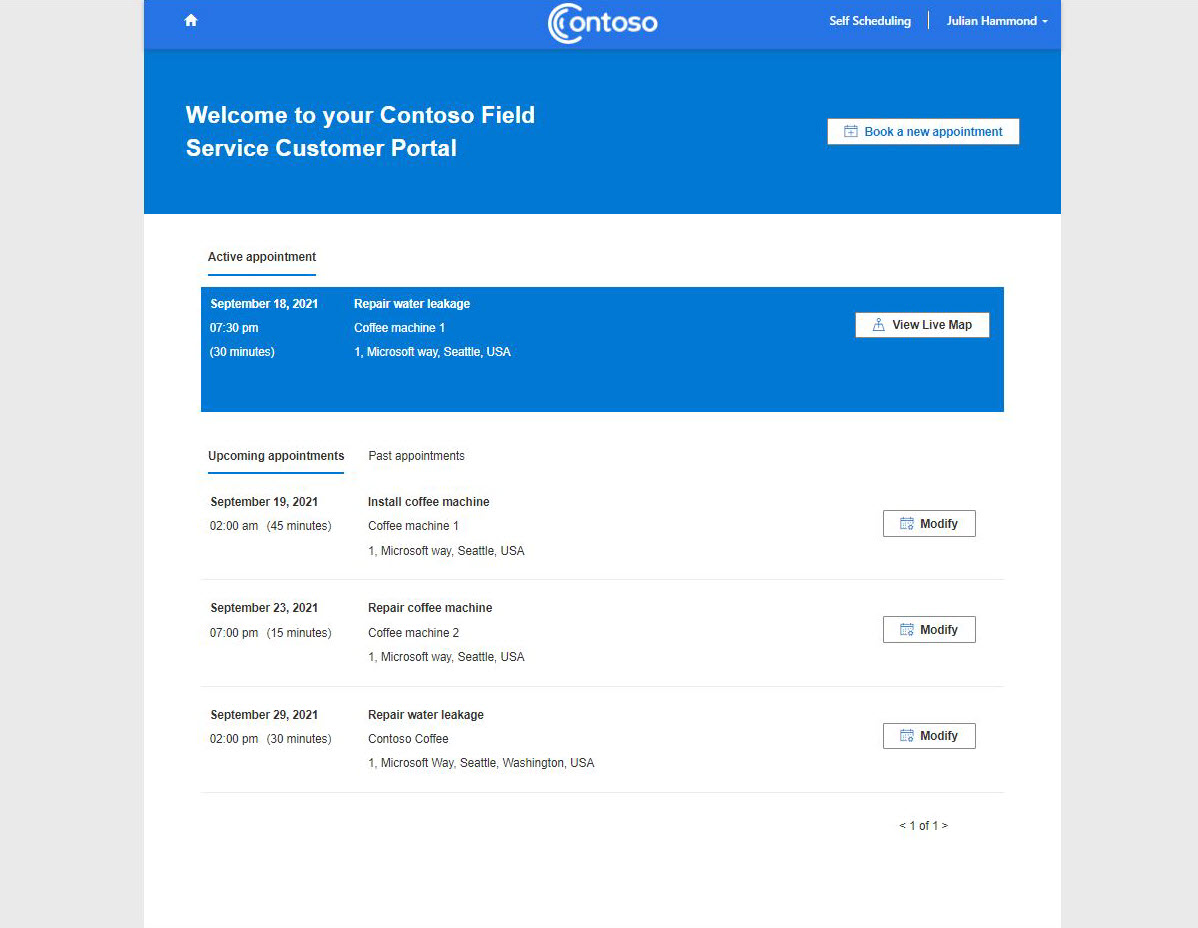
When a customer navigates to the portal, a screen similar to the following image will display.
Schedule a booking
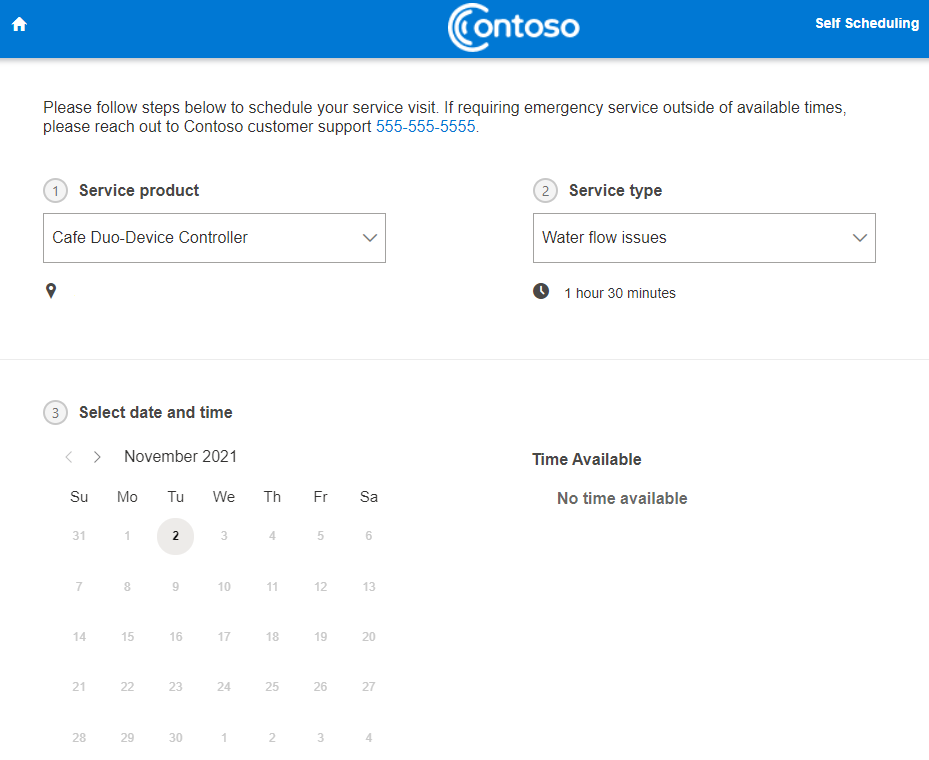
Select the Book a New Appointment button to open the self-scheduling page.
You can select a customer asset and then select a service type. The customer asset is optional. The page will then display time slots where resources are available to deliver the service.
Select Book to create the booking.
Note
In the customer experience homepages, bookings are referred to as appointments.
Manage bookings
The customer experience homepage allows customers to modify and cancel bookings.
Technician tracking
When the field technician updates the booking status on the customer's booking to Traveling or In Progress, the booking will show as active in the customer experience portal.
The customer can select View Live Map to view the technician's current location and estimated arrival time.
Feedback
If a Microsoft Dynamics 365 Customer Voice survey has been created and set up in Customer Portal settings, the customer will be able to provide feedback by using the customer experiences portal when the booking status is changed to Completed.
Branding
To set branding for the portal, go to Settings > Customer Portal > Customer Portal and then select the Display Settings tab.
On this tab, you can set the font and colors for the portal. You can use the Portal Editor to change the logo.
Set up email and text messaging
Customers will access their service portal with a unique link that is sent to their email or as a text message. To set up this feature, you will need to set up one or both communication methods.
You will need to edit and turn on certain Power Automate cloud flows. To enable these flows in the Field Service app, go to Settings > Customer Portal > Customer Portal and then select the links to the flows.
Note
For text messages, you need to sign up for a Twilio account.
Set up incident types
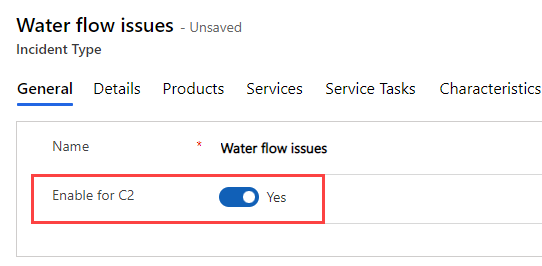
The service types that the customer selects in the portal are incident types, where the Enable for C2 toggle has been set to Yes.
