How to unsign your Azure Public DNS zone
This article shows you how to remove Domain Name System Security Extensions (DNSSEC) from your Azure Public DNS zone.
To sign a zone with DNSSEC, see How to sign your Azure Public DNS zone with DNSSEC.
Prerequisites
- The DNS zone must be hosted by Azure Public DNS. For more information, see Manage DNS zones.
- You must have permission to delete a DS record from the parent DNS zone. Most top level domains (.com, .net, .org) allow you to do this using your registrar.
Unsign a zone
Important
Removing DNSSEC from your DNS zone requires that you first remove the delegation signer (DS) record from the parent zone, and wait for the time-to-live (TTL) of the DS record to expire. After the DS record TTL has expired, you can safely unsign the zone.
To unsign a zone using the Azure portal:
On the Azure portal Home page, search for and select DNS zones.
Select your DNS zone, and then from the zone's Overview page, select DNSSEC. You can select DNSSEC from the menu at the top, or under DNS Management.
If you have successfully removed the DS record at your registrar for this zone, you see that the DNSSEC status is Signed but not delegated. Do not proceed until you see this status.
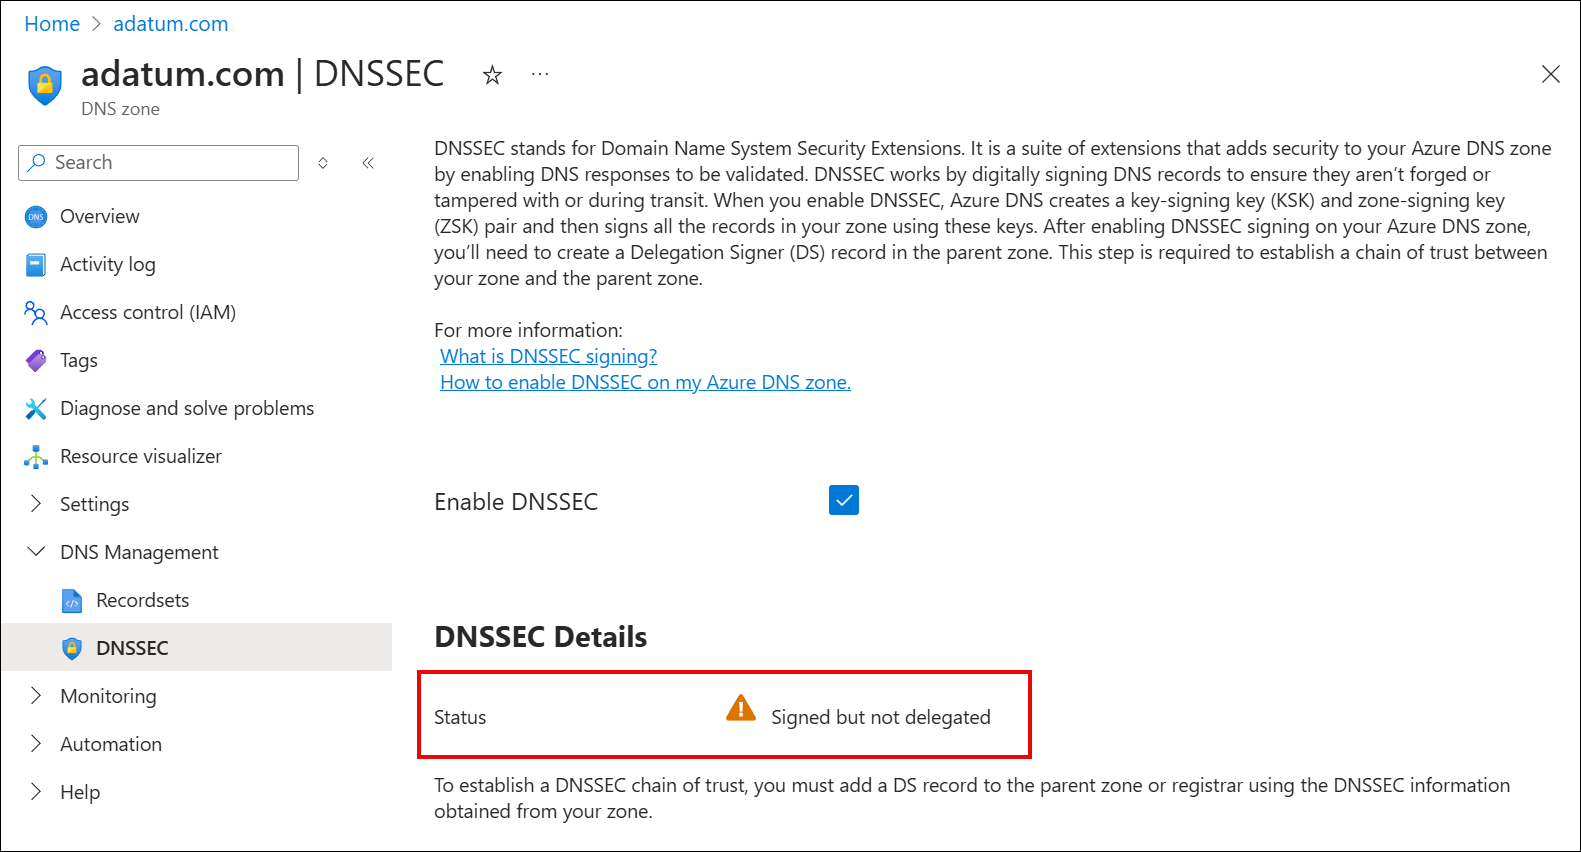
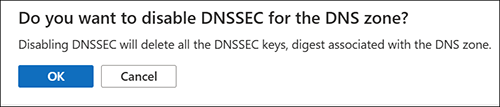
Clear the Enable DNSSEC checkbox and select OK in the popup dialog box confirming that you wish to disable DNSSEC.
In the Disable DNSSEC pane, type the name of your domain and then select Disable.
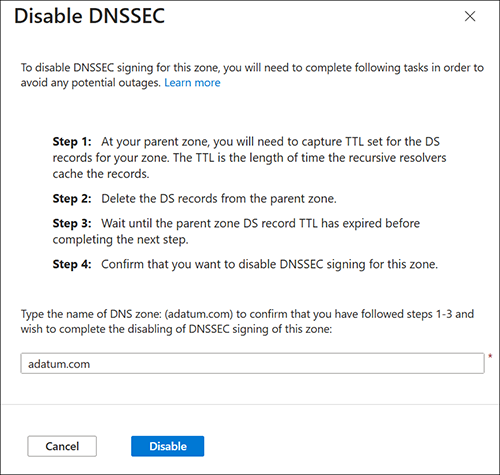
The zone is now unsigned.
Next steps
- Learn how to sign a DNS zone with DNSSEC.
- Learn how to host the reverse lookup zone for your ISP-assigned IP range in Azure DNS.
- Learn how to manage reverse DNS records for your Azure services.