Use the drawing tools module
The Azure Maps Web SDK provides a drawing tools module. This module makes it easy to draw and edit shapes on the map using an input device such as a mouse or touch screen. The core class of this module is the drawing manager. The drawing manager provides all the capabilities needed to draw and edit shapes on the map. It can be used directly, and it's integrated with a custom toolbar UI. You can also use the built-in DrawingToolbar class.
Loading the drawing tools module in a webpage
- Create a new HTML file and implement the map as usual.
- Load the Azure Maps drawing tools module. You can load it in one of two ways:
Use the globally hosted, Azure Content Delivery Network version of the Azure Maps services module. Add reference to the JavaScript and CSS in the
<head>element of the file:<link rel="stylesheet" href="https://atlas.microsoft.com/sdk/javascript/drawing/1/atlas-drawing.min.css" type="text/css" /> <script src="https://atlas.microsoft.com/sdk/javascript/drawing/1/atlas-drawing.min.js"></script>Or, you can load the drawing tools module for the Azure Maps Web SDK source code locally by using the azure-maps-drawing-tools npm package, and then host it with your app. This package also includes TypeScript definitions. Use this command:
npm install azure-maps-drawing-toolsThen, import the JavaScript in a source file:
import * as drawing from "azure-maps-drawing-tools";You would also need to embed the CSS for various controls to display correctly. If you're using a JavaScript bundler to bundle the dependencies and package your code, refer to your bundler's documentation on how it's done. For webpack, it's commonly done via a combination of
style-loaderandcss-loaderwith documentation available at style-loader.To begin, install style-loader and css-loader:
npm install --save-dev style-loader css-loaderInside your source file, import atlas-drawing.min.css:
import "azure-maps-drawing-tools/dist/atlas-drawing.min.css";Then add loaders to the module rules portion of the webpack config:
module.exports = {
  module: {
    rules: [
      {
        test: /\.css$/i,
        use: ["style-loader", "css-loader"]
      }
    ]
  }
};
To learn more, see How to use the Azure Maps map control npm package.
Use the drawing manager directly
Once the drawing tools module is loaded in your application, you can enable drawing and editing capabilities using the drawing manager. You can specify options for the drawing manager while instantiating it or alternatively use the drawingManager.setOptions() function.
Set the drawing mode
The following code creates an instance of the drawing manager and sets the drawing mode option.
//Create an instance of the drawing manager and set drawing mode.
drawingManager = new atlas.drawing.DrawingManager(map,{
    mode: "draw-polygon"
});
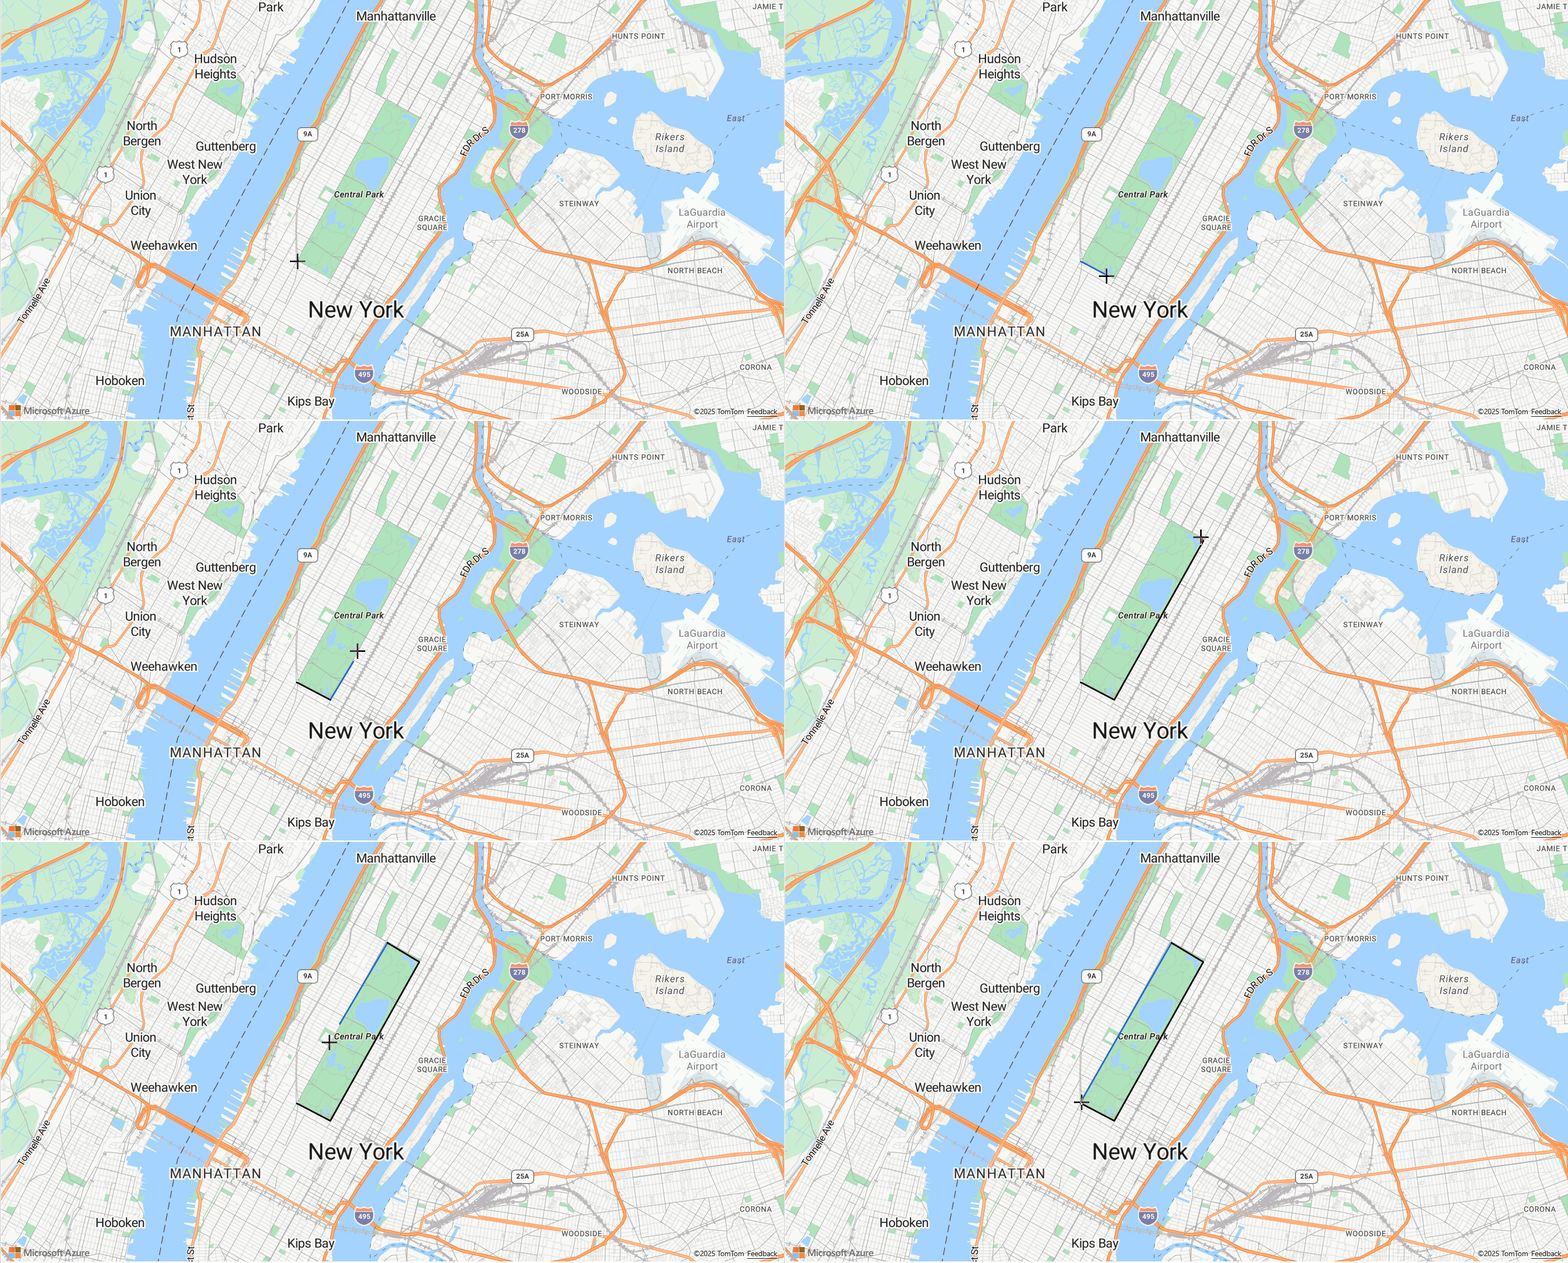
The following image is an example of drawing mode of the DrawingManager. Select any place on the map to start drawing a polygon.

Set the interaction type
The drawing manager supports three different ways of interacting with the map to draw shapes.
click- Coordinates are added when the mouse or touch is clicked.freehand- Coordinates are added when the mouse or touch is dragged on the map.hybrid- Coordinates are added when the mouse or touch is clicked or dragged.
The following code enables the polygon drawing mode and sets the type of drawing interaction that the drawing manager should adhere to freehand.
//Create an instance of the drawing manager and set drawing mode.
drawingManager = new atlas.drawing.DrawingManager(map,{
    mode: "draw-polygon",
    interactionType: "freehand"
});
Customizing drawing options
The previous examples demonstrated how to customize drawing options while instantiating the Drawing Manager. You can also set the Drawing Manager options by using the drawingManager.setOptions() function.
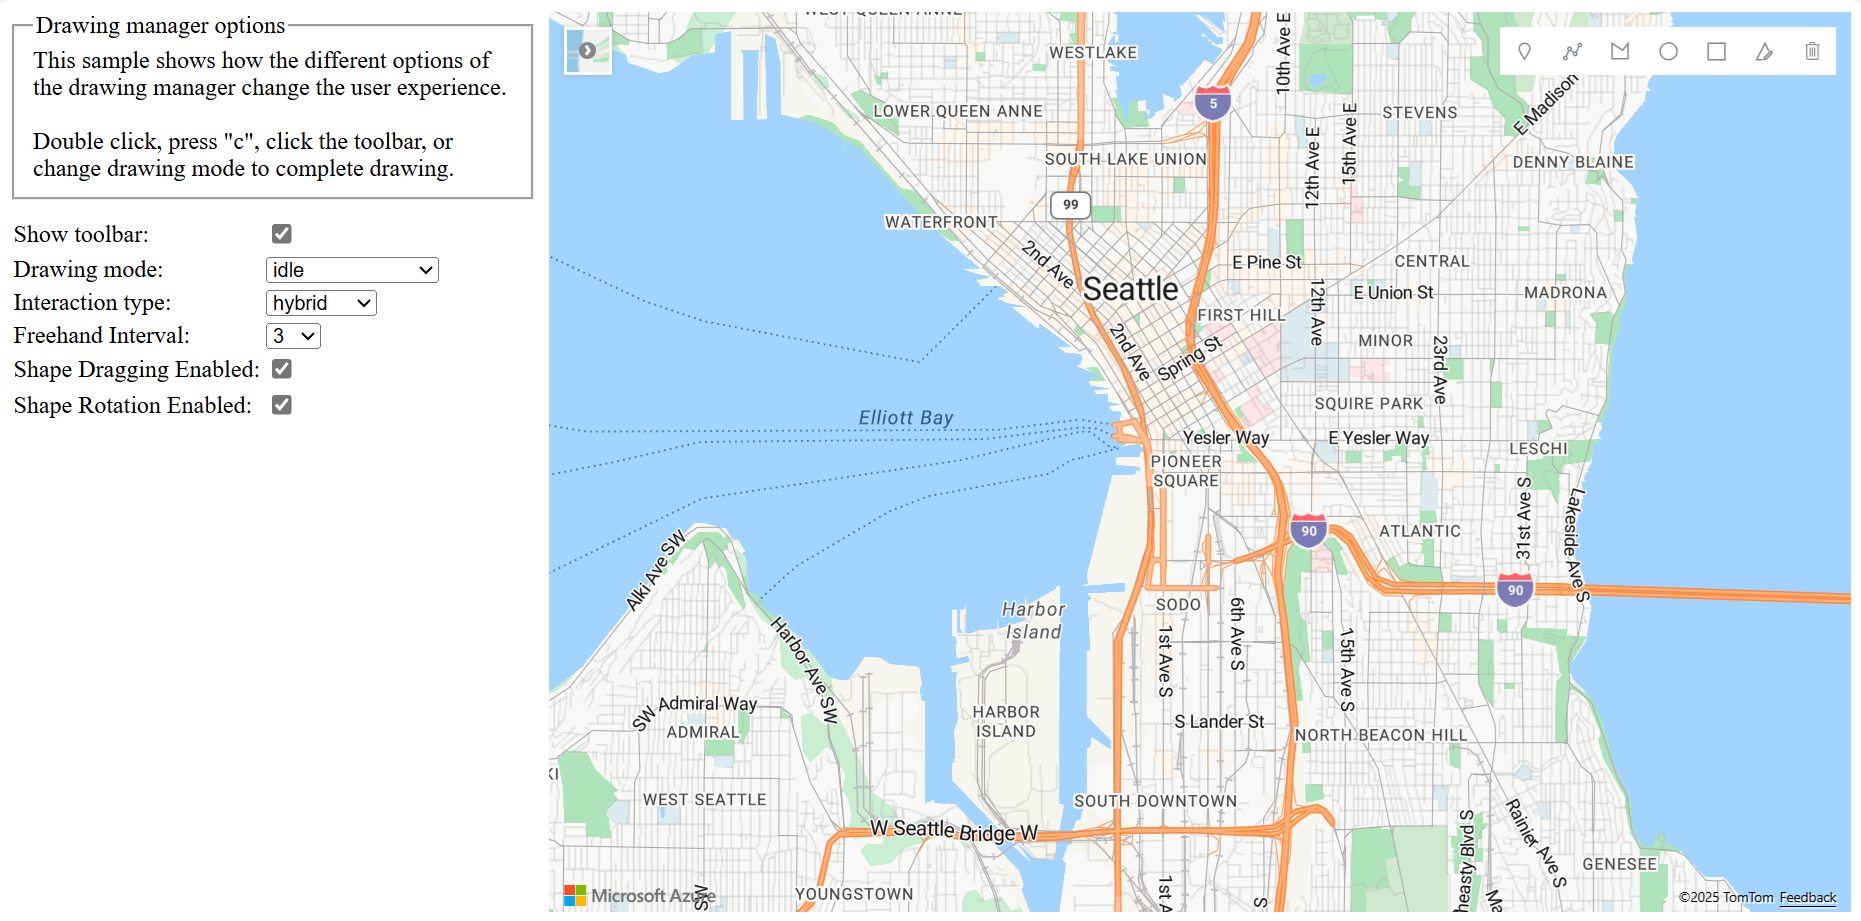
The Drawing manager options can be used to test out customization of all options for the drawing manager using the setOptions function. For the source code for this sample, see Drawing manager options source code.

Put a shape into edit mode
Programmatically put an existing shape into edit mode by passing it into the drawing managers edit function. If the shape is a GeoJSON feature, wrap it with the atlas.Shape class before passing it in.
To programmatically take a shape out of edit mode, set the drawing managers mode to idle.
//If you are starting with a GeoJSON feature, wrap it with the atlas.Shape class.
var feature = {
    "type": "Feature",
    "geometry": {
        "type": "Point",
        "coordinates": [0,0]
        },
    "properties":  {}
};

var shape = new atlas.Shape(feature);

//Pass the shape into the edit function of the drawing manager.
drawingManager.edit(shape);

//Later, to programmatically take shape out of edit mode, set mode to idle.
drawingManager.setOptions({ mode: 'idle' });
Note
When a shape is passed into the edit function of the drawing manager, it is added to the data source maintained by the drawing manager. If the shape was previously in another data source, it will be removed from that data source.
To add shapes to the drawing manager so the end user can view and edit, but don't want to programmatically put them into edit mode, retrieve the data source from the drawing manager and add your shapes to it.
//The shape(s) you want to add to the drawing manager so
var shape = new atlas.Shape(feature);

//Retrieve the data source from the drawing manager.
var source = drawingManager.getSource();

//Add your shape.
source.add(shape);

//Alternatively, load in a GeoJSON feed using the sources importDataFromUrl function.
source.importDataFromUrl('yourFeatures.json');
The following table lists the type of editing supported by different types of shape features.
| Shape feature | Edit points | Rotate | Delete shape |
|---|---|---|---|
| Point | ✓ | ✓ | |
| LineString | ✓ | ✓ | ✓ |
| Polygon | ✓ | ✓ | ✓ |
| MultiPoint | ✓ | ✓ | |
| MultiLineString | ✓ | ✓ | |
| MultiPolygon | ✓ | ✓ | |
| Circle | ✓ | ✓ | |
| Rectangle | ✓ | ✓ | ✓ |
Next steps
Learn how to use more features of the drawing tools module:
Learn more about the classes and methods used in this article: