Exercise - Create a custom connector from Visual Studio
In this exercise, you'll create a custom connector in your Power Platform environment from your web API in Visual Studio.
Power Platform enables web API developers to quickly build mobile or web applications using a Power Apps canvas app as a front end. With the Power Platform Connected Service in Visual Studio 2022, ASP.NET web API developers can easily create a custom connector for use with Power Apps.
Note
If you want to use Visual Studio and Power Apps in this exercise, you will need to:
- Install Visual Studio 2022 with the ASP.NET and web development workload installed. You need to be signed in to Visual Studio to create and use dev tunnels. The feature is not available in Visual Studio for Mac.
- Create a free Power Platform developer environment.
- Download the samples.
Add Power Platform as a connected service
Open this sample API from GitHub with Visual Studio. This is an ASP.NET Core Web API project.
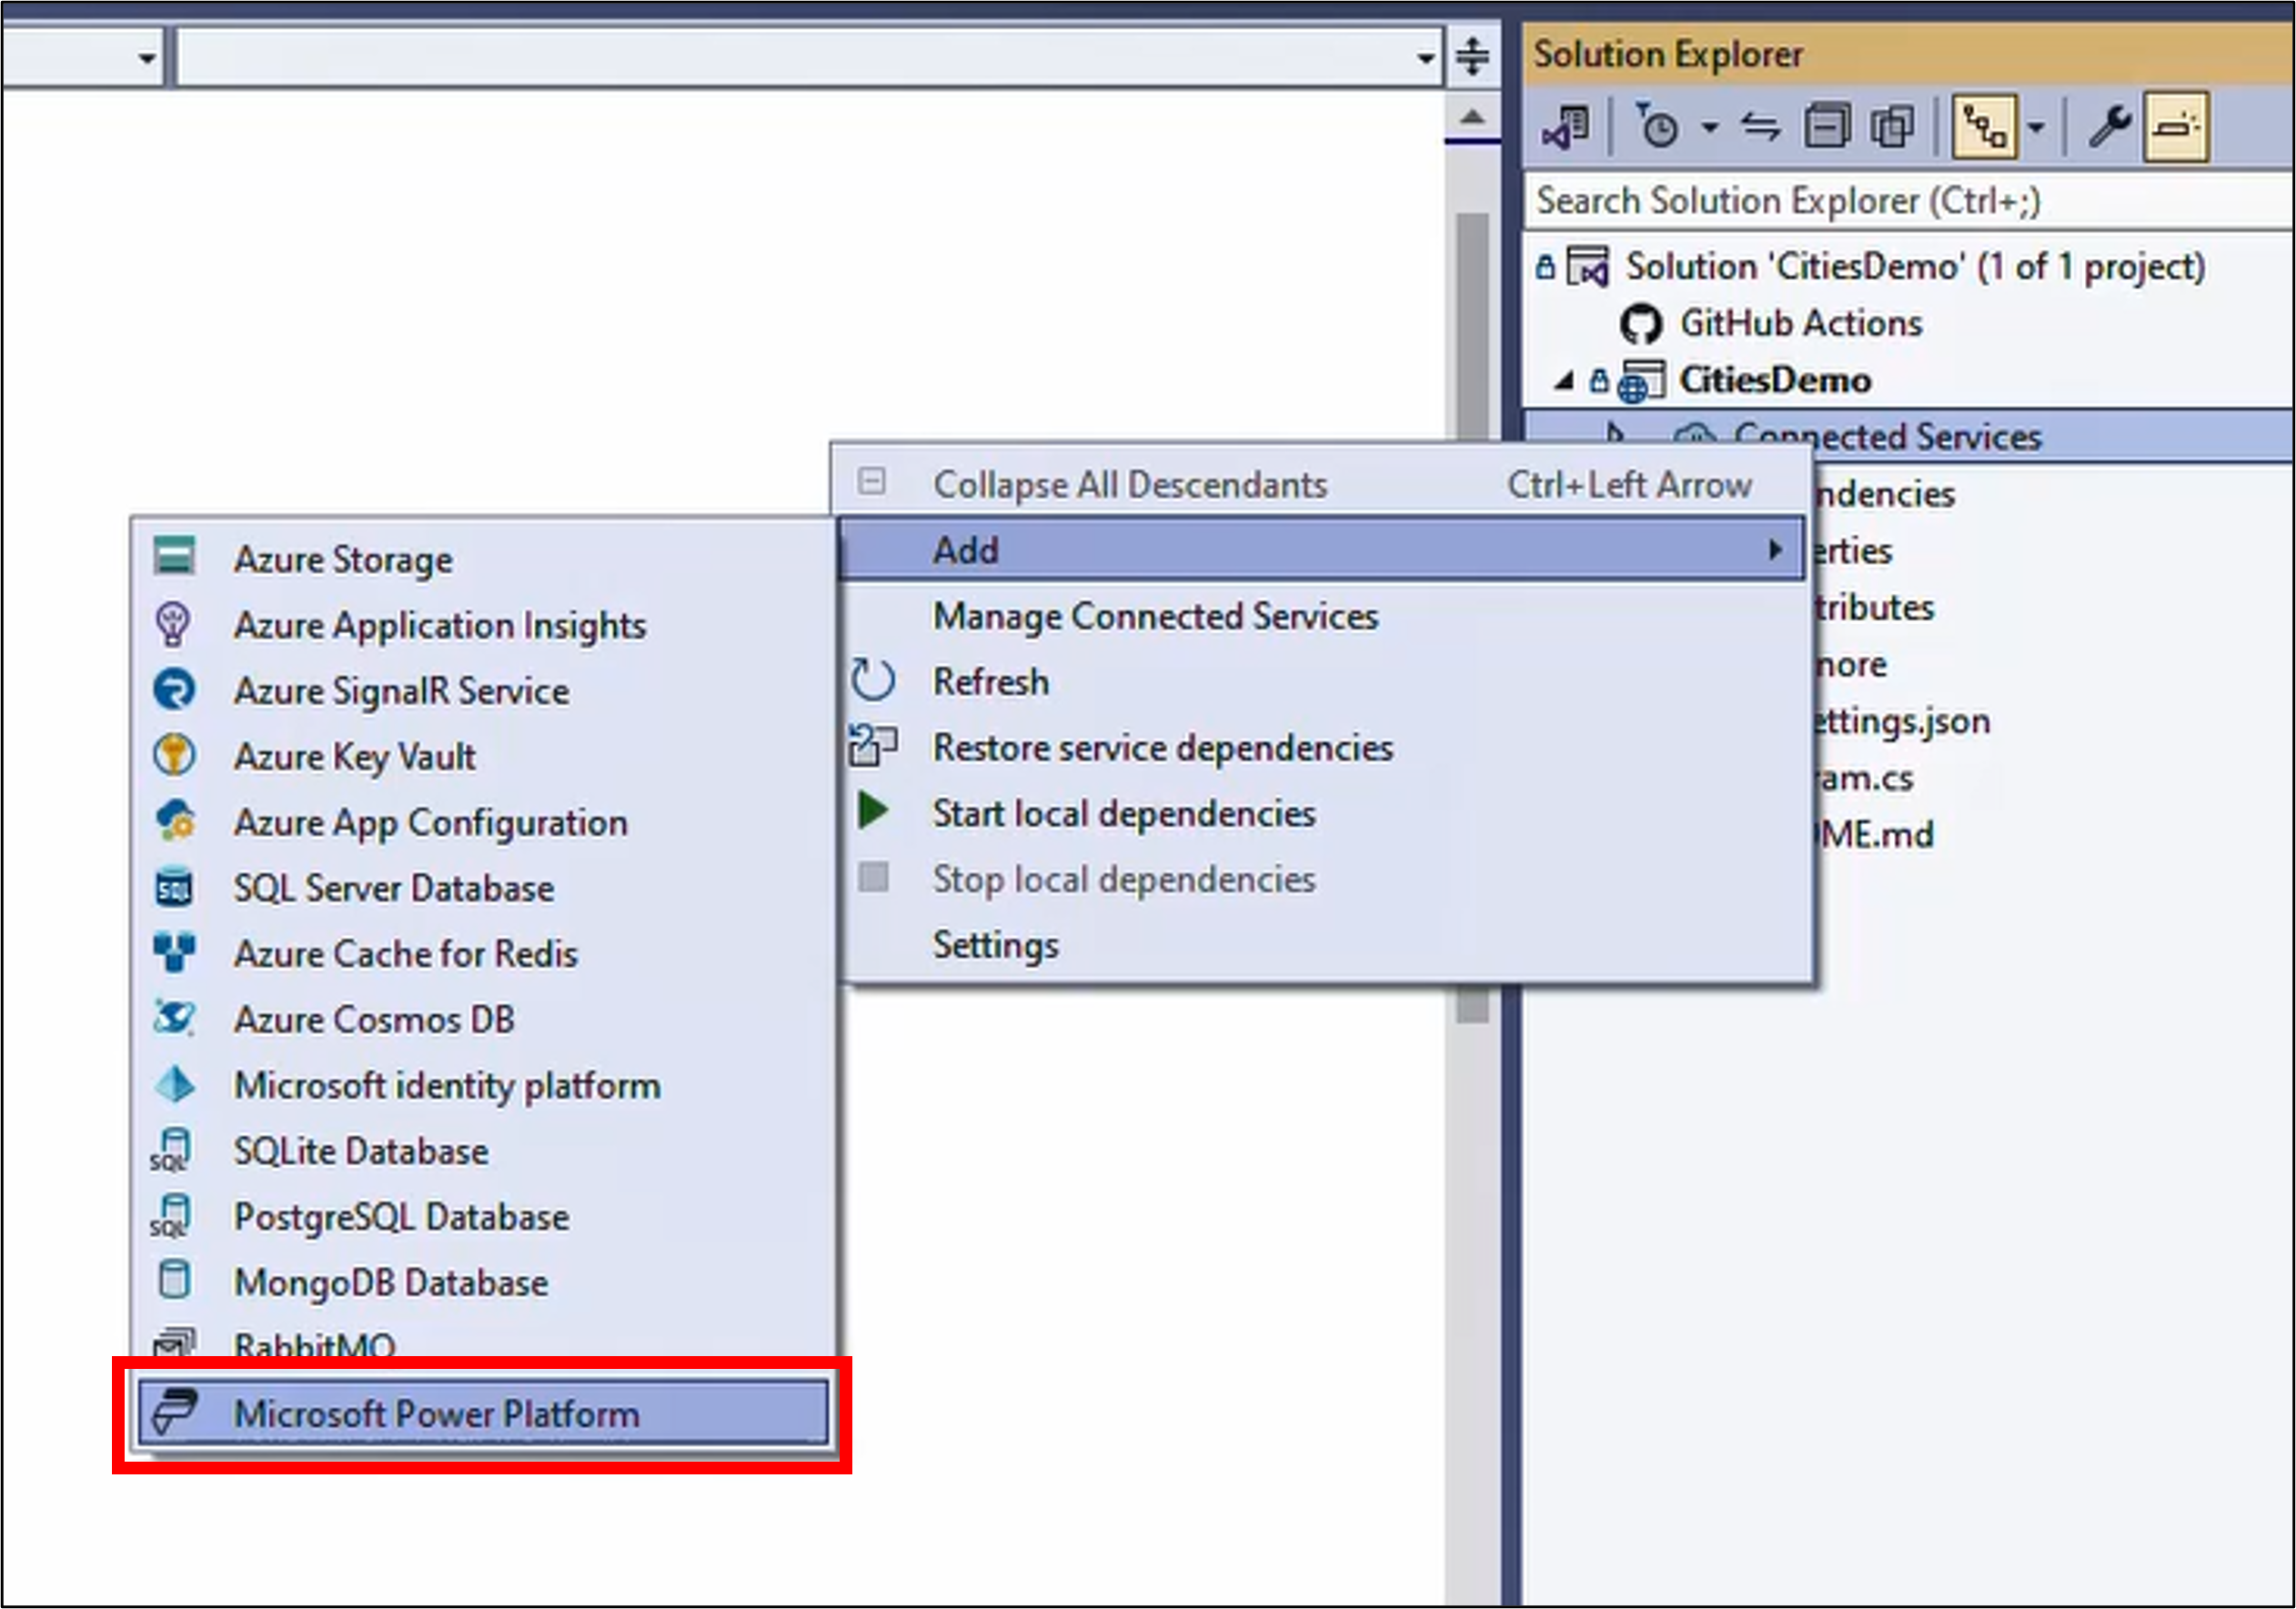
In your project, from Solution Explorer, right-click the Connected Services node and select Add > Microsoft Power Platform
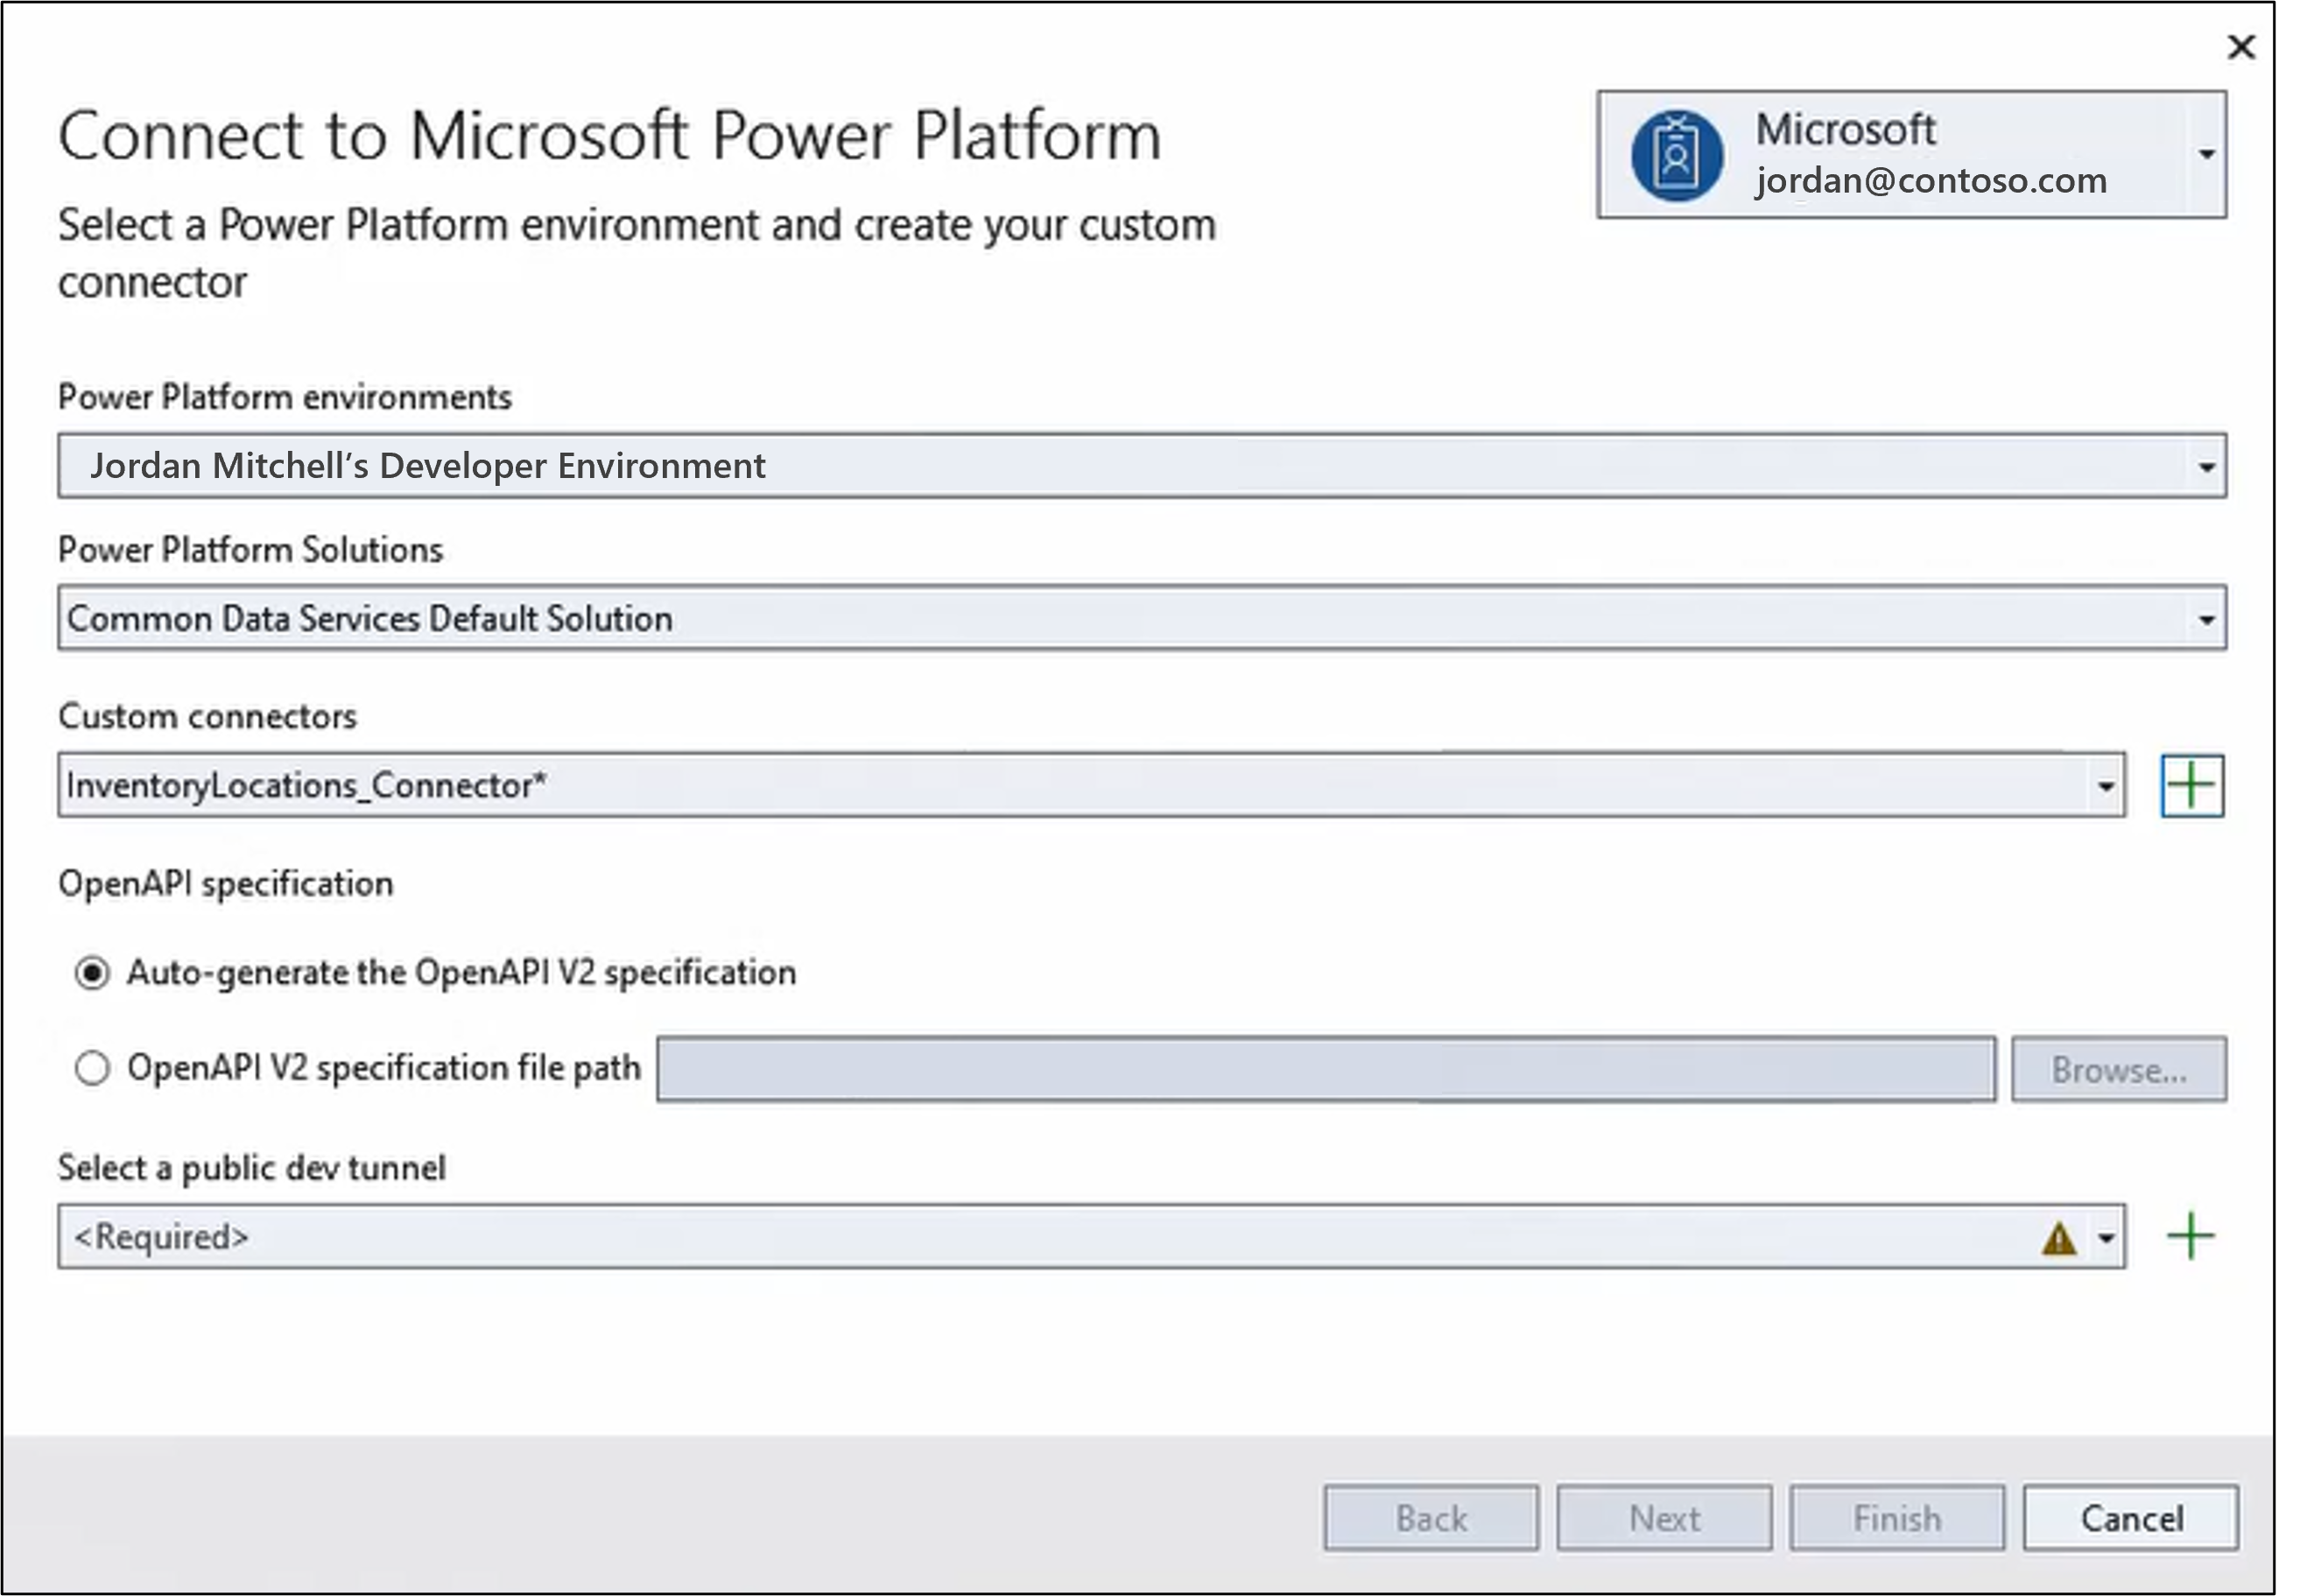
Select or input the following values:
- Power Platform environments:
select your developer environment - Power Platform Solutions:
Common Data Service Default Solution - Custom Connector: select the + icon and enter
InventoryLocations_Connector
- Power Platform environments:
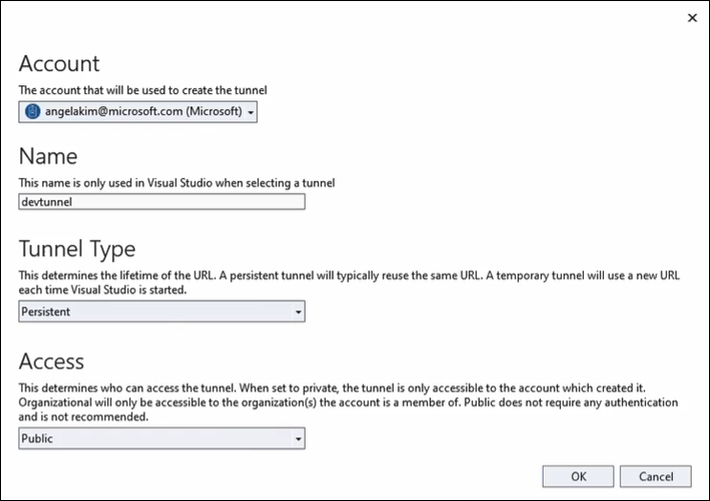
For the field Select a public dev tunnel, select the + icon and the following values:
- Name:
devtunnel - Tunnel Type:
Persistent - Access:
Public
- Name:
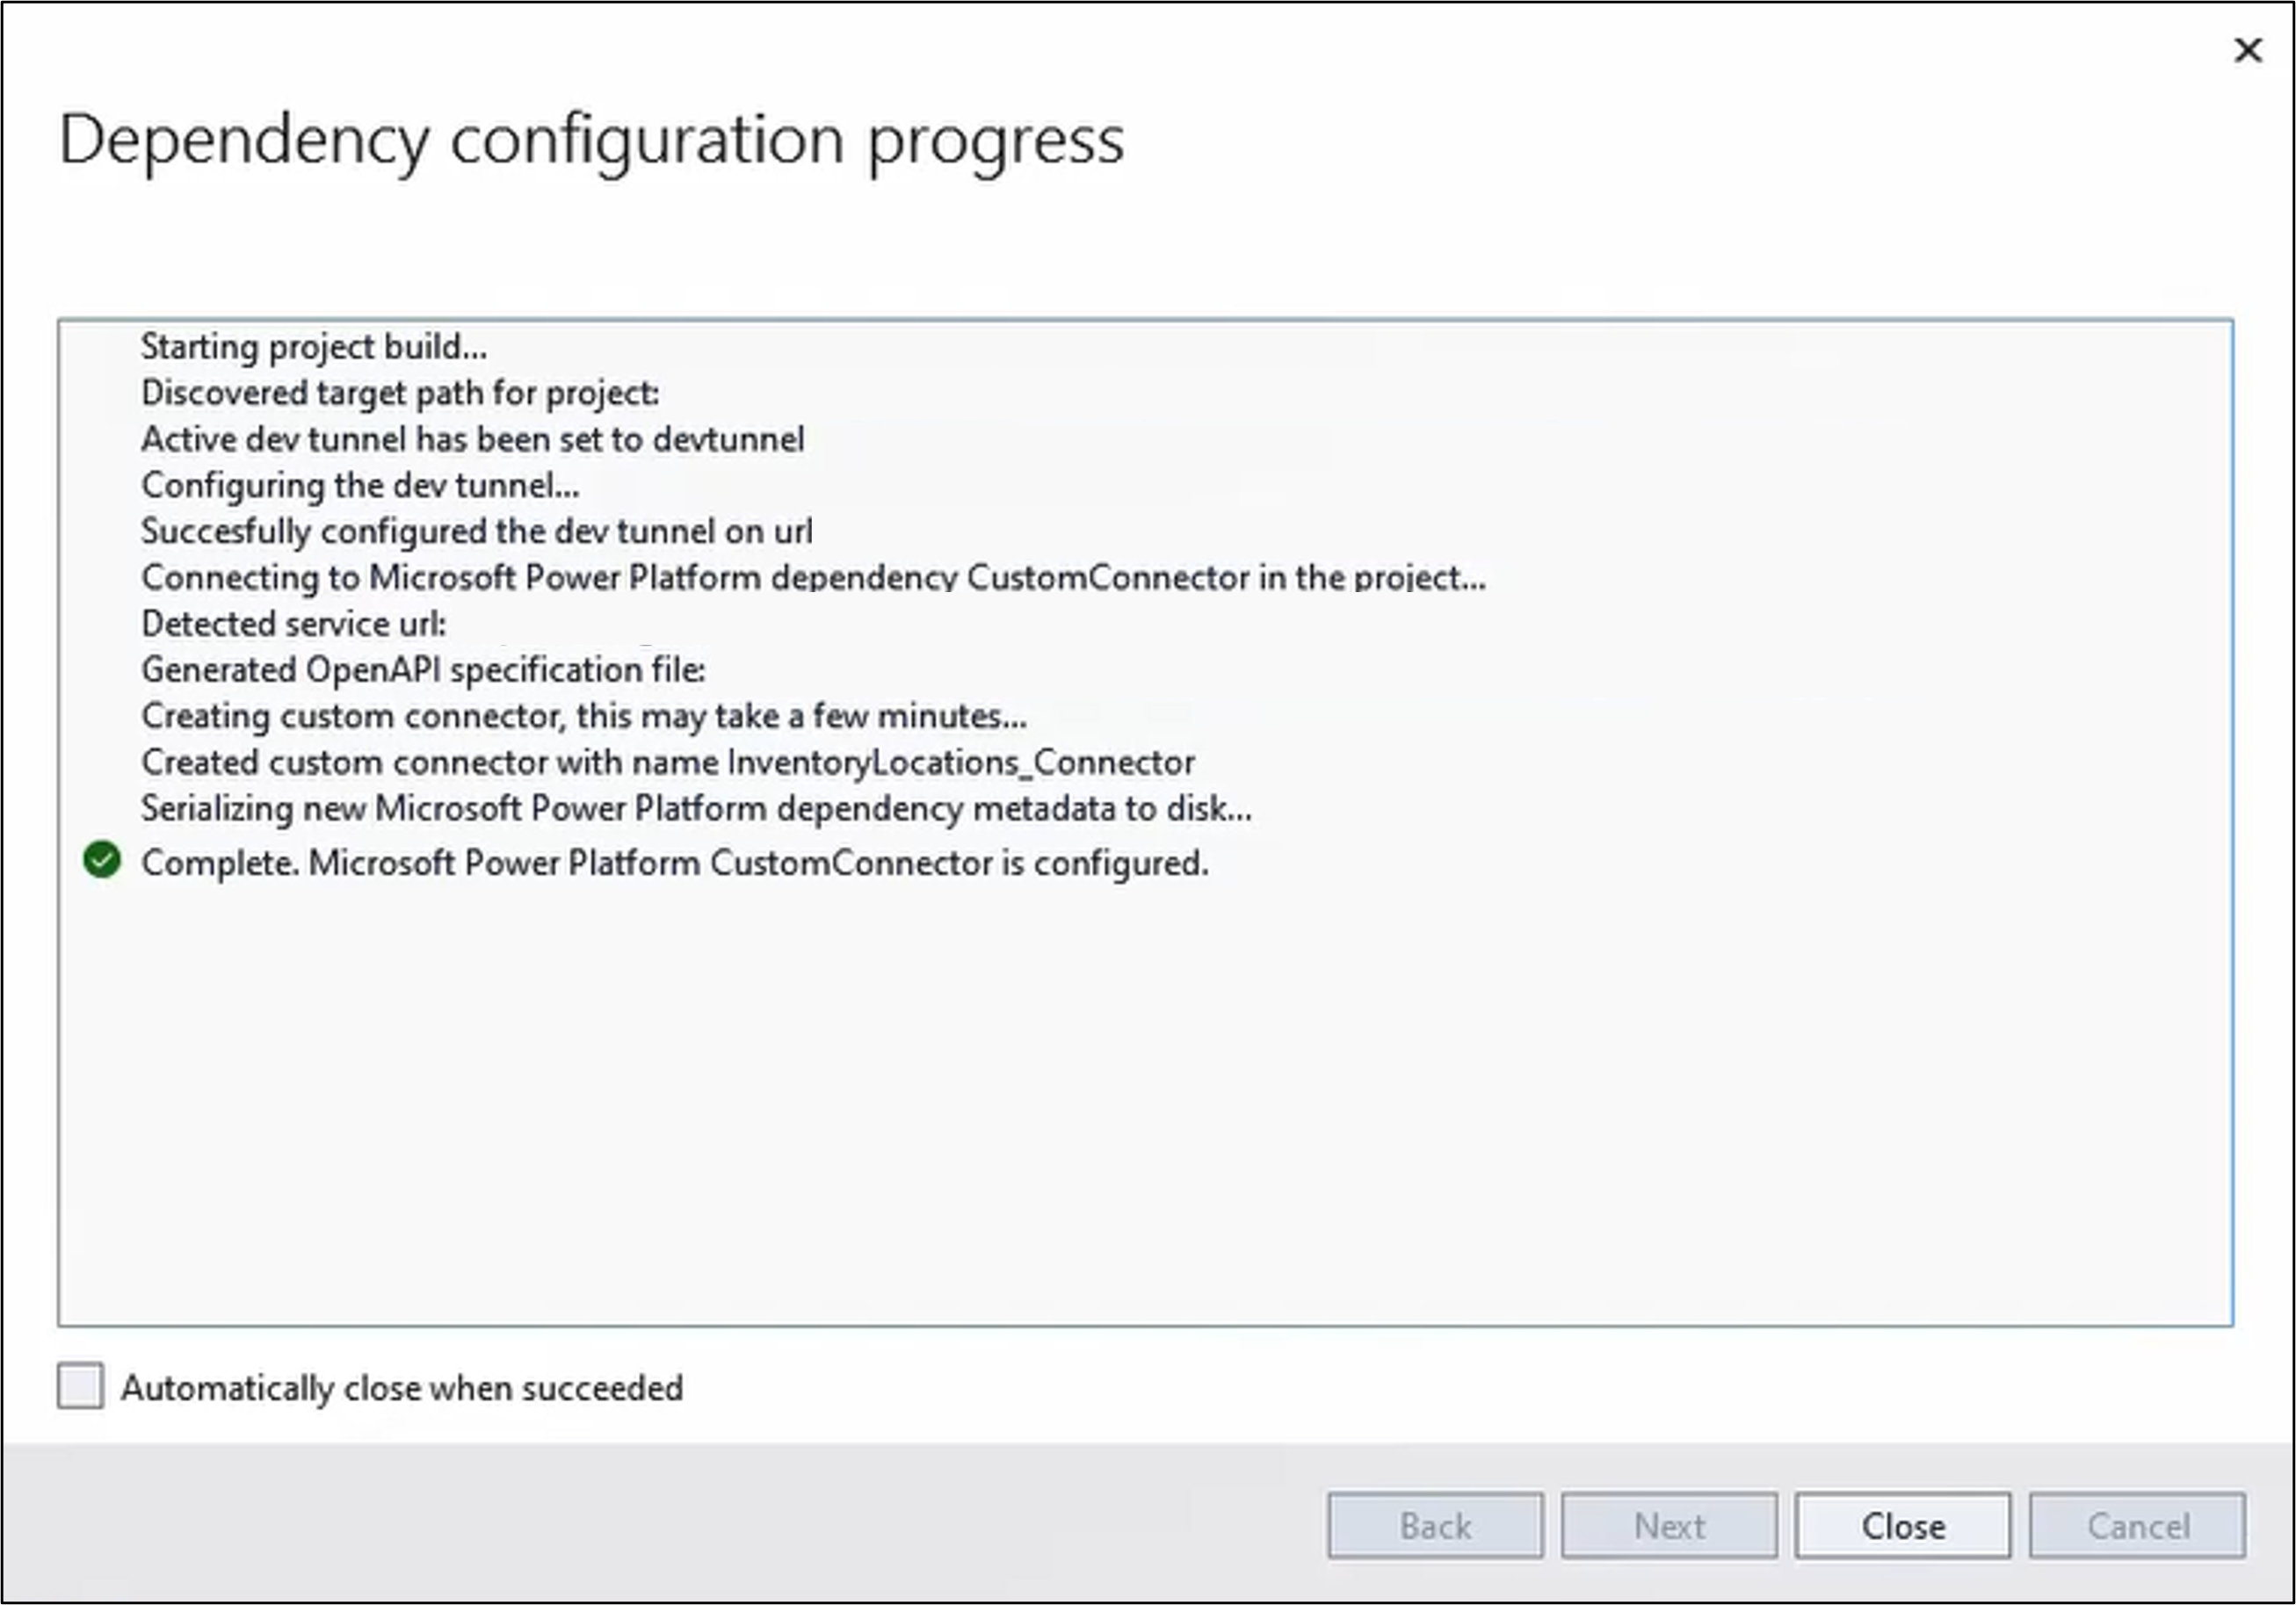
Select OK and Finish. Once the connected service is configured, you may select Close.
You have now created a custom connector for inventory locations, which leverages dev tunnels to connect your API to Power Platform. Here in the inner loop you're running your API in your local environment.
Run your API
When Visual Studio runs a web app and a tunnel is active, the web browser opens to a tunnel URL instead of a localhost URL.
Run your Visual Studio solution and start debugging.
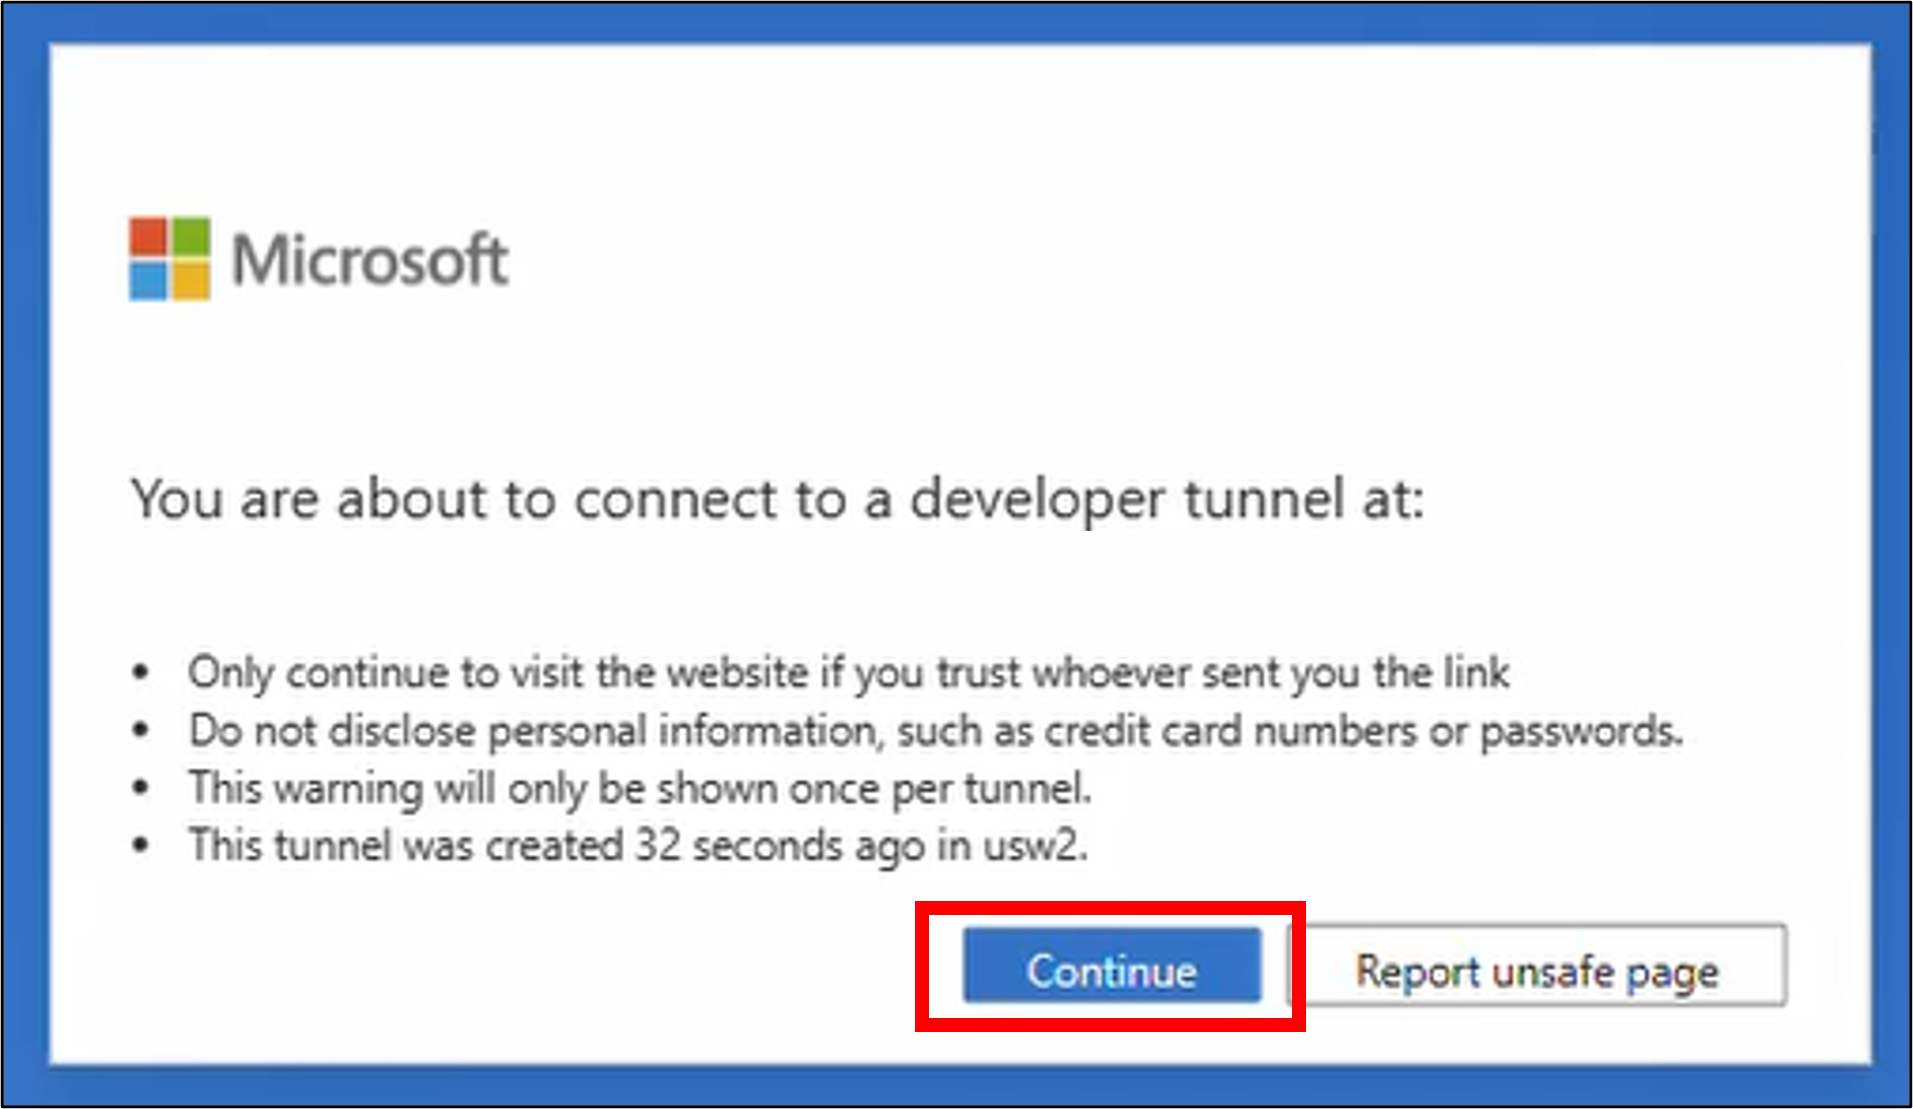
When the browser opens, a warning page opens with the first request sent to the tunnel URL. Select Continue.
Important
Remember to keep the API running (in a browser tab) while building your Power App.
Create an app from the API
Note
To use the sample app provided in this step, you will need to install Power Platform tools for Visual Studio Code.
Open Visual Studio Code and create a new authentication for your user using the Power Platform CLI command. Change the url to your developer environment URL found in the admin center.
pac auth create --url https://yourenvironment.crm.dynamics.comGet the custom connector you created. Copy the connector ID.
pac connector listGenerate a canvas app (*.msapp file), based on the operations of your API.
pac canvas create --connector-id your connector id --msapp your file name.msapp
Preview the app
Open Power Apps.
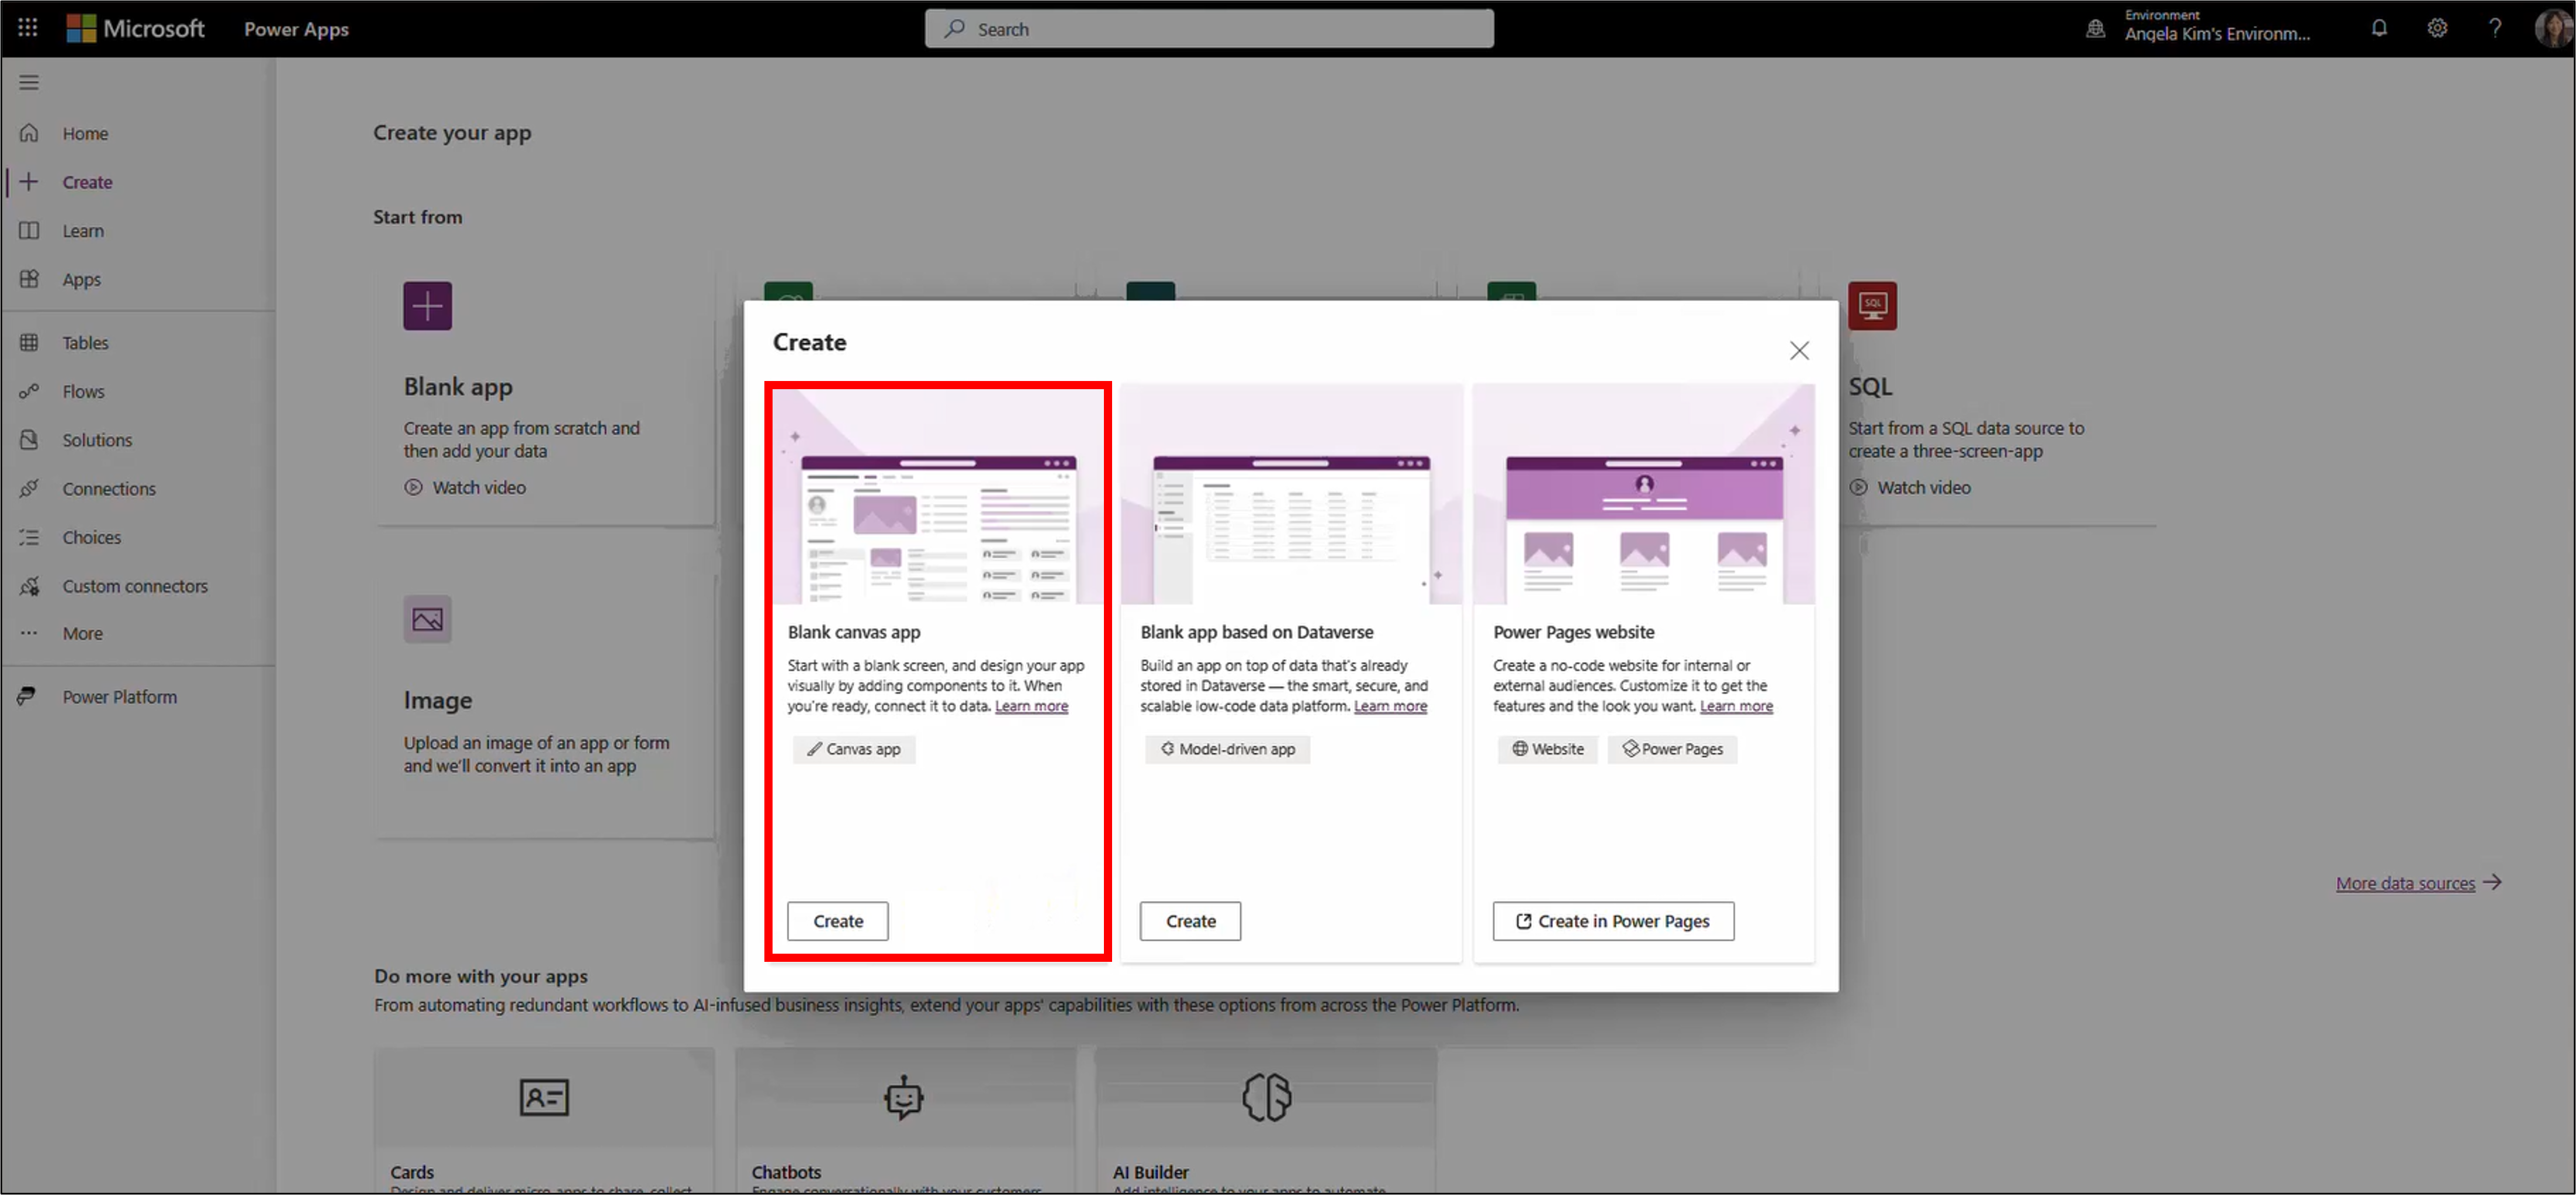
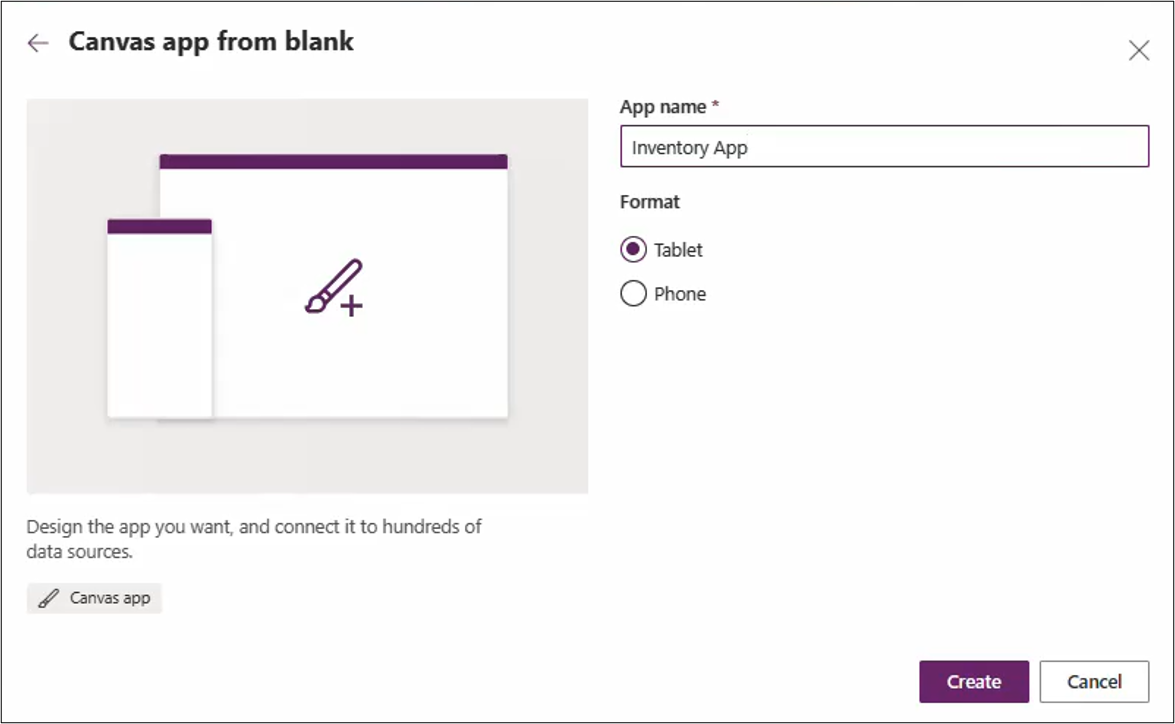
Select Blank app. From Canvas app from blank select Create.
Enter the app name
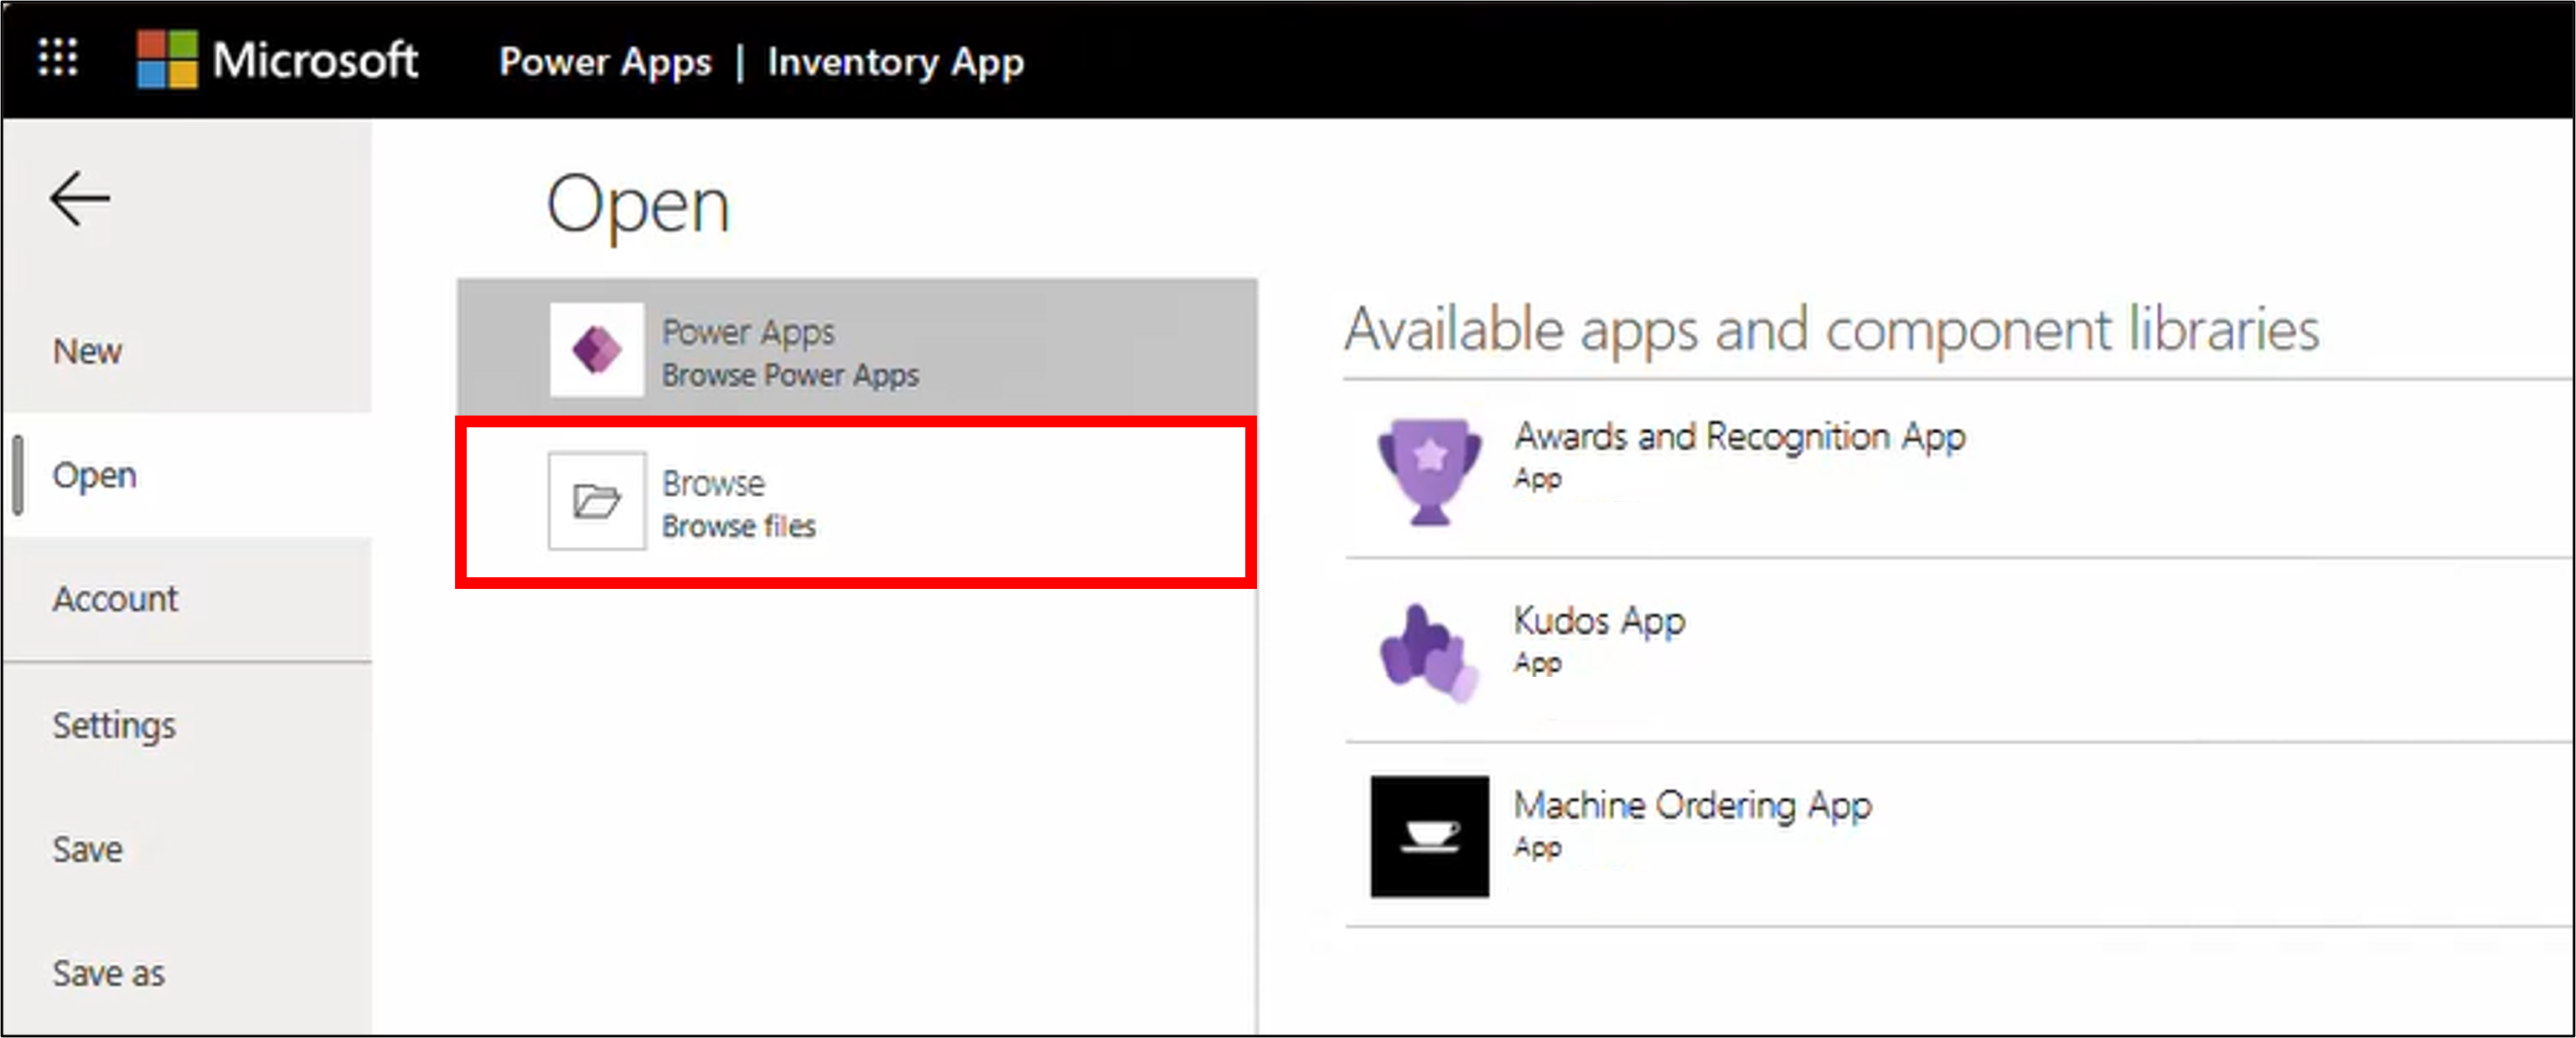
Inventory appand select Tablet format. Select Create.From the command bar, select ... and Open.
Browse to open the *.msapp file you created in Step 3. This will load your sample app in the studio.
From the left bar, select the data icon and Add data. Search for
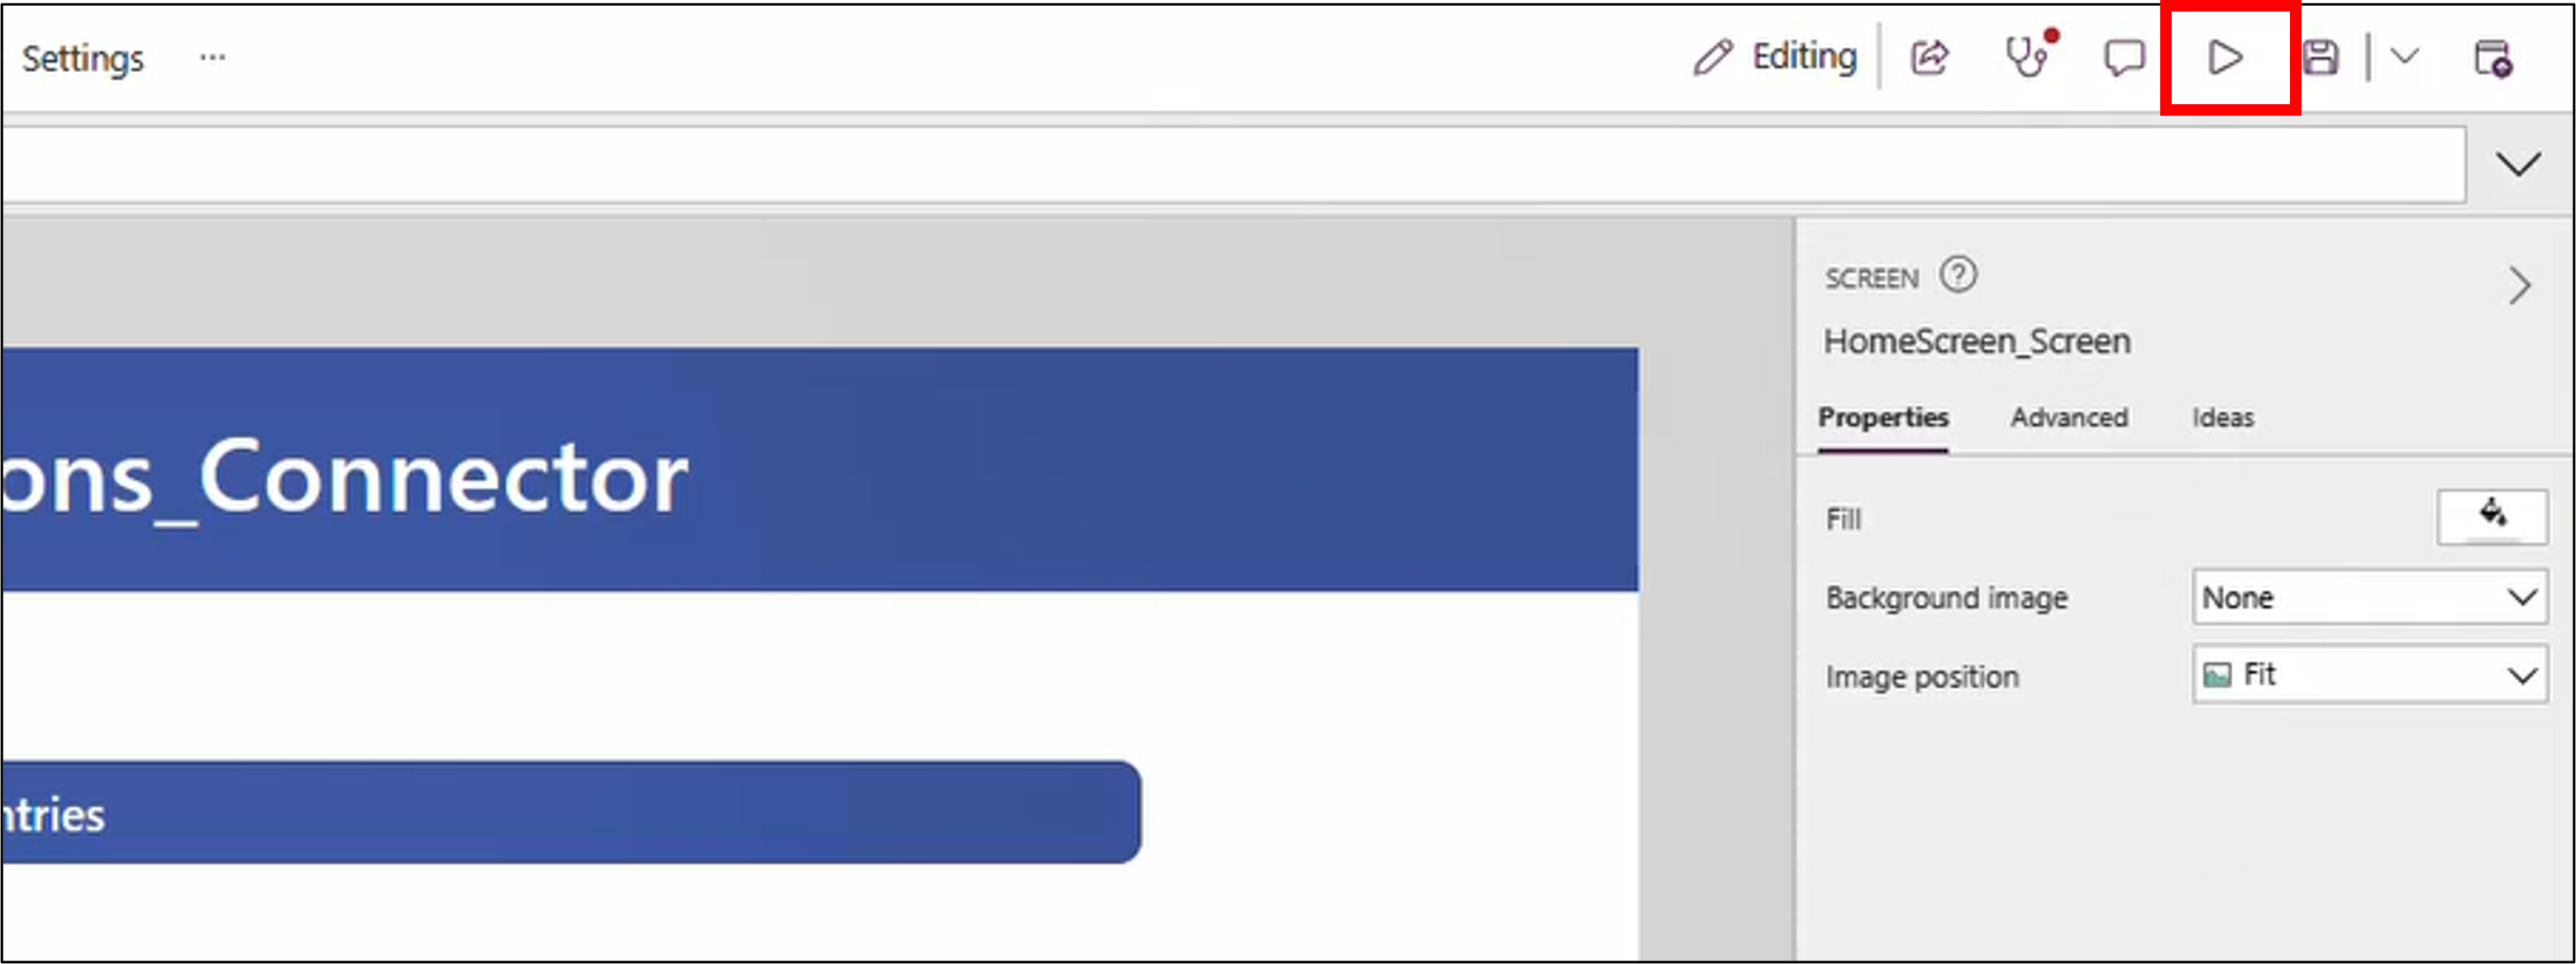
InventoryLocations_Connectorto select Connect. This is the custom connector that was created from the web API.To preview this app, select the play icon.
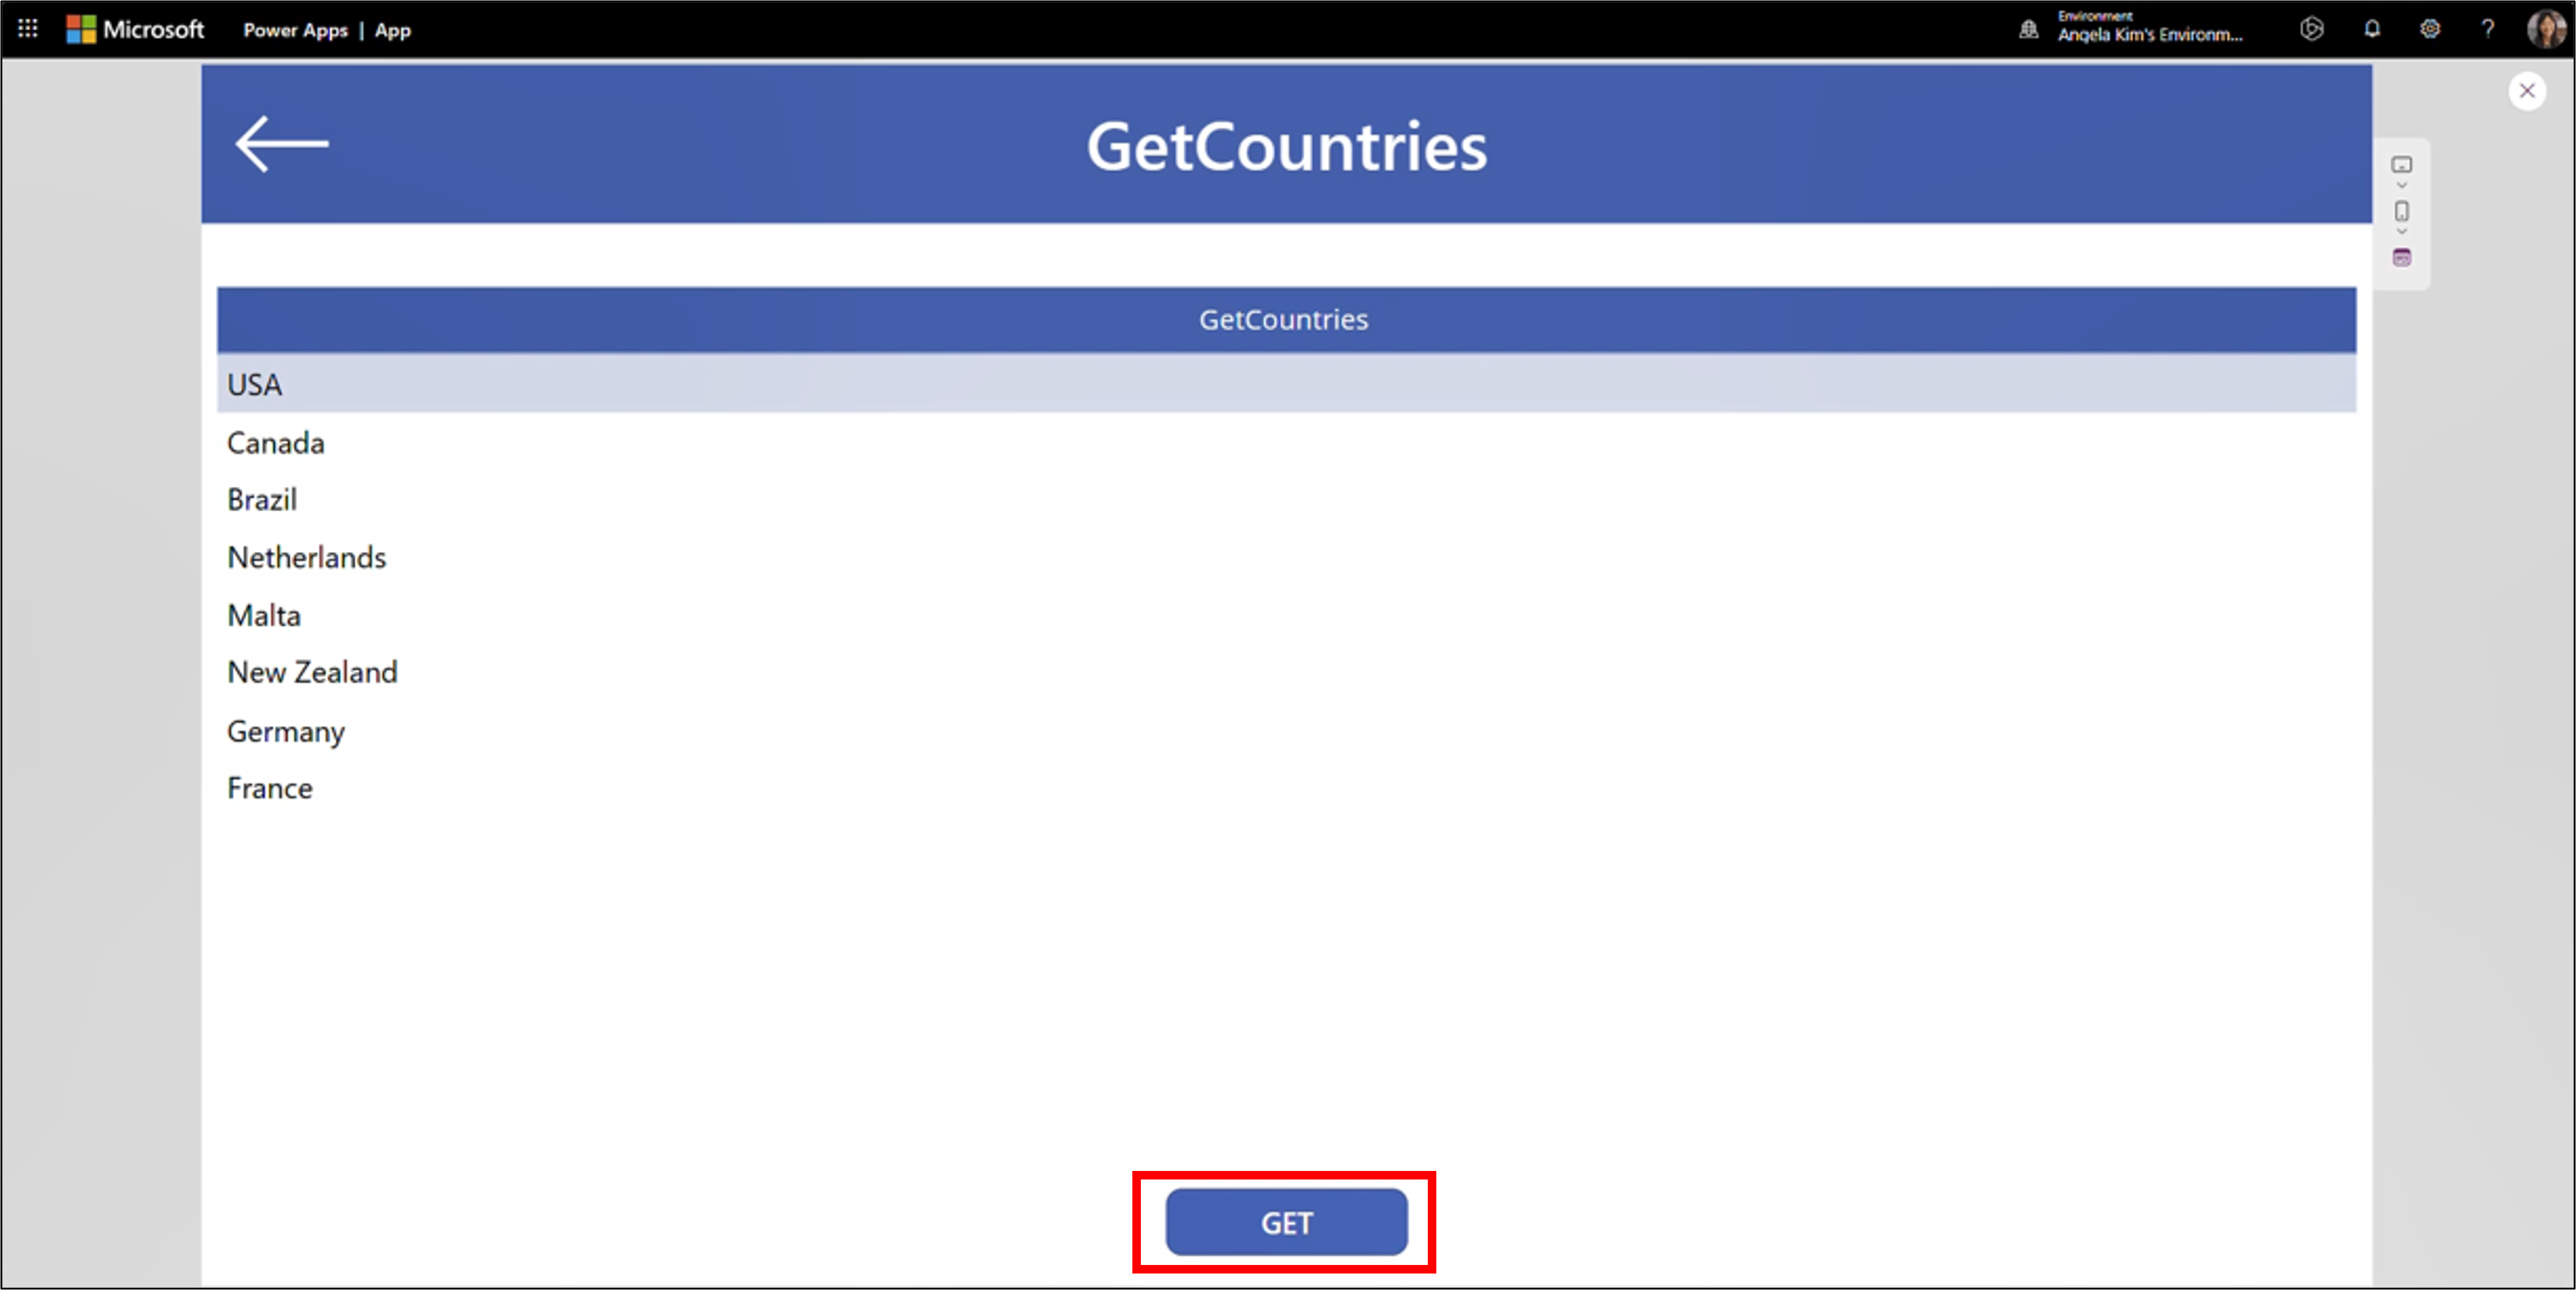
Select the GET app button to view a list of inventory locations.
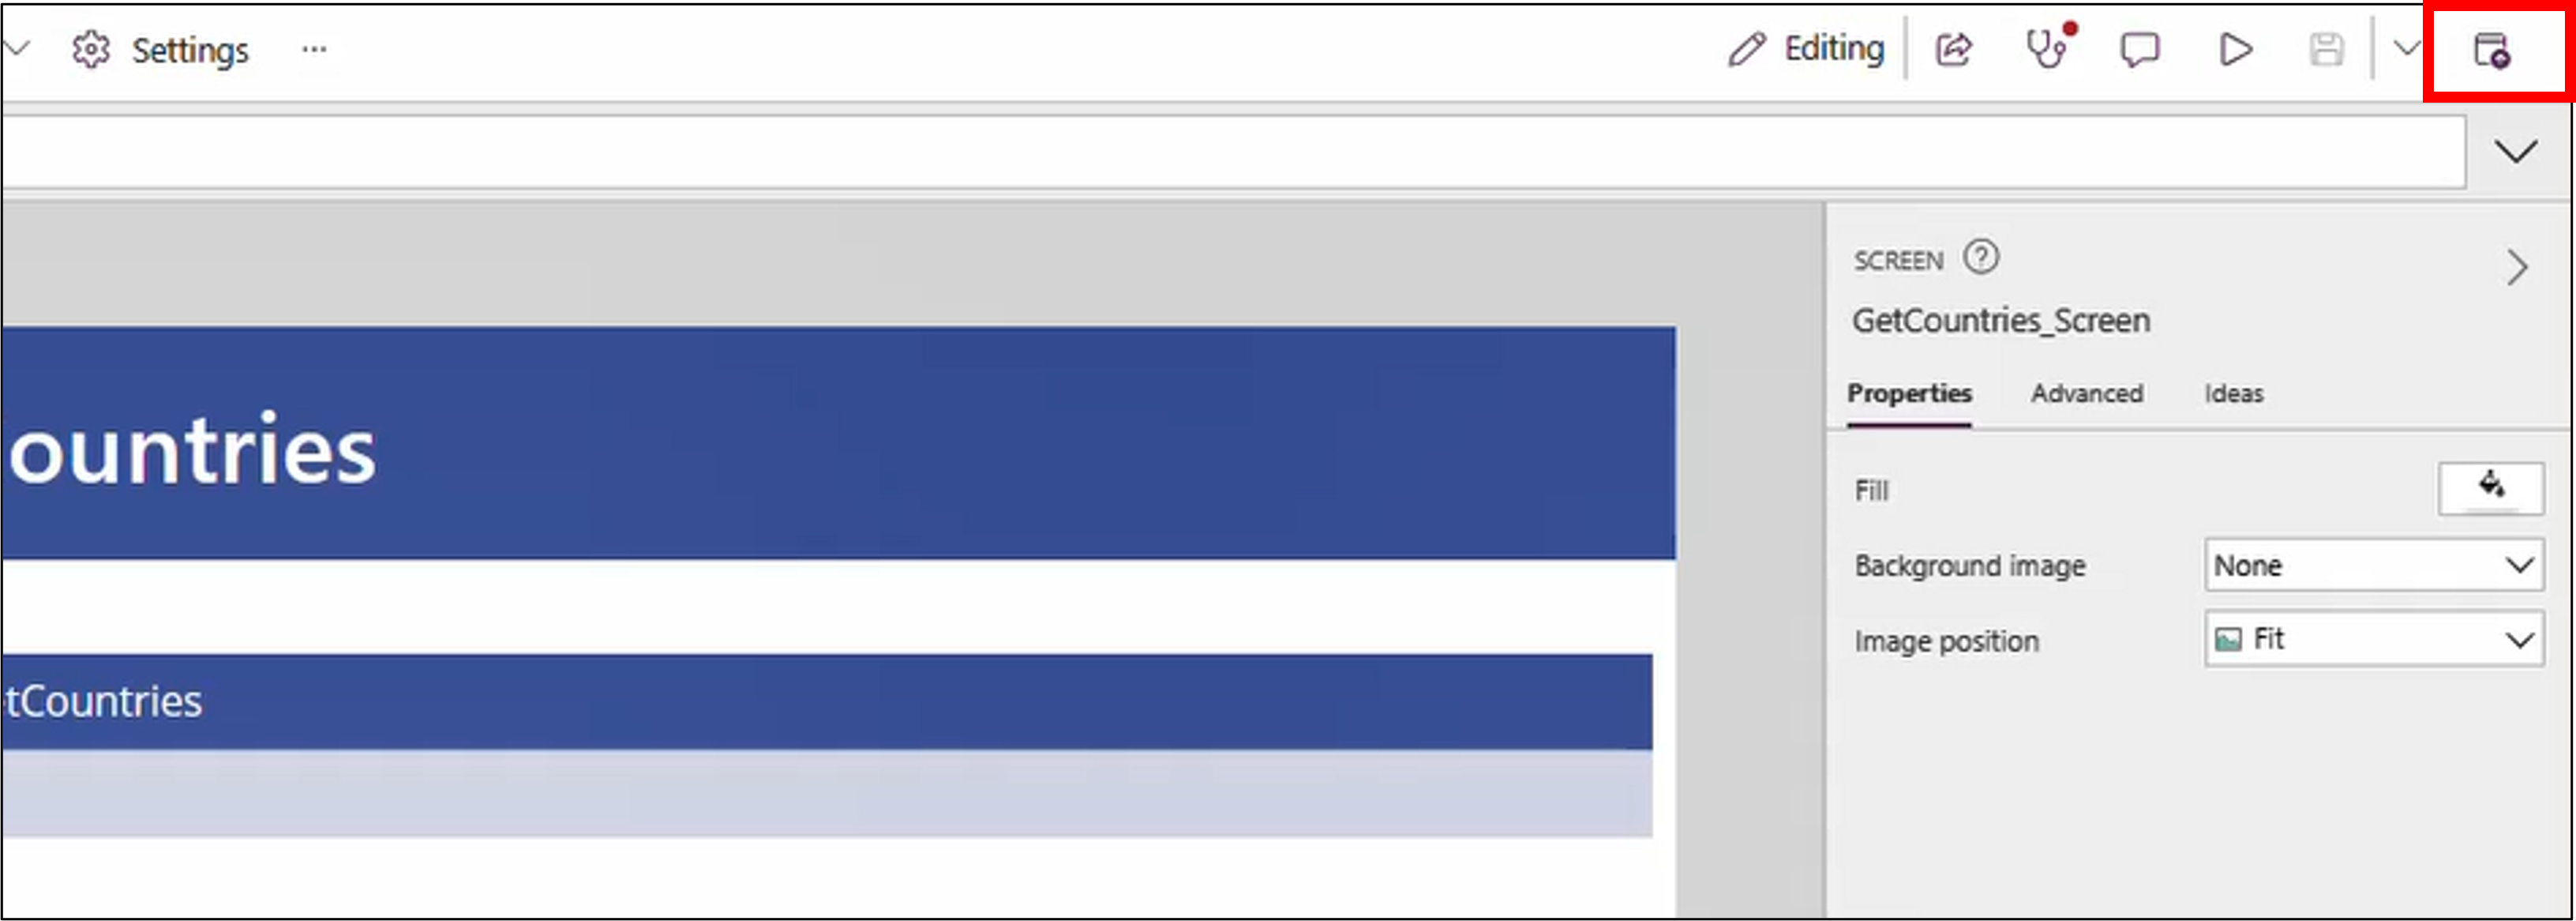
Select the close icon on the top-right of the app to return to the Studio. Select the publish icon to save your work.
Tip
- Not returning any countries/regions from the sample API? Make sure the API is running as you build your app.
- Since you are using dev tunnels here, you can iterate on your API in real-time, including debugging and hot reload.
You have completed creating an app and custom connector from a web API.
