Exercise - Use the custom connector in Power Apps canvas app
You've created the connector, tested it, and now you'll learn how to use it in a canvas app.
Note
Power Apps requires either an Microsoft 365 license or a free trial. Learn more about your licensing options. Microsoft products include Microsoft Power Apps and Power Automate.
Create a canvas app
First of all, create a blank canvas app. In Power Apps studio go to the
Createmenu at the left-hand side and click theCanvas app from blankpanel.
When a modal pops up, give the name, Inventory, to the
App namefield and leave the format as default. Then click theCreatebutton.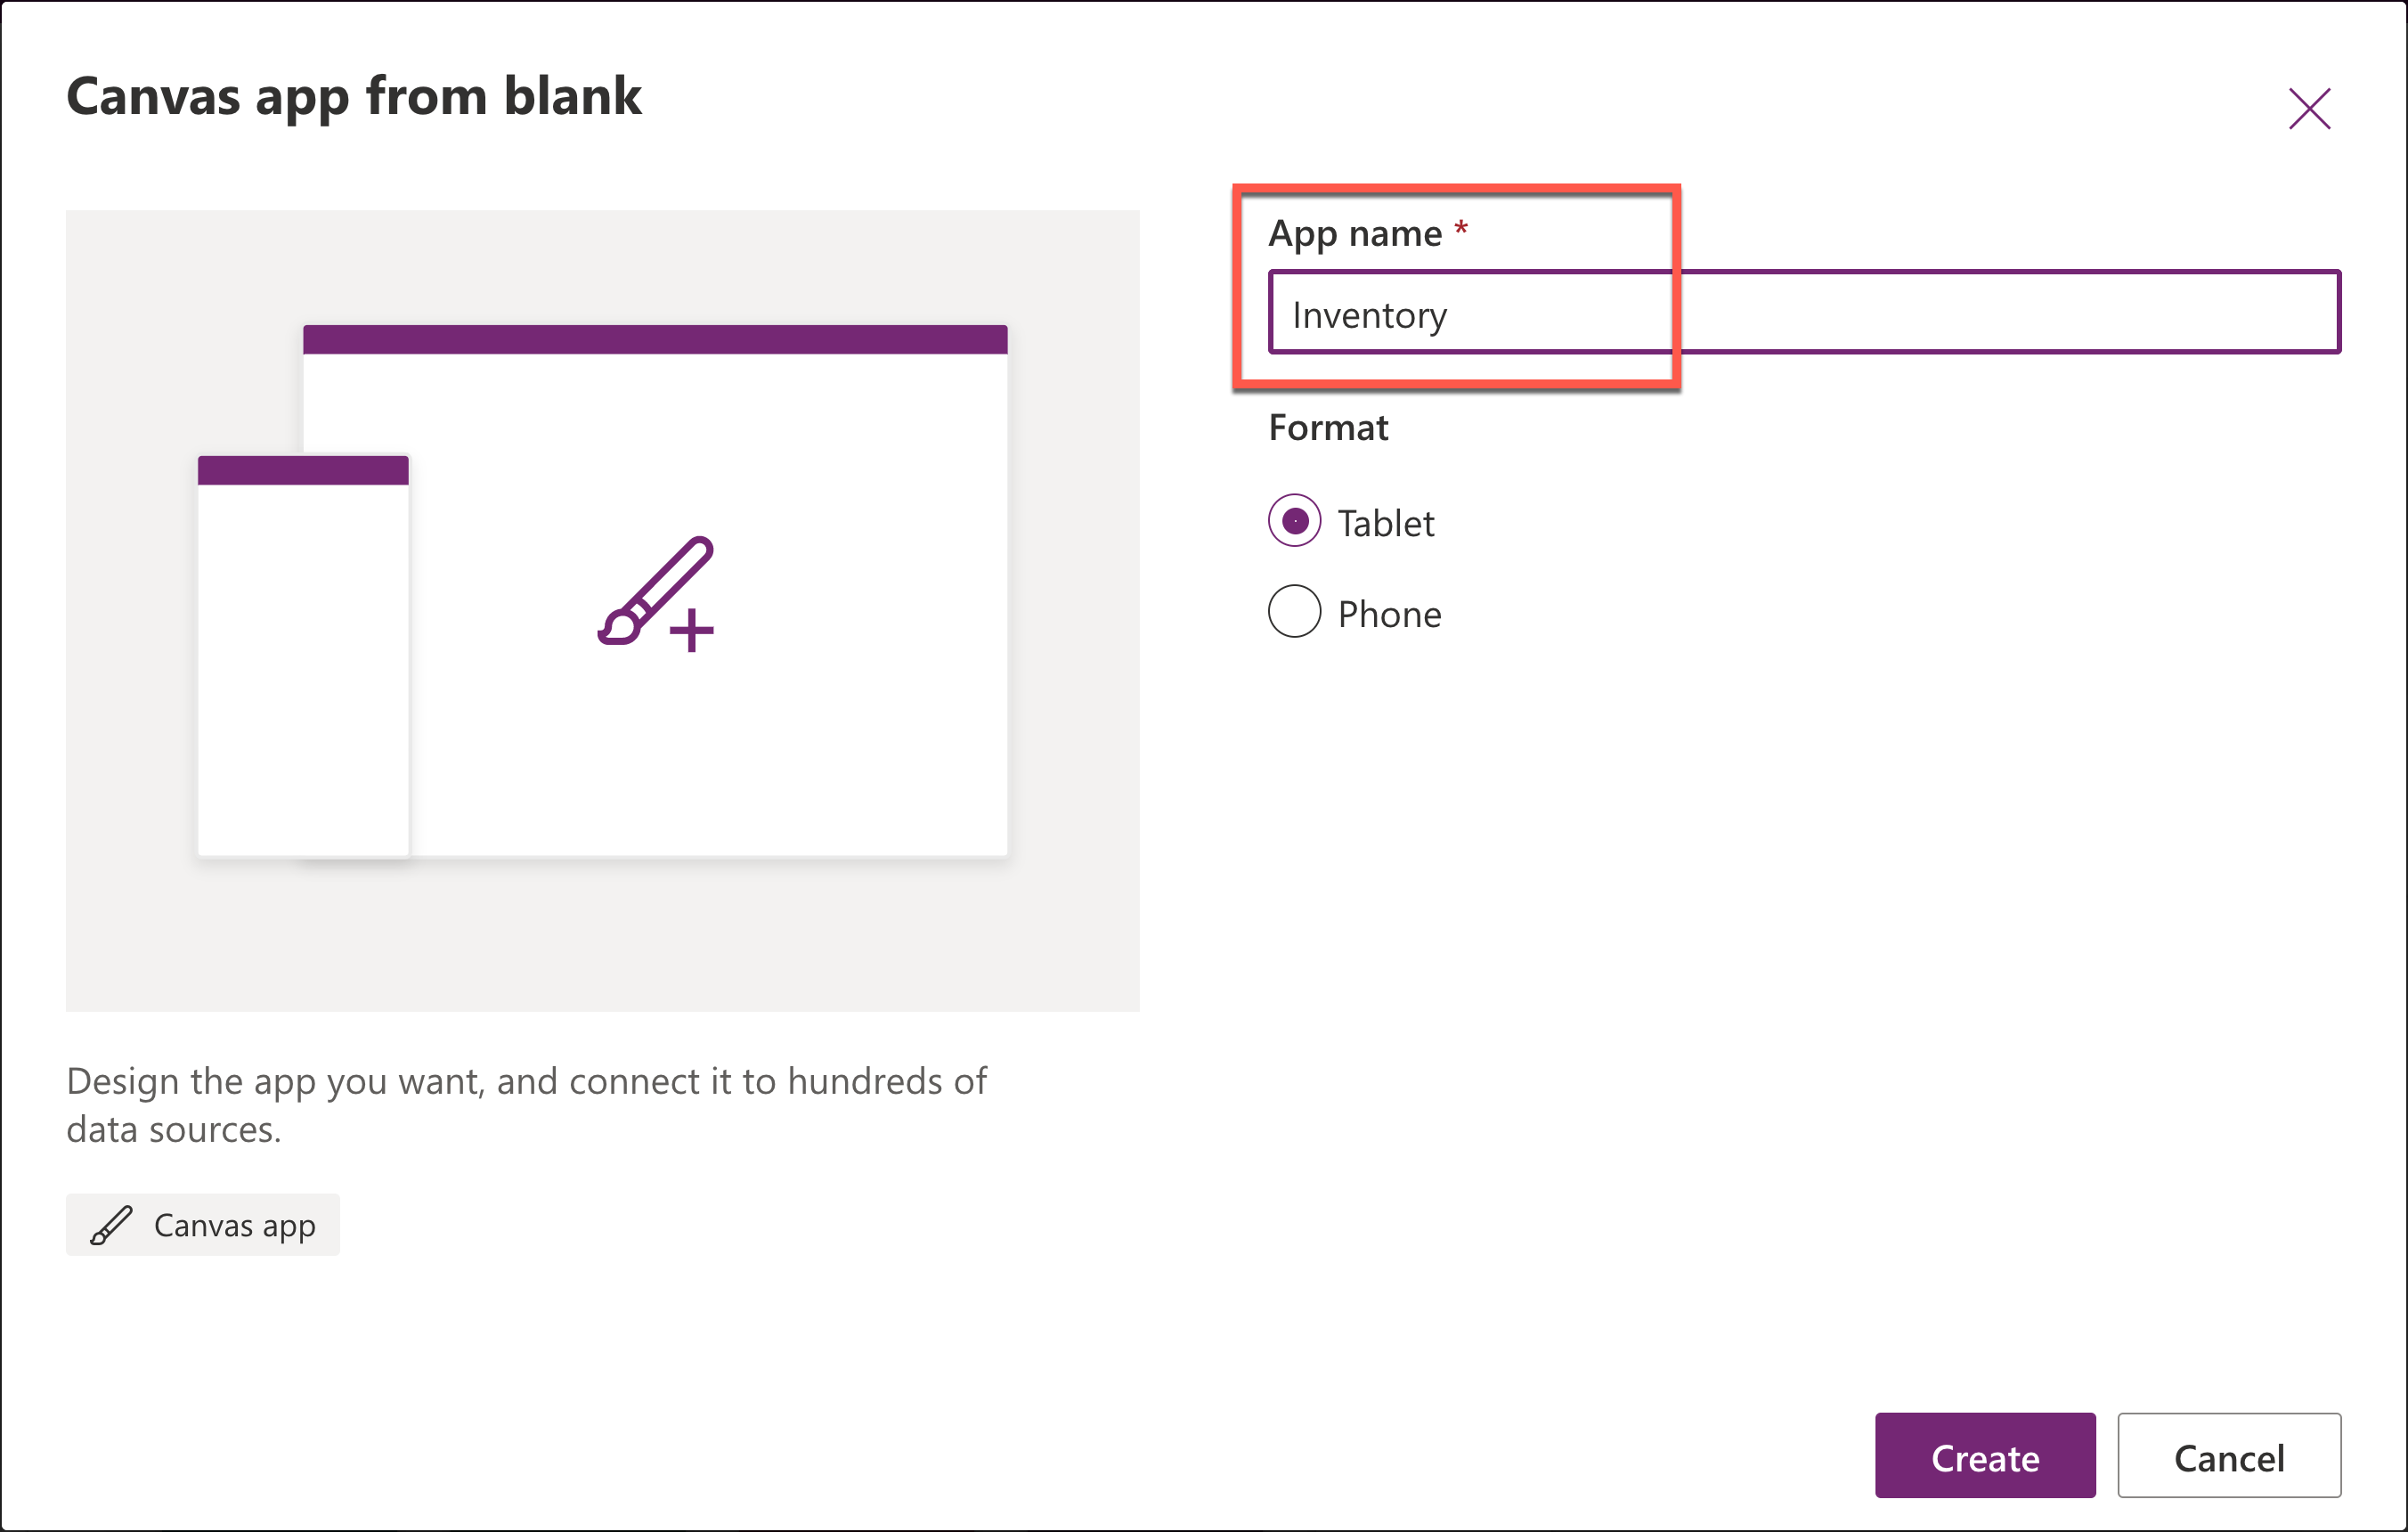
Navigate the
Datamenu to add the custom connector. You will see nothing in the Data pane.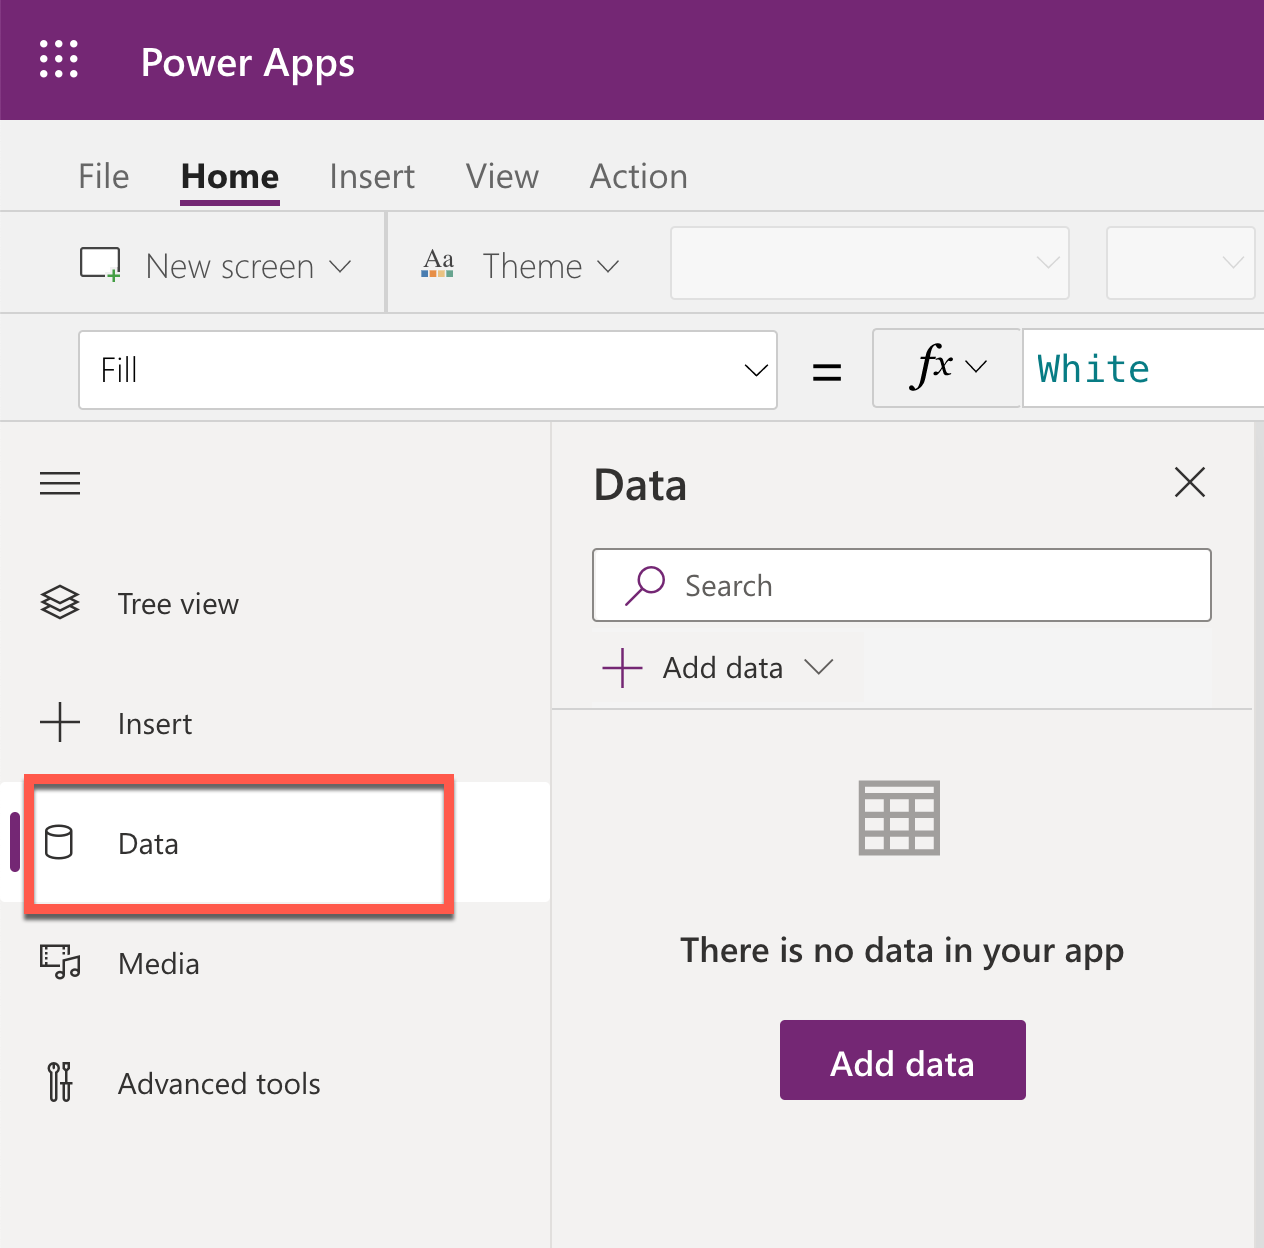
Click the
Add databutton and enter inventory in the search box, and you will see theInventoryManagercustom connector. (Assuming you named your custom connectorInventoryManager.)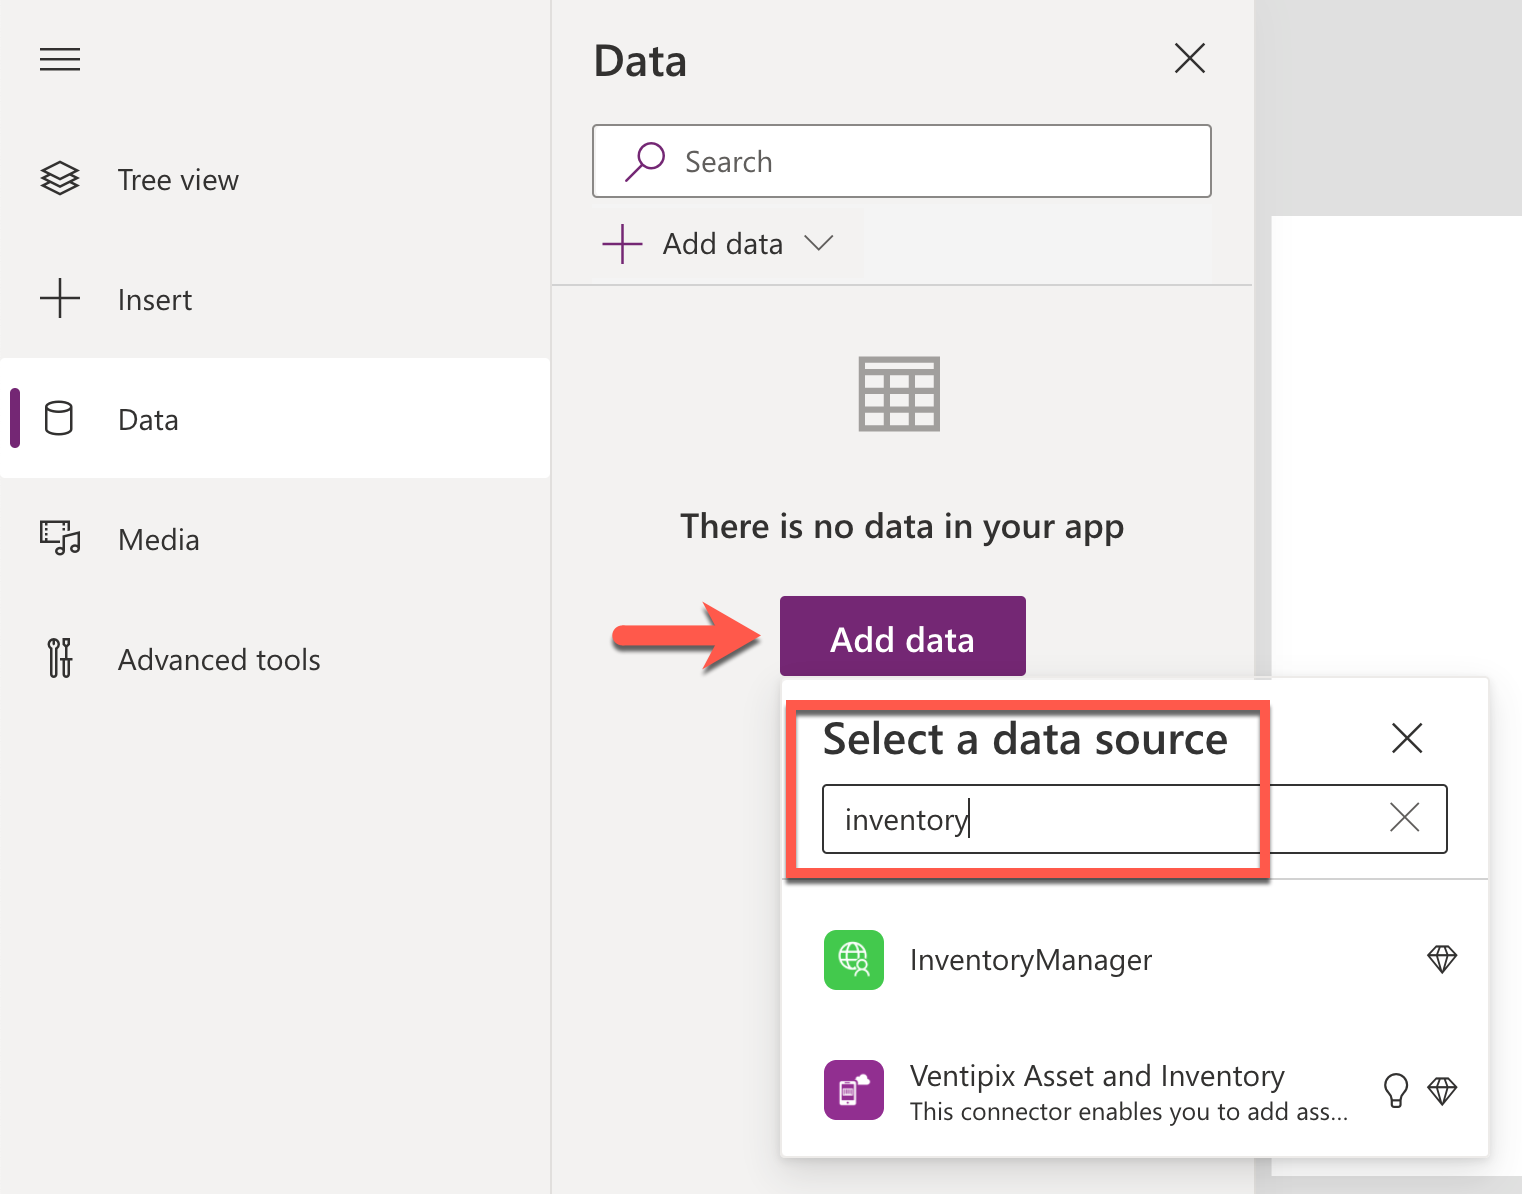
Click the
InventoryManagerconnector, and you will see theInventoryManagementconnection.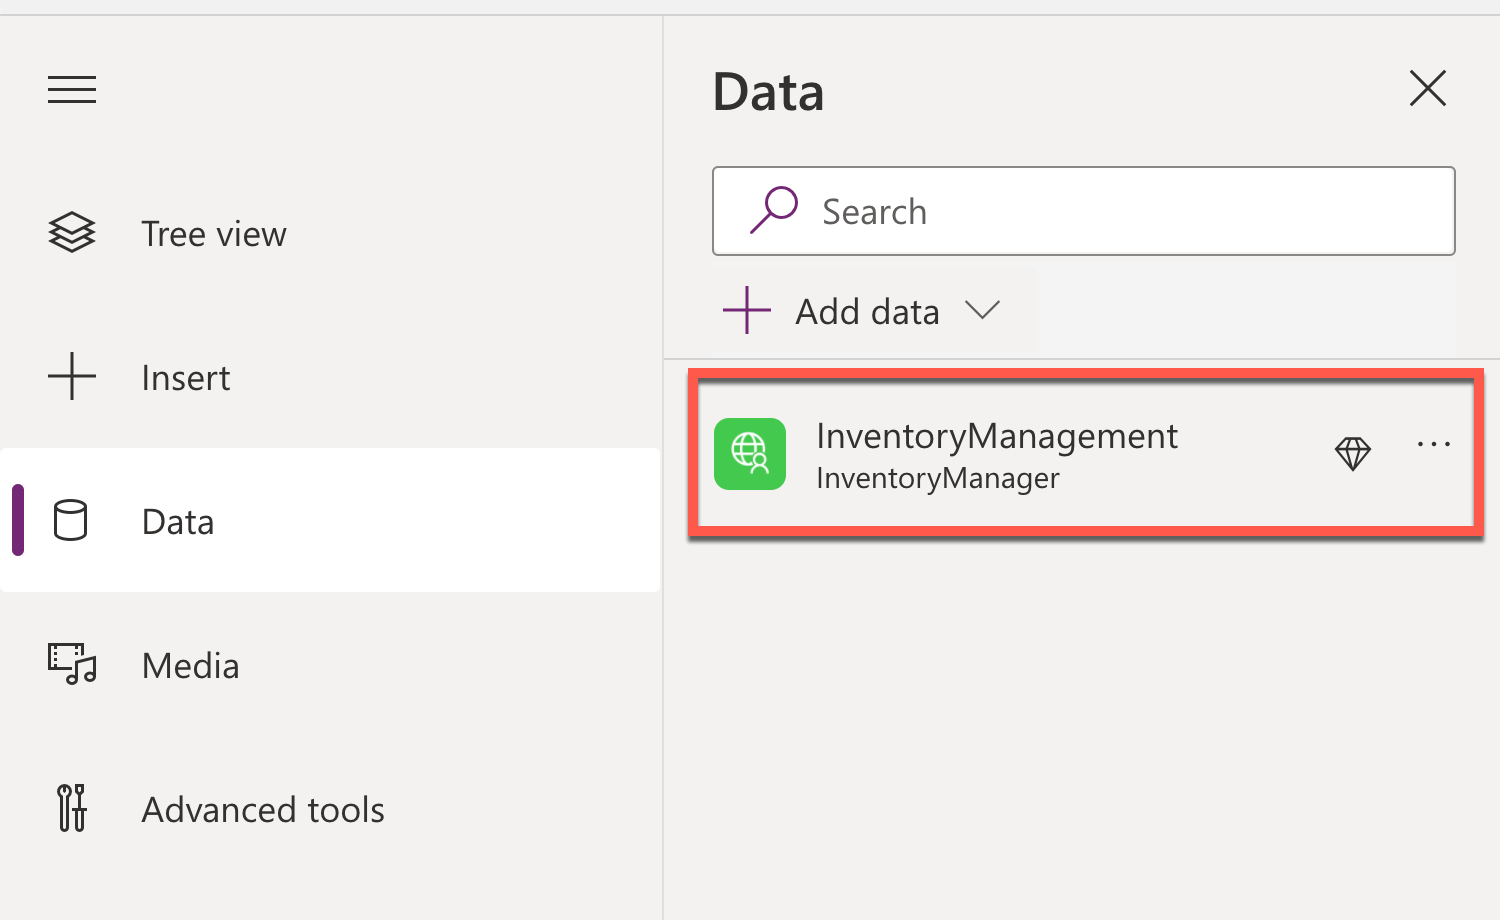
Your custom connector is successfully added to your Power Apps. Navigate to the
Insertmenu at the top and clickButtonto add a button control onto the canvas.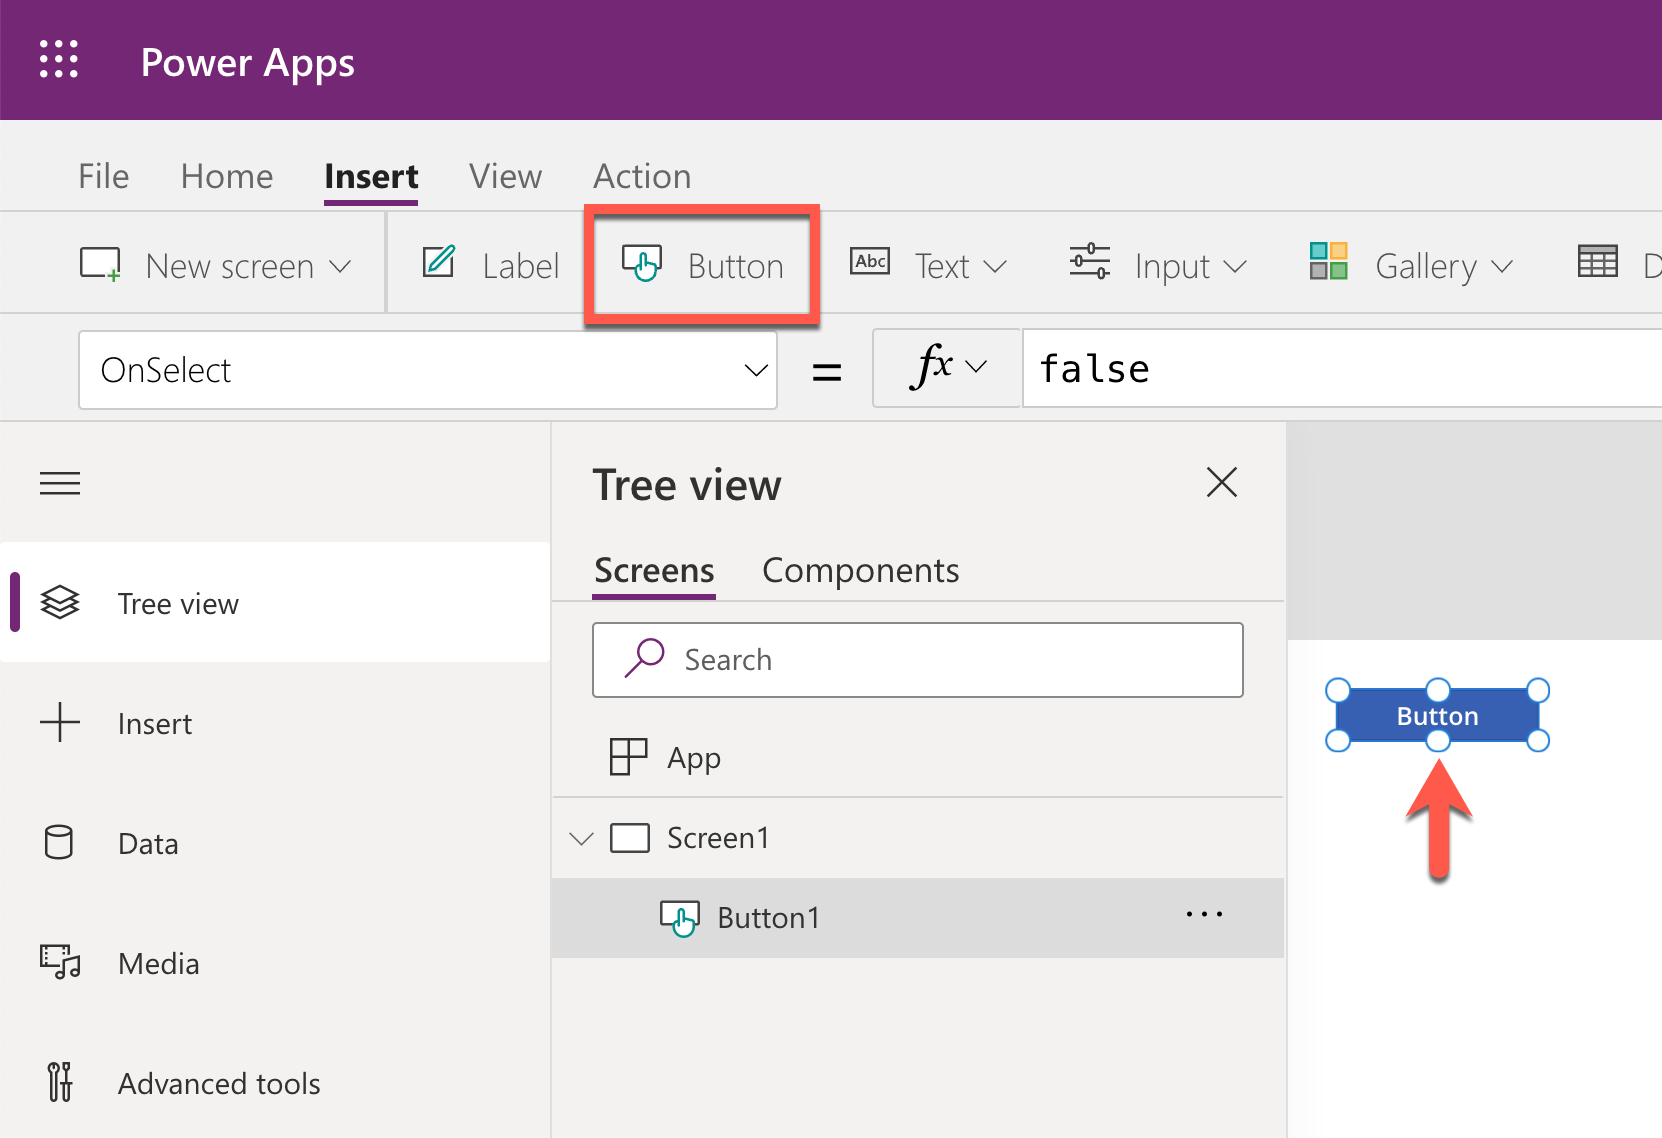
While
Button1is selected, choose the property value to OnSelect and enter the function formula below.InventoryManagementrepresents the custom connector andgetapiwarehouselocations()represents an API endpoint. Thewarehousescollection stores the result that thegetapiwarehouselocations()function returns.ClearCollect(warehouses, InventoryManagement.getapiwarehouselocations())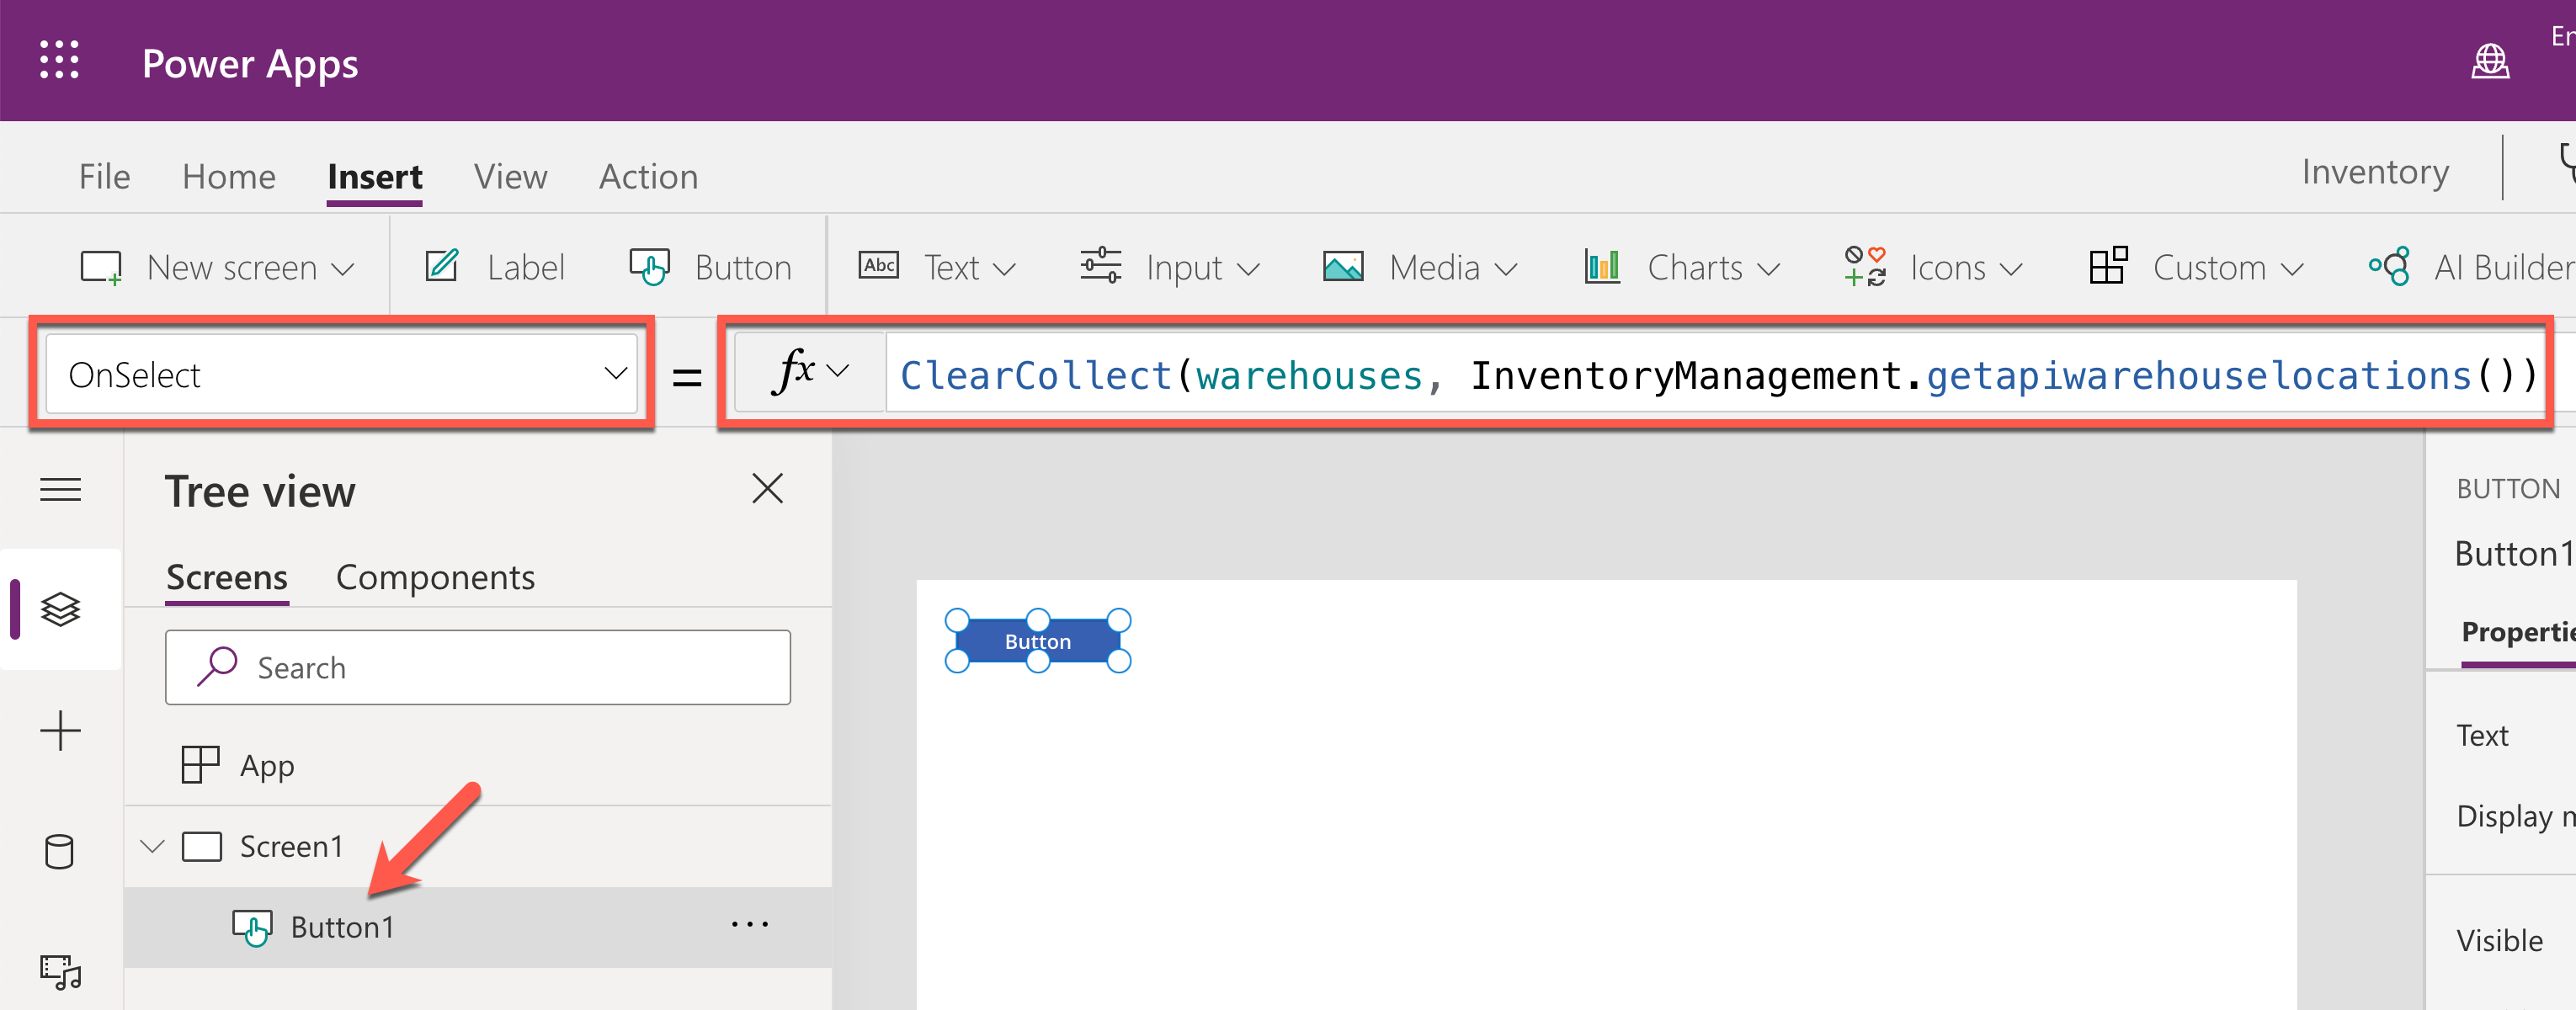
Click
Galleryand select theVerticalcontrol.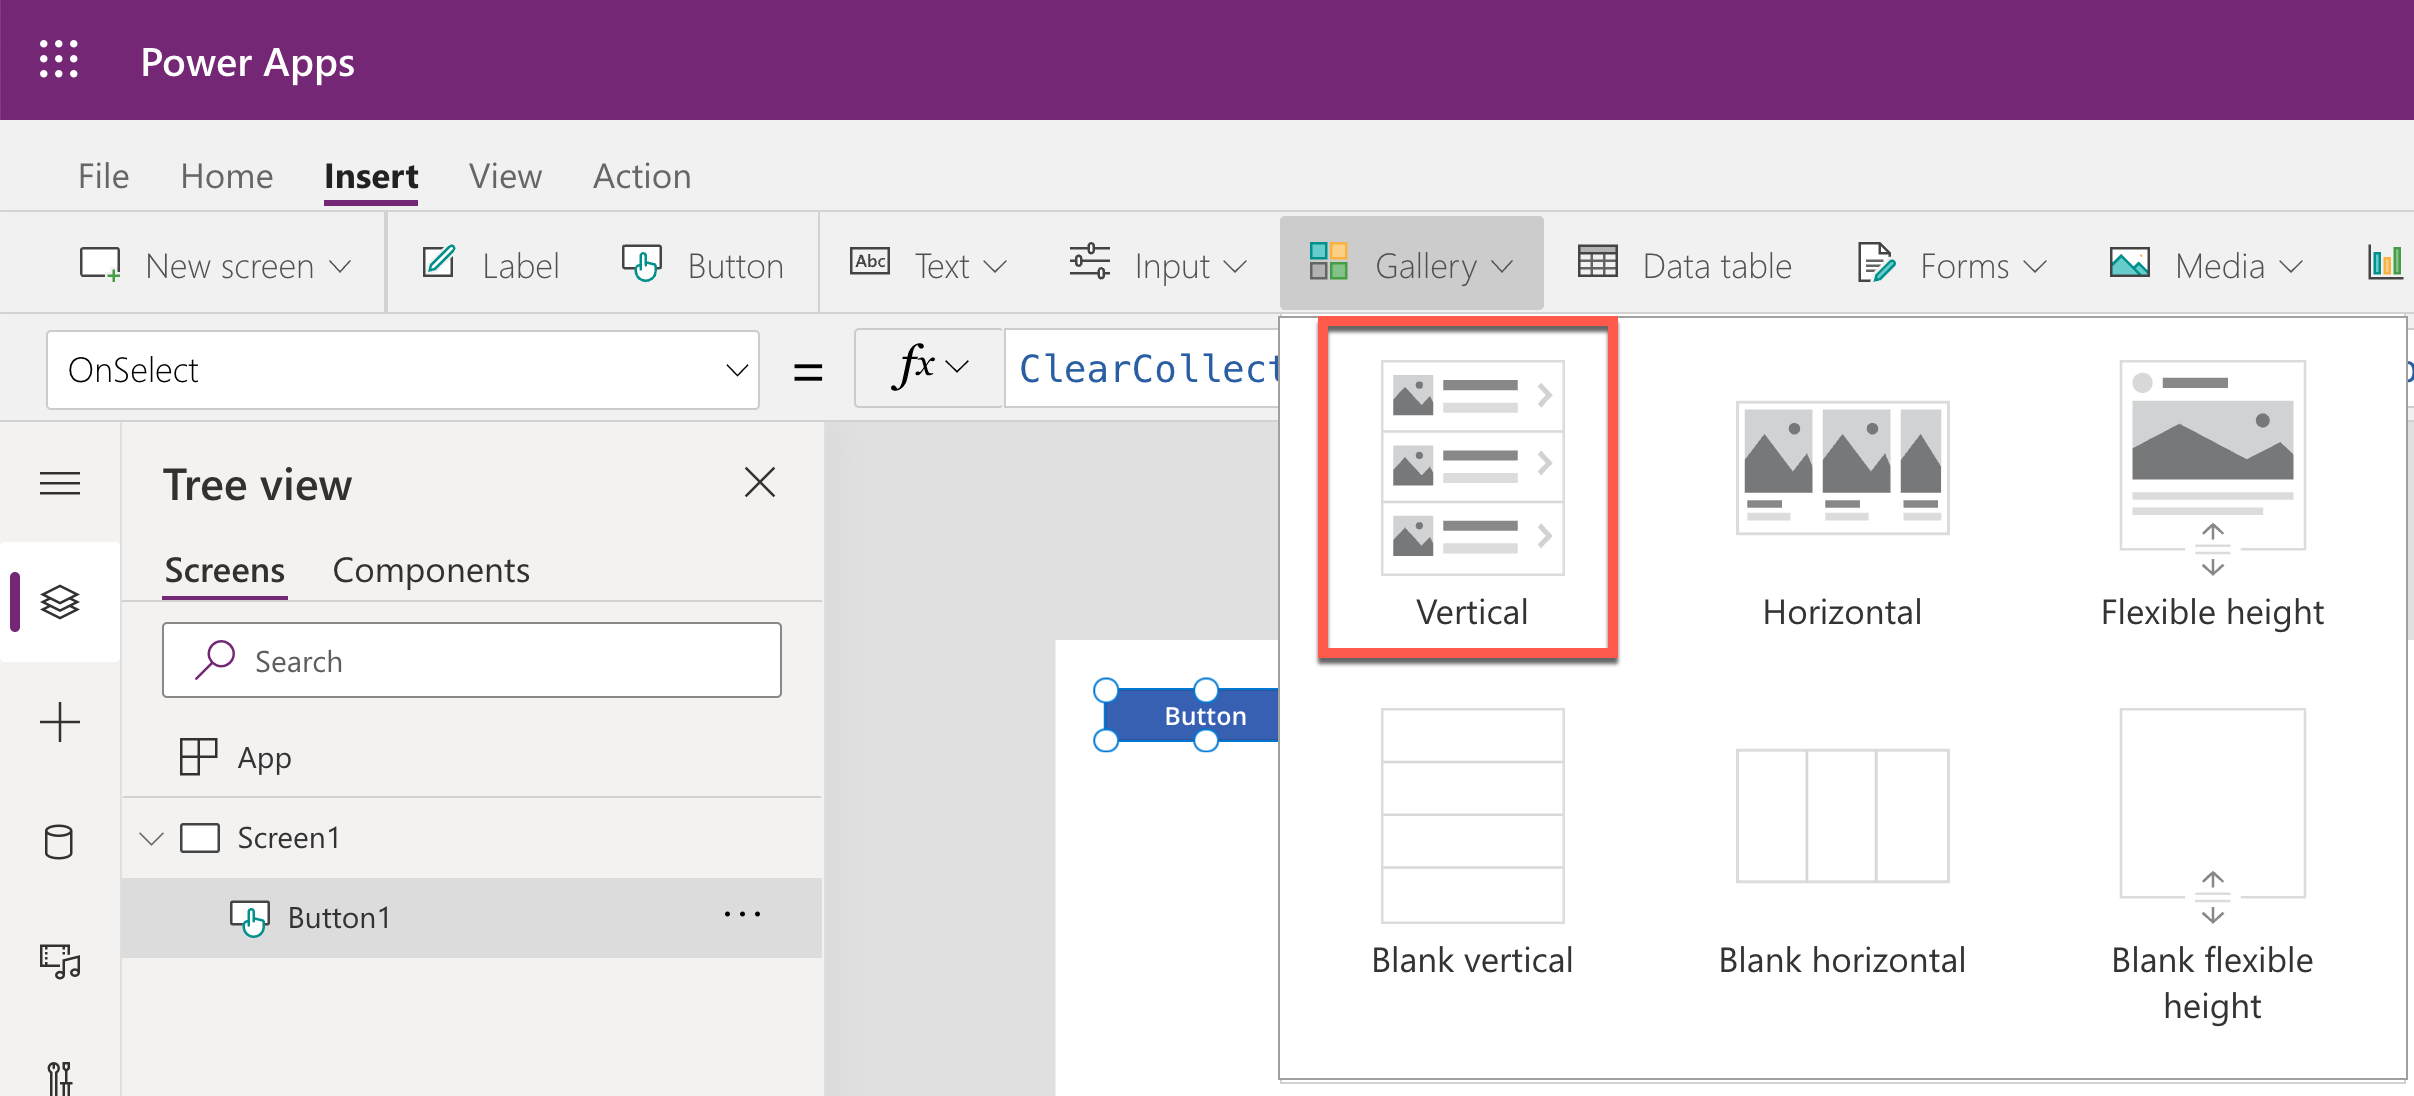
Once the
Verticalcontrol is added, it asks the data source.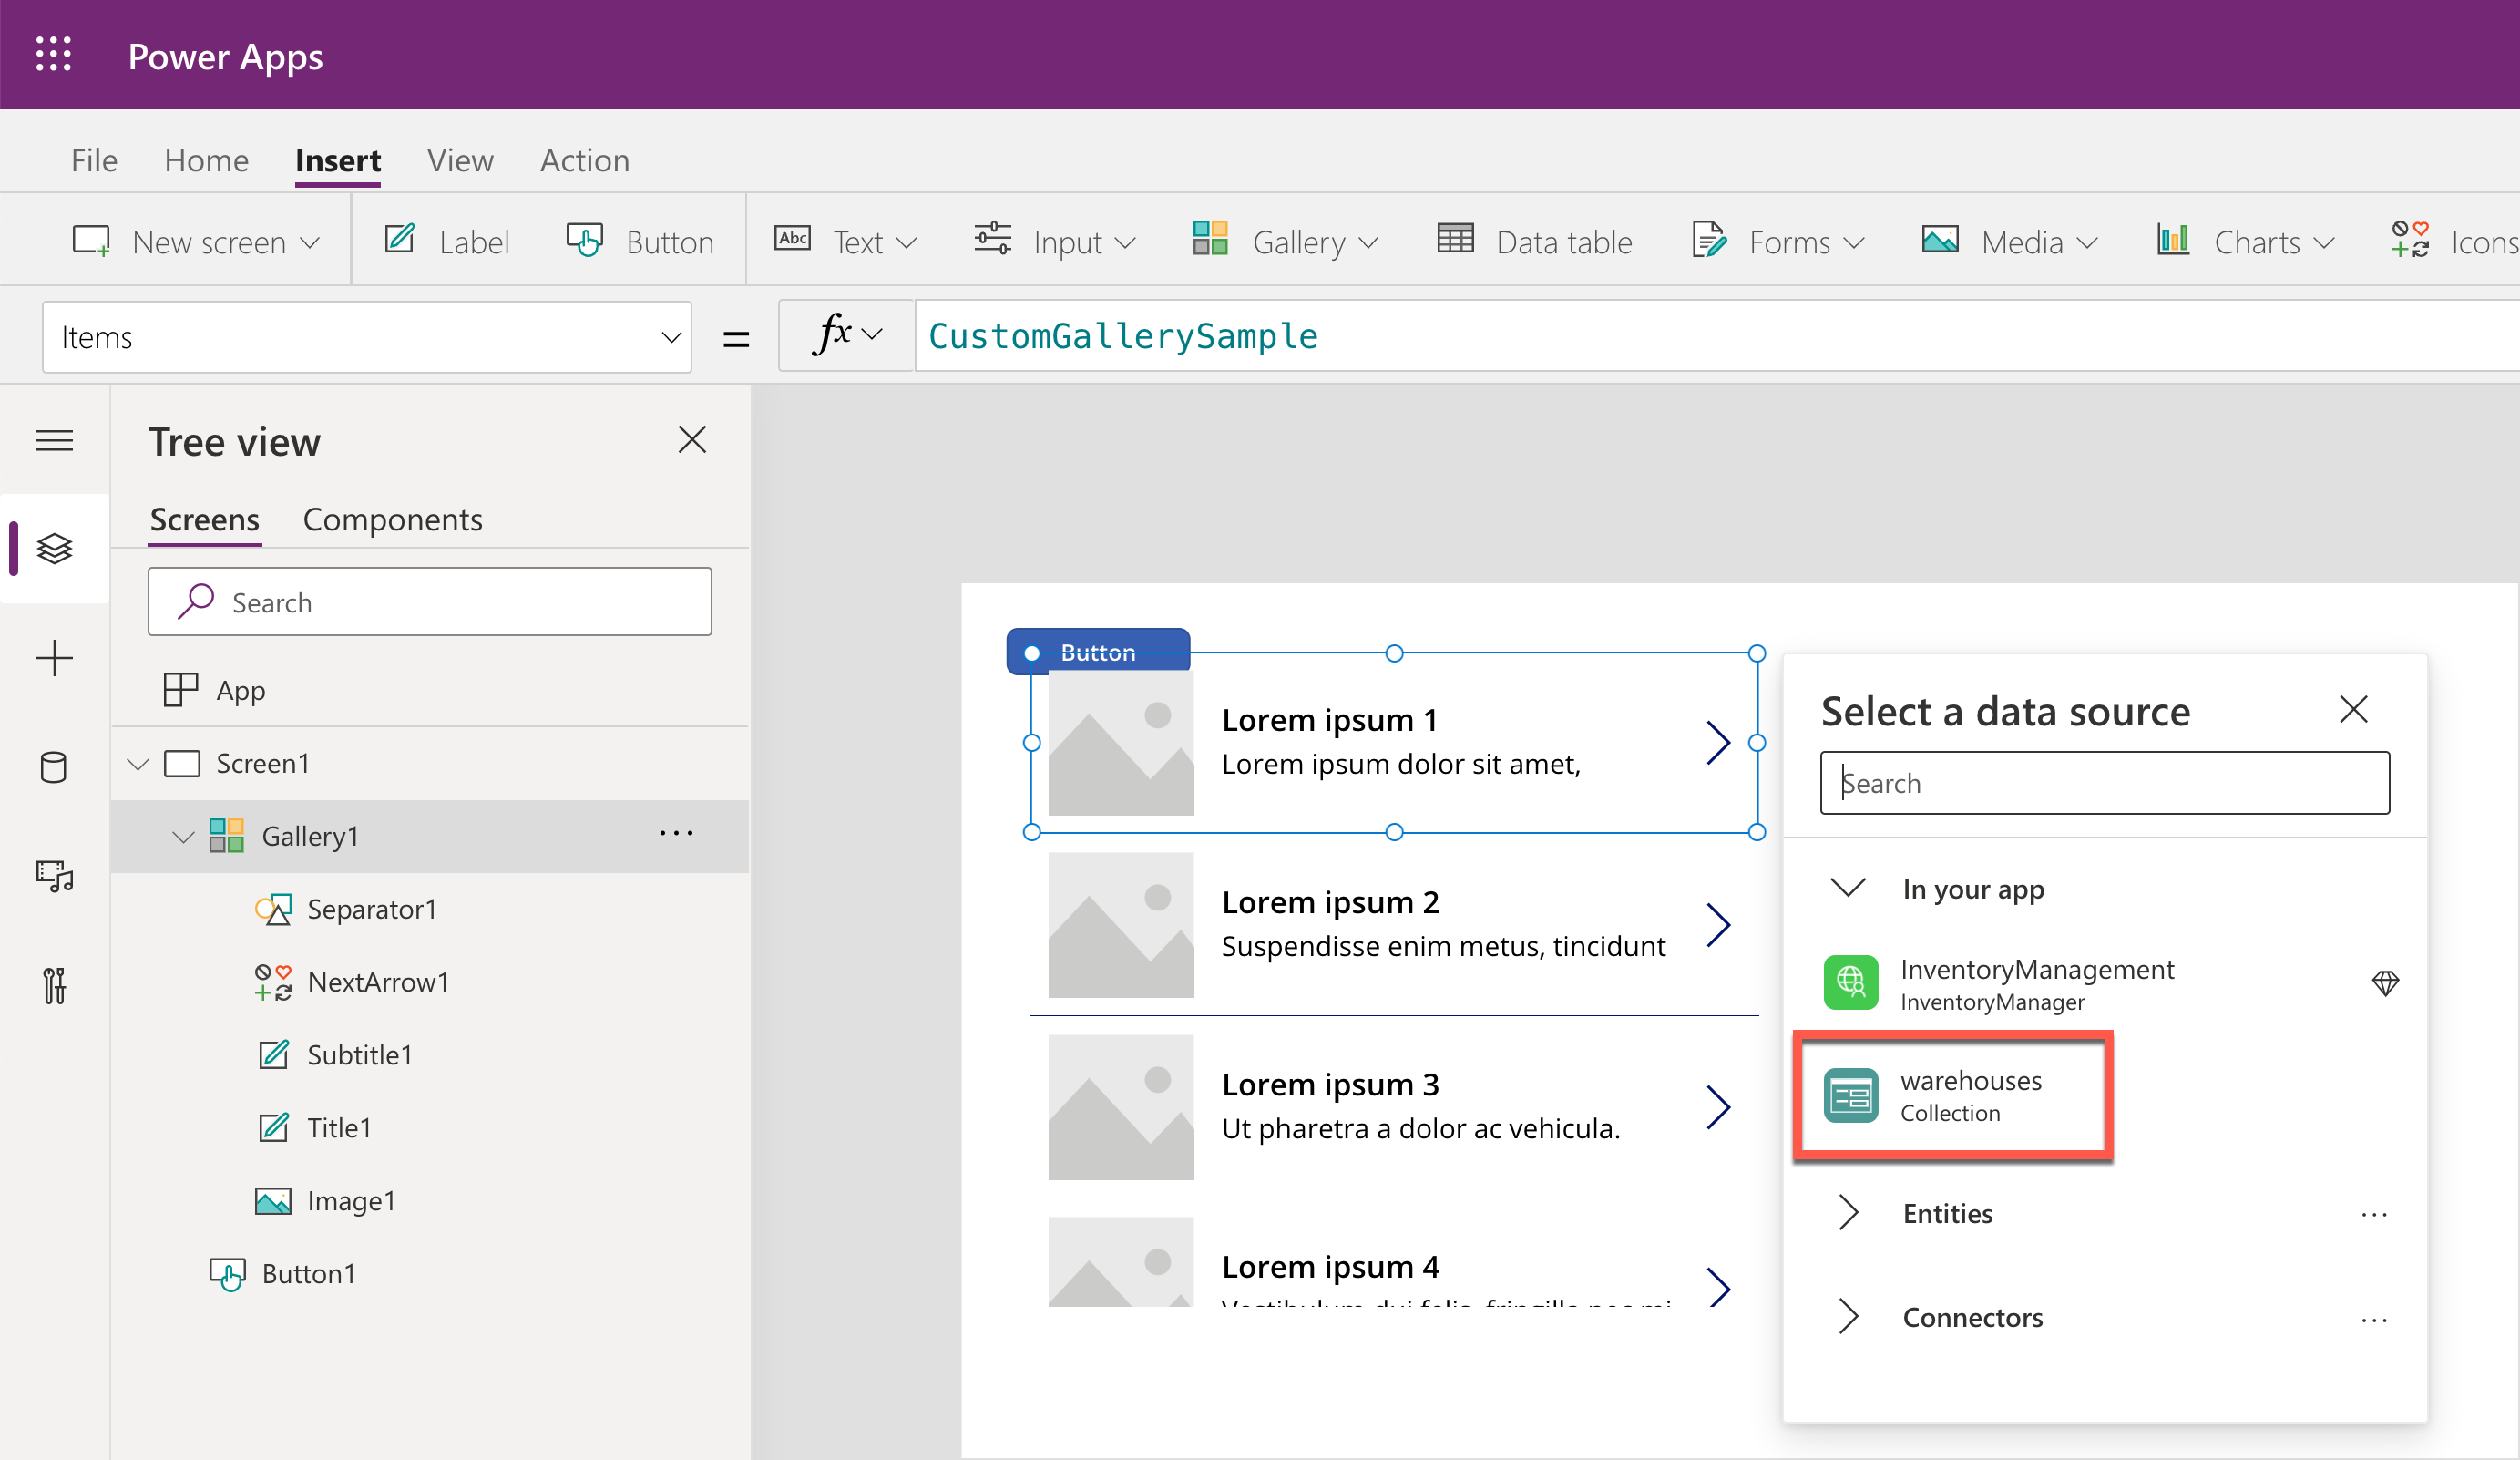
Select the
warehousescollection declared above. Then theVerticalcontrol changes below because thewarehousescollection currently contains nothing.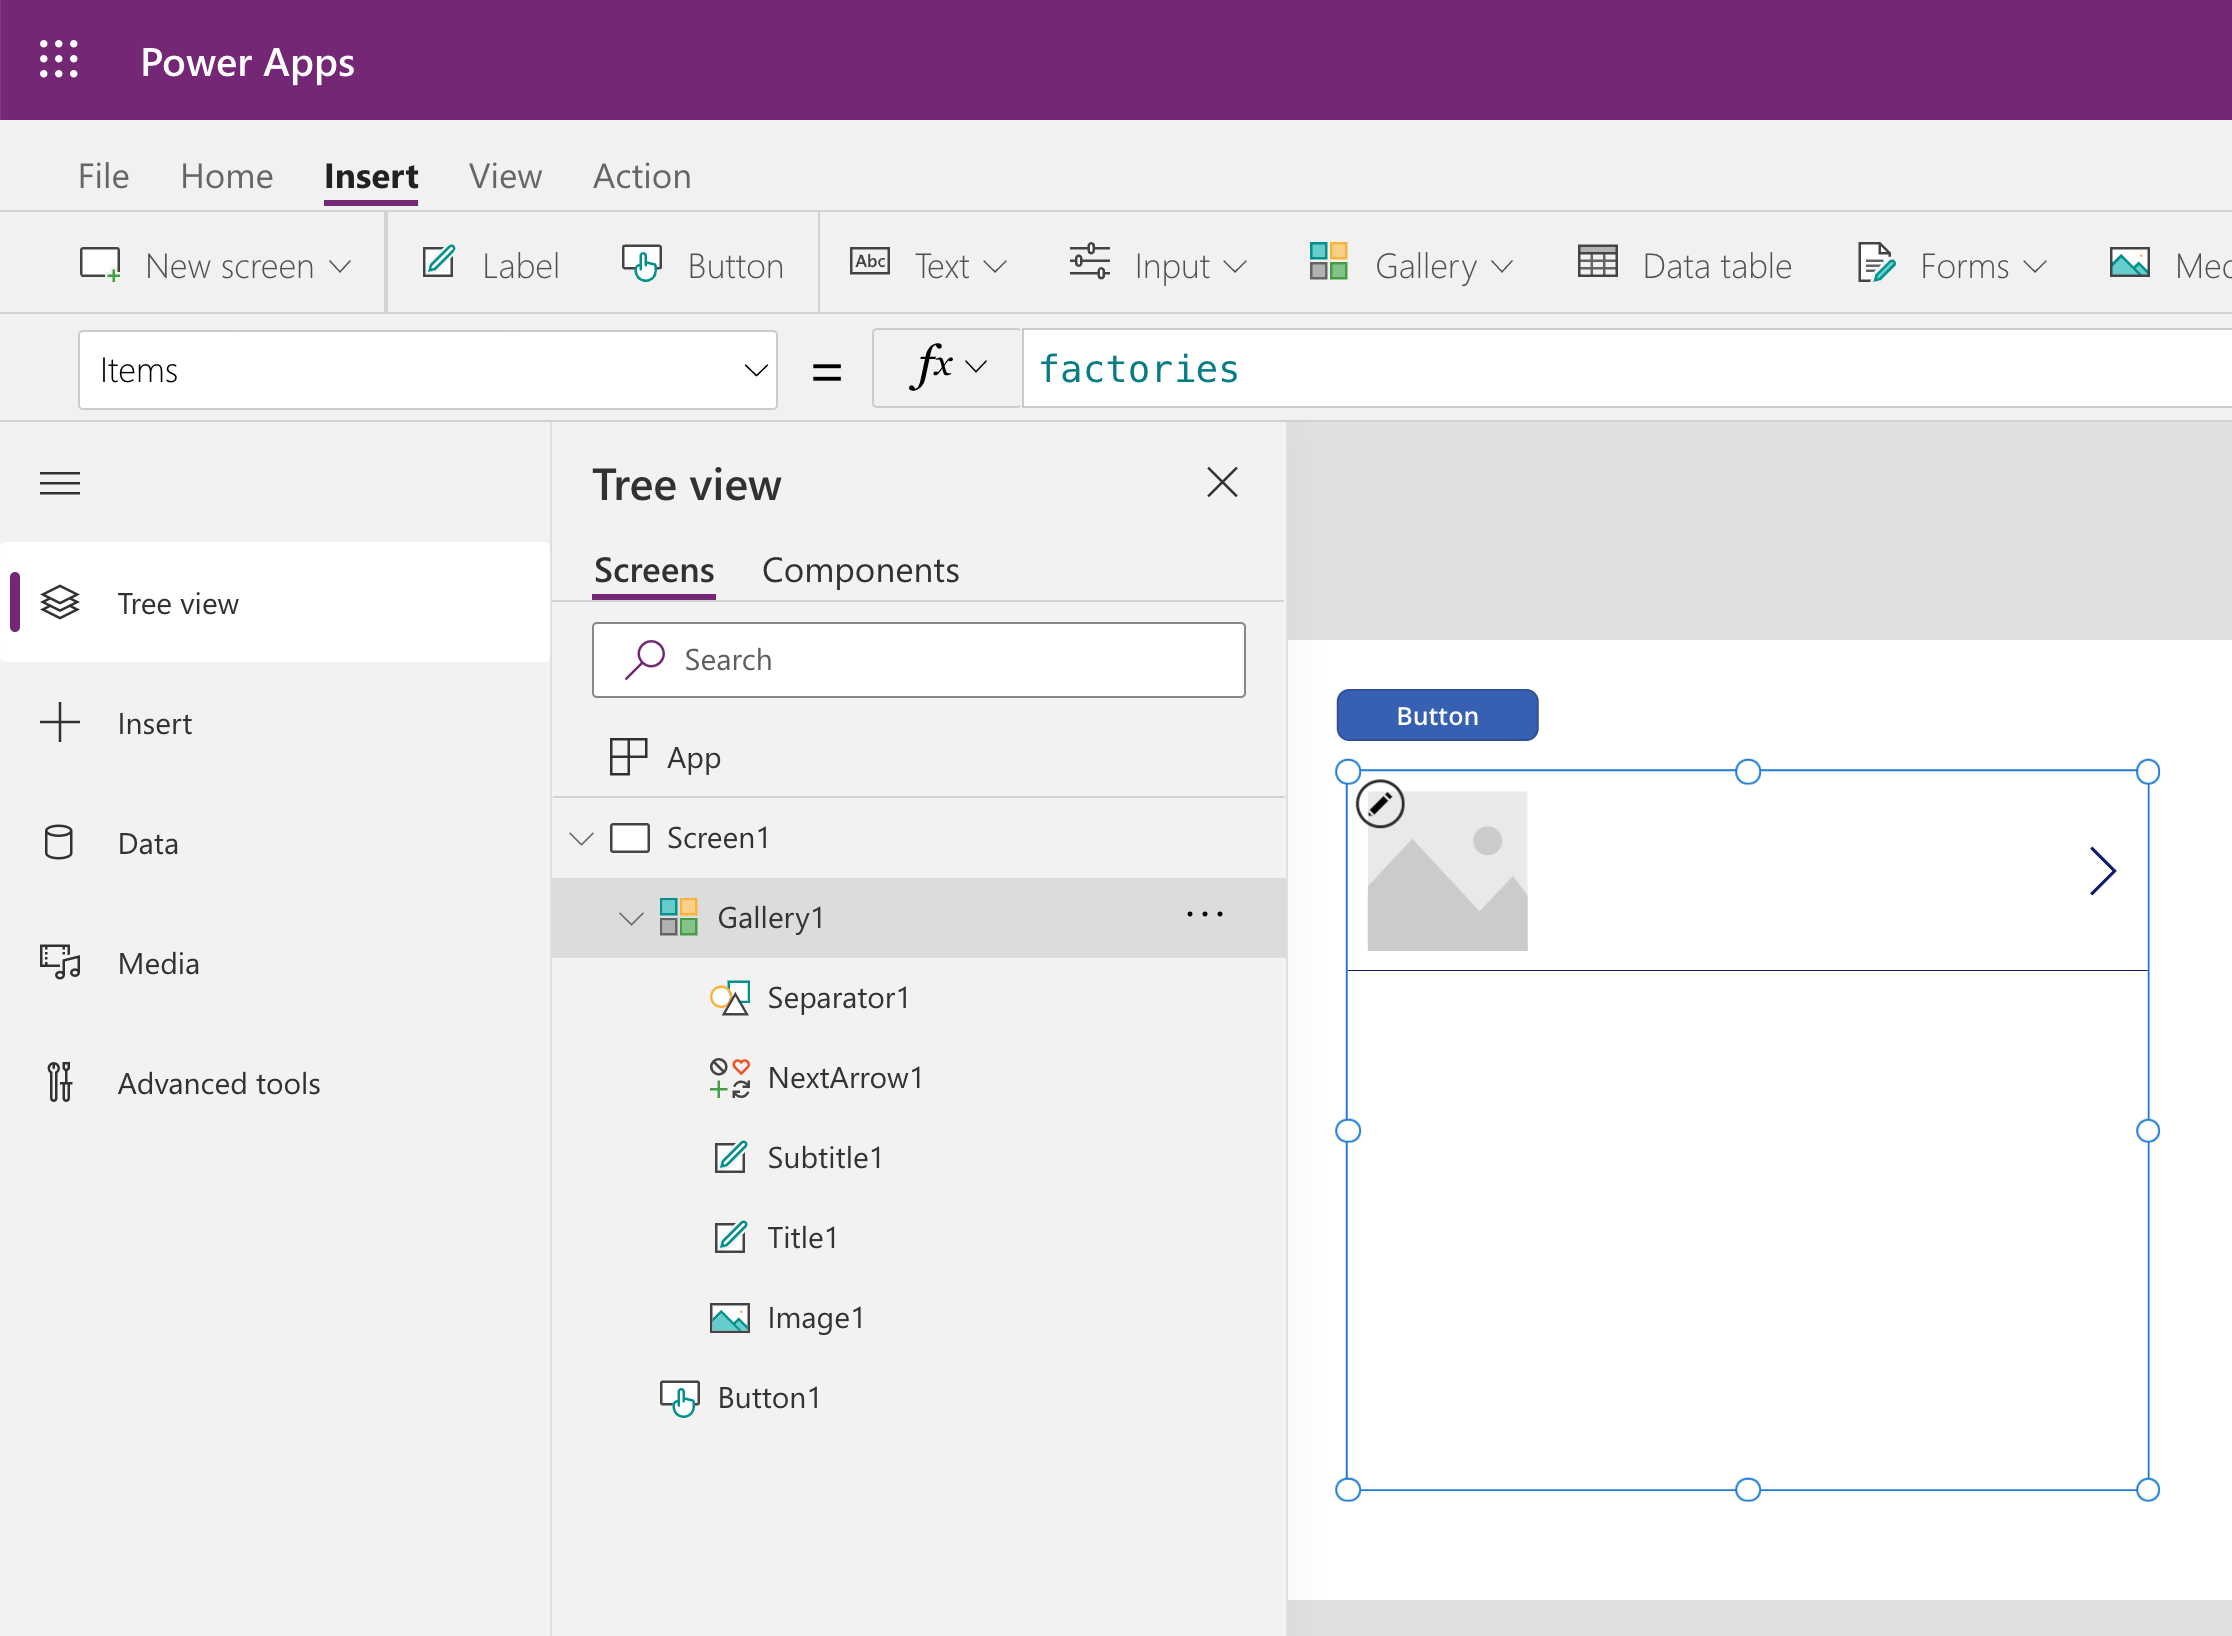
While holding your
Altkey on Windows (orOptionkey on Mac), click theButtonbutton, and you will see the list of warehouse locations showing up in theVerticalcontrol.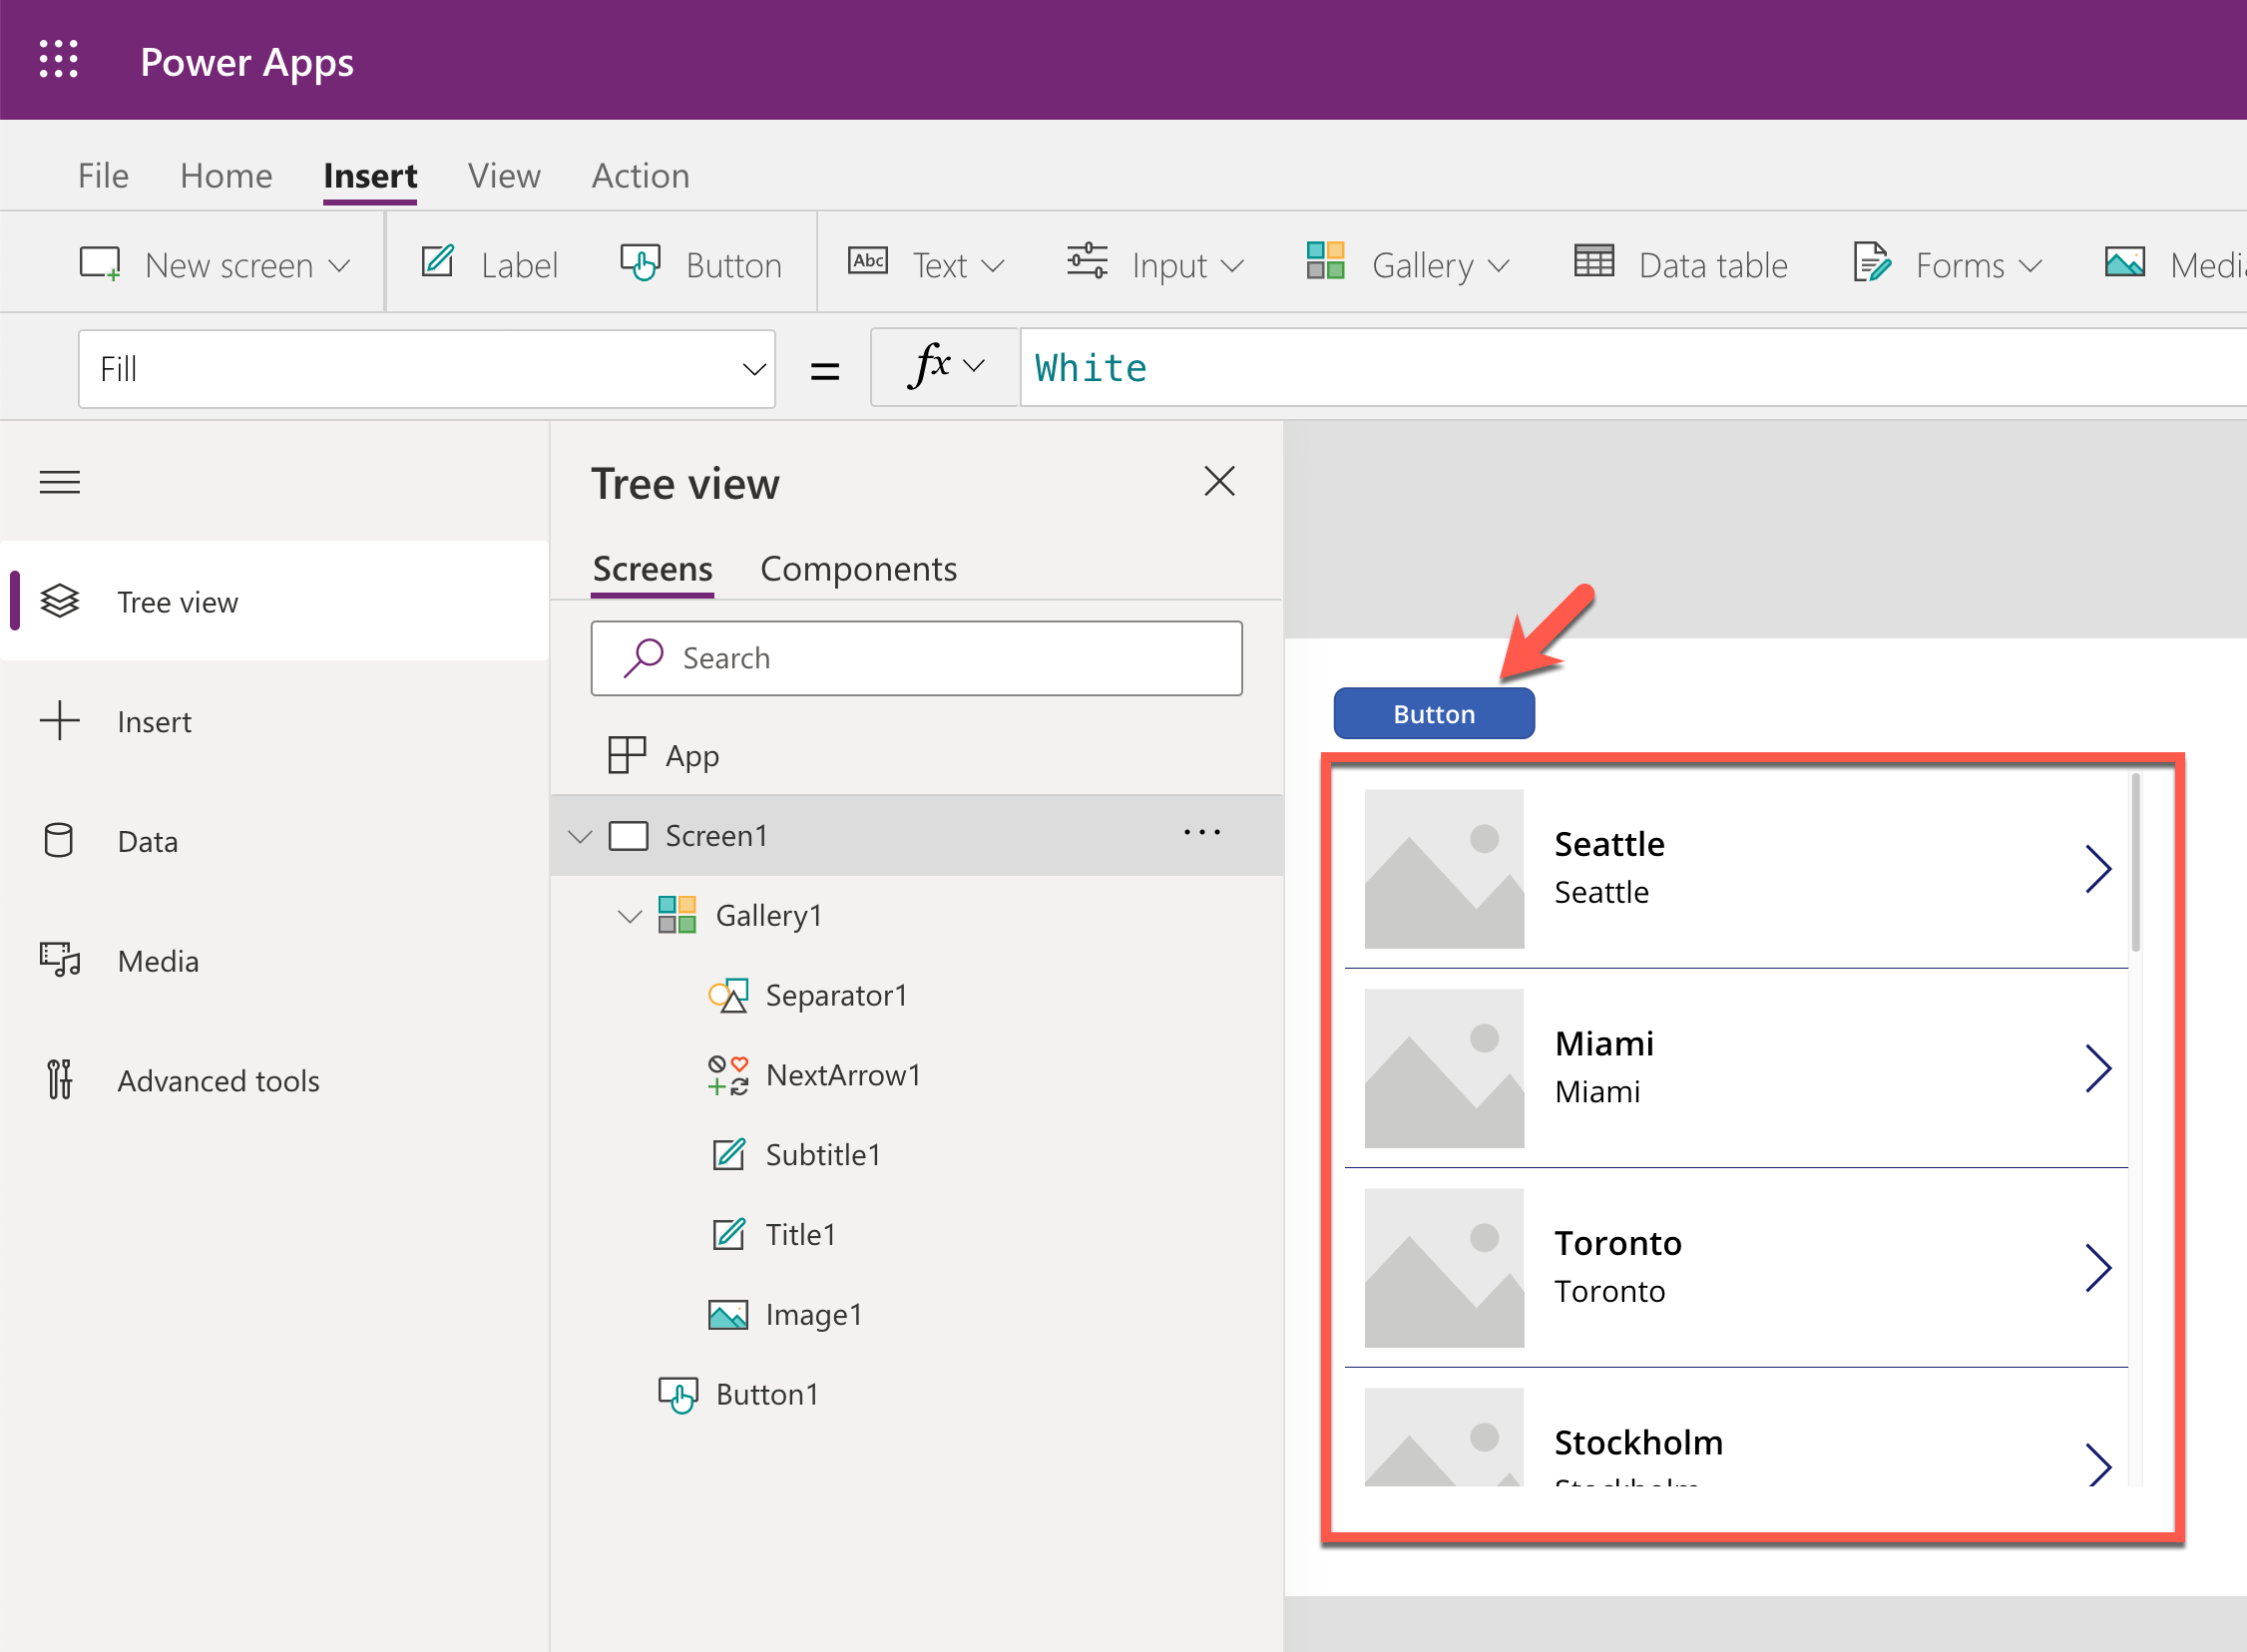
You have successfully included the custom connector into your Power Apps app.