Patient access: Provide access for personalized care
Important
Effective January 30, 2025, the patient access solution (including patient access portal) won't be available for deployment via the Microsoft Cloud Solution Center. However, support will continue for existing customers.
For guidance on alternative implementations and customizing your healthcare platform to address different scenarios and specific requirements, see Build custom healthcare solutions using healthcare data solutions in Power Platform.
Have questions? Reach out to us at Microsoft Cloud for Healthcare.
Provide patients with access to their health data, knowledge articles, and in-person and virtual appointment scheduling. Enable patients to chat with a health bot, communicate with a caregiver, and view their clinical data, all within the portal provided by Patient access.
Key capabilities for Patient access include:
Provide access: Give patients an easy-to-use portal to access their health information.
Direct engagement: Enable patients to engage through automated chat conversations that hand off to your patient service center.
Scheduling and messaging: Let your patients schedule appointments and send messages to their providers.
Patient access customizes Microsoft Power Pages with healthcare-specific capabilities as part of Microsoft Cloud for Healthcare. Learn more on how to use Power Pages, and how to deploy and configure Patient access.
Patient Portal
To access the Patient Portal app from Microsoft Power Apps, on your Power Apps Home page, select Apps, and then select the Portal - Patient app. Sign in using a local account or an external account.
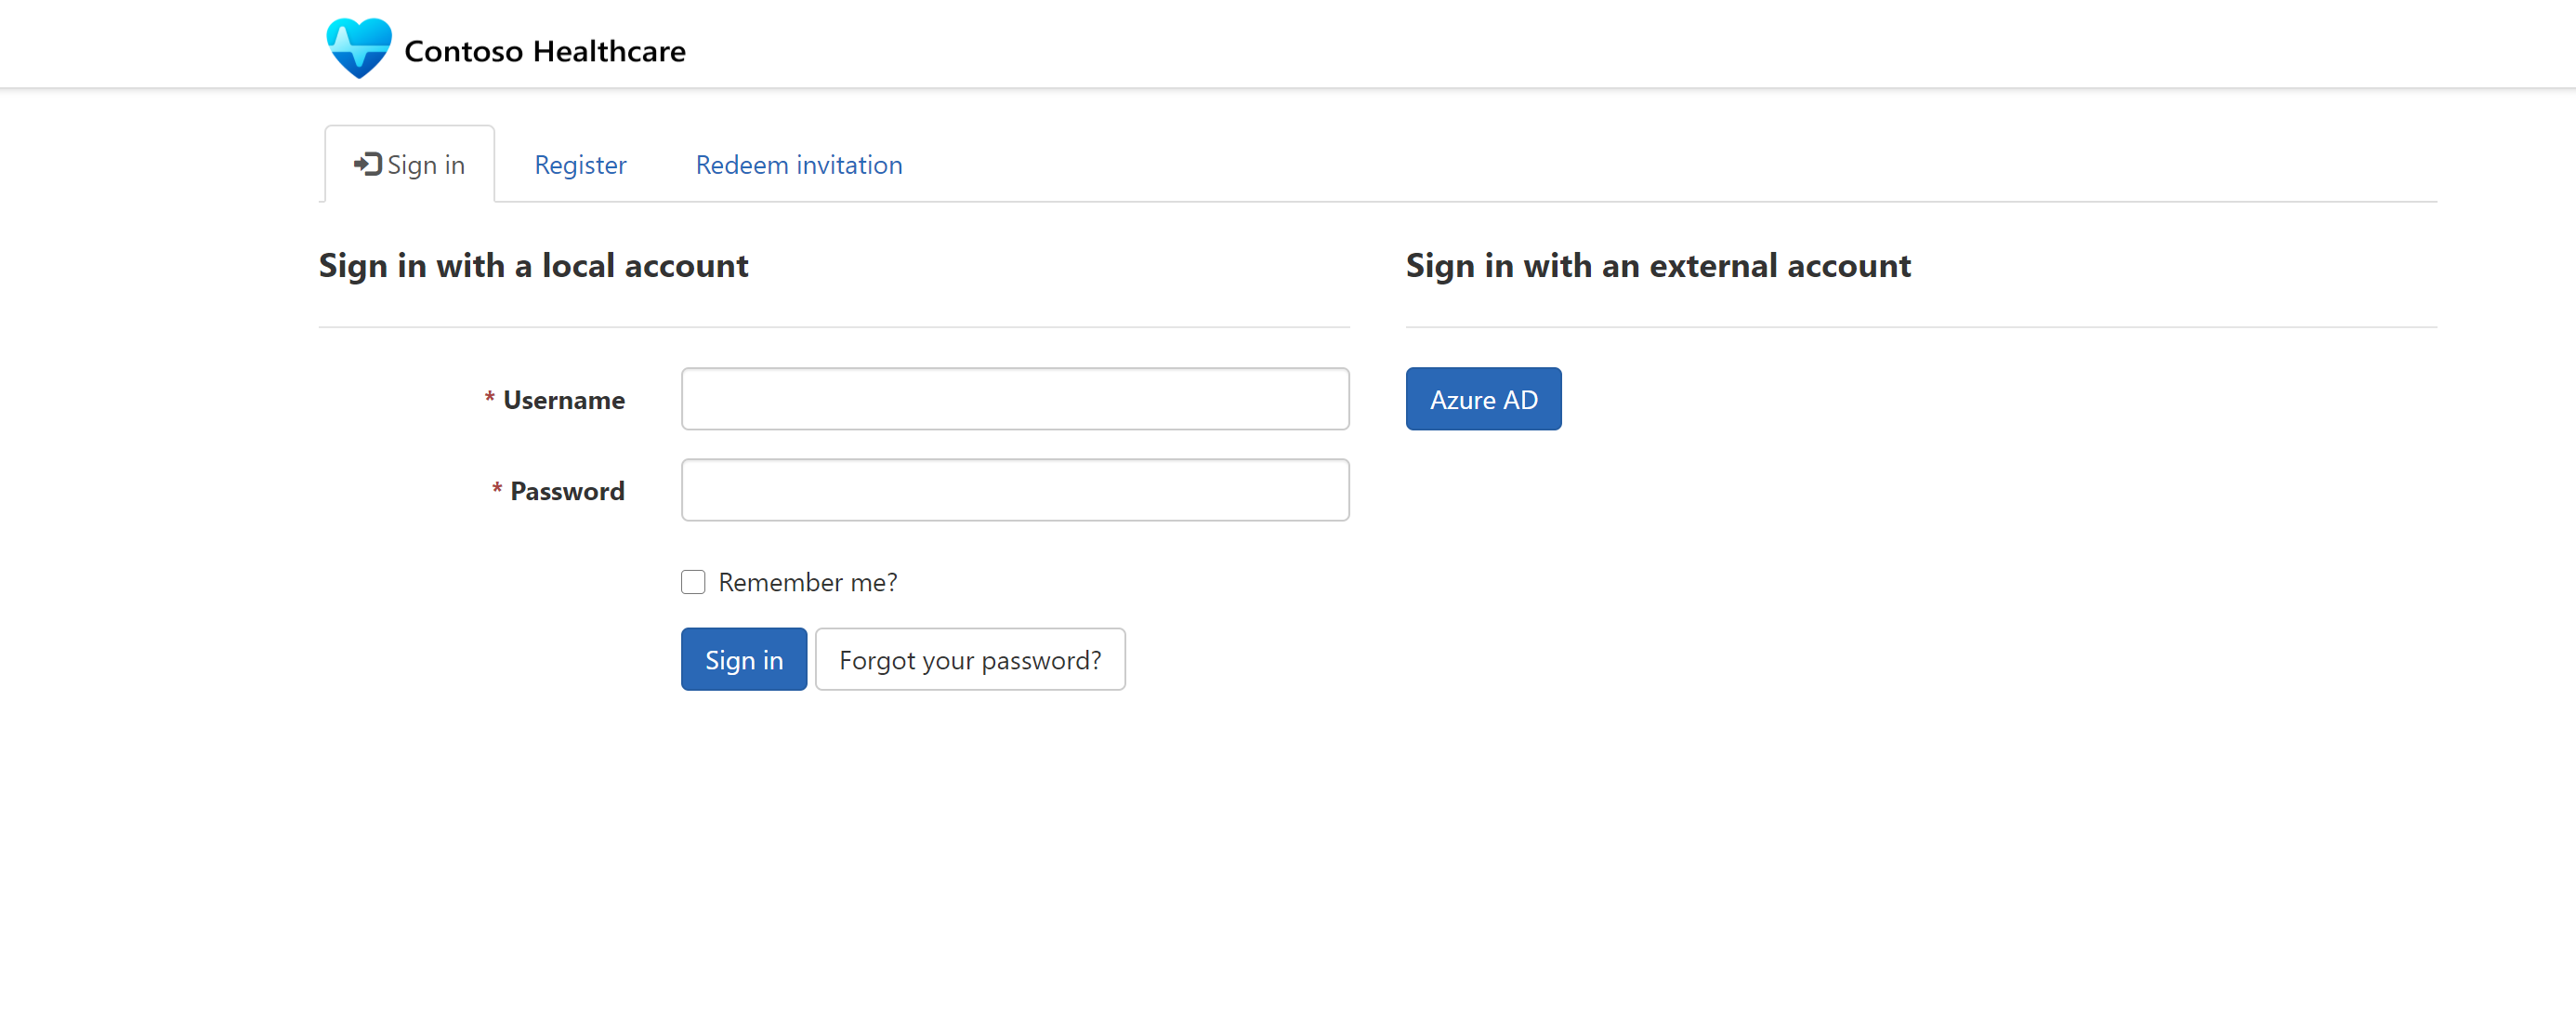
You can also run the Patient Portal app from a URL. When running an app using a URL, you might be prompted to sign in using your Microsoft Entra ID credentials. This value is the Patient access URL sent to patients in virtual appointment emails.
Note
Users must have sufficient rights in order to access patient records through Portal Web Roles.
Update profile
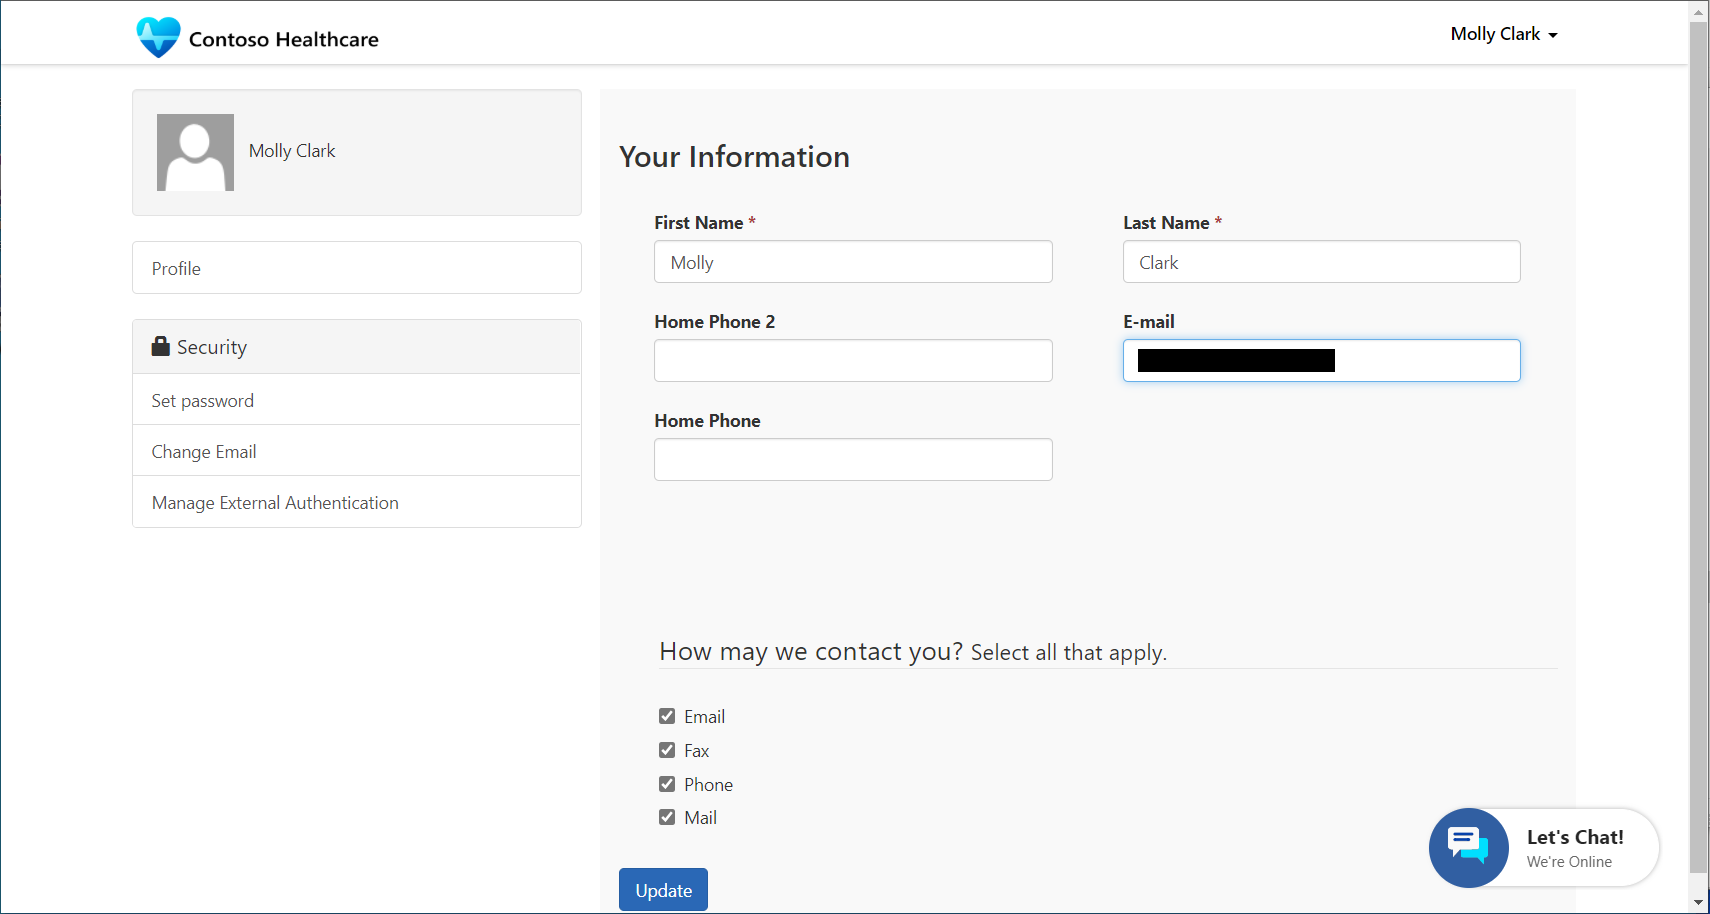
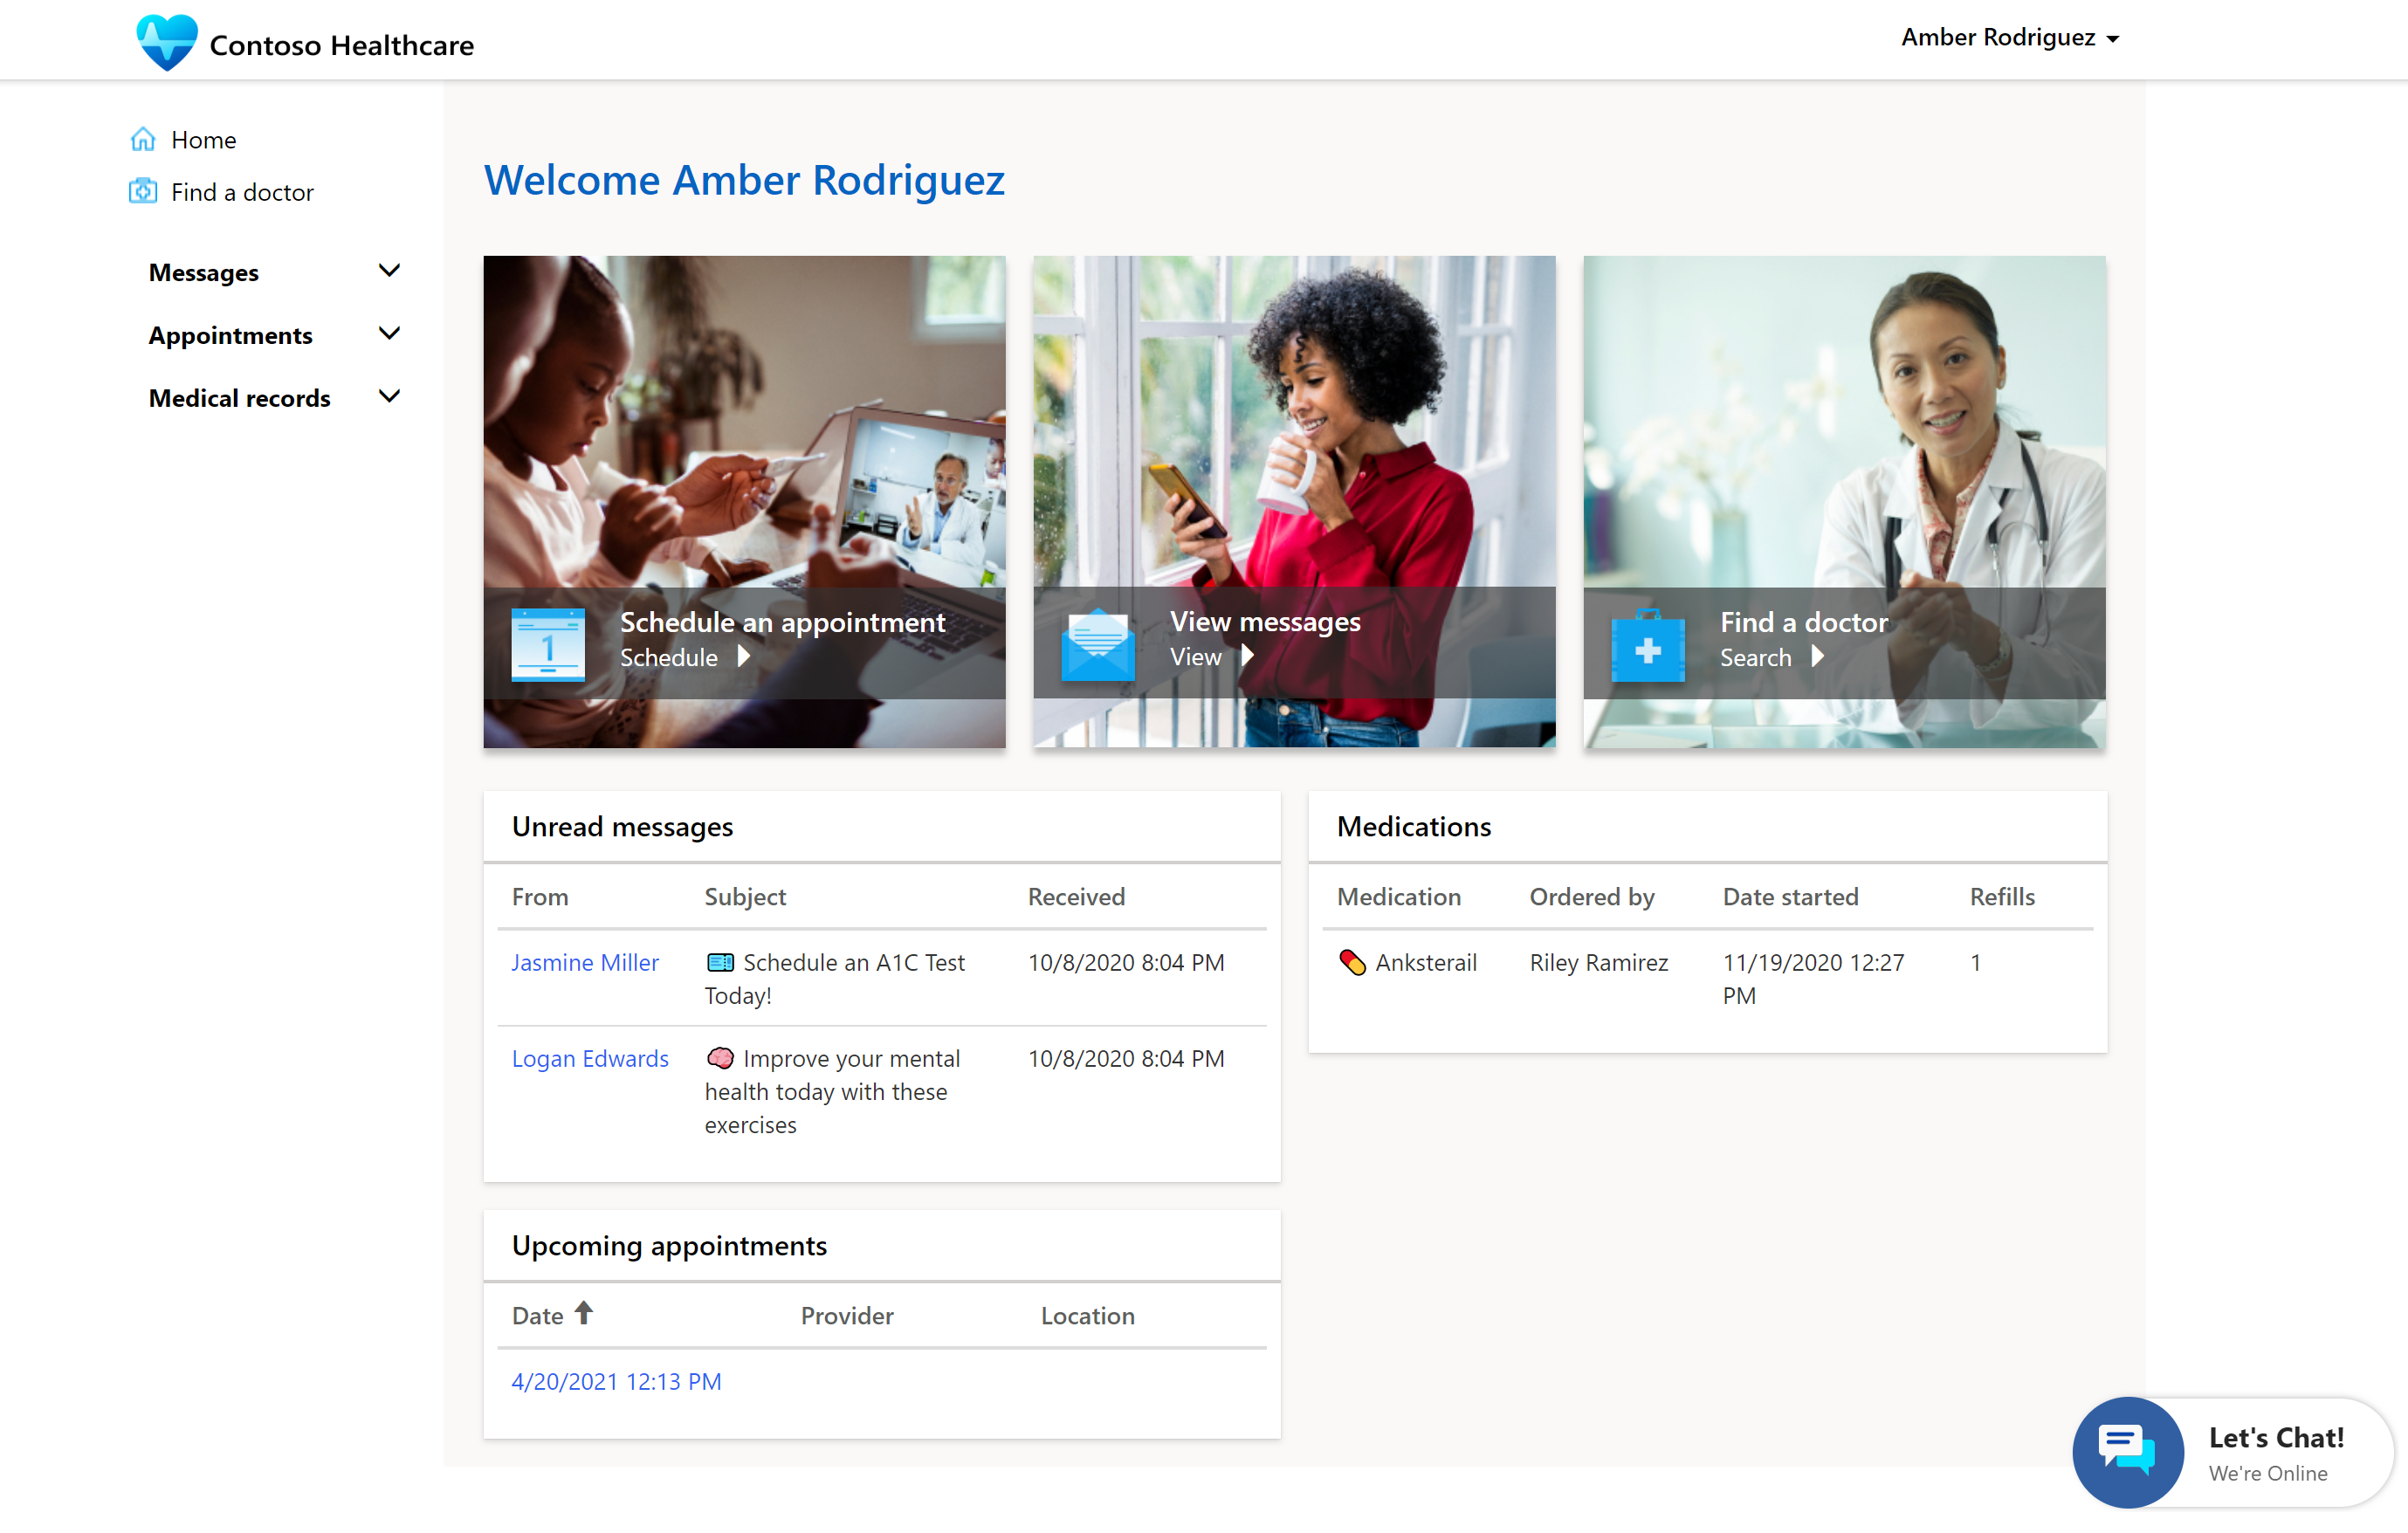
The first time that a patient signs in to Patient access, they're required to update their profile. The patient updates their profile and account information, and then selects Update. To update a profile at any time, or to sign out, select the user menu to view the profile and account information.
Select the Healthcare app title in the upper-left corner of the screen to proceed to the Patient access Home page. For example, in the following screen image, select Contoso Healthcare.
Messages
A patient selects Messages to use an email app in Patient access. Inbox is a list of emails received from care providers.
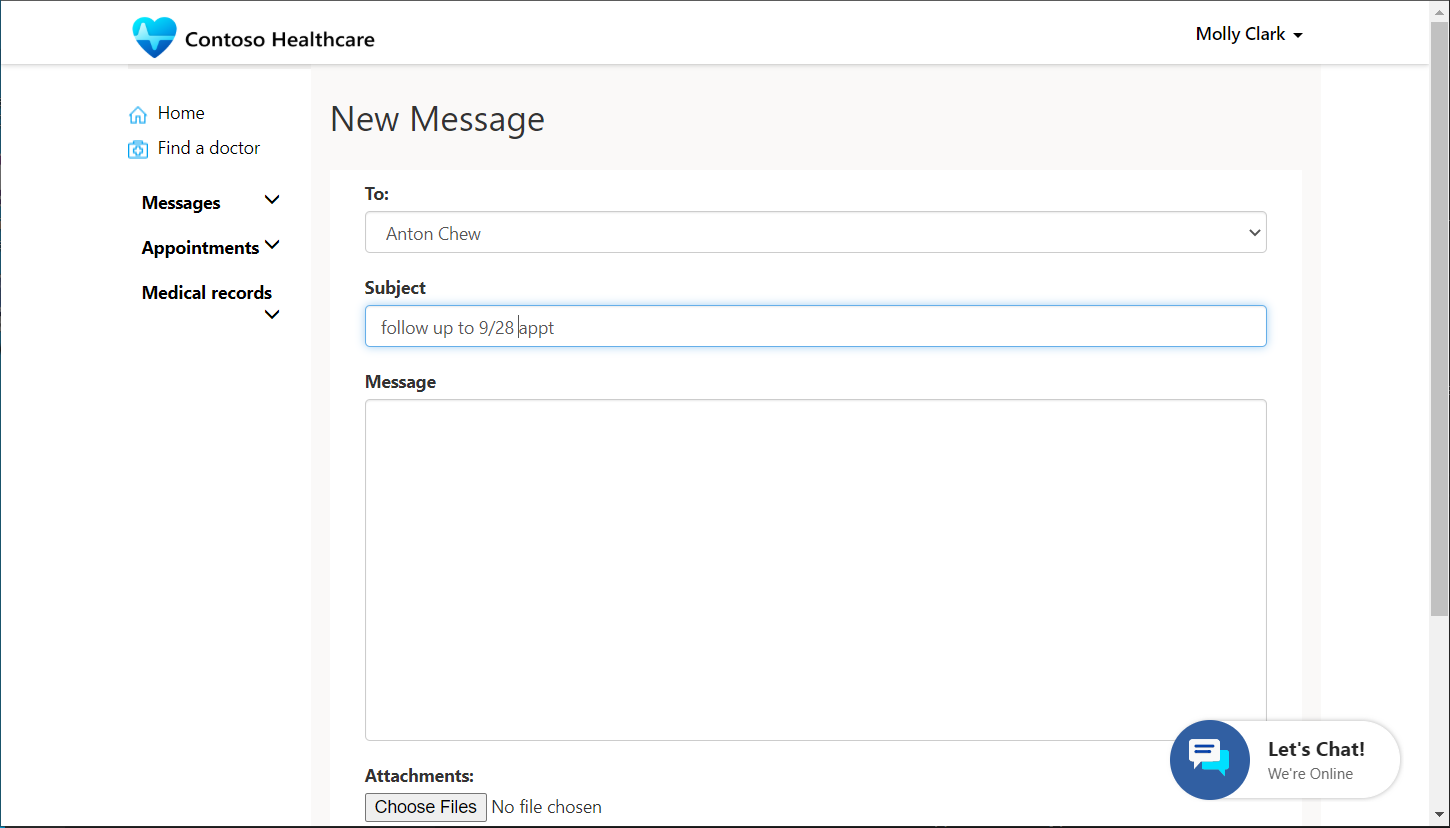
Select New message to send an email to a care provider. In New Message, select To to select the provider recipient. This interface also allows users to directly reply to messages from care providers.
Appointments
Patients can see upcoming appointments and schedule appointments through a set of intuitive windows. A patient can select an upcoming appointment or cancel scheduled appointments.
Tip
To receive email confirmations or text updates, ensure the correct email and phone number are entered prior to confirming the appointment.
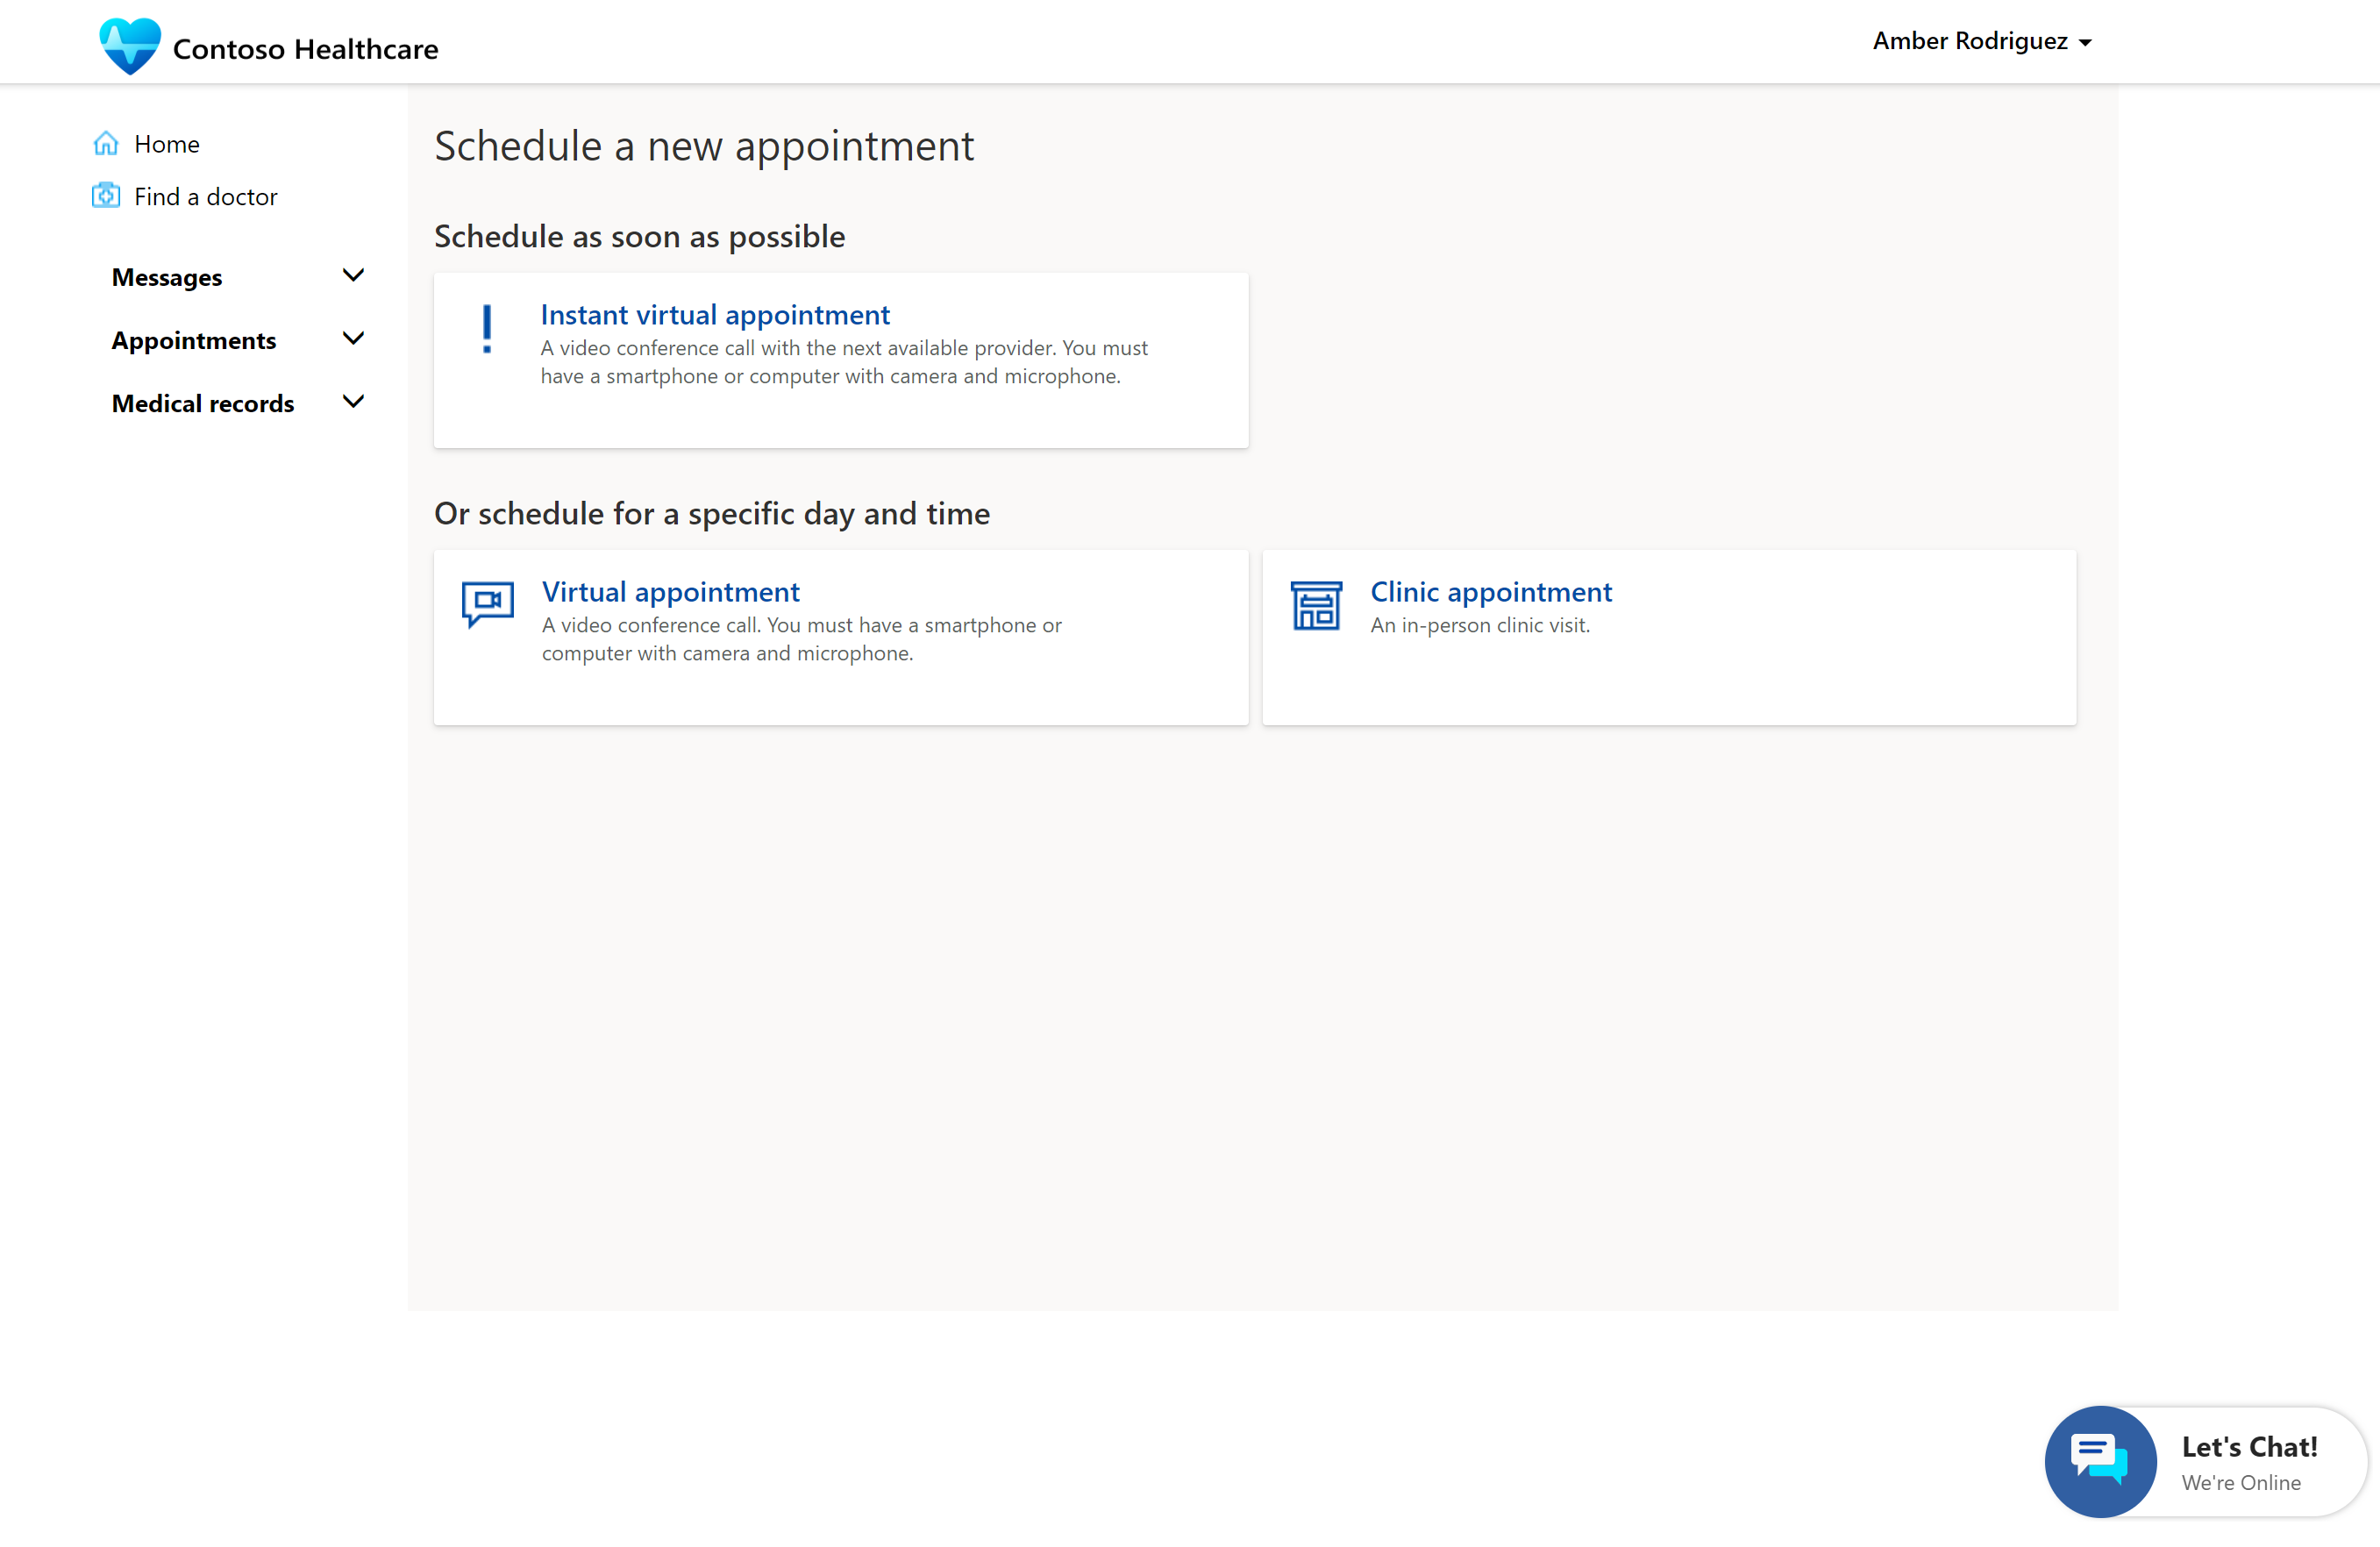
In Appointments, select Schedule new to schedule a new appointment.
Select an appointment option.
- Select Instant virtual appointments to seek immediate care with a care provider.
- Select Virtual appointment to book a virtual appointment with a provider.
- Select Clinic appointment to book an in-person appointment with a provider.
Note
Selecting Instant virtual appointment moves the patient directly to the queue for a video conference call with the next available provider.
Select a category of provider or specialty for the appointment; for example, Family Medicine or Cardiology.
Optionally, select Previous to return to the previous screen.
For a clinic appointment, search for a location and provider by ZIP code.
Note
For an instant virtual appointment, no location is required.
Select an appointment date, and then select Apply.
The available appointments for the specified medical provider are shown.
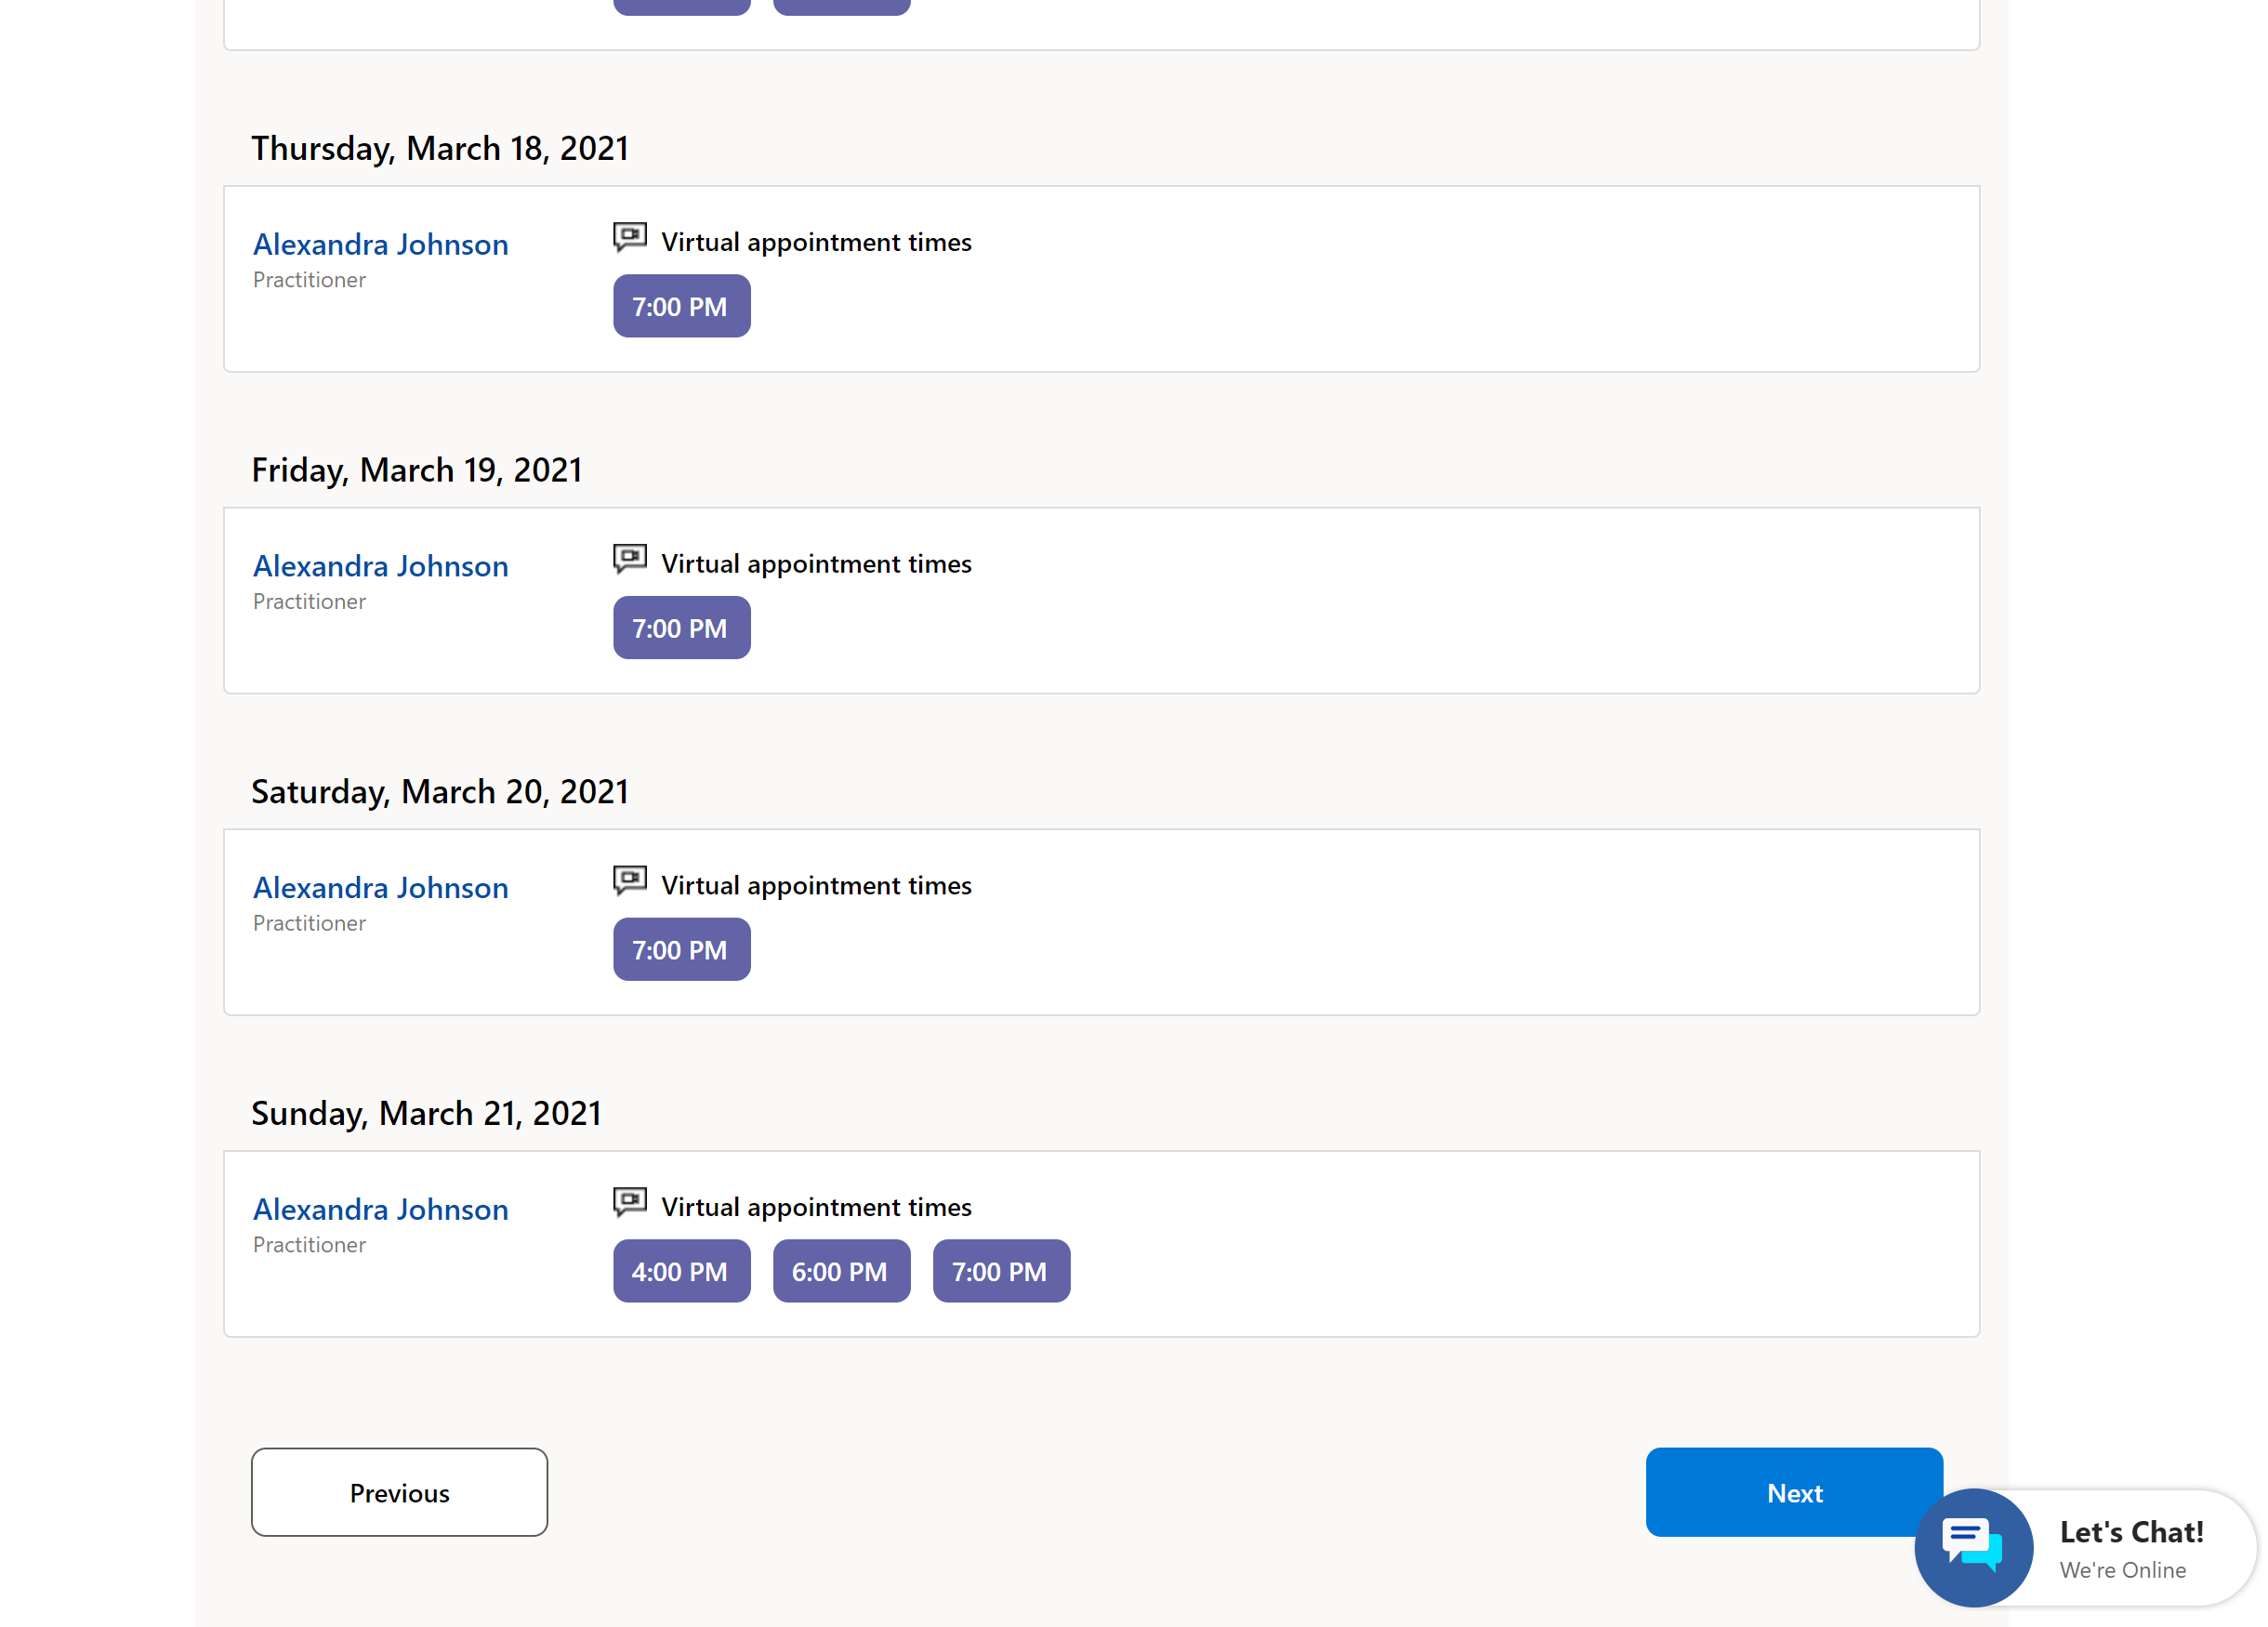
Select an available appointment, and then select Apply.
Select Confirm Appointment.
The appointment is confirmed and communication is sent about the status of the appointment.
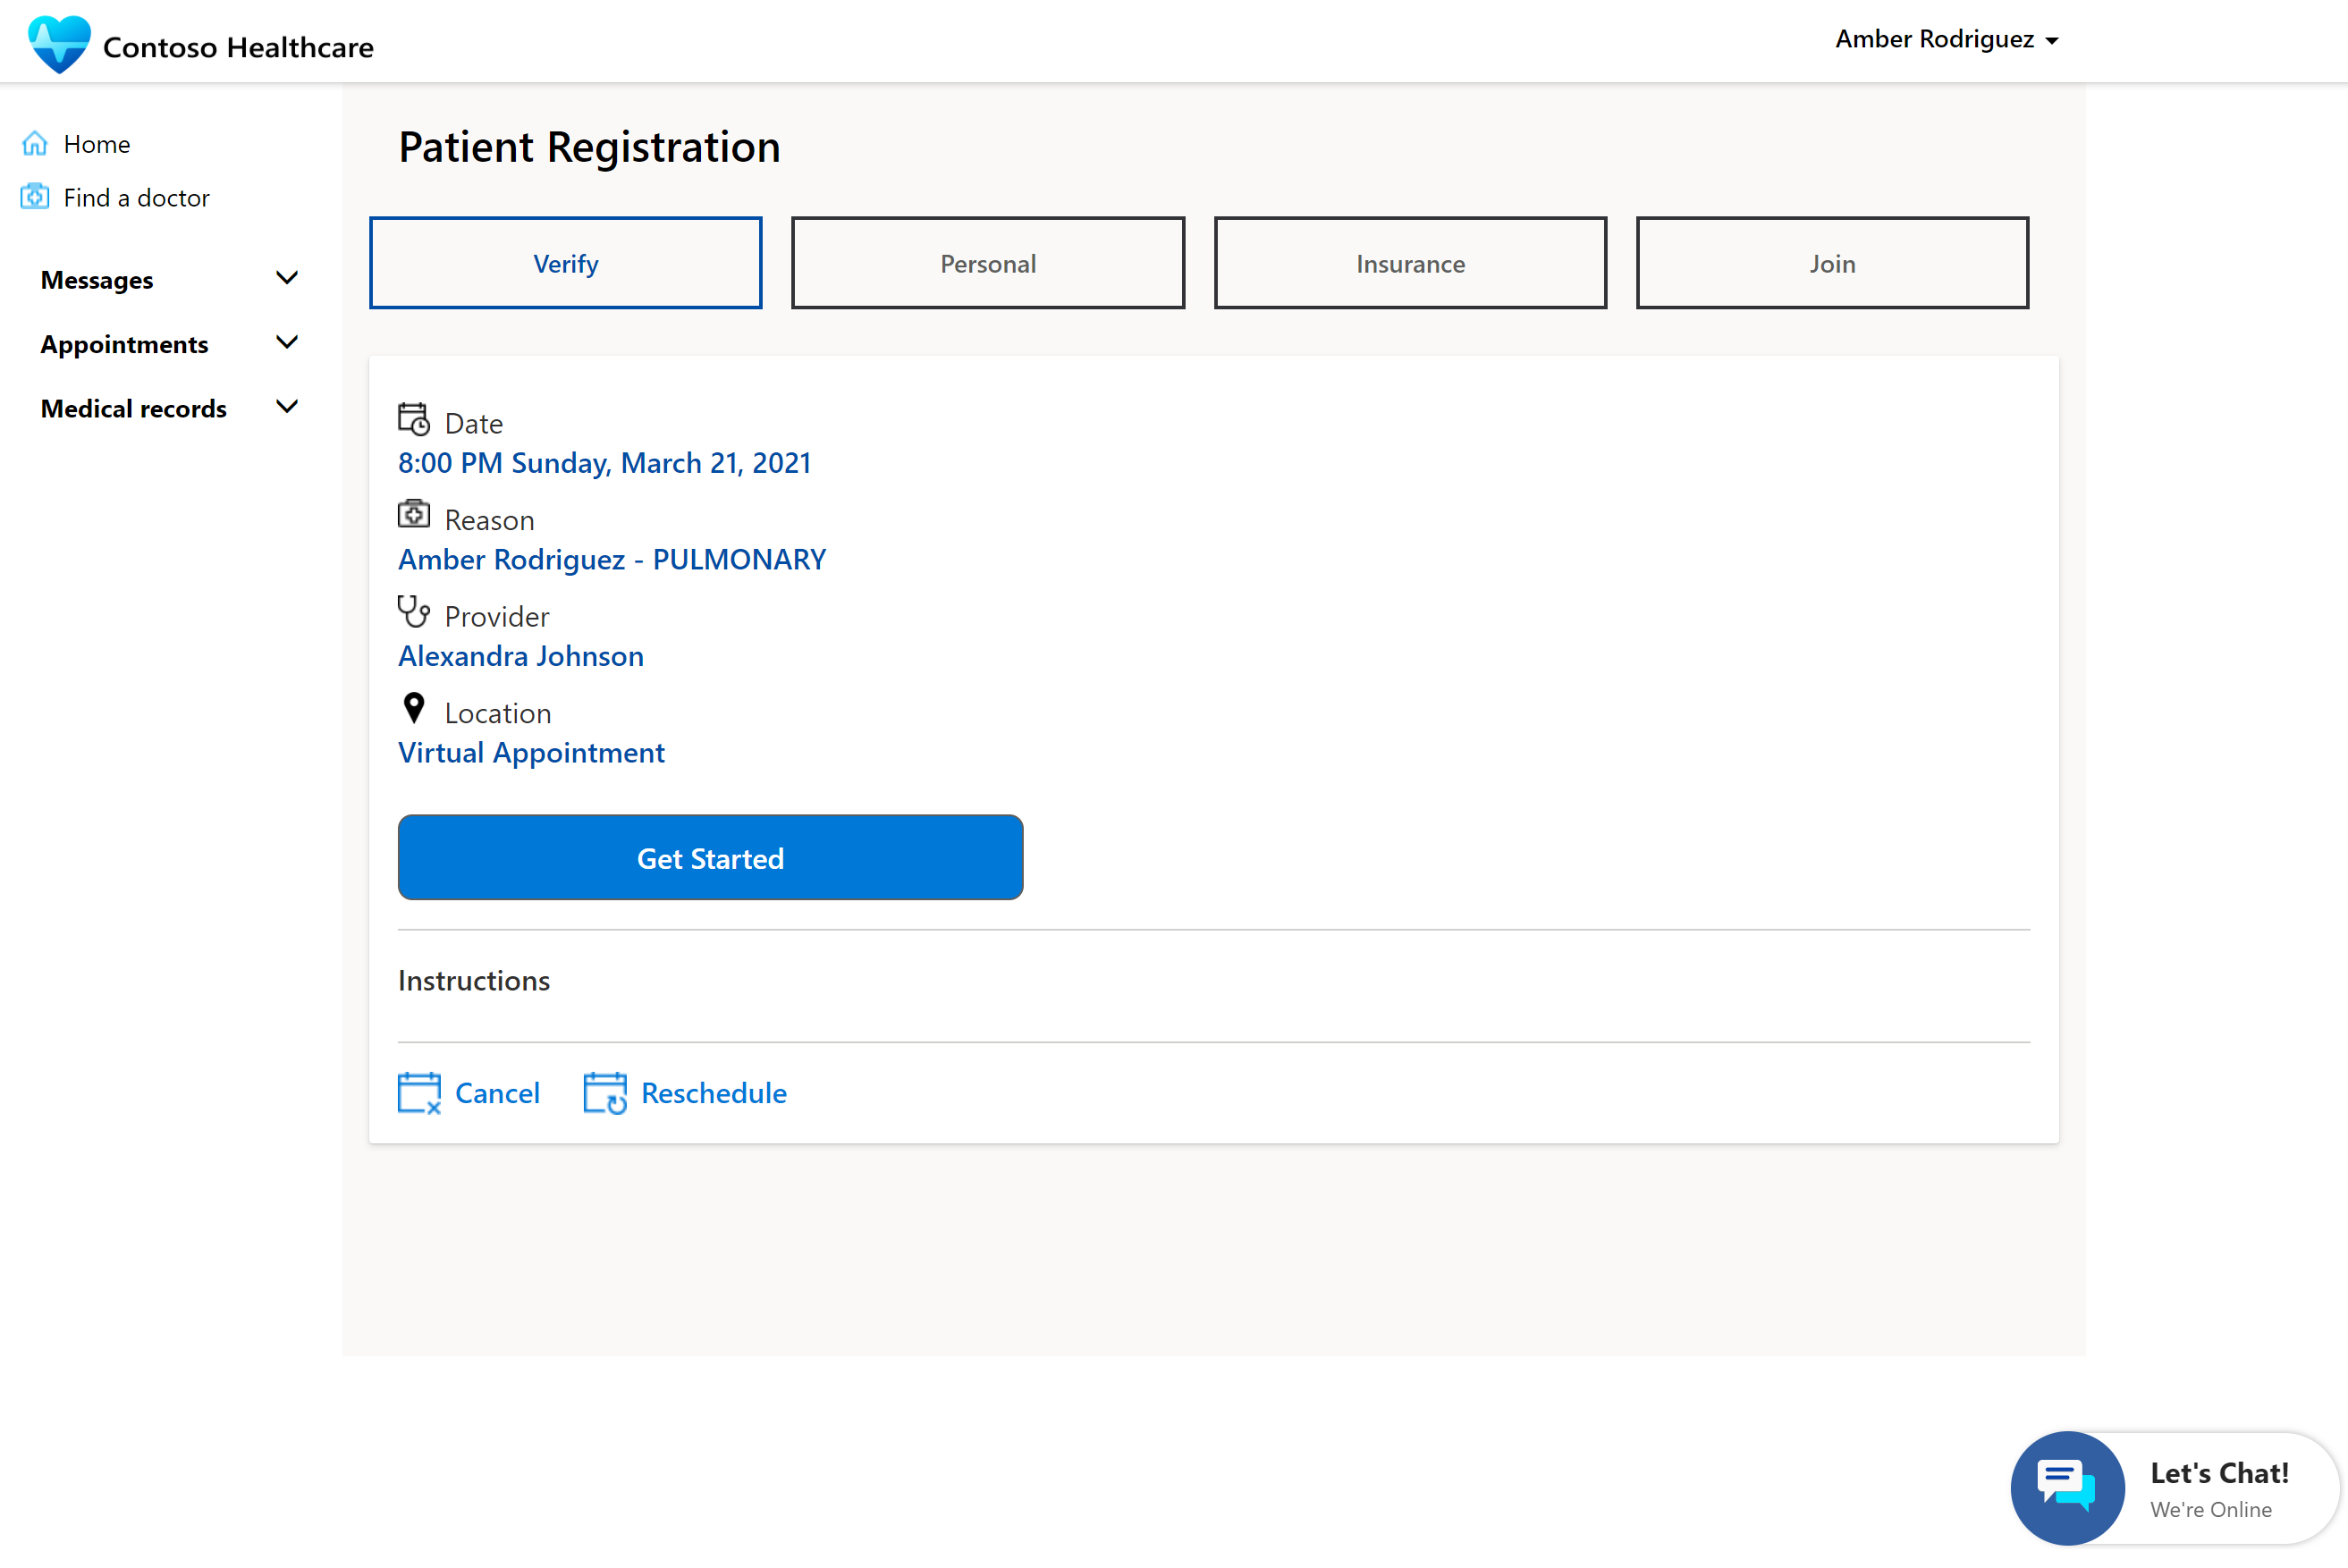
The patient will receive an email with a link to the portal for the registration (check-in) and consent process.
To join a virtual visit or check in for a clinic appointment:
Select the notification in the confirmation email. The patient will see the appointment details and the Get Started button.
Select Get Started to begin the check-in process.
Select Verify to confirm the appointment details.
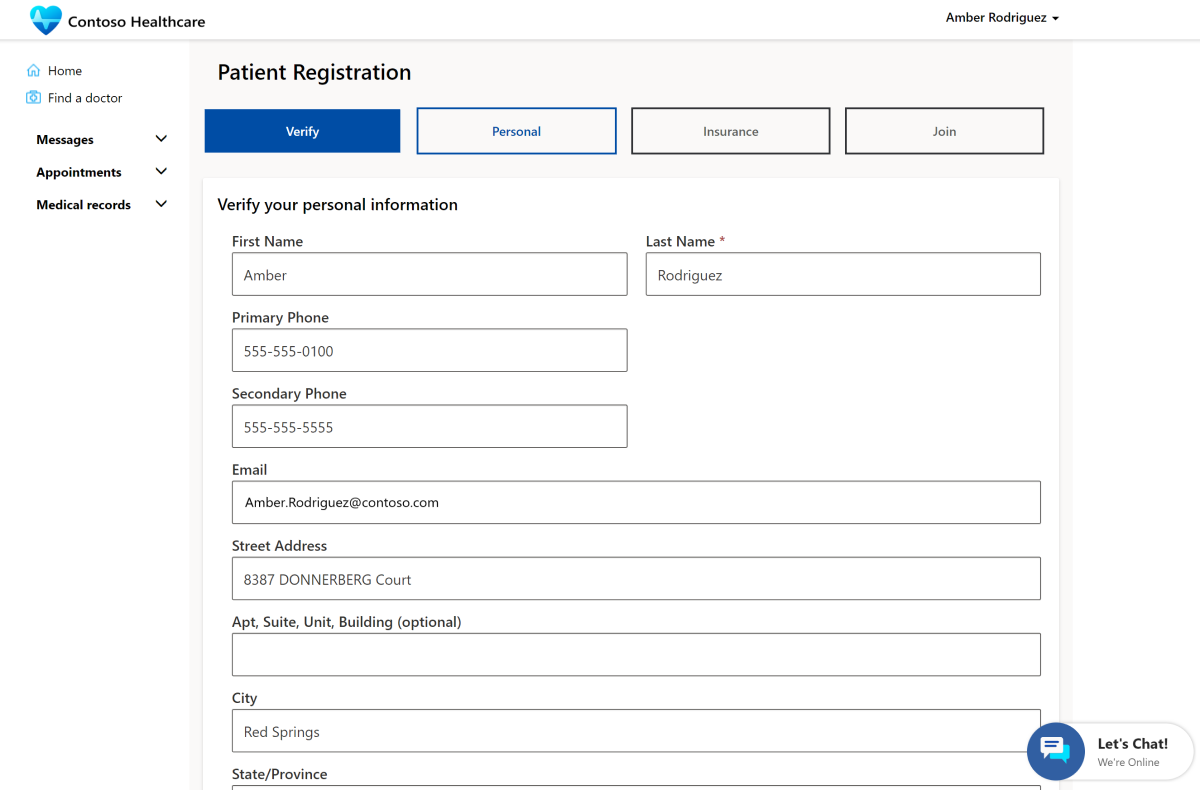
In the Personal step, the patient can view and update their personal information before the visit.
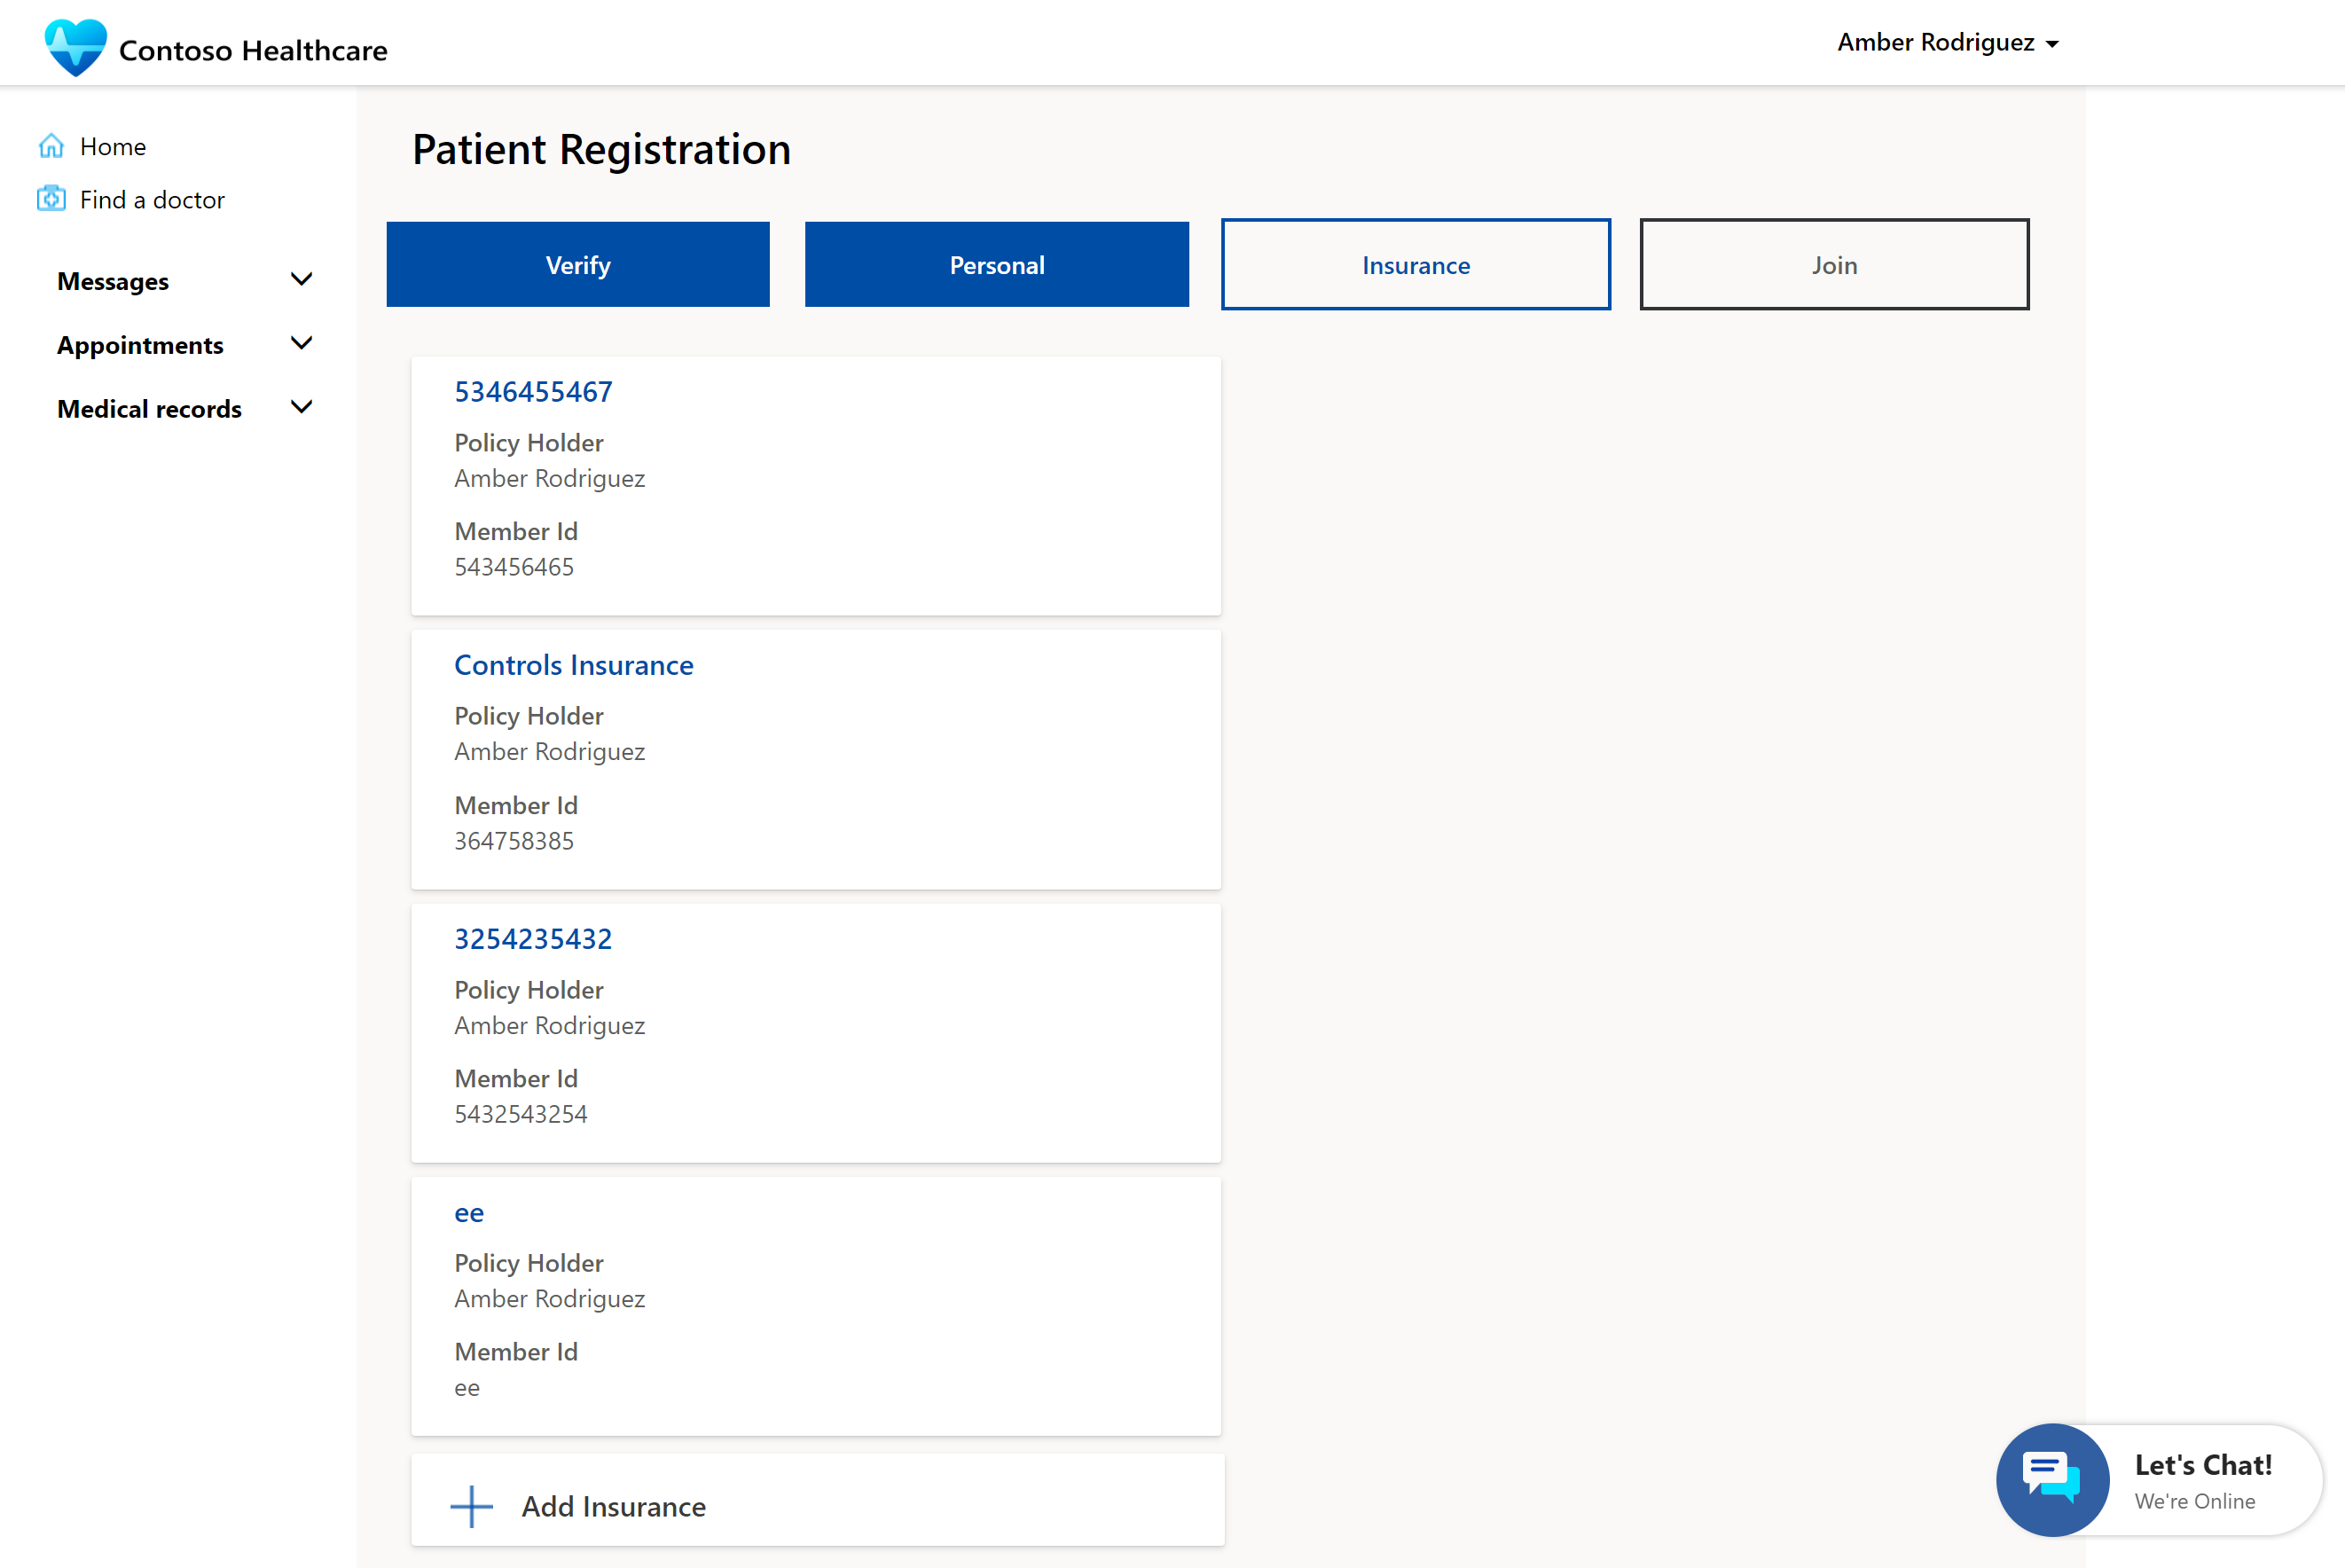
In the Insurance step, the patient adds insurance coverage or selects an existing coverage for the appointment.

In the Join step, the patient consents to the appointment, and then selects Join Queue to join the virtual visit or check-in for the in-person visit.
Medical records
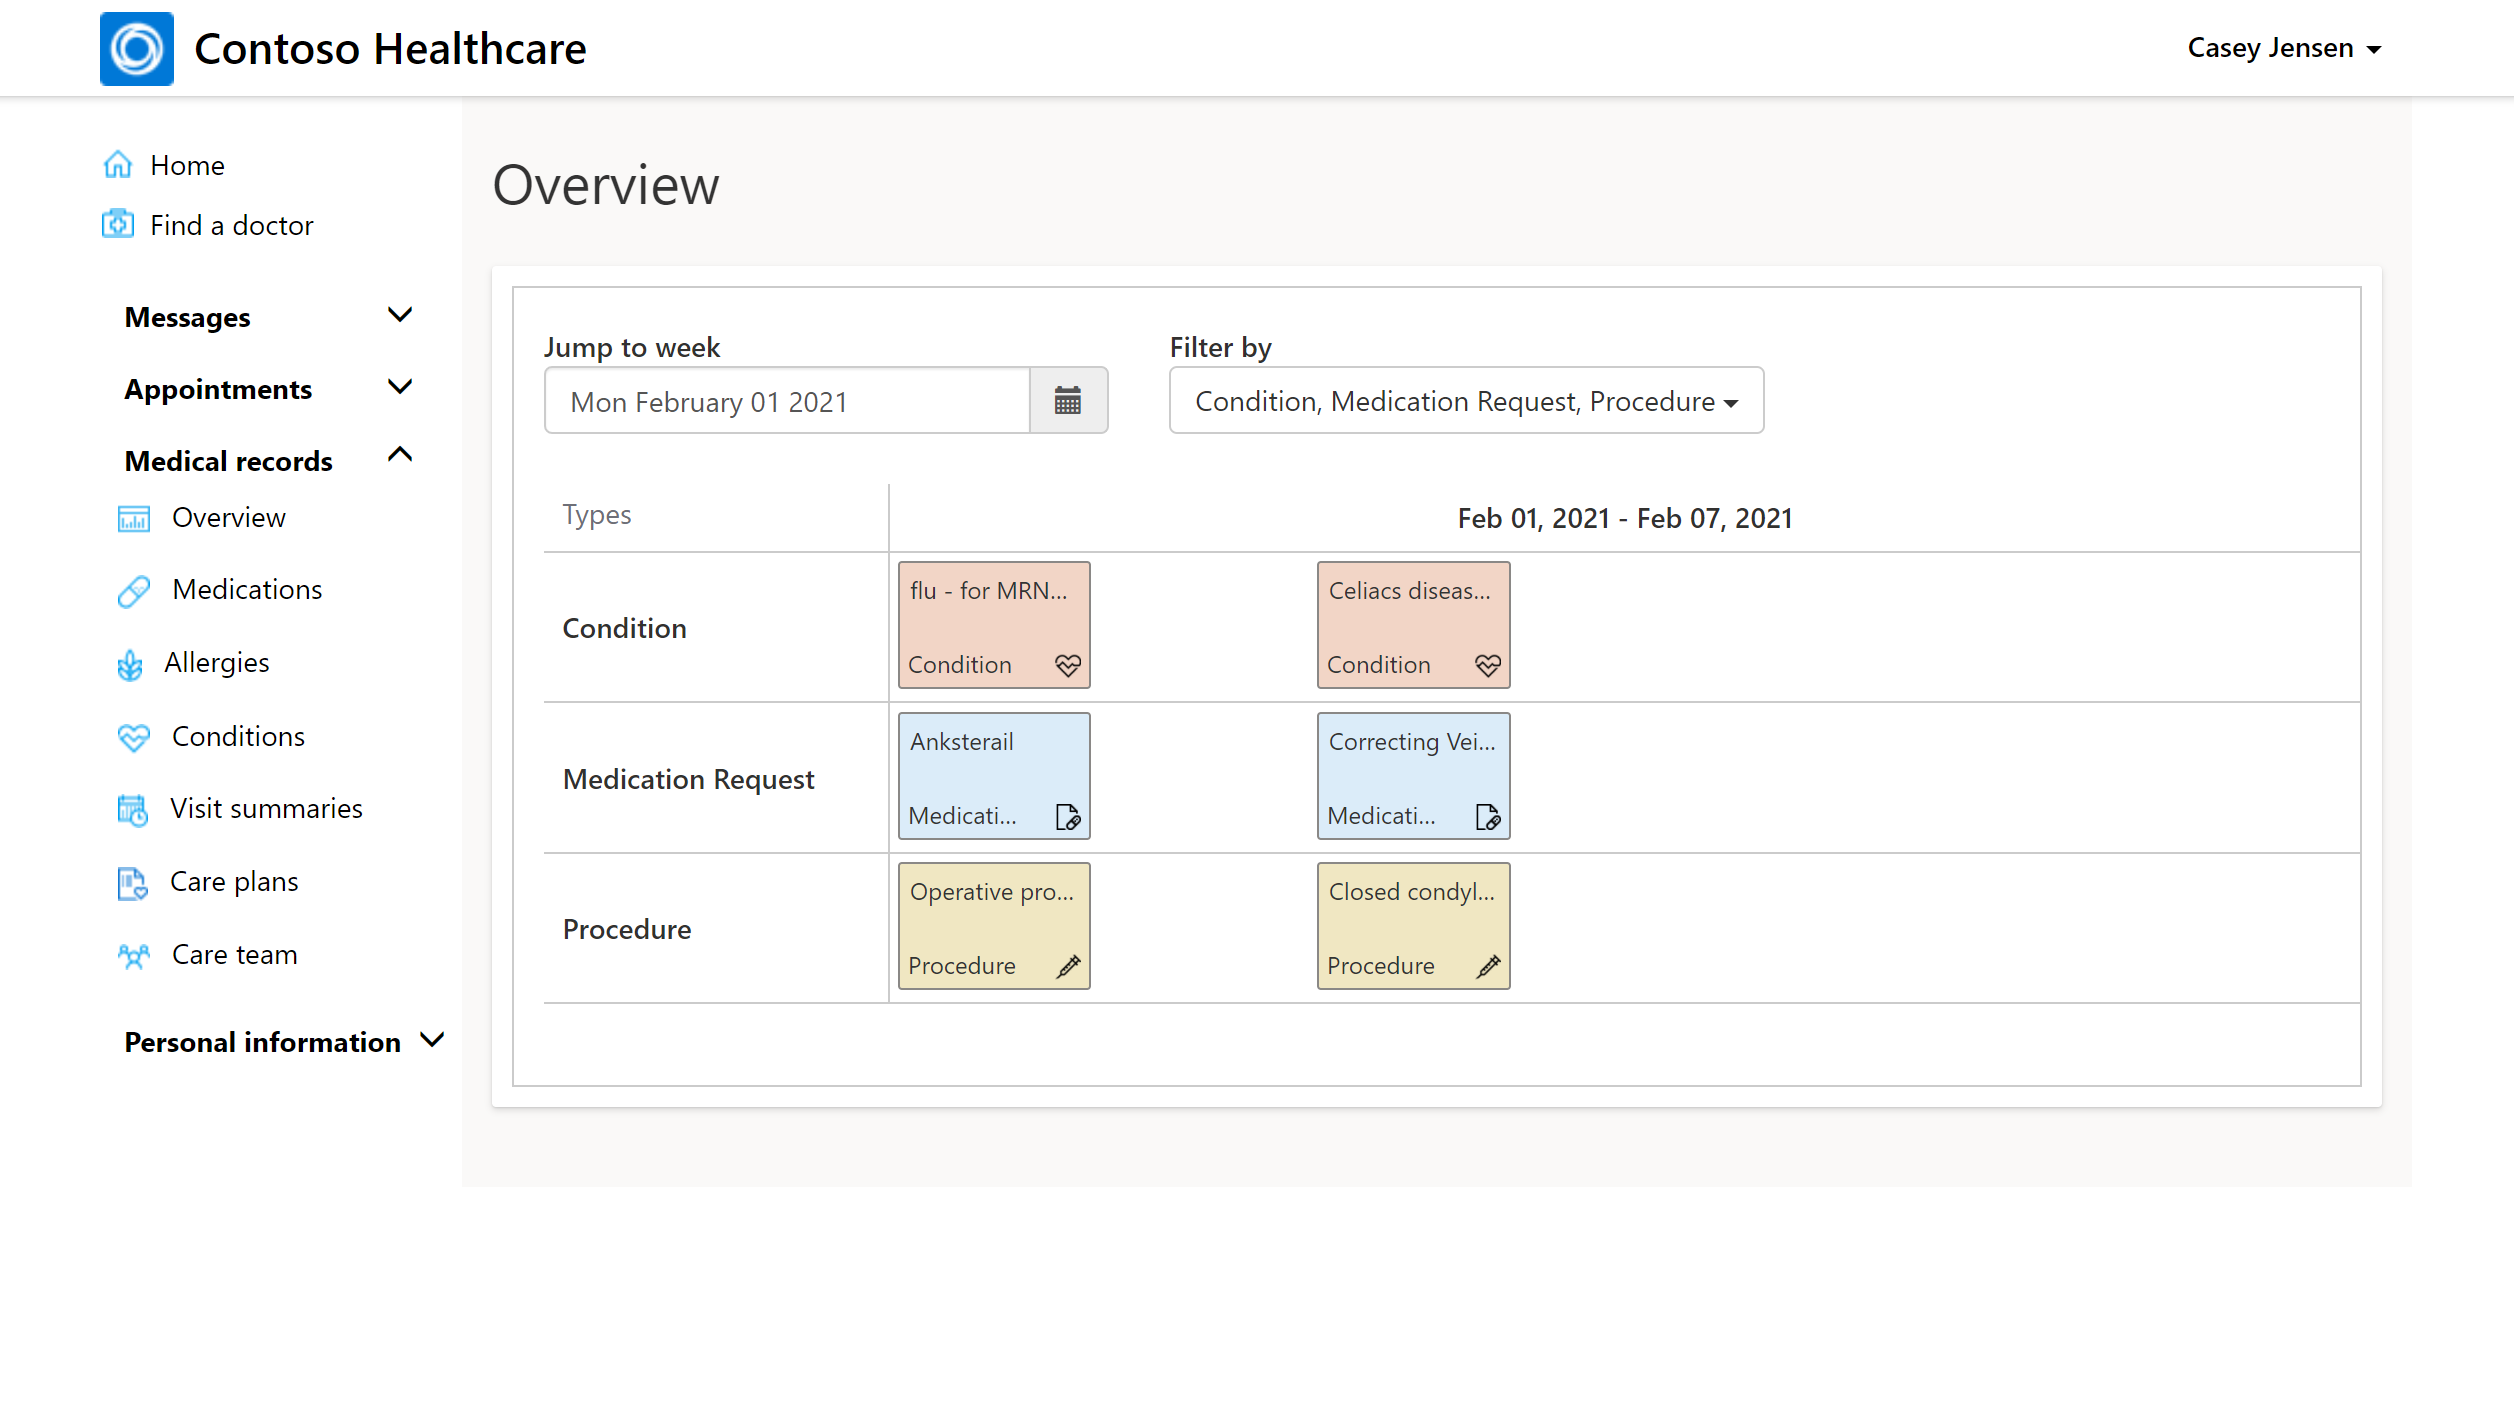
A patient can select Medical records to view their medications, allergies, conditions, visit summaries, care plans, and care teams.
Chat with a doctor or agent
A patient can select the Let’s Chat! widget and start a chat session at any time. Starting a chat session opens an interactive Let’s Chat window.
You can route the live chat widget either to the Microsoft Azure Health Bot service or directly to a patient service agent within Omnichannel for Customer Service, depending on how the bot is configured. The bot can be programmed to escalate the patient's chat session to an agent or directly to a doctor.
The agent or doctor can view the patient detail, the chat history, and search knowledge articles to help resolve the patient’s issue. The agent or doctor must be signed in to Dynamics 365 as an Agent to receive the escalation.
Activities
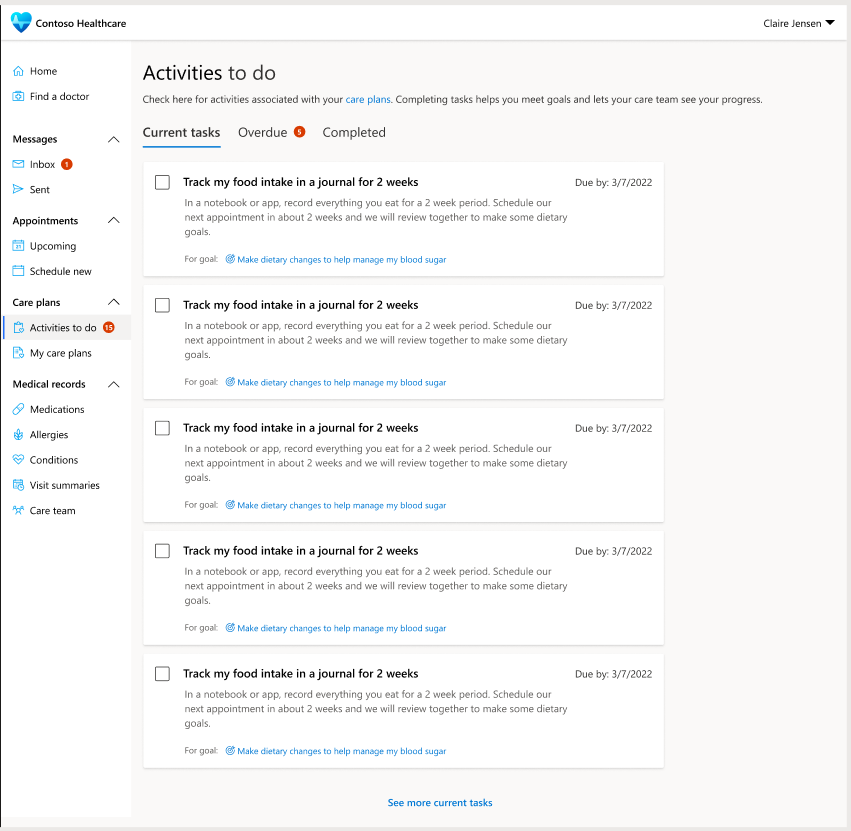
An activity is the primary driver of a care plan that helps track the progress of the care plan. Patients can see the current, completed, and overdue activities that are part of the care plan.
The patient can view upcoming activities for the day on the home page of the Patient access portal.
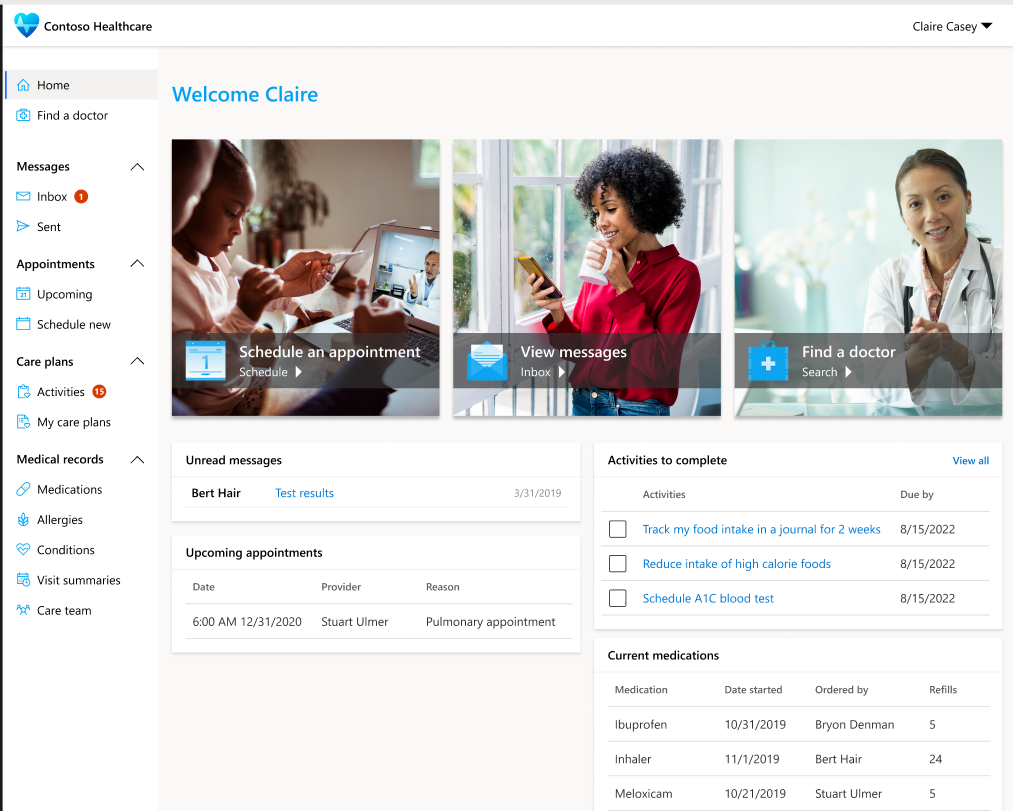
Select Activities to view all the current, completed, and overdue activities for the patient.
