Using Bot Framework Composer skill to add DTMF aggregation to Copilot Studio classic for voice support
Applies to: Dynamics 365 Customer Service
Important
Power Virtual Agents capabilities and features are now part of Microsoft Copilot Studio following significant investments in generative AI and enhanced integrations across Microsoft Copilot.
Some articles and screenshots may refer to Power Virtual Agents while we update documentation and training content.
With Copilot Studio, you can extend your bot with Microsoft Bot Framework skills. You'll need such Bot Framework skills to aggregate data for DTMF.
Note
For brevity, we refer to Microsoft.Bot.Components.Telephony as Telephony Extensions.
Note
This article refers to Copilot Studio classic for voice support. Use Copilot Studio to develop semi-pro-code solutions that leverage the Bot Framework Composer, and the Bot Framework Telephony Package. Find a guide to develop a skill by Bot Framework Composer and add the custom skill to your copilot at https://aka.ms/pvavoiceskills.
Learn more at Add skills, where you also find links that include the errors you may get when adding your skill to Copilot Studio classic bot.
The intent of this article is to provide a sample code of the custom skill that uses Aggregate DTMF Input (#) included in the Telephony Extensions sample.
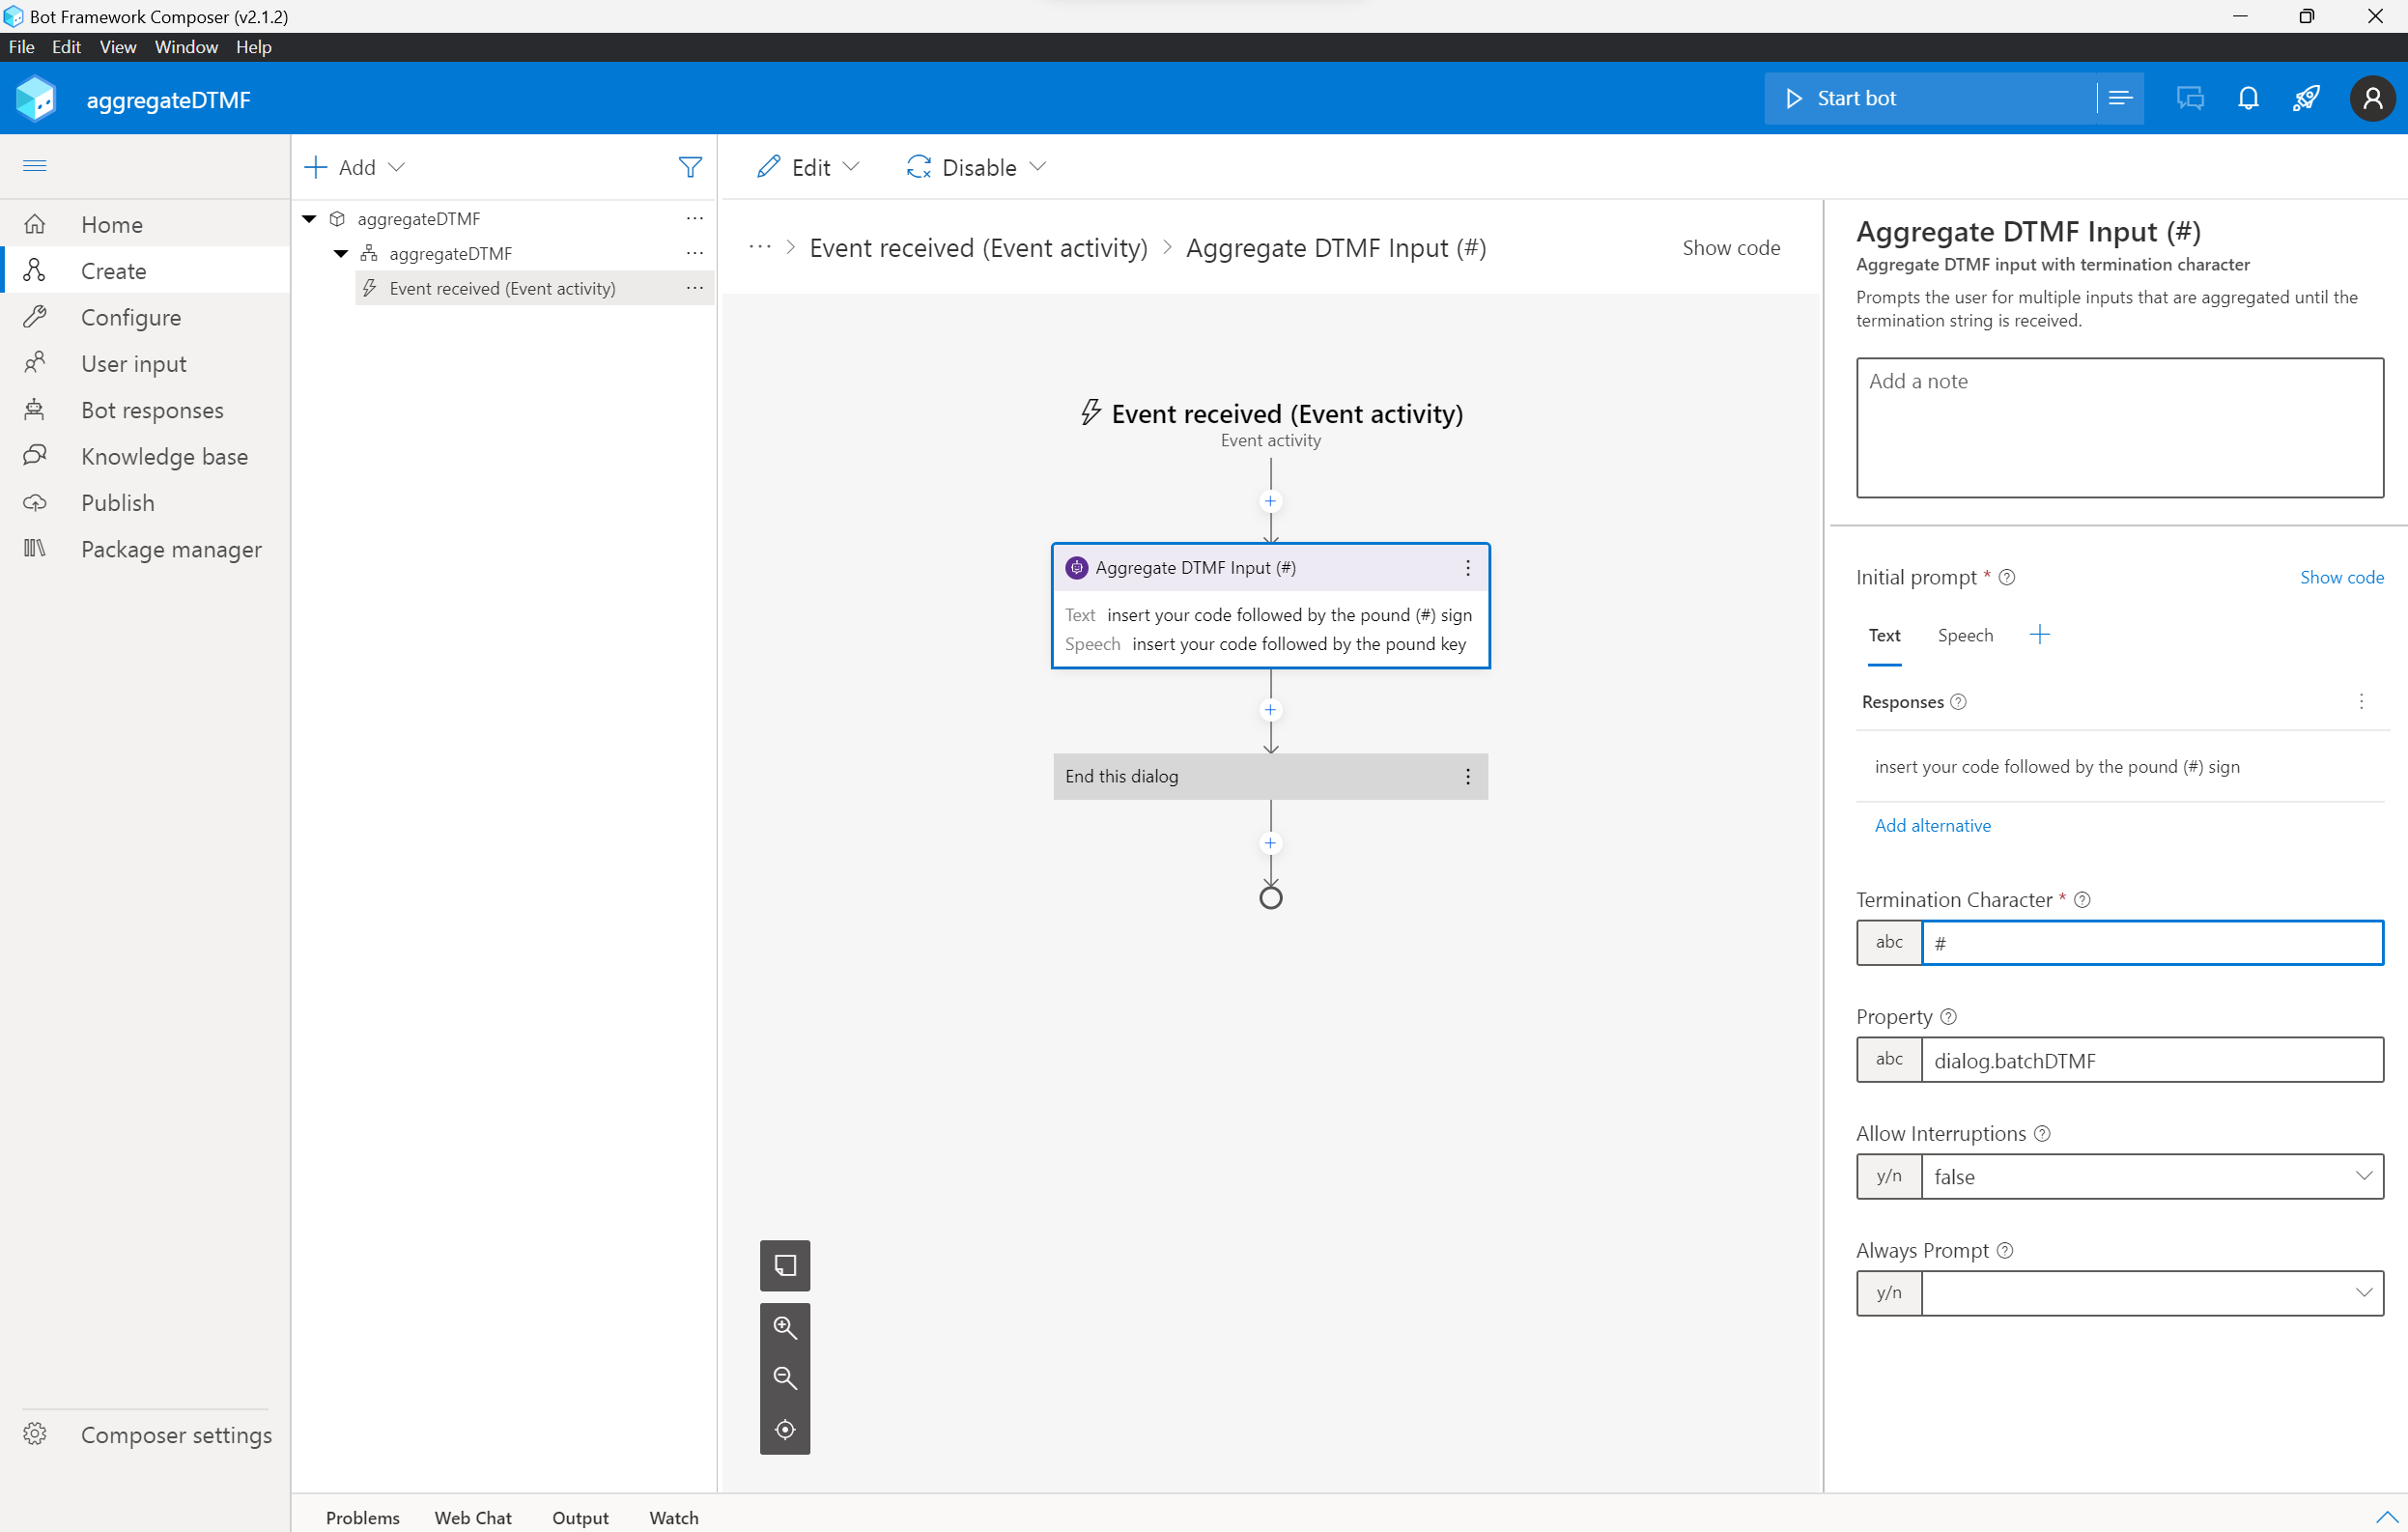
Aggregate DTMF Input (#) prompts the user for multiple inputs that are aggregated until the Termination Character is received.
Sample code
Find the sample code at Bot Framework Skill. The ZIP file contains a sample Bot Framework Skill project.
Find another sample at Copilot Studio classic bot solution. This ZIP file contains the PowerApps solution that contains the Power Virtual Agents bot.
Important
Sample codes, components (solutions), and documents created by the community are not supported by Microsoft.
If you have questions or issues with community tools, contact the publisher of them.
Set up the environment
To work on the bot framework skill sample code, you need a set of things to be successful:
- An Azure Account
- The Bot Framework Composer (optional, but assumed for this document)
- A Copilot Studio classic bot integrated with Omnichannel for Dynamics 365 Customer Service Omnichannel for voice channels
For a copilot that is integrated with a voice channel in Omnichannel for Customer Service, you can import the sample solution Copilot Studio classic bot solution in your Customer Service environment.
As soon as the solution is imported, you can open the Copilot Studio classic bot.
From the bot you need to take the Bot ID that will be used in the Skill publishing step.
Assuming you have the items listed in the requirements above, our basic flow is to open the sample project with Bot Framework Composer; author a basic skill; and then publish the skill to Azure.
First, open Composer and open the Skill Sample project.
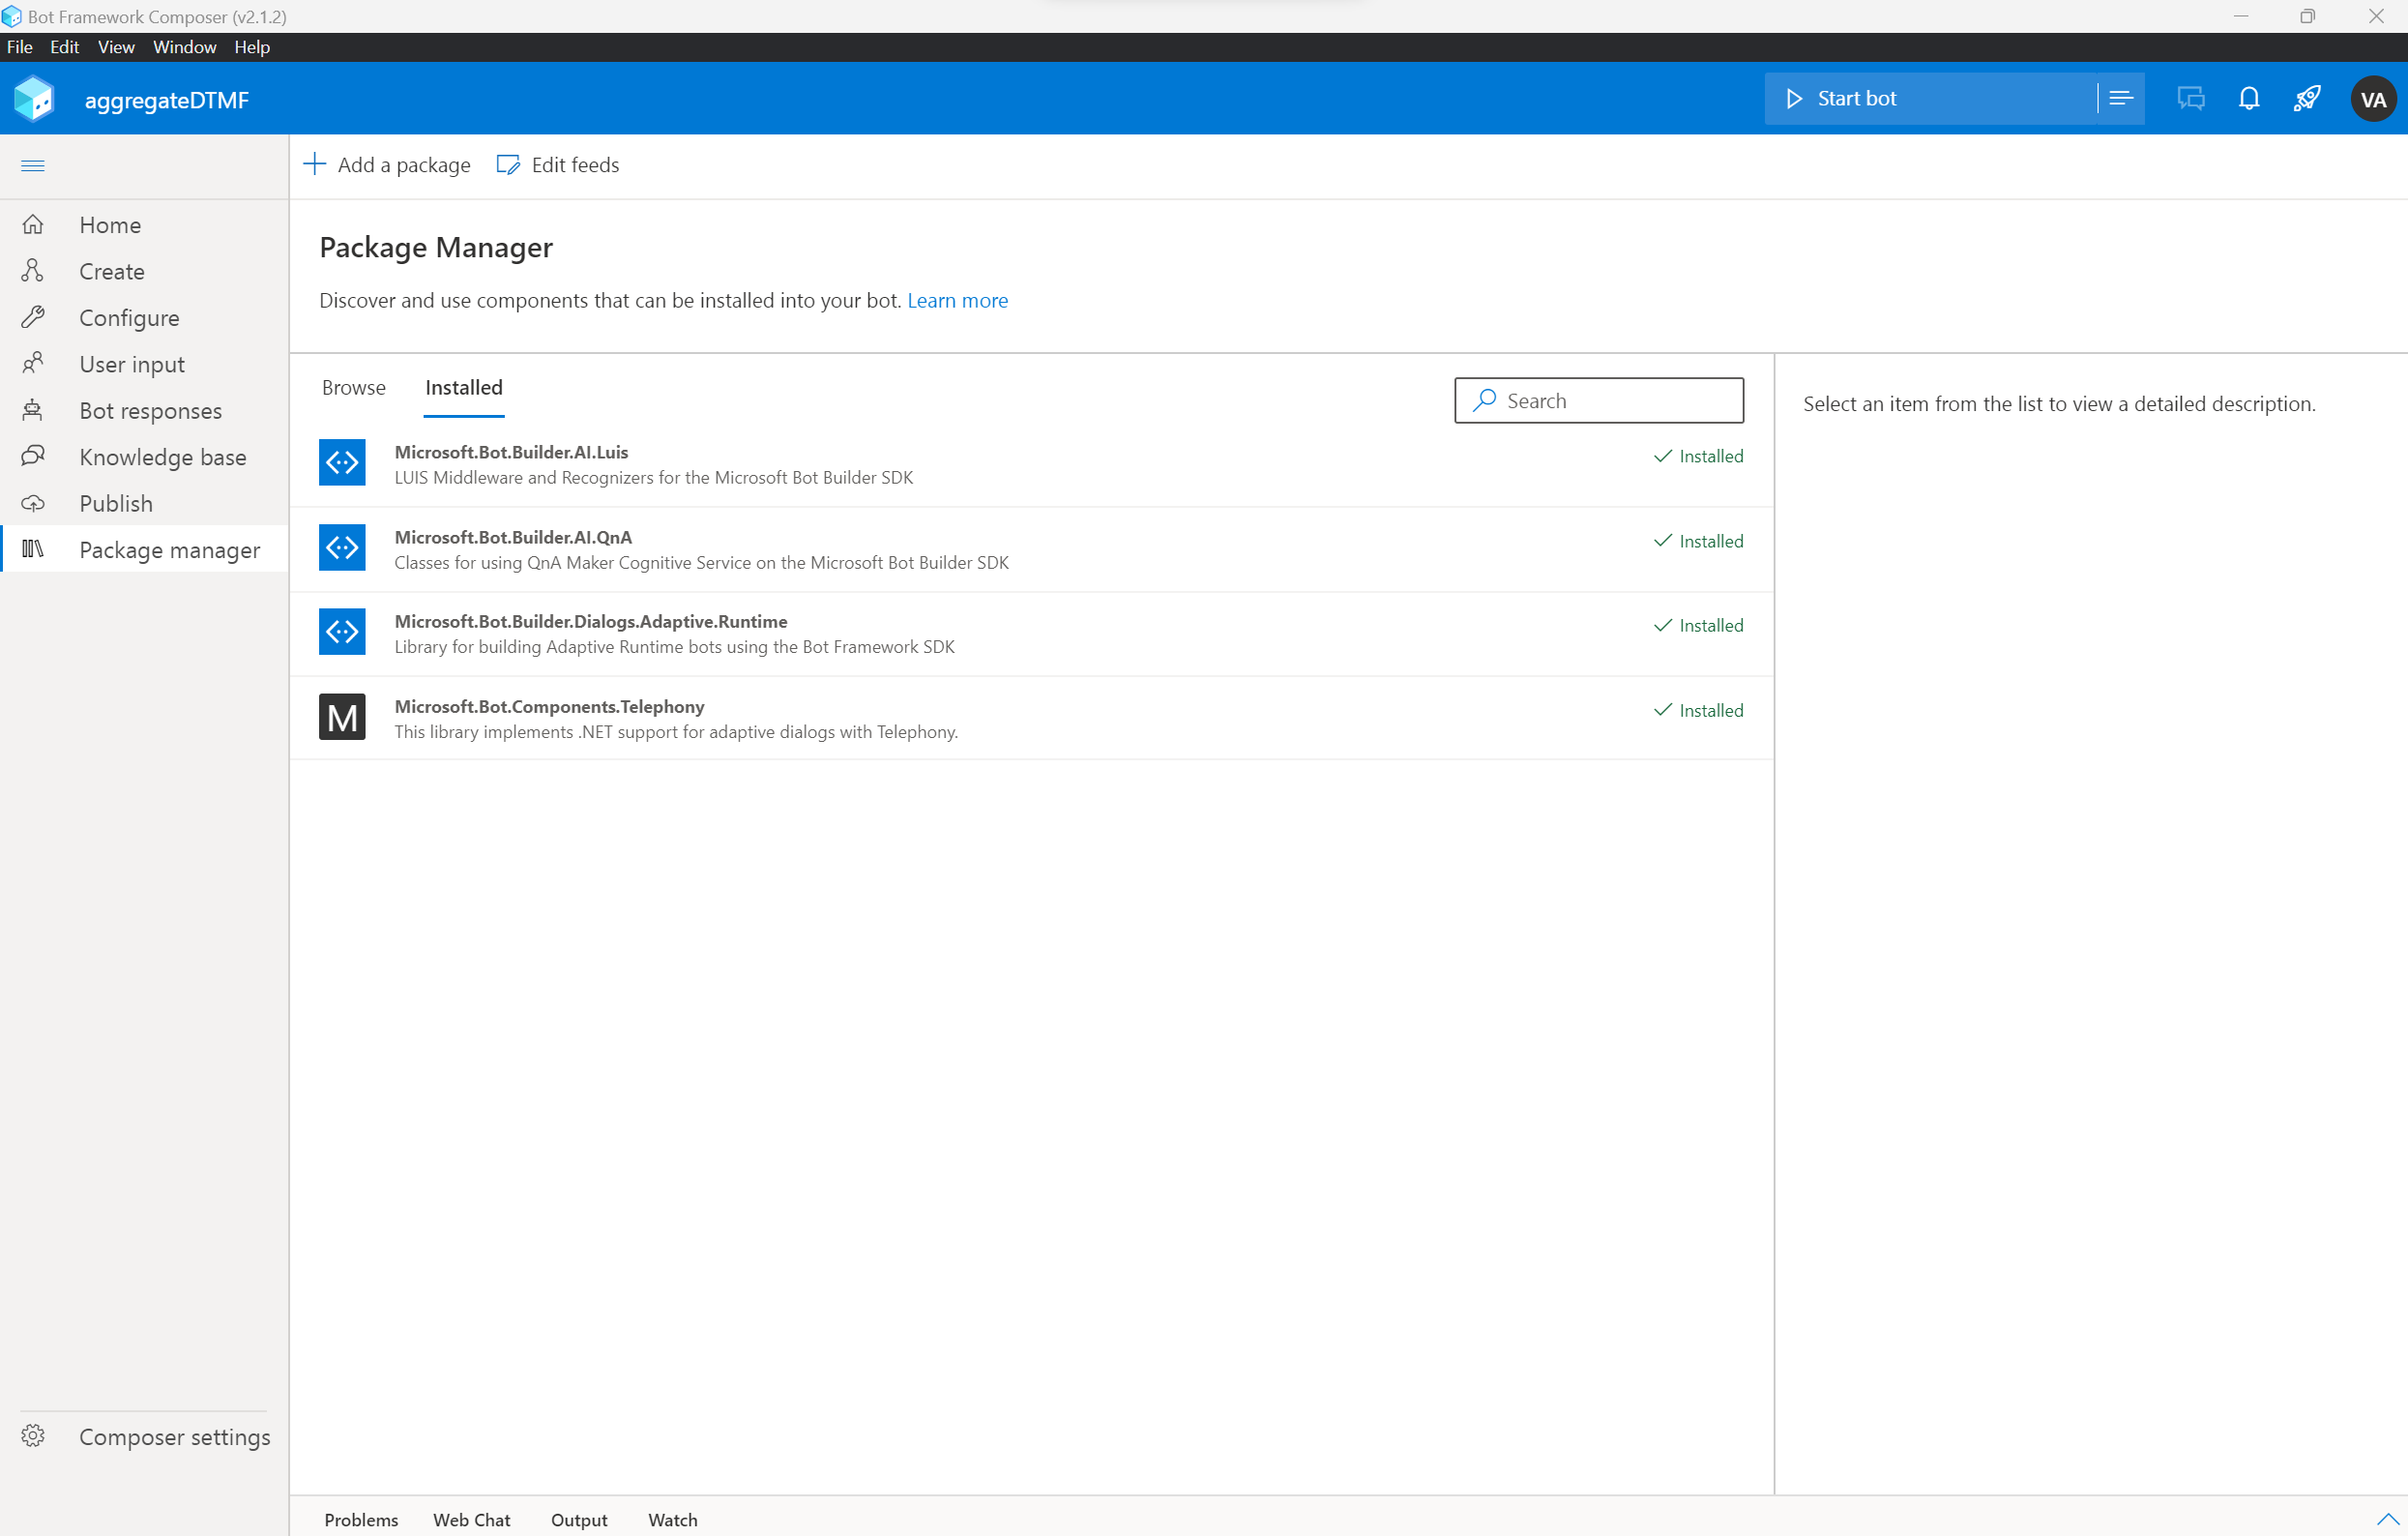
After this, you'll be taken to the composer authoring canvas, which is similar to that in Power Virtual Agents. In this sample, the Telephony Package extension is used. From the left nav of the Composer UI, choose Package Manager, and from within that UI go to Installed tab.
Once you're familiar with the Bot Framework Composer, authoring the skill, publish the Skill, please flow the guide in the link posted at the beginning of Publishing to Azure including creating Azure resources.
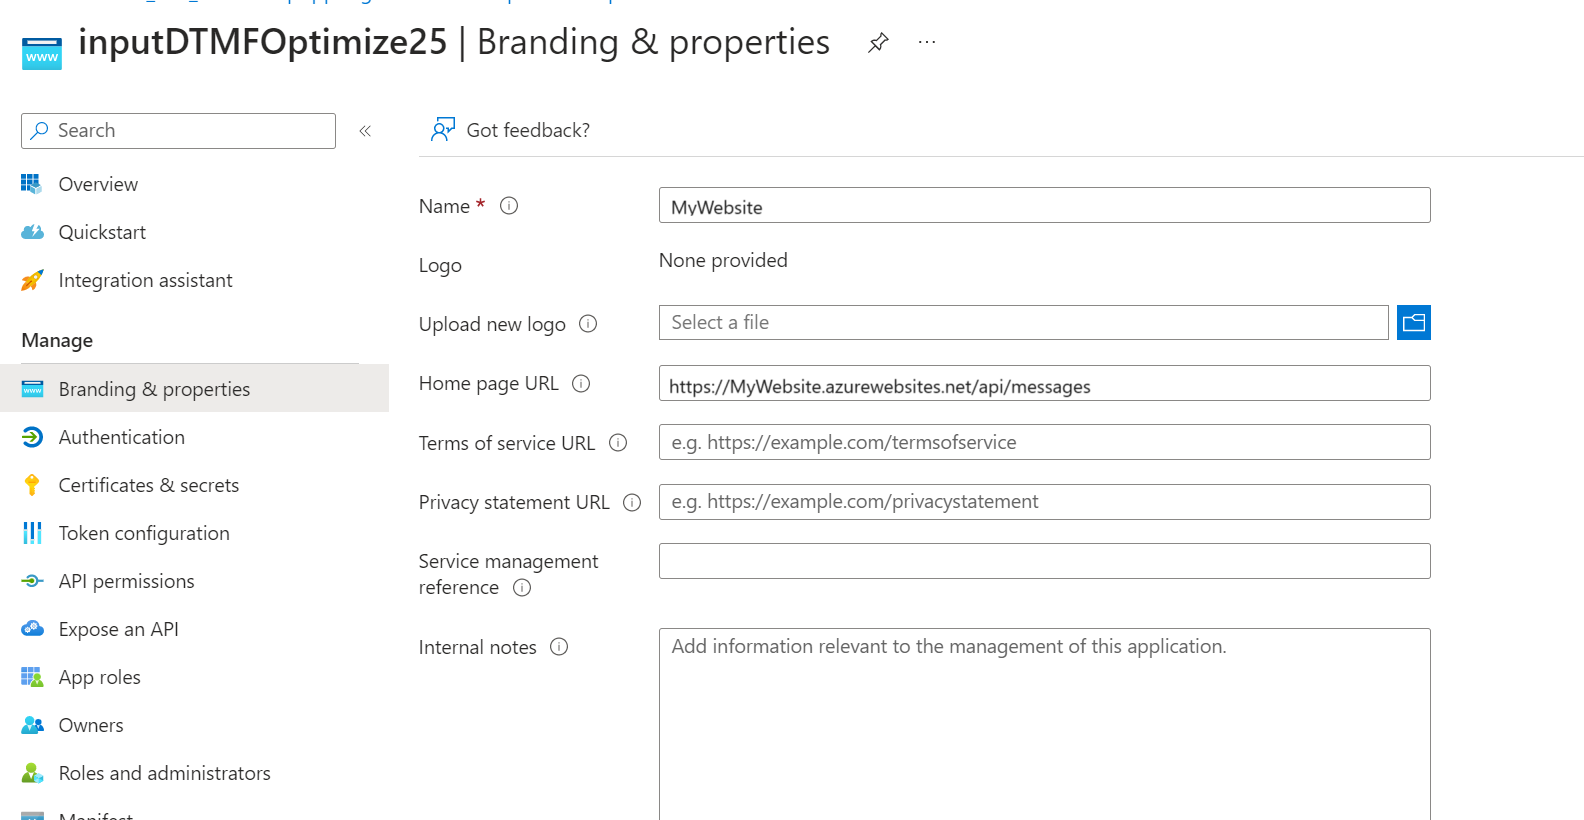
Once the skill is published, a last step before leaving Azure. To further ensure security, Copilot Studio requires that a skill be in the same AAD Tenant as the Copilot Studio classic Bot. First go to the Azure portal in the browser at https://portal.azure.com. Sign in, and navigate to the App Registration section.
Within here, search for the app registration using the name for the skill. Once found, choose the Branding and Properties element in the left hand menu. From here, either the Home Page URL must match the domain of the skill or the Publisher Domain must match the AAD tenant of the Copilot Studio classic Bot. The latter is the more secure solution.
Skill in Copilot Studio
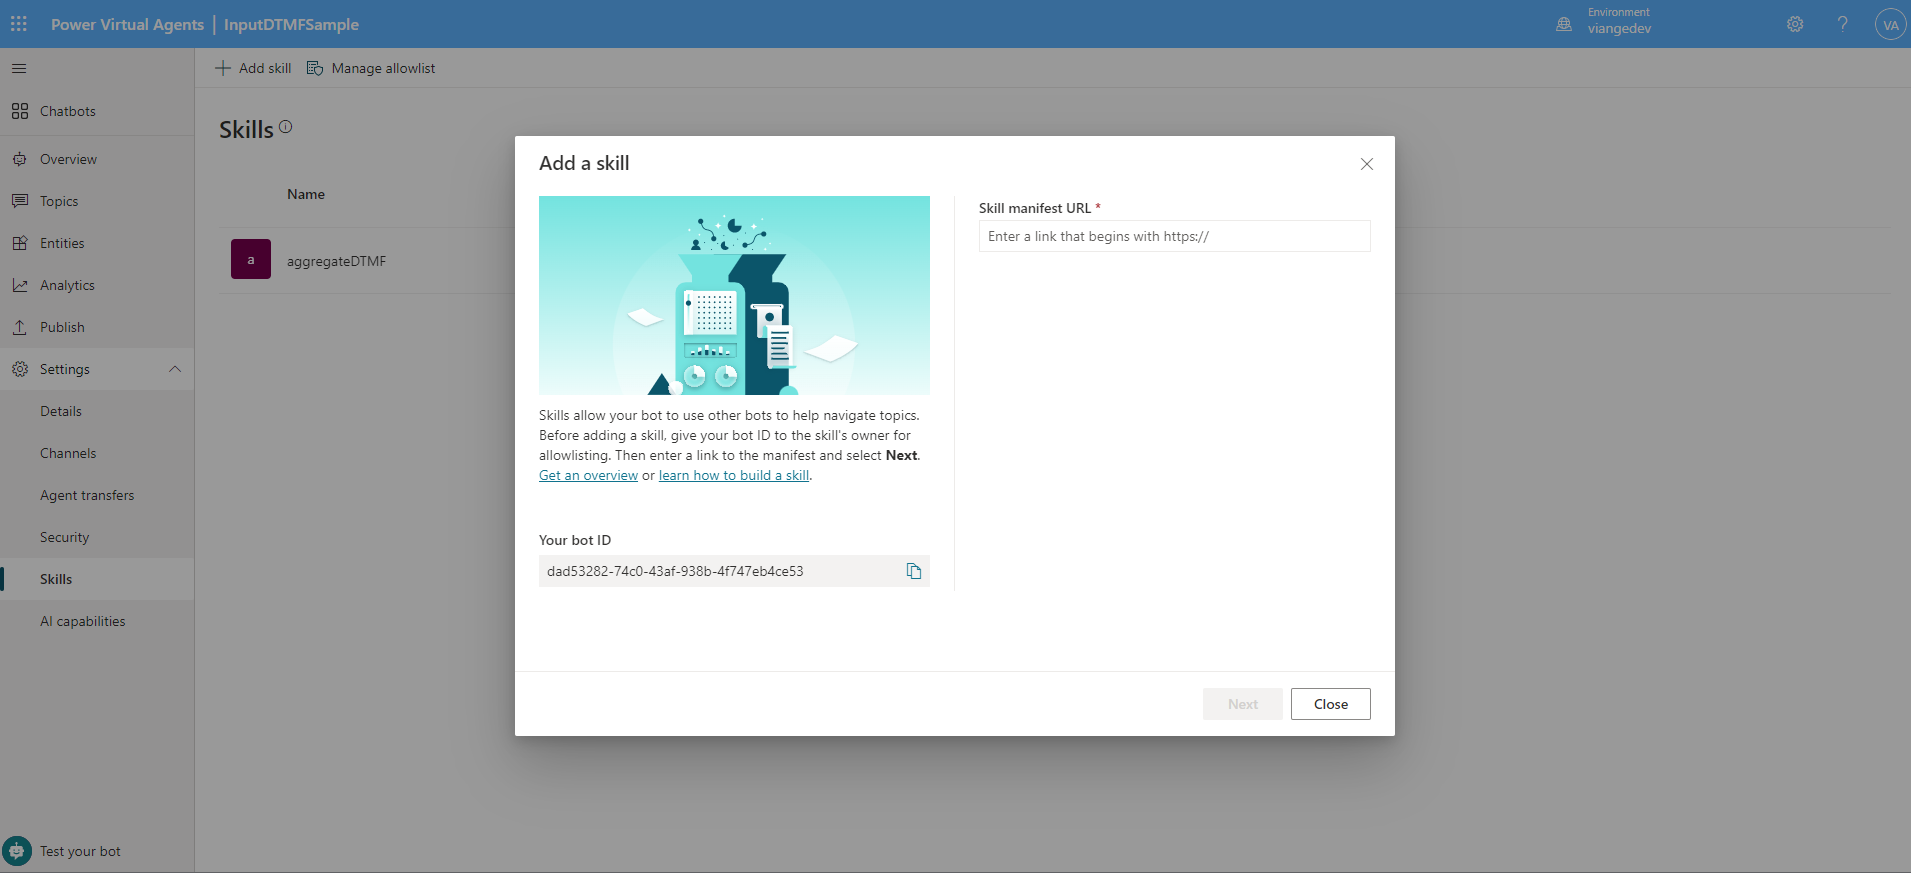
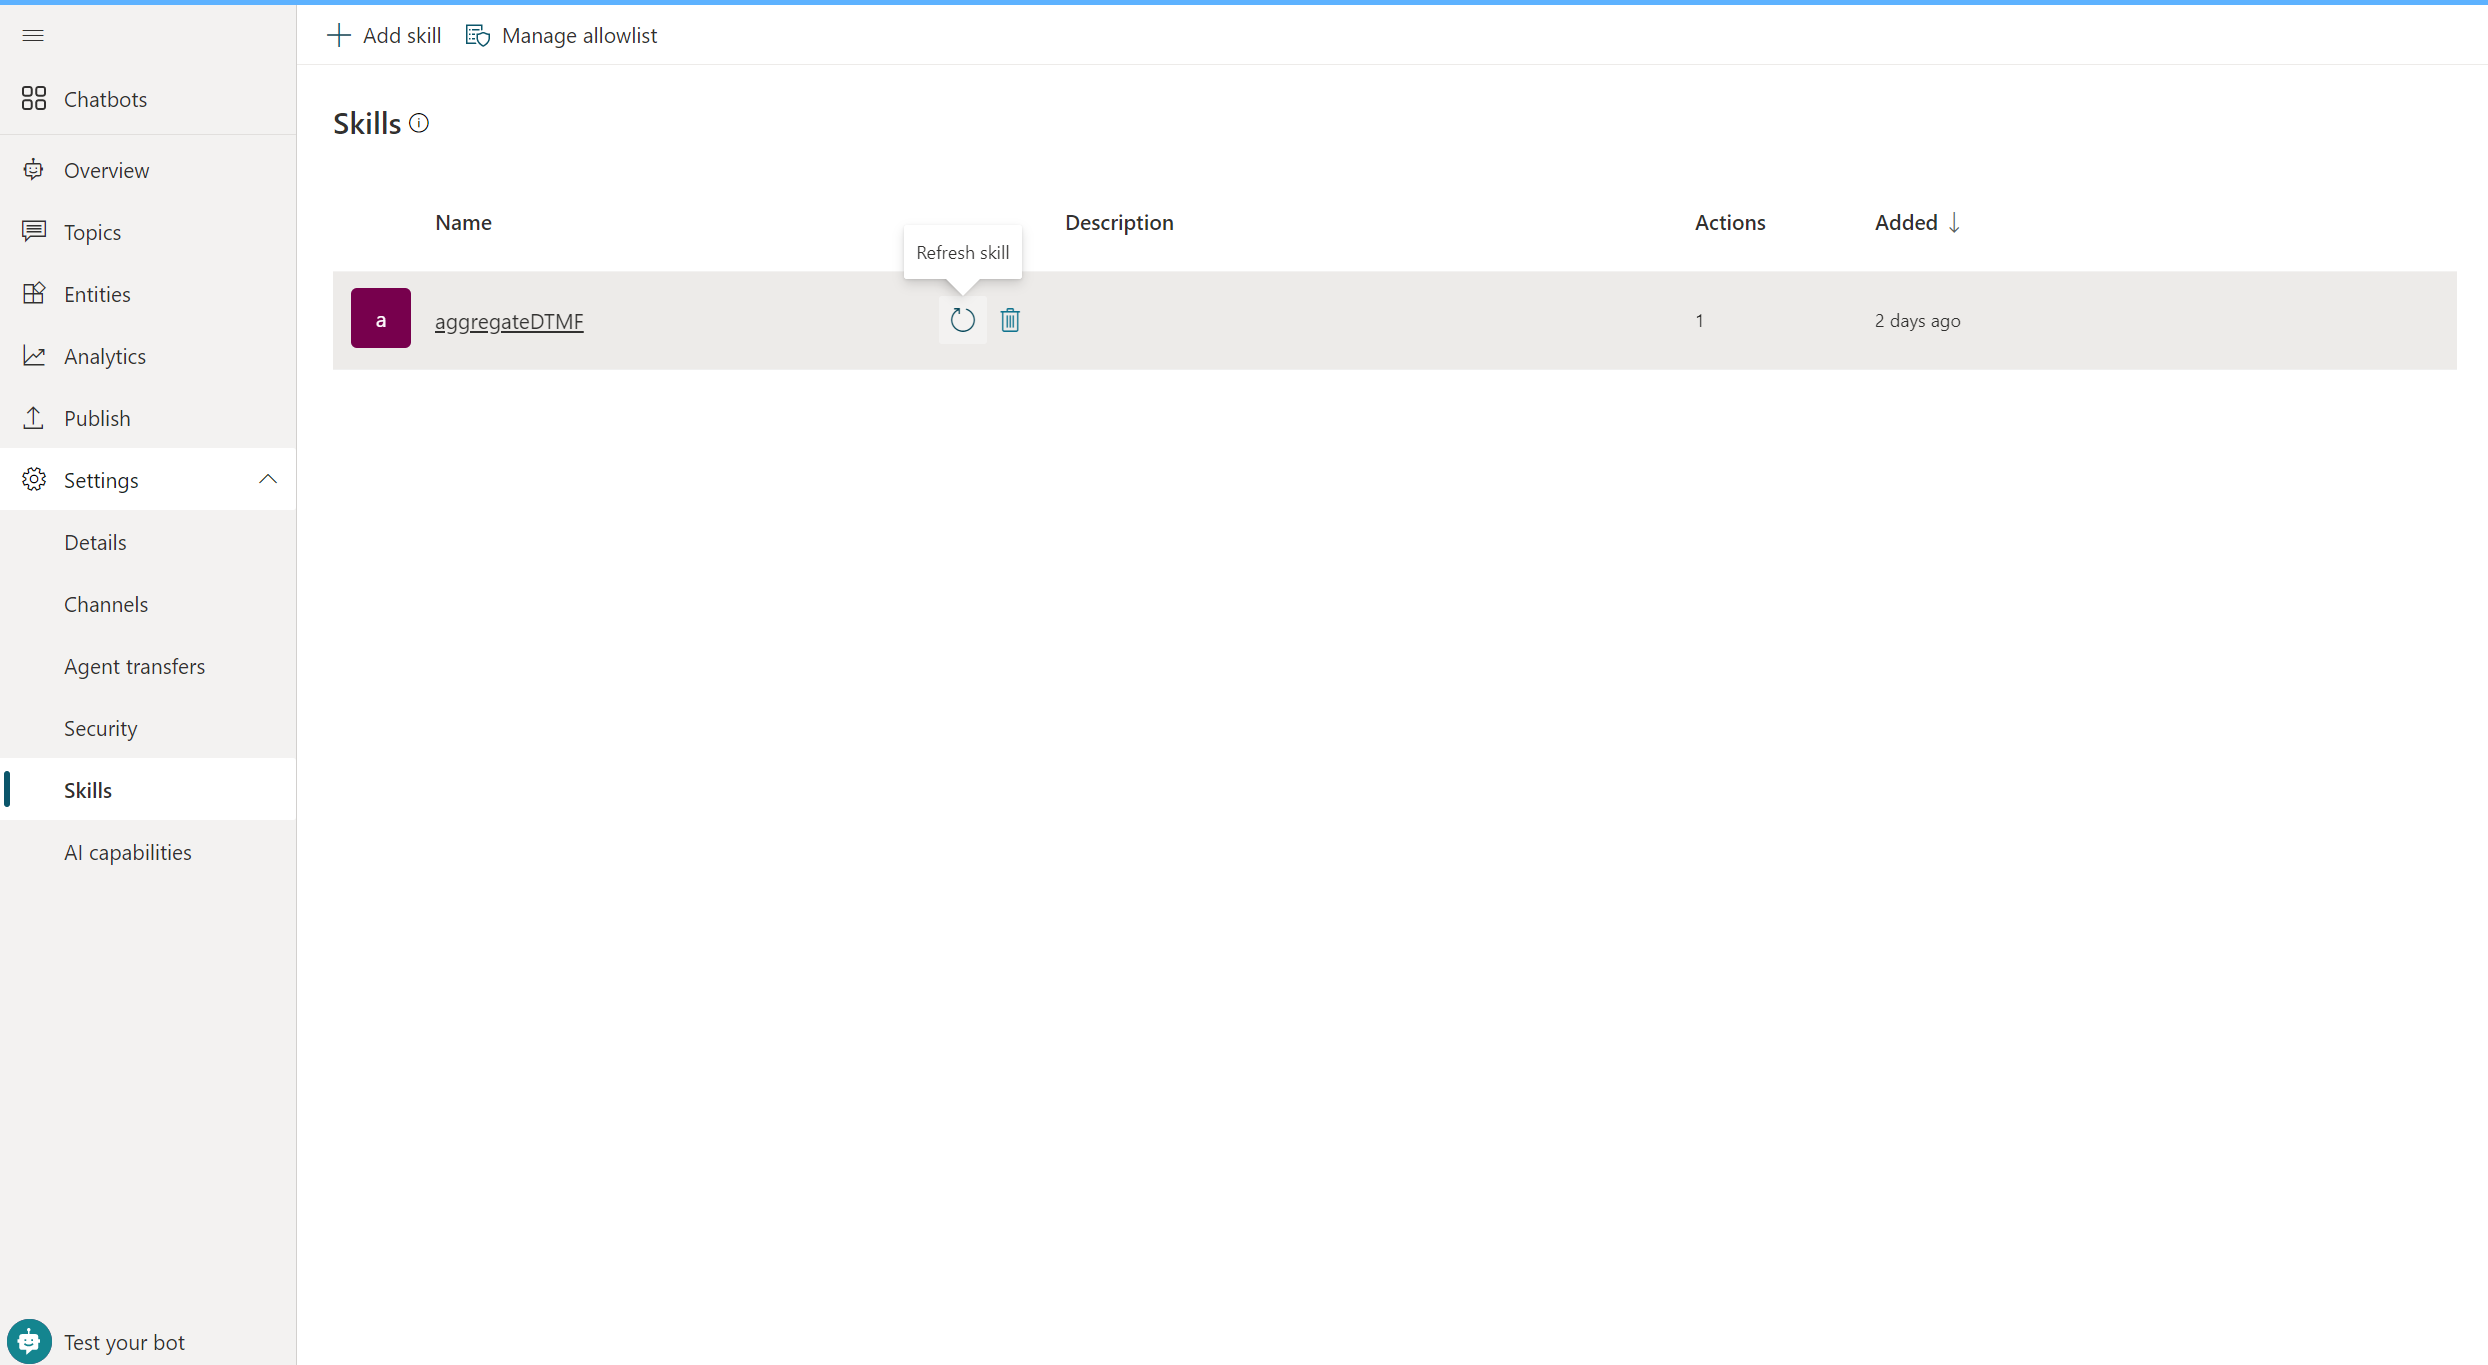
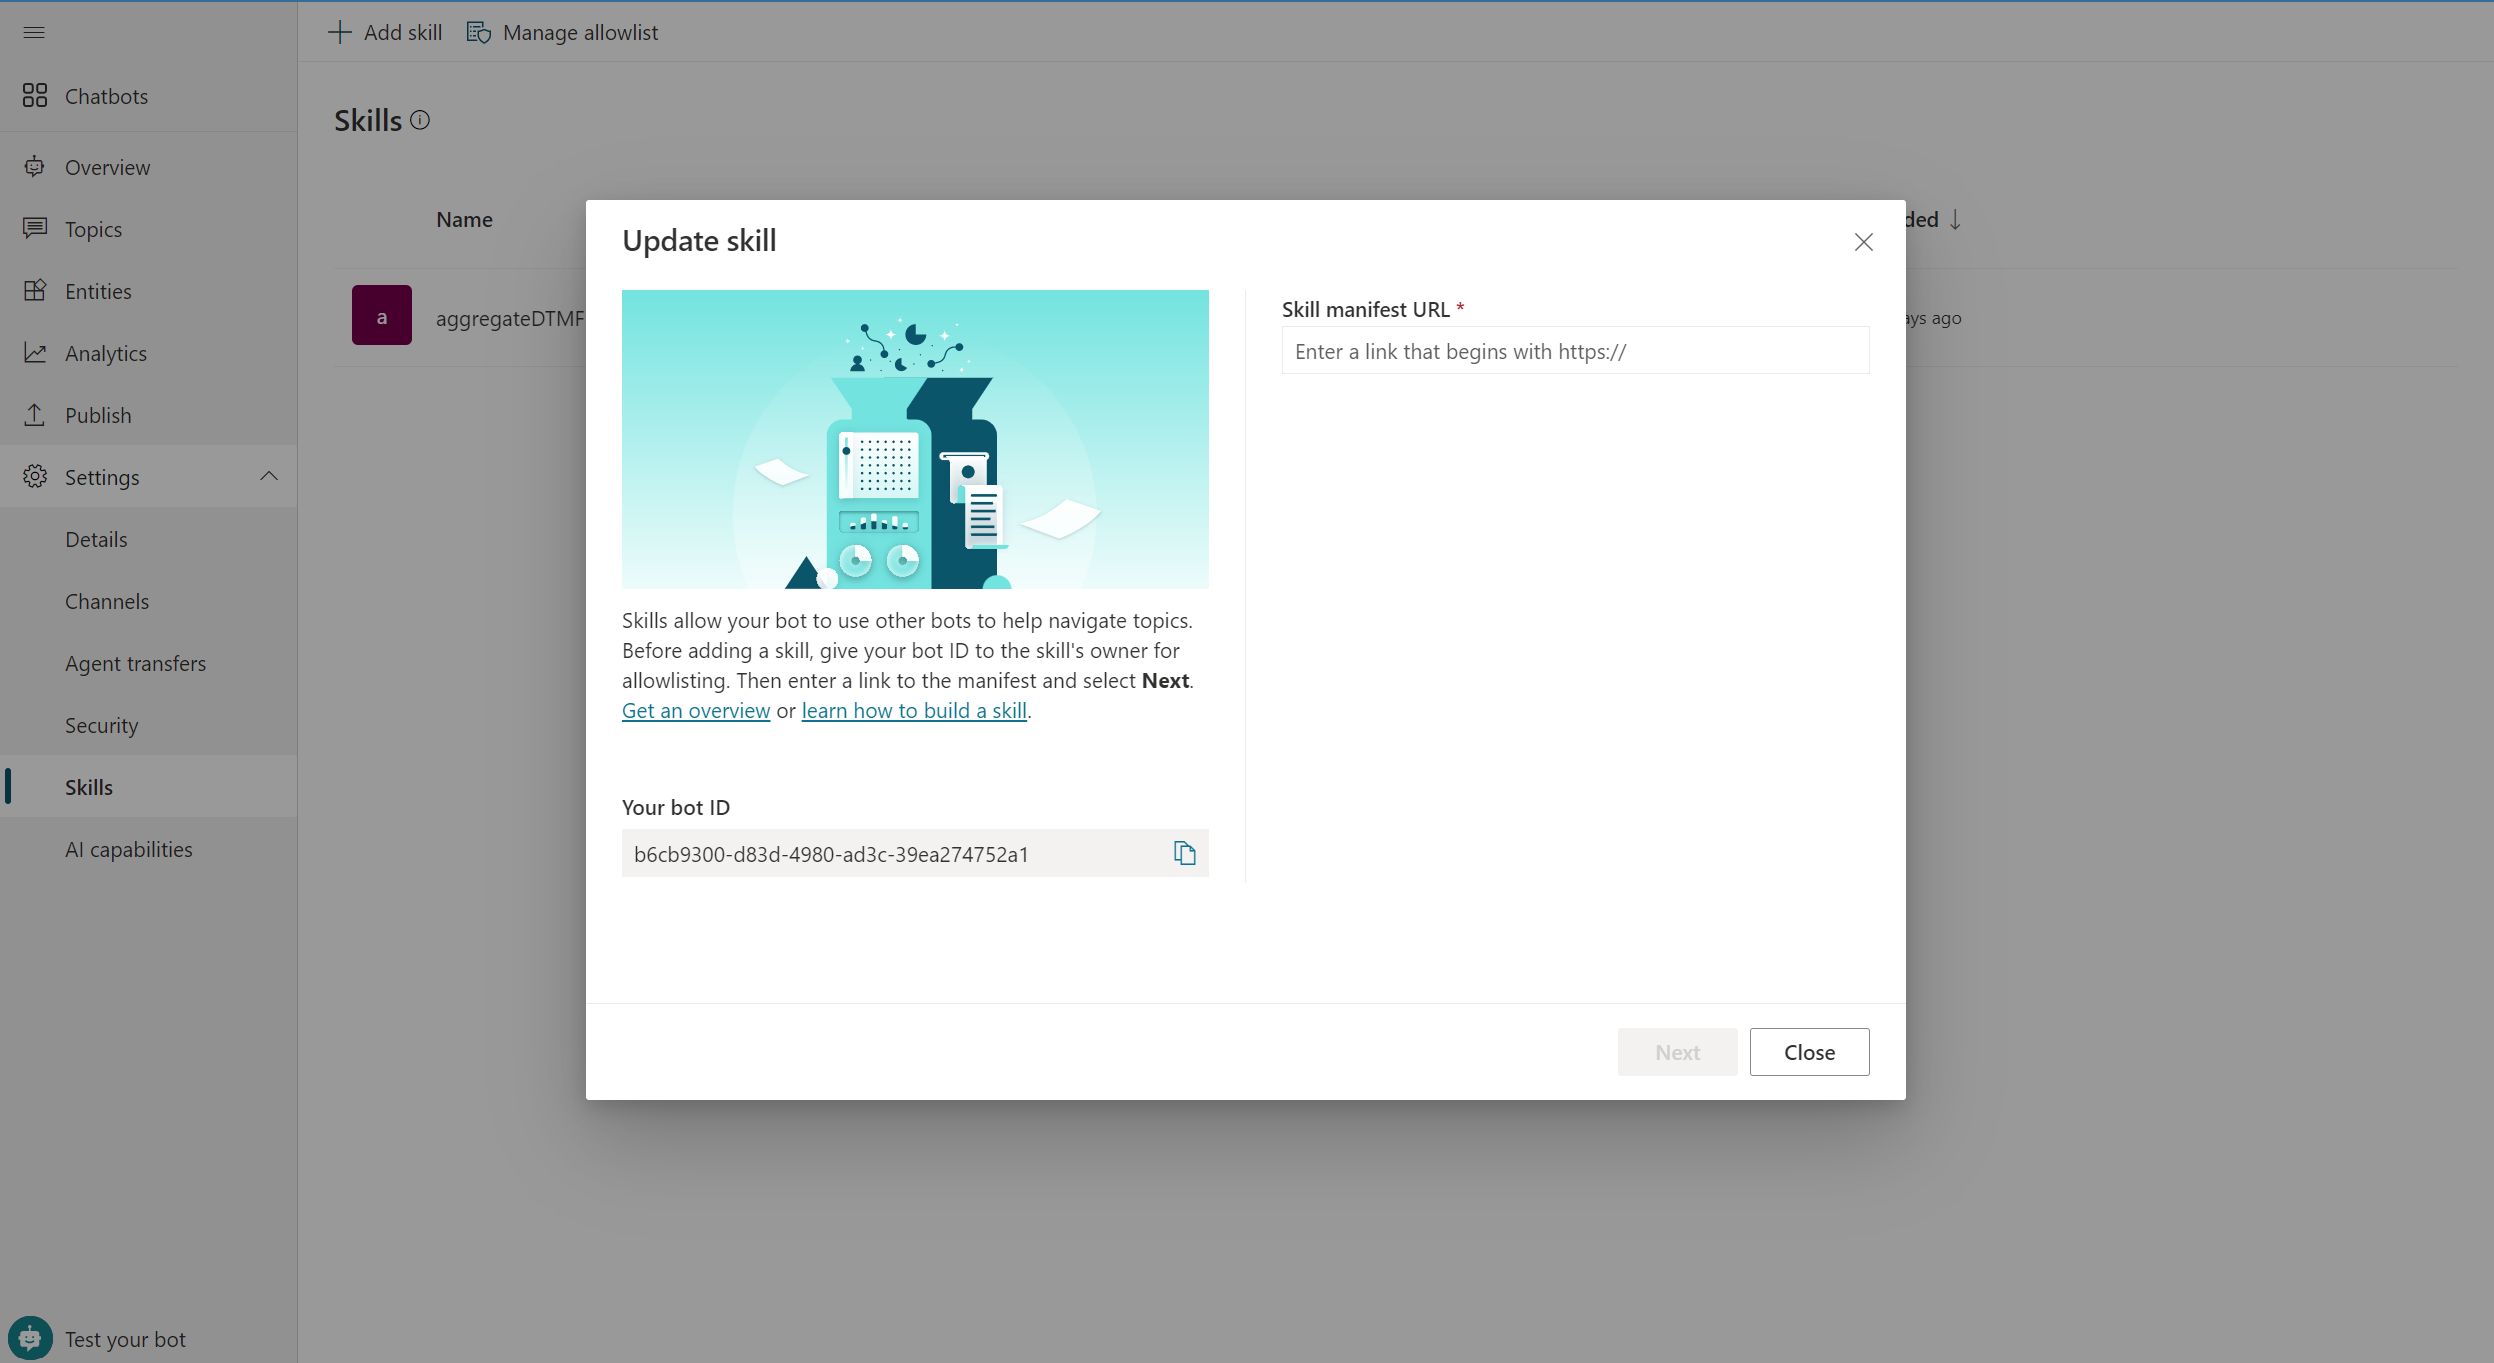
In the Copilot Studio Bot included in the solution the skill is already added, so you need to refresh that one.
Inserting the Skill Manifest URL you got after the skill publishing.
Test your skill
You're now ready to interact with the bot on the test canvas. Run the skill as a step just like any other dialog step in the bot.
