Authentication Providers
The healthcare agent service is a highly configurable and extensible bot building platform. One of the core capabilities is the ability to integrate authenticated third party services into your scenarios flows. To build such integrations, we provide an authentication layer on top of the regular data connection object which allows you to make HTTPS calls to third-party API providers or your own API endpoints. Before an authenticated connection accesses personal resources, end users could be prompted to sign in via an OAuth 2.0 flow in the chat thread. This ensures that personal resources are accessed only by authenticated users.
Create a new Authentication Provider
Navigate to Integration - Authentication Providers and select on + New to create a new authentication provider.
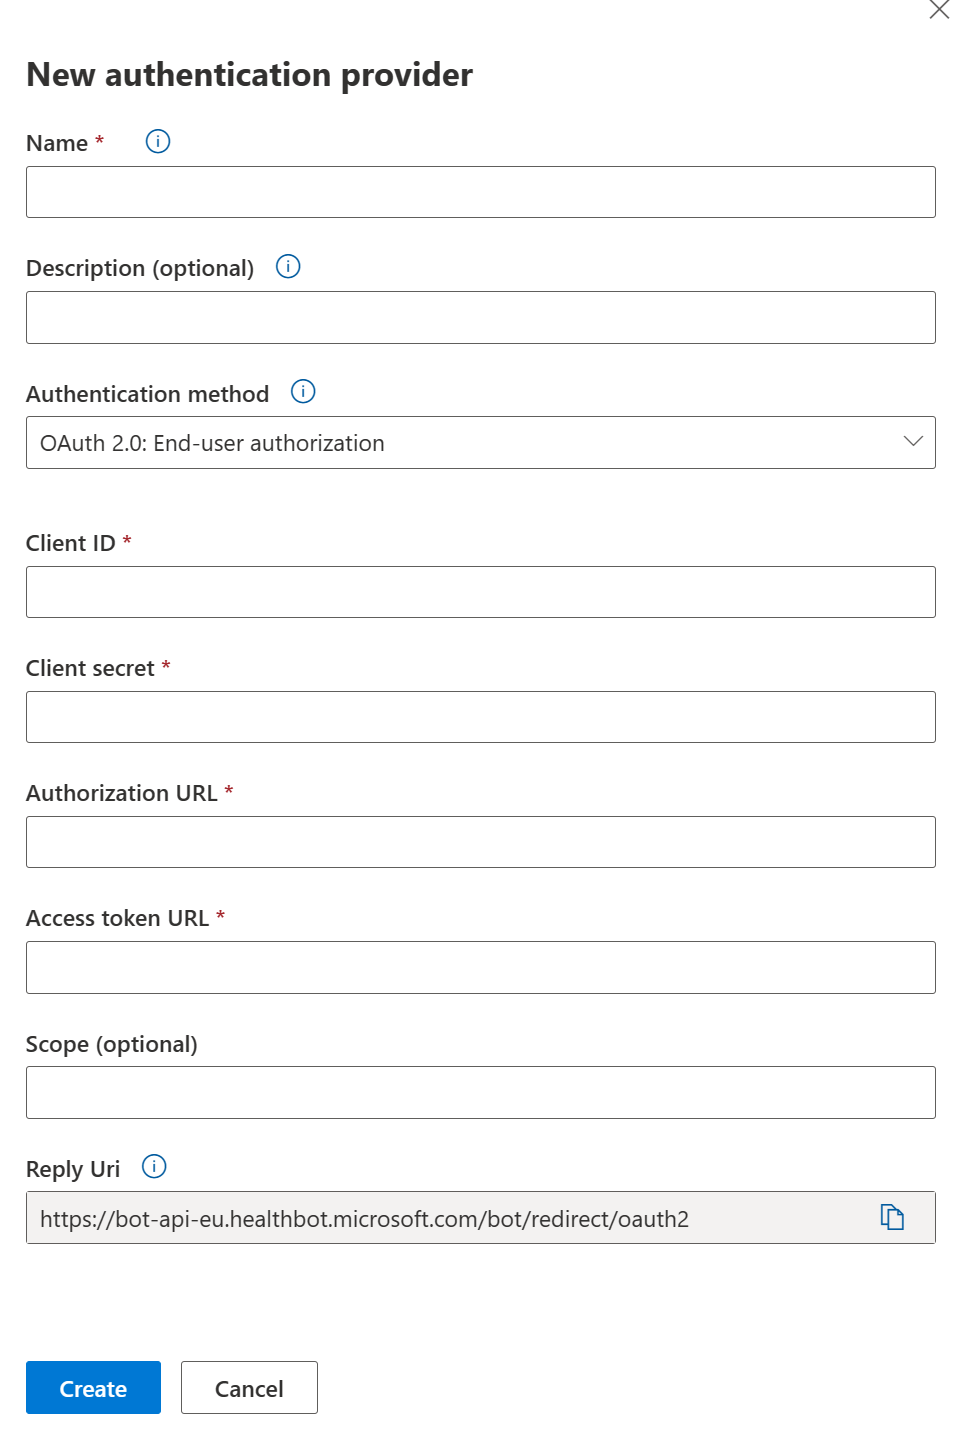
You can select to use Server-to-server authentication or let the end-user authenticate.
OAuth 2.0: Server-to-server authentication
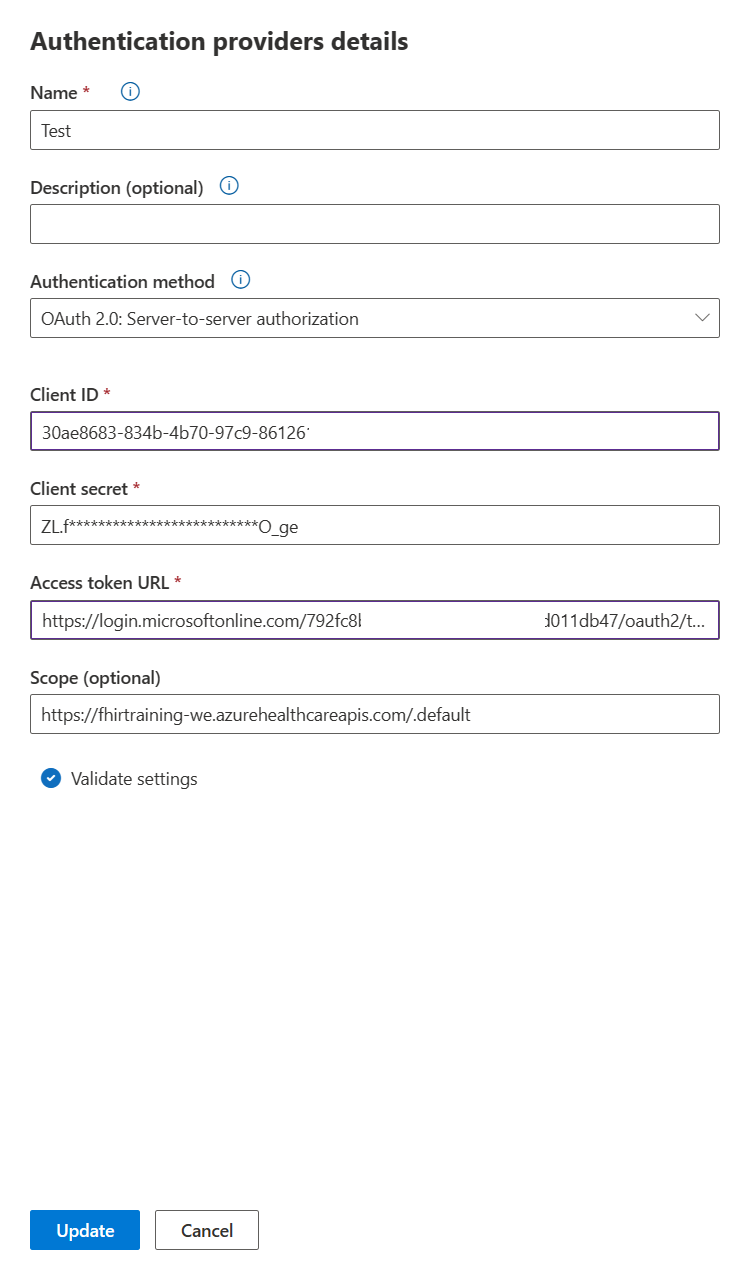
To set up server-to-server authentication, you need to provide six variables:
- Name: Add an internal name for the connection
- Description: Add an internal description for recognizing this connection
- Client ID: Add the client ID issued by the OAuth provider when you registered your application.
- Client Secret: Add the client secret issued by the OAuth provider when you registered your application.
- Access Token URL: The URL is used to refresh the bots access to the end users account. Each OAuth provider has their own Access Token URL.
- Scope: The scope is used to restrict the level of access to the application. By default you can use openid
If you're using Azure Entra as your authentication provider, you will need to create a service principal to get your Client ID and Client Secret for the Access Token Url, this should be: login.microsoftonline.com/{tenant id}/oauth2/v2.0/token
Initiate authentication flow
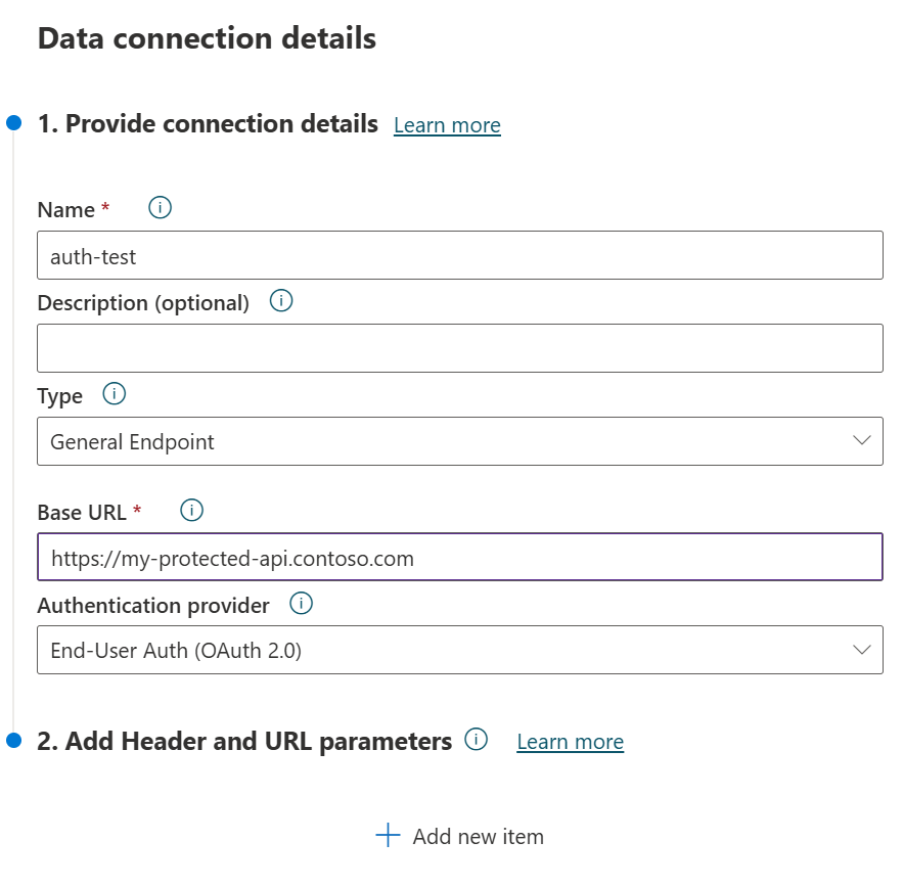
To initiate the server-to-server authentication flow, you need to configure a data connection with your authentication provider settings.
OAuth 2.0: End-user authentication
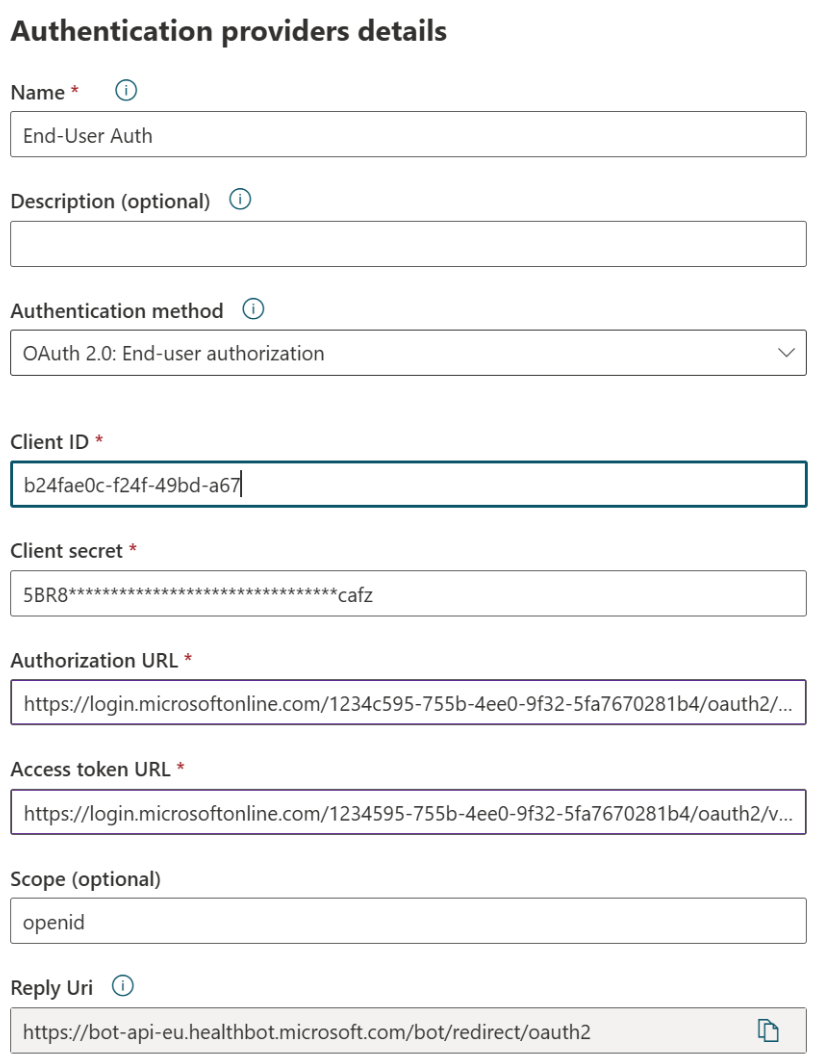
To set up end-user authentication, you need to provide seven variables:
- Name: Add an internal name for the connection
- Description: Add an internal description for recognizing this connection
- Client ID: Add the client ID issued by the OAuth provider when you registered your application.
- Authorization URL: The URL the bot will redirect your end Users to for Authentication. Each OAuth provider has their own Authorization URL.
- Access Token URL: The URL is used to refresh the bots access to the end users account. Each OAuth provider has their own Access Token URL.
- Scope: The scope is used to restrict the level of access to the application. By default you can use openid
- Reply Url: Add the reply Uri to the allowed reply Uri list of your authentication provider, you should take the one from your healthcare agent authentication provider pane (example: "https://bot-api-eu.healthbot.microsoft.com/bot/redirect/oauth2")
If you're using Azure Entra as your authentication provider, you'll first need to create a service principal to get your Client ID and Client Secret for the Access Token Url, this should be: login.microsoftonline.com/{tenant id}/oauth2/v2.0/token, for the Authorization URL this is: login.microsoftonline.com/{tenant id}/oauth2/v2.0/authorize
User authentication diagram flow

Initiate authentication flow
To initiate the end-user authentication flow, you need to configure a data connection with your end-user authentication provider settings.

When the end-user would need data from this protected backend, and the user isn't already logged in, the user gets a request to sign in into your provided authentication provider
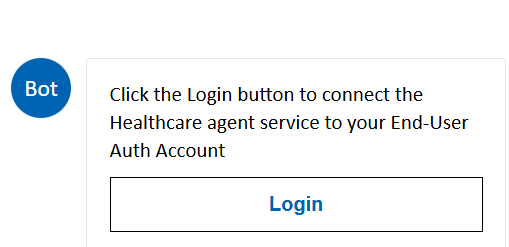
When this is the first time of the end-user and the admin didn't consent on behalf of your organization, the end-user needs to accept the requested permissions that you configured in the authentication provider.

If the user accepted the permissions and is successfully logged in, they should see a similar screen as seen below and be able to access the protected API

You can see the response of the authentication flow via the watch window in a custom scenario in the End-User-Auth property
